


Is your Windows 11 screen flickering like a broken neon sign?
Most flicker comes from software conflicts and can be fixed fast.
A quick reboot, a few settings tweaks, or a driver update often stops the strobe in minutes.
This post gives simple, hands-on fixes you can try right now — restart, close recent apps, lower the refresh rate, toggle HDR, and update or roll back graphics drivers.
If those don’t help, we’ll show easy cable and GPU checks next.
Rapid Software-Based Fixes to Stop Windows 11 Flickering

Most Windows 11 screen flickering comes from software conflicts, not broken hardware. Apps fighting over display control, refresh-rate mismatches, or temporary OS hiccups can make your screen strobe. The good news? A few quick software adjustments usually stop the flicker in minutes.
Restart your computer first. Sounds obvious, but rebooting clears memory conflicts and resets active display drivers. If you just installed an app, updated Windows, or changed display settings, a restart flushes out conflicts before they stick. Lots of people get instant relief from a simple reboot.
If the flicker keeps going, try these quick checks. Each takes under two minutes and hits the most common software triggers.
Restart the computer. Clears RAM, resets driver services, and wipes temporary conflicts that pile up during long sessions.
Close any recently opened apps. Apps like Chrome, Discord, or Zoom with hardware acceleration can clash with your GPU. Quit them completely through Task Manager.
Lower refresh rate temporarily. Right-click desktop, Display settings, Advanced display, Choose a refresh rate. Drop from 144Hz to 60Hz to see if high refresh is overwhelming your GPU.
Toggle HDR off and on. Display settings, HDR, turn off, wait 5 seconds, turn back on. HDR miscommunication can cause blink loops.
Disable adaptive brightness. Settings, Display, turn off “Change brightness automatically when lighting changes.” Ambient sensors sometimes pulse brightness unpredictably.
Disable hardware acceleration in major apps. In Chrome: three dots, Settings, System, toggle off “Use hardware acceleration when available,” then restart Chrome. Repeat in Discord, Slack, and any Electron apps.
These steps catch the most frequent software culprits without touching hardware or drivers.
Full Hardware Diagnostics for Windows 11 Screen Flickering
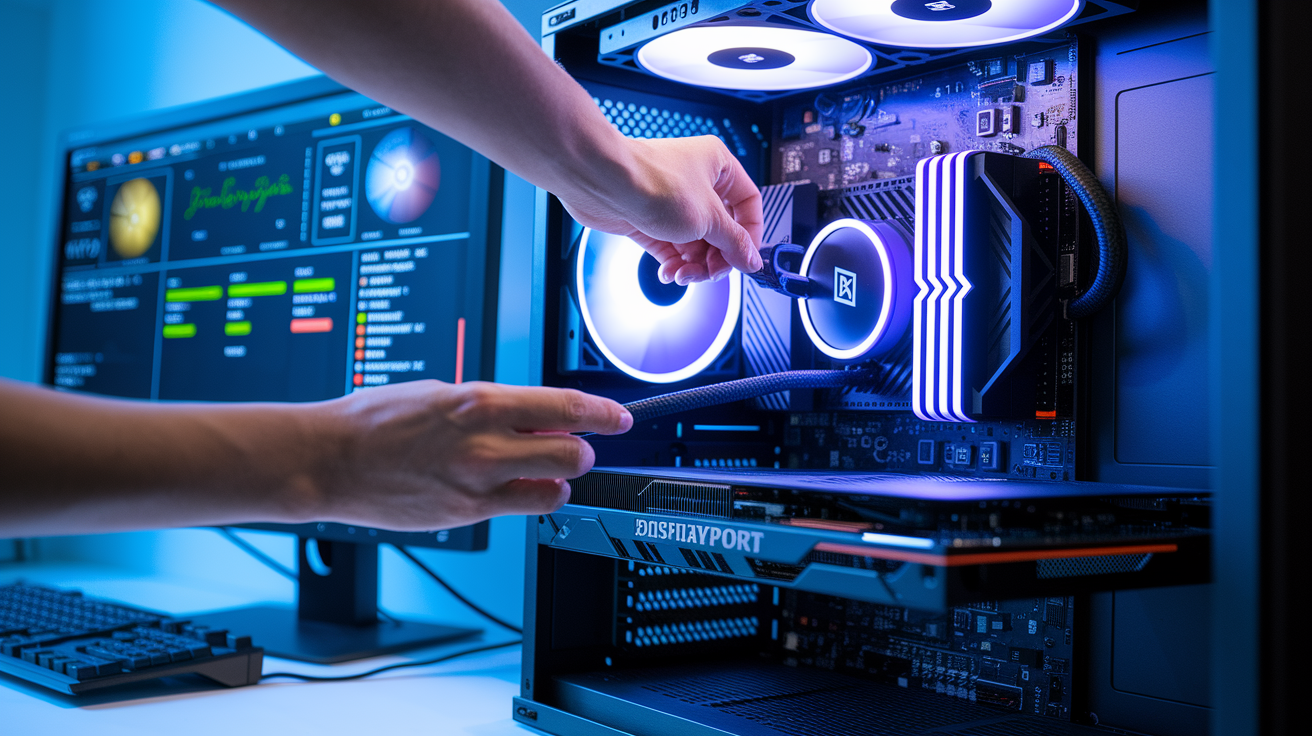
When software fixes don’t stop the strobe, the problem’s usually in the physical chain. Cables, ports, GPU contact, or thermal limits. Hardware faults are less common than driver bugs, but when they happen, software tweaks won’t help. A loose DisplayPort cable or a GPU sagging in its slot can produce the exact same symptom as a corrupt driver.
Check every physical link in your display path. Look for frayed HDMI or DisplayPort cables, bent pins in VGA or DVI connectors, and dust packed into video ports. On laptops, inspect the hinge where the screen cable runs. Repeated open-close cycles can fray internal wires. If you have a spare cable, swap it. If you have a second monitor, plug it in to isolate whether the issue is your panel or your GPU.
Follow these hardware diagnostic steps in order.
Power off the PC and monitor completely. Unplug both power cables and display cables. Wait 30 seconds.
Inspect all video cables for damage. Look for kinks, exposed wire, corroded connectors, or bent pins. Replace any damaged cable right away.
Reconnect all cables firmly. Seat DisplayPort and HDMI connectors until you feel a solid click. For screw-type connectors (DVI, VGA), tighten them.
Power on the monitor first, then the PC. This sequence forces the GPU to detect the display cleanly during POST.
Test with an external monitor if using a laptop. If the external display is steady but the built-in panel flickers, the issue is the laptop screen or its ribbon cable, not the GPU.
If flicker continues after cable checks, open the case (desktop only) and reseat the GPU. Power off, unplug, press the power button to drain residual charge, then remove the GPU by releasing the PCI latch and any retention screws. Use compressed air (never a vacuum) to blow dust off the card’s contacts and the PCIe slot. Reinsert the GPU until you hear an audible click from the latch. Reconnect power cables to the GPU, close the case, and test. If reseating doesn’t help and the GPU is under warranty, contact the manufacturer for RMA. Out-of-warranty GPUs may still qualify for return or repair depending on the vendor.
Overheating can also cause intermittent flicker, especially during gaming or rendering. Open Task Manager (Ctrl+Shift+Esc), Performance, GPU and watch the temperature. If it climbs past 85°C and the flicker worsens, thermal throttling or a failing cooler may be the root cause. Clean GPU fans and case filters, then test again.
Fixing Windows 11 Screen Flickering Caused by Graphics Drivers

Outdated, corrupt, or mismatched graphics drivers are the single most common cause of Windows 11 screen flickering. When Windows Update pushes a generic driver over your GPU manufacturer’s version, or when a driver install fails partway through, the mismatch between what Windows expects and what the GPU delivers can produce rapid blinks, frozen frames, or black flashes.
You’ve got two solid ways to get the right driver onto your system. The manufacturer’s website always has the newest release (sometimes weeks ahead of Windows Update) and is the safest choice if you know your GPU model. Device Manager is faster and works when you’re offline or unsure which exact card you have, but it only searches Microsoft’s driver repository, which can lag behind.
Updating Drivers via Manufacturer Website
Go directly to Intel, Nvidia, or AMD’s driver download page. Intel integrated graphics users should visit Intel’s Download Center, enter their processor model (like “Core i5-12600K”), and download the latest graphics driver. Nvidia users go to Nvidia’s driver page, select their GPU series (GeForce RTX 40-series, for example), choose Windows 11, and download the Game Ready or Studio driver. AMD users visit AMD’s support site, enter their Radeon model (RX 7800 XT, for instance), and grab the Adrenalin driver package.
Run the installer, choose Express or Custom. Custom lets you clean-install, which wipes old driver fragments. Restart when prompted. After reboot, open Device Manager, expand Display adapters, and confirm the driver date matches the version you just installed.
Updating Drivers via Device Manager
Press Windows + X and click Device Manager. Expand Display adapters to see your GPU. Right-click the device name and choose Update driver. Click Search automatically for drivers. Windows queries its online repository and installs any newer version it finds. When the update finishes, click Close and restart the computer. Even if Device Manager says “The best drivers are already installed,” the scan can repair corrupt registry entries that cause flicker.
If you updated recently and flicker started immediately after, roll back the driver: right-click the GPU in Device Manager, Properties, Driver tab, Roll Back Driver. This restores the previous working version.
| Source | Best for | Steps required |
|---|---|---|
| Manufacturer website (Intel, Nvidia, AMD) | Newest drivers, clean installs, known GPU model | 4 (download, run installer, choose options, restart) |
| Device Manager | Quick updates, unknown GPU model, offline fallback | 5 (Open Device Manager, expand adapters, update driver, search automatically, restart) |
| Windows Update, Optional updates | Automatic delivery, convenience, hands-off users | 3 (Settings, Windows Update, Optional updates, select GPU driver, restart) |
Check Settings, Windows Update, Advanced options, Optional updates after every major Windows release. Microsoft sometimes stages GPU driver packages there before rolling them into automatic updates.
Adjusting Windows 11 Display Settings to Prevent Flickering
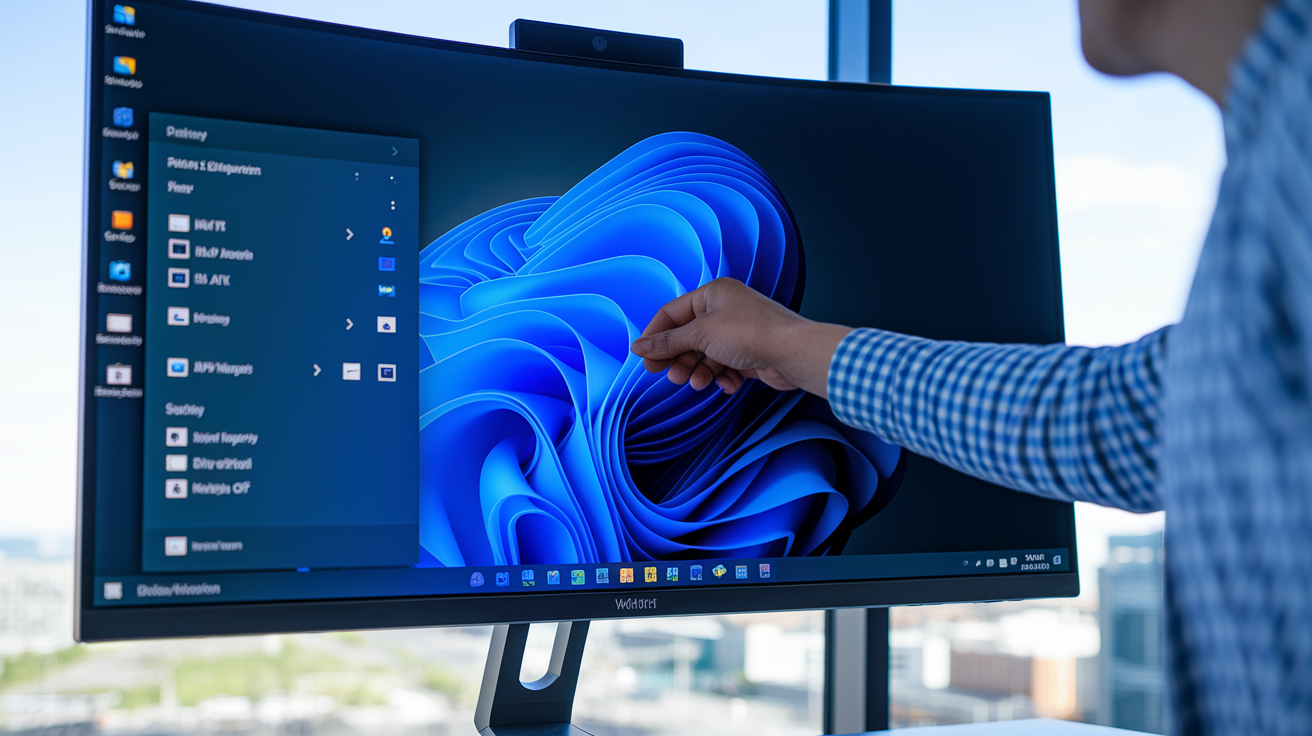
Windows 11 tries to auto-configure resolution, refresh rate, and color depth, but its guesses aren’t always right. When the OS picks a refresh rate your monitor can’t sustain cleanly, or when scaling settings force the GPU to resample every frame, flicker can appear. Fixing these settings takes 60 seconds and requires no tools.
Right-click an empty spot on your desktop and choose Display settings. Scroll to Scale and layout and confirm the Display resolution matches your monitor’s native resolution. Usually 1920×1080 for a 24-inch panel, 2560×1440 for 27-inch, or 3840×2160 for 4K. If Windows picked a lower resolution, your GPU is upscaling every frame, which can introduce tearing or flicker. Set it to the highest available option and click Keep changes.
Now click Advanced display at the bottom of the Display settings page. Look for Choose a refresh rate. If your monitor supports 144Hz but your GPU is older or power-limited, the GPU may struggle to maintain that rate consistently, causing intermittent blanking. Drop the refresh rate to 120Hz or 60Hz and see if the flicker stops. You should see the change instantly. If the screen stabilizes, your GPU was choking on the higher rate.
Check these additional settings while you’re in Display settings.
HDR. If “Use HDR” is on, toggle it off and wait 5 seconds. HDR handshake errors between GPU and monitor can loop the screen into flicker cycles.
Night light. Turn off Night light temporarily. Smooth color-temperature transitions sometimes conflict with certain GPU drivers, causing brief blinks at transition points.
Adaptive brightness. Under Brightness settings, disable “Change brightness automatically when lighting changes.” Ambient light sensors can pulse brightness faster than the backlight can respond.
Scaling. Under Scale and layout, confirm scaling is 100% or matches your monitor’s recommended scale. Odd scaling percentages (like 125% or 175%) force the GPU to interpolate, which adds render overhead.
After every change, watch the screen for 30 seconds to confirm the flicker is gone before moving to the next tweak.
Disabling Hardware Acceleration and App‑Specific Flicker Sources in Windows 11
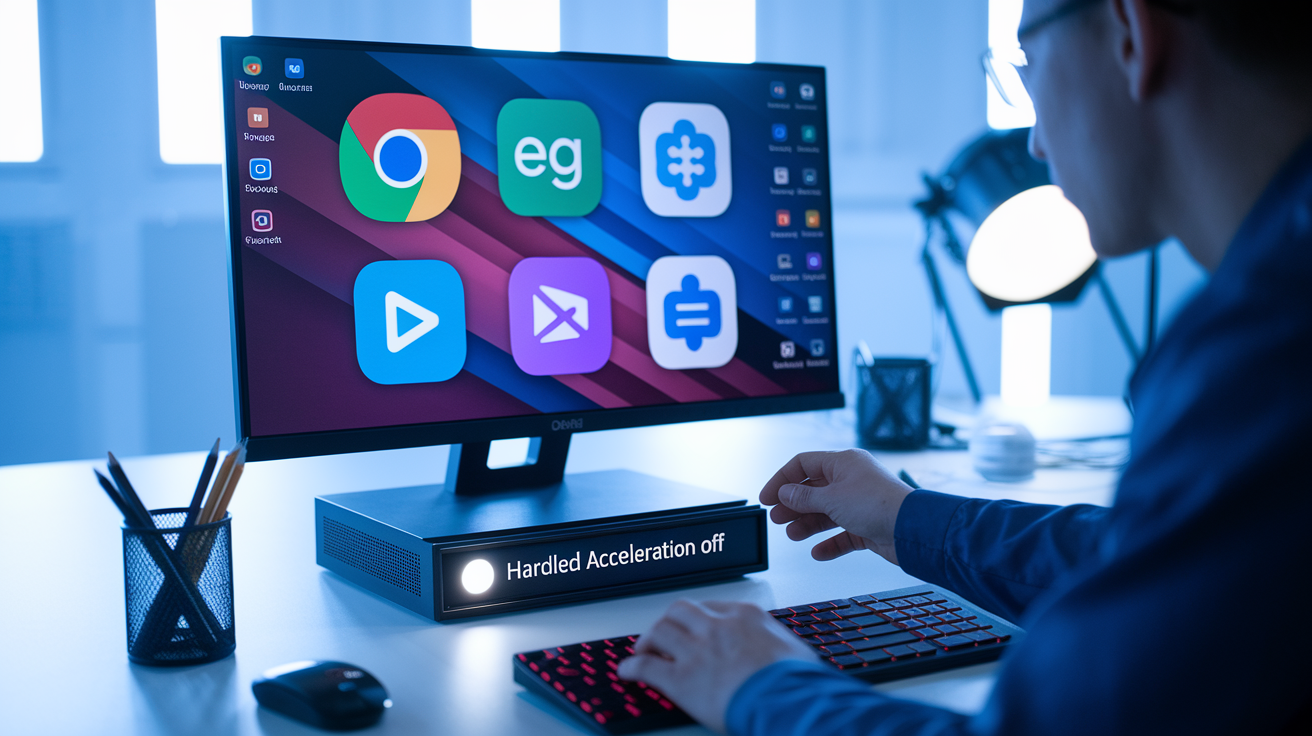
Some apps hijack GPU resources in ways that conflict with Windows’ own display pipeline, especially browsers, chat apps, and screen-recording tools. Hardware acceleration (when an app offloads rendering to your GPU instead of the CPU) is usually faster, but if the app’s implementation clashes with your driver version, you get flicker, tearing, or black flashes.
Chrome is the most common offender. Open Chrome, click the three-dot menu in the top-right, and go to Settings. Scroll to System and toggle off Use hardware acceleration when available. Close and reopen Chrome completely. Just closing the tab isn’t enough. If the flicker stops when Chrome isn’t running or after you disable acceleration, Chrome was the trigger. Repeat this process in Microsoft Edge (Settings, System and performance, Use hardware acceleration when available), Discord (User Settings, Advanced, Hardware Acceleration), Slack (Preferences, Advanced, Enable GPU hardware acceleration), and any Electron-based apps.
Uninstall apps you installed immediately before the flickering began. Go to Settings, Apps, Installed apps, then click the sort dropdown and choose Last installed. Look for the most recent entries. If you installed Norton, McAfee, or any third-party antivirus around the time flicker started, try uninstalling it temporarily. Some AV programs inject display hooks that interfere with GPU drivers. Click the three-dot menu next to the app name and choose Uninstall.
Follow these steps to isolate app-level conflicts.
Open Task Manager (Ctrl+Shift+Esc) and go to the Processes tab. Sort by GPU to see which apps are using graphics resources.
Close high-GPU apps one at a time and watch the screen. If flicker stops when you close a specific app, that app is the culprit.
Disable hardware acceleration in the problem app’s settings (usually under System, Performance, or Advanced).
Check for app updates. Sometimes a newer version fixes GPU conflicts the old release caused.
If the app is essential and still flickers, run it in compatibility mode: right-click the .exe, Properties, Compatibility tab, check “Run this program in compatibility mode for” and choose Windows 10.
Third-party screen recorders (OBS, NVIDIA ShadowPlay, Xbox Game Bar) can also clash. Disable them temporarily to test.
Using Windows 11 Built‑In Troubleshooters to Resolve Screen Flickering

Windows 11 includes automated troubleshooters that scan for common display and driver conflicts, then apply recommended fixes without manual registry edits or command-line work. These tools won’t catch every issue, but they’re fast, safe, and can fix misconfigurations you wouldn’t spot by hand.
The Video Playback troubleshooter targets codec issues, HDR conflicts, and display-service errors. Open Settings (Windows + I), click System, then Troubleshoot. Click Other troubleshooters and find Video Playback in the list. Click Run next to it. The troubleshooter checks video drivers, codec registrations, and display-service startup states. If it finds something, it’ll show a “Fixed” message and ask you to restart. Even if it reports “No issues found,” it resets certain registry keys that sometimes stop flicker.
Running Troubleshooters
The Video Playback scan takes about 90 seconds. Let it finish completely. Don’t cancel halfway. If it prompts you to apply a recommended fix, click Apply this fix and restart when it finishes. After reboot, test your display for at least 5 minutes under normal use (browse, watch a video, open a few apps). If flicker returns, the issue isn’t codec-related. Move to driver or hardware checks.
System Restore & Windows Update
If flicker started immediately after a Windows update, driver install, or app installation, System Restore can roll your system back to a known-good state. Press Windows + R, type rstrui.exe, and press Enter. The System Restore wizard opens. Click Next, then choose a restore point from the list. Pick one dated before the flicker began. Click Next, then Finish. Your PC will restart, undo recent changes, and restore system files, drivers, and registry entries to the selected date. Your personal files stay untouched, but recently installed apps may disappear.
System Restore only works if you have an existing restore point. If the list is empty, you can’t use this method.
Check for Windows Update driver packages. Go to Settings, Windows Update and click Check for updates. If any updates appear under “Driver updates” or “Optional updates,” install them and restart. Windows sometimes stages GPU driver updates separately from feature updates, and installing them can resolve version mismatches that cause flicker.
If Safe Mode stops the flicker (press Shift while clicking Restart, then Troubleshoot, Advanced options, Startup Settings, Restart, press 4 for Safe Mode), a third-party driver or service is the cause. Use System Restore or uninstall recent drivers to isolate it.
Advanced Fixes for Persistent Windows 11 Flickering Problems

When basic troubleshooting fails, the problem is buried deeper. Corrupt system files, background services fighting for GPU control, or software conflicts that only appear under specific load conditions. These advanced methods reset Windows components and isolate hidden triggers.
A clean boot disables all non-Microsoft startup programs and services, letting you test whether third-party software is causing the flicker. Press Windows + R, type msconfig, and press Enter. Click the Services tab, check Hide all Microsoft services, then click Disable all. Go to the Startup tab and click Open Task Manager. Disable every startup item. Click OK in msconfig and restart. If the flicker is gone, re-enable services and startup items one by one (restarting each time) until it returns. That last item you enabled is the conflict source.
Run SFC and DISM scans to repair corrupted Windows files. Open Command Prompt as administrator (search “cmd,” right-click, Run as administrator). Type sfc /scannow and press Enter. The scan takes 10 to 15 minutes. If it finds corrupt files, it repairs them automatically. After SFC finishes, type DISM /Online /Cleanup-Image /RestoreHealth and press Enter. DISM downloads fresh copies of damaged Windows components from Microsoft’s servers. Restart after both scans complete.
Check Event Viewer for hardware errors. Press Windows + X, Event Viewer. Expand Windows Logs and click System. Look for red Error entries timestamped when flicker occurred. Common culprits include “Display driver stopped responding,” “nvlddmkm.sys” (Nvidia driver crash), “amdkmdag.sys” (AMD driver crash), or “DXGKRNL” (DirectX kernel errors). If you see repeating driver crashes, reinstall the GPU driver using the manufacturer’s clean-install option.
| Tool | Purpose | When to Use |
|---|---|---|
| Clean Boot (msconfig) | Disables third-party services to isolate conflicts | When flicker occurs only during normal boot, not Safe Mode |
| SFC / DISM | Repairs corrupt Windows system files and components | After driver updates fail or Event Viewer shows DXGKRNL errors |
| Event Viewer | Logs driver crashes, hardware errors, and system faults | To identify exact error codes and timestamps of flicker events |
| Compatibility Mode | Runs apps as if on older Windows to bypass GPU conflicts | When a specific app causes flicker but is essential and can’t be updated |
Create a new user profile to rule out profile corruption. Go to Settings, Accounts, Other users, Add account, I don’t have this person’s sign-in information, Add a user without a Microsoft account. Fill in a username and password (no email required), then switch to that new account. If the flicker disappears in the new profile, your original profile has corrupt display settings or registry entries. You can migrate your files to the new profile and delete the old one, or run a profile repair tool.
If GPU temperatures exceed 85°C under load and flicker worsens during gaming, reapply thermal paste to the GPU (desktop) or elevate the laptop for better airflow. High temps can cause the GPU to throttle or skip frames, producing intermittent flicker.
Final Words
You started with the fastest fixes: restart, close recent apps, lower the refresh rate, toggle HDR, turn off adaptive brightness, and disable hardware acceleration.
Then you checked cables and ports, tested an external monitor, updated or rolled back graphics drivers, and ran Windows troubleshooters.
If the flicker keeps happening, try clean boot, SFC/DISM scans (system file repair), Event Viewer checks, or reseat the GPU. Most people stop windows 11 screen flickering with the software-first steps, so you should see a steady display soon.
FAQ
Q: How do I fix my screen flickering in Windows 11 or turn it off?
A: To fix or turn off screen flickering in Windows 11, restart, close recent apps, update or roll back graphics drivers, lower the refresh rate, toggle HDR/adaptive brightness, and disable hardware acceleration.
Q: Why is my screen suddenly flickering?
A: Screen suddenly flickering is usually caused by buggy apps, outdated or faulty graphics drivers, a mismatched refresh rate, temporary OS conflicts, or loose or damaged display cables and connections.
Q: Why is my screen flickering Windows 11 dynamic refresh rate?
A: Screen flickering Windows 11 dynamic refresh rate happens when the adaptive refresh shifts timing and conflicts with the GPU or monitor; turn off dynamic refresh or set a fixed lower refresh rate to stop it.