

Think installing Windows 11 from a USB is risky or only for experts?
This hands-on guide strips the mystery away and shows you, step by step, how to make a bootable USB, set your PC to boot from it, and run a clean install safely.
You’ll get clear safety checks (backup, TPM/Secure Boot), the exact keys to open your boot menu, and what the installer will do so you don’t get stuck.
Follow these steps and you’ll have Windows 11 running in around 15–30 minutes, with a simple checklist to avoid common mistakes.
Quick-Start Guide to Installing Windows 11 Using a Bootable USB

Before you start, make sure your computer has at least 4 GB of RAM (though more is better), 64 GB of free storage, and a processor from Intel 8th generation or AMD Ryzen 2000 series or newer. You’ll need an 8 GB or larger USB flash drive and a stable internet connection to download installation files. Run Microsoft’s PC Health Check tool to confirm your hardware supports TPM 2.0 and Secure Boot. These are required unless you use a bypass method.
Windows 11 offers two installation types: Upgrade keeps your files and programs when moving from Windows 10, while Custom (clean install) wipes the target drive and installs Windows fresh. Custom installs are faster and cleaner but require you to back up everything first because all data on the installation drive gets deleted.
Here’s the high level process:
- Plug the bootable USB into your computer.
- Restart and press F2, F12, ESC, or DEL (depends on your motherboard) to open the boot menu or BIOS.
- Select the USB drive as the boot device and save the change.
- The computer restarts and loads the Windows 11 setup screen.
- Choose your language, time format, and keyboard layout, then click Install Now.
- Select either Upgrade (if prompted) or Custom for a clean install.
- Choose the drive to install on. Delete old partitions if doing a clean install.
- Windows copies files, installs drivers, and restarts several times automatically (usually 15 to 30 minutes total).
After installation finishes, Windows walks you through the Out of Box Experience (OOBE): connecting to the internet, signing in with a Microsoft account or creating a local account, and choosing privacy settings. Once that’s done, you’ll see the Windows 11 desktop and can begin installing your programs.
Preparing the Bootable USB for a Windows 11 Installation
Microsoft’s official Media Creation Tool is the simplest way to create a bootable USB. Download the tool from Microsoft’s website, run it, accept the license, choose “Create installation media,” select your language and edition, then pick “USB flash drive” and choose your drive from the list. The tool downloads Windows 11 and writes it to the USB automatically. No manual ISO handling required.
Rufus is a faster alternative for advanced users. It can download the Windows 11 ISO directly through its interface and write it to USB in one step. Rufus also offers extended options like bypassing TPM and Secure Boot checks.
Whichever tool you use, expect the write process to take 10 to 30 minutes depending on your USB drive speed and internet connection. USB 3.0 drives are significantly faster than USB 2.0, both for writing the installer and running the setup process.
Key points to remember:
- Minimum 8 GB USB flash drive required. 16 GB or larger recommended.
- All data on the USB gets erased during the creation process.
- Use a USB 3.0 drive for faster writes and faster installation performance.
- Keep the USB plugged in during the entire creation process. Removing it early will corrupt the installer.
- A stable internet connection is required to download the installation files (around 5 GB).
- Double check you selected the correct drive before clicking Start or Create. Choosing the wrong drive will erase it.
Downloading the Windows 11 ISO Safely and Correctly
You can download the Windows 11 ISO directly from Microsoft’s website or through Rufus. If using Rufus, select your USB device, set Boot Selection to “Disk or ISO image,” then click the small arrow next to SELECT and choose DOWNLOAD. Rufus will prompt you to pick Windows 11, the latest release, your edition (Home, Pro, Education), language, and architecture (x64). After confirming, it saves the ISO to your Downloads folder and you can write it immediately or save it for later use.
Always verify the ISO if you download it separately or from a third party mirror. Open PowerShell, navigate to the folder containing the ISO, and run Get-FileHash -Algorithm SHA256 yourfilename.iso to check the checksum against Microsoft’s published value. Checksum mismatches mean the file is corrupted or modified and shouldn’t be used. Installing from a bad ISO can cause random errors, missing drivers, or setup failures partway through.
| Step | What to Do |
|---|---|
| 1. Open Rufus and click DOWNLOAD | Choose Windows 11, latest release, your edition, language, and x64 architecture |
| 2. Wait for download to finish | ISO is saved to your Downloads folder (around 5 GB) |
| 3. Verify checksum in PowerShell | Run Get-FileHash and compare SHA256 value to Microsoft’s published hash |
| 4. If checksum matches, proceed | If it doesn’t match, delete the file and download again |
BIOS and UEFI Setup for Booting the Windows 11 USB Installer
Windows 11 requires UEFI firmware and a GPT partitioned drive for full compatibility. If your computer still uses Legacy BIOS or MBR partitioning, the installer may fail to boot or throw compatibility errors during setup. Before you create the USB, confirm your motherboard supports UEFI and Secure Boot. Most machines from 2012 onward do, but older systems may need a BIOS update or simply can’t run Windows 11 without workarounds.
To boot from USB, restart your computer and press the key that opens the boot menu or BIOS setup screen. Common keys are F2, F12, ESC, or DEL. Watch the screen during startup for a prompt like “Press F12 for Boot Menu.” Once inside, look for a boot order or boot priority section and move the USB drive to the top of the list. Save and exit, and the computer will restart directly into the Windows 11 installer.
If your USB appears in the BIOS but won’t boot, check that Secure Boot is enabled and that the boot mode is set to UEFI, not Legacy or CSM (Compatibility Support Module). If you see both UEFI and Legacy entries for the same USB drive in the boot menu, choose the UEFI entry. Some motherboards label it “UEFI: [Drive Name]” versus just the drive name.
Fixing USB Boot Detection Problems
If the USB doesn’t appear in the boot menu at all, first confirm USB boot is enabled in the BIOS. Some systems disable USB boot by default under a security or boot configuration section. Enable it, save, and restart.
Switching from Legacy/MBR to UEFI/GPT requires converting your existing drive, which is risky and can fail if you skip critical steps. Always back up your entire drive to an external device before attempting conversion. You can use Windows’ built in mbr2gpt tool or diskpart, but the process is outside the scope of a simple install guide. Search for a dedicated MBR to GPT conversion tutorial and follow it exactly.
If your motherboard is too old to support UEFI, you’ll need to use Rufus’ extended installation options to bypass the requirement, but expect some features and security protections to be unavailable. Performance may also suffer on older hardware, and Windows Update may refuse to install certain patches.
System Requirements Before Installing Windows 11 from a USB Drive
Windows 11 won’t install if your hardware doesn’t meet Microsoft’s minimums. Before you start, confirm your system has the required components. Skipping this step wastes time and can leave you stuck mid install with no way forward except rolling back to your previous OS.
Run the PC Health Check app (available from Microsoft’s website) to get an instant yes or no compatibility report. If it says your PC can’t run Windows 11, check the details. It will usually tell you which requirement is missing. Common blockers are TPM 2.0 not enabled in BIOS, Secure Boot disabled, or a processor that’s too old.
If you’re building a new PC or unsure of your specs, open System Information (search for “msinfo32” in Windows) and check your processor model, installed RAM, and BIOS mode. Compare those against the official requirements below:
- Processor: 1 GHz or faster with at least 2 cores, Intel 8th Gen or AMD Ryzen 2000 series or newer
- RAM: 4 GB minimum (8 GB or more recommended for smooth performance)
- Storage: 64 GB or larger available space
- Firmware: UEFI with Secure Boot capability
- TPM: Trusted Platform Module version 2.0
- Graphics card: DirectX 12 compatible with WDDM 2.0 driver
- Display: High definition (720p) display larger than 9 inches diagonal
Machines with less than 4 GB of RAM will be very slow. Even if you bypass the requirement, expect frequent stuttering and long load times. Similarly, 64 GB of storage is tight once you add programs and updates, so 128 GB or more is a safer target for daily use.
Step by Step Windows 11 Setup After the USB Boots
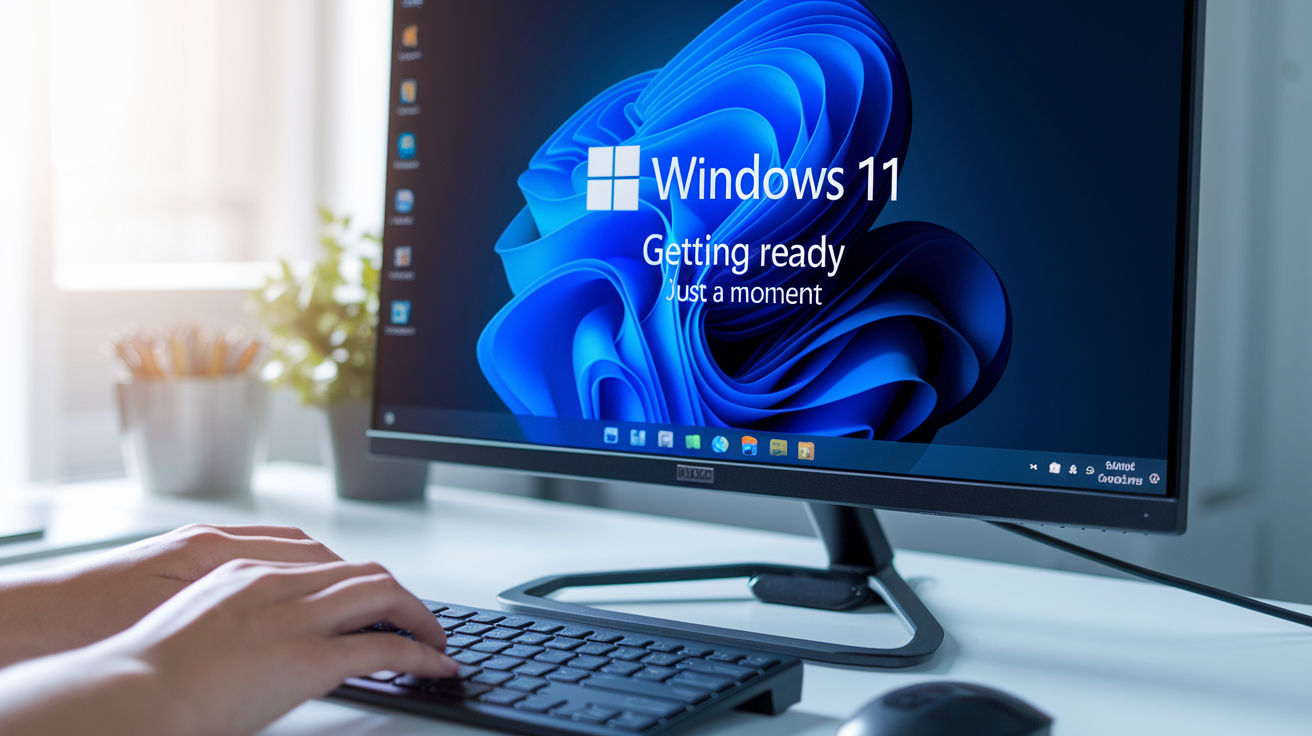
Once the USB boots, you’ll see the Windows Setup screen with language, time and currency format, and keyboard layout options. Choose your settings and click Next, then click Install Now. If you have a product key, you can enter it here, or click “I don’t have a product key” to skip and activate later. Windows will still install and you can add the key after setup finishes.
Next, accept the license terms and choose your installation type. Select Upgrade to keep your files and programs (only available if you’re already running Windows 10), or Custom for a clean install. Custom is the safer choice for USB installs because it lets you control partitioning and ensures a fresh start without leftover files from a previous OS.
Here’s what happens step by step once you click Custom:
- Select the drive where you want to install Windows 11.
- If the drive has old partitions, click each one and press Delete to remove them (this erases all data).
- Click New to create a fresh partition, or select unallocated space and click Next. Windows will create the necessary partitions automatically.
- Windows copies installation files to the drive (progress bar shows percentage).
- The computer restarts automatically. Do not remove the USB yet.
- Setup continues by installing drivers, configuring system settings, and preparing devices.
- Another automatic restart happens. The USB can be removed after this point if the installer doesn’t need it again.
- You’ll see “Getting ready” or “Just a moment” screens. This is normal and can take several minutes.
- The Out of Box Experience (OOBE) starts: connect to Wi‑Fi or ethernet.
- Sign in with a Microsoft account, or use the bypass command
start ms-cxh:localonly(type it in the command prompt opened via Shift + F10) to create a local account instead.
After OOBE, you’ll set your privacy preferences (location, diagnostics, advertising ID, etc.), and Windows will finalize settings and show the desktop. Expect the entire process from boot to desktop to take 20 to 40 minutes depending on your hardware.
Creating a Windows 11 USB Using Rufus (Advanced Method)

Rufus gives you more control than the Media Creation Tool and is faster on most systems. Download Rufus from its official site, run it (no installation required), and insert your USB drive. Rufus will detect it automatically. Under Boot Selection, choose “Disk or ISO image (Please select),” then click the small arrow next to SELECT and pick DOWNLOAD to grab the ISO directly, or click SELECT to browse for an ISO you already have.
If downloading through Rufus, it will ask you to choose Windows 11, the release version, edition, language, and architecture. After the download finishes, Rufus loads the ISO and you can configure the rest of the settings. Under Image option, you’ll see choices like “Standard Windows installation” or “Extended Windows 11 installation (no TPM / no Secure Boot).” The extended option bypasses hardware checks and is useful for older or unsupported systems.
For most installs, leave Partition scheme set to GPT and Target system set to UEFI. If your target computer only supports Legacy BIOS, switch to MBR and BIOS, but expect compatibility problems with Windows 11’s requirements. File system should be NTFS for drives larger than 32 GB. Once everything is set, click START. Rufus will warn you that all data on the USB will be destroyed. Confirm, and wait for the write to finish (10 to 30 minutes depending on USB speed).
Recommended Rufus Settings
Use NTFS as the file system unless your USB is 32 GB or smaller and you need FAT32 for specific compatibility reasons. NTFS supports files larger than 4 GB, which some Windows install images exceed. GPT partition scheme with UEFI target system is the correct choice for modern PCs and ensures Secure Boot and TPM work as intended.
If your target PC lacks TPM 2.0 or Secure Boot, select “Extended Windows 11 installation (no TPM / no Secure Boot / 8GB+ RAM)” under Image option. This tells Rufus to modify the installer so it skips those checks. Be aware that bypassing these requirements may prevent certain applications (like some Riot Games titles) from running, and Windows Update may refuse to install future feature updates on unsupported hardware.
For portable Windows installs (Windows To Go), choose “Windows To Go” under Image option instead. This installs Windows directly onto the USB so you can boot the same drive on multiple PCs. Keep in mind that portable installs are much slower than internal drives and may prompt for identity verification and PIN resets each time you switch machines.
Handling TPM 2.0, Secure Boot, and Requirement Bypasses for Windows 11 USB Installs

Windows 11 officially requires TPM 2.0 and Secure Boot to install. TPM is a security chip that stores encryption keys and protects against firmware attacks, while Secure Boot ensures only trusted software runs during startup. Most computers made after 2016 have TPM 2.0, but it’s often disabled in BIOS by default. Open your BIOS setup, look for a Security or Advanced section, and enable TPM (sometimes labeled fTPM on AMD systems or PTT on Intel). Save and restart.
Secure Boot is usually found in the same section or under Boot settings. Enable it, switch the boot mode to UEFI if it isn’t already, and save. If Secure Boot won’t enable, you may need to clear Secure Boot keys or switch from Legacy/CSM to UEFI mode first. Check your motherboard manual for the exact steps.
If your hardware doesn’t support TPM or Secure Boot, you can bypass the checks using Rufus’ extended installation mode or by editing the Windows registry during setup (open Command Prompt with Shift + F10, type regedit, navigate to HKEY_LOCAL_MACHINE\SYSTEM\Setup, create a key called LabConfig, and add DWORD values BypassTPMCheck, BypassSecureBootCheck, and BypassRAMCheck, all set to 1). Keep in mind:
- Bypassing TPM and Secure Boot weakens security and may leave you vulnerable to certain firmware level attacks.
- Some apps and games refuse to run without TPM or Secure Boot enabled.
- Windows Update may block feature updates or security patches on unsupported hardware. You might need to join the Windows Insider program to receive updates.
- Systems with less than 4 GB of RAM will run extremely slowly even if you bypass the requirement.
- Older CPUs (pre 8th Gen Intel or pre Ryzen 2000 AMD) may experience poor performance or compatibility issues with Windows 11.
Disk Partitioning and Drive Selection During a USB Based Windows 11 Install
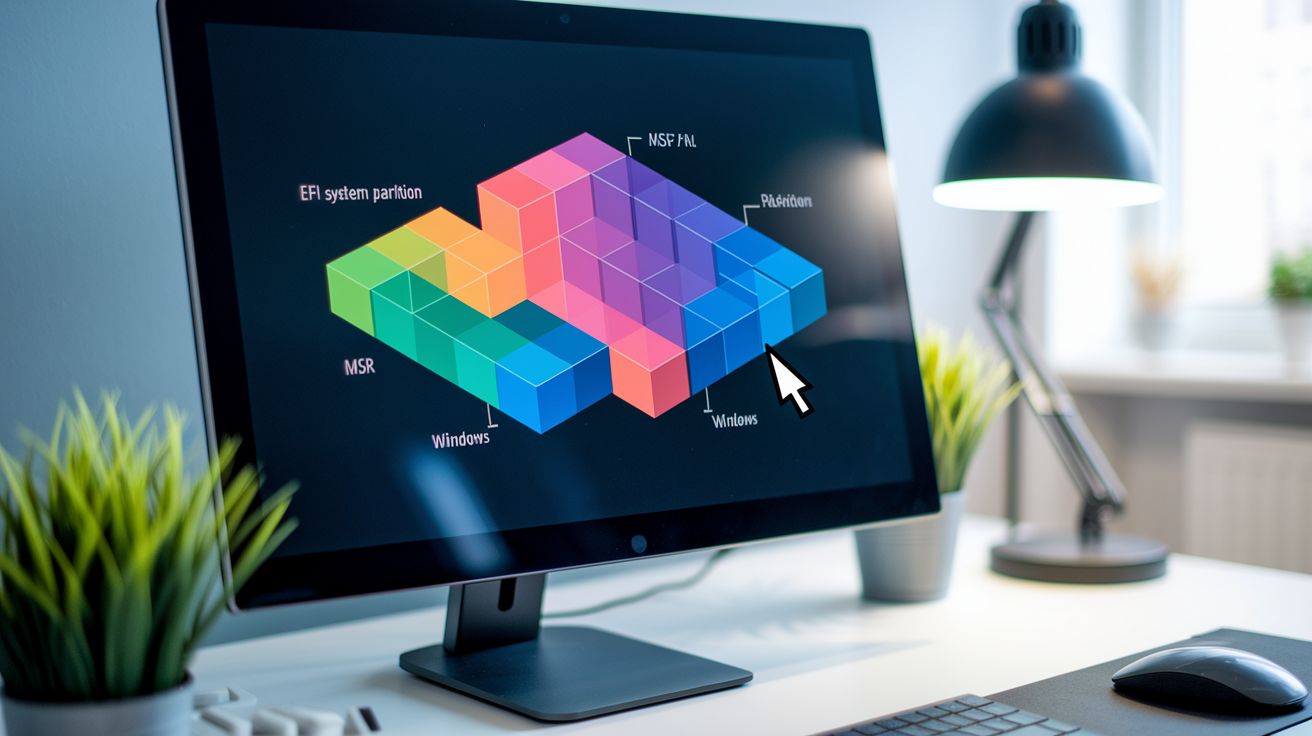
When you reach the “Where do you want to install Windows?” screen during Custom installation, you’ll see a list of all drives and partitions in your computer. If you’re doing a clean install, you need to delete the old partitions to free up space and let Windows create new ones. Select each partition on the target drive (usually Drive 0), click Delete, and confirm. This erases all data on that partition, so make sure you’ve backed up anything important first.
After deleting all partitions, you’ll see unallocated space. Select it and click Next. Windows will automatically create the necessary partitions (EFI System Partition, Microsoft Reserved, and the main Windows partition). If you prefer manual control, click New, set the size, and click Apply. Windows will create the required system partitions and use the remaining space for the main install.
If your drive is currently MBR and your motherboard supports UEFI, you’ll need to convert it to GPT before Windows 11 can install. You can do this from the installer by opening Command Prompt (Shift + F10), typing diskpart, then list disk, select disk 0 (replace 0 with your drive number), clean, convert gpt, and exit. Be very careful. This wipes the entire drive. If you have data you need, back it up externally before proceeding, or use the mbr2gpt tool from within Windows 10 instead (safer but more complicated).
| Task | When Needed | Risk Level |
|---|---|---|
| Delete existing partitions | Clean install on a drive that already has Windows or data | High (erases all data on selected partitions) |
| Convert MBR to GPT | Installing on a Legacy/MBR drive when UEFI is required | Very high (wipes entire drive unless using mbr2gpt in place) |
| Create new partition manually | Optional (only if you want custom partition sizes) | Low (just creates empty space for Windows) |
| Format existing partition | Reusing a partition without deleting it | High (erases all files on that partition) |
| Let Windows auto-partition | Most common scenario (select unallocated space and click Next) | None (Windows handles system partitions automatically) |
Fixing Common Errors When Installing Windows 11 from a USB
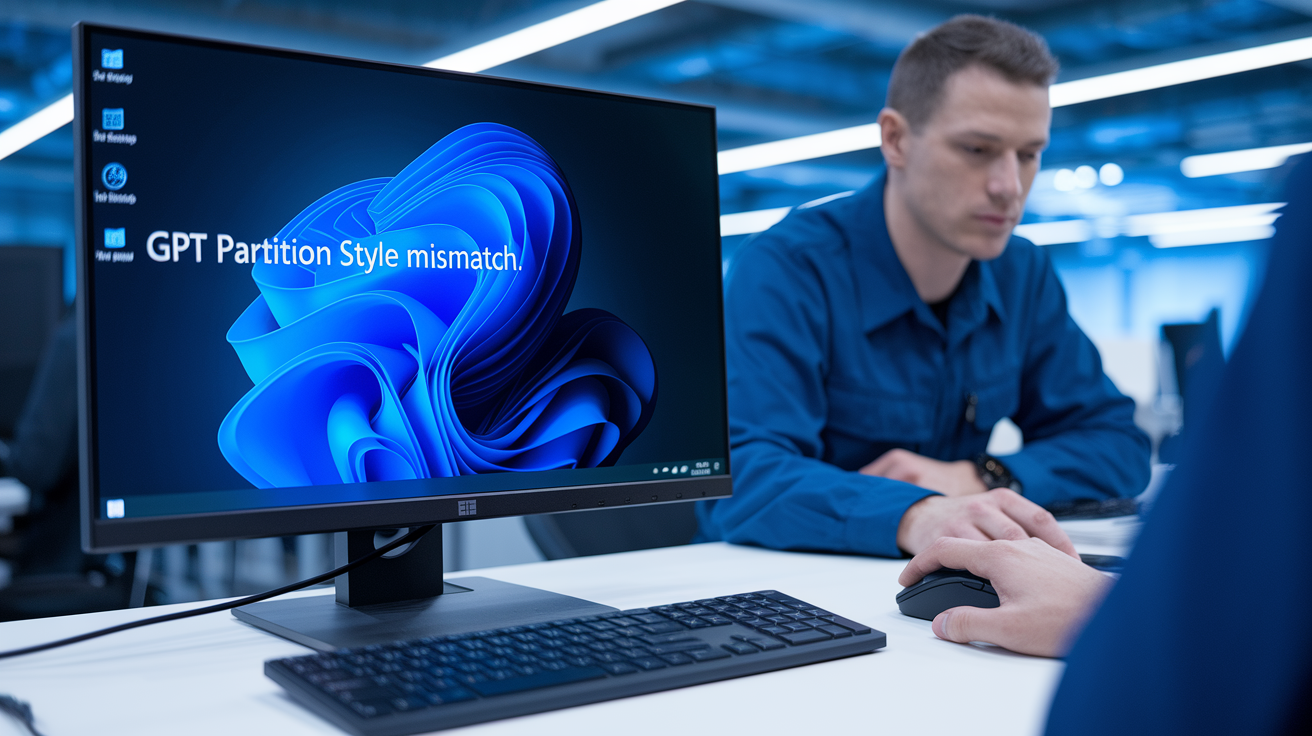
Setup failures usually trace back to UEFI conflicts, corrupted installation media, missing drivers, or unsupported hardware. If the installer refuses to boot, confirm your BIOS is set to UEFI mode and the USB was created with GPT partitioning. If you see “Windows cannot be installed to this disk” with a note about GPT, your BIOS is in Legacy mode. Switch it to UEFI and try again.
Checksum mismatches or corrupted ISOs cause random install errors like missing files, blue screens during setup, or the installer freezing partway through. Always verify the ISO hash before writing it to USB. If you downloaded the ISO from a third party, delete it and download directly from Microsoft or through Rufus instead.
Driver signature enforcement can block older or unsigned drivers during install. If you get a “driver signature” error, try disabling driver signature enforcement in the BIOS (sometimes under Secure Boot settings) or boot the installer in “disable driver signature enforcement” mode by pressing F7 during the initial setup screen (availability depends on your setup method).
Quick Error Reference List
- “This PC can’t run Windows 11” during setup: TPM or Secure Boot not enabled, or CPU too old. Enable TPM and Secure Boot in BIOS, or use Rufus extended mode to bypass.
- Stuck on Windows logo after install: Faulty USB drive, bad RAM, or corrupted system files. Try a different USB port (USB 2.0 instead of 3.0), test your RAM with memtest86, or recreate the USB with a fresh ISO.
- “Windows cannot be installed to this disk. The selected disk is of the GPT partition style”: BIOS is in Legacy mode. Switch to UEFI in BIOS settings.
- Setup fails halfway through with no specific error: Corrupted ISO or bad USB drive. Verify ISO checksum, recreate the USB, or try a different flash drive.
- Product key rejected even though it’s valid: Key may be for a different edition (Home vs Pro) or already activated on another machine. Skip activation during install and activate from Settings afterward.
- Windows Update errors after install on unsupported hardware: Update service refuses to install patches on bypassed systems. Join the Windows Insider program or accept that updates may be delayed or unavailable.
- USB creation takes hours or the write fails: Slow or failing USB drive. Use a USB 3.0 drive and try a different USB port. If it still fails, the drive may be damaged.
Activation and First Day Configuration After Installing Windows 11 from USB
Windows 11 activation is tied to your hardware configuration and Microsoft account. If you upgraded from Windows 10 on the same machine, activation usually happens automatically once you connect to the internet. If you did a clean install or moved the drive to new hardware, you may need to enter a product key or sign in with the Microsoft account that holds your digital license.
To check activation status, open Settings > System > Activation. If it says “Windows is activated with a digital license,” you’re set. If it says “Windows is not activated,” click Troubleshoot (appears if you’re signed in with a Microsoft account linked to a license) or Add a product key to manually activate. Transferring a license to a new machine is only allowed for retail licenses. OEM licenses are tied to the original motherboard and can’t be moved.
After activation, complete these first day tasks:
- Run Windows Update immediately (Settings > Windows Update > Check for updates) to download the latest drivers, security patches, and feature updates.
- Install essential programs like your browser, office suite, and any productivity tools you use daily.
- Set up your Microsoft account or local account password on the second boot if you created a local account. Windows will prompt you to add a password to enable file sharing and other features.
- Configure privacy settings (Settings > Privacy & security) to control telemetry, location access, and app permissions.
- Enable BitLocker encryption (Pro edition only) if you want to encrypt your drive, or disable it if it was enabled automatically and you don’t need it.
- Create a system restore point (search “Create a restore point” in the Start menu) so you can roll back if something breaks later.
If you moved your Windows 11 USB drive to a different PC (Windows To Go setup), expect to verify your identity and reset your PIN each time you switch machines. The typical flow: click “Setup my PIN,” sign in with your Microsoft account, choose to send a verification code to your account email, retrieve the code on another device, enter it, and set a new PIN. This happens every time you boot on a new PC but not when you return to a machine you’ve already used.
Final Words
Plug the USB in and get the PC to boot from it — that’s the core action this guide walked you through. You prepared the installer, checked system requirements, and set BIOS/UEFI so the setup could run.
You also learned the quick Upgrade vs Custom choice, how to make media with Media Creation Tool or Rufus, and basic fixes for common errors.
If you follow the checklist and the 8-step flow, you’ll be able to install windows 11 from usb smoothly and have a fresh, working system fast.
FAQ
Q: How do I install Windows 11 from a USB drive?
A: Installing Windows 11 from a USB drive starts with creating bootable media (8GB+), confirming requirements (8th‑Gen Intel/Zen 2+, 4GB RAM, TPM 2.0, Secure Boot, 64GB), booting the USB (F2/F12/ESC/DEL) and following setup to pick Upgrade or Custom.
Q: Is Rufus the best tool for bootable USB?
A: Rufus is a fast, popular choice with advanced options and direct ISO download, ideal for power users; the Microsoft Media Creation Tool is simpler and usually best for most people.
Q: How to manually download and install Windows 11?
A: Manually downloading and installing Windows 11 means getting the ISO from Microsoft (choose edition, language, architecture), verify checksum, write it to an 8GB+ USB with Rufus or Media Creation Tool, then boot and run setup.
Q: Can I still download Windows 11 for free?
A: You can still download Windows 11 for free from Microsoft; installation is free for eligible PCs, but activation requires a valid license or digital entitlement—use PC Health Check to confirm compatibility.