

Think your PC is dead because Windows 11 boots to a black screen?
You’re not alone—and most cases are fixable fast.
A black screen usually comes from three things: a loose display cable, a graphics driver acting up, or a failed Windows update.
This post walks you through seven proven fixes, starting with quick checks that often bring your desktop back in minutes, then safer recovery steps if the simple tricks don’t work.
Follow these in order and you’ll know what to try next without guessing.
Immediate Recovery Steps for Fixing the Windows 11 Black Screen Issue

A black screen on startup usually comes down to three things: a loose display cable, a graphics driver that’s gone wrong, or a Windows update that didn’t finish cleanly. The fastest fixes target the display itself, reset the GPU, and get the system into recovery mode where you can roll back whatever broke. You might see a cursor moving around on darkness, loading dots that spin forever, or just pure black with no backlight. If you’ve got multiple monitors hooked up, Windows might be sending video to the wrong one.
Start with the simple stuff before you dig into complicated repairs. A lot of black screens clear up in under two minutes once you reset the display driver or unplug that second monitor. The goal is to get Windows responding so you can figure out if this is software, drivers, or actual hardware failure.
Here are five immediate fixes to try first, ordered by how fast they work and how often they succeed:
- Press Windows key + Ctrl + Shift + B to force the GPU and display driver to reset. Your screen will blink or flash for a second or two. If the desktop shows up, you’re good.
- Check that your monitor is actually on, connected to the right input (HDMI, DisplayPort, VGA), and that the cable’s seated properly on both ends. Swap the cable or try a different port if you’ve got extras.
- Disconnect everything extra: USB devices, external drives, docking stations, second monitors. Then hold the power button down for 10 seconds to shut down completely. Wait 10 seconds, press power again.
- If the screen’s still black after restart, force your way into Windows Recovery by hammering F11 as soon as you hit the power button. Some PCs use F2, F8, or F12 instead, so check your manufacturer’s boot key if F11 doesn’t work.
- Once you’re in WinRE, go to Troubleshoot > Advanced options > Startup Repair and let Windows try to fix things automatically.
If none of that brings your desktop back, move to the next section.
Core Troubleshooting for Windows 11 Startup Black Screen Failures
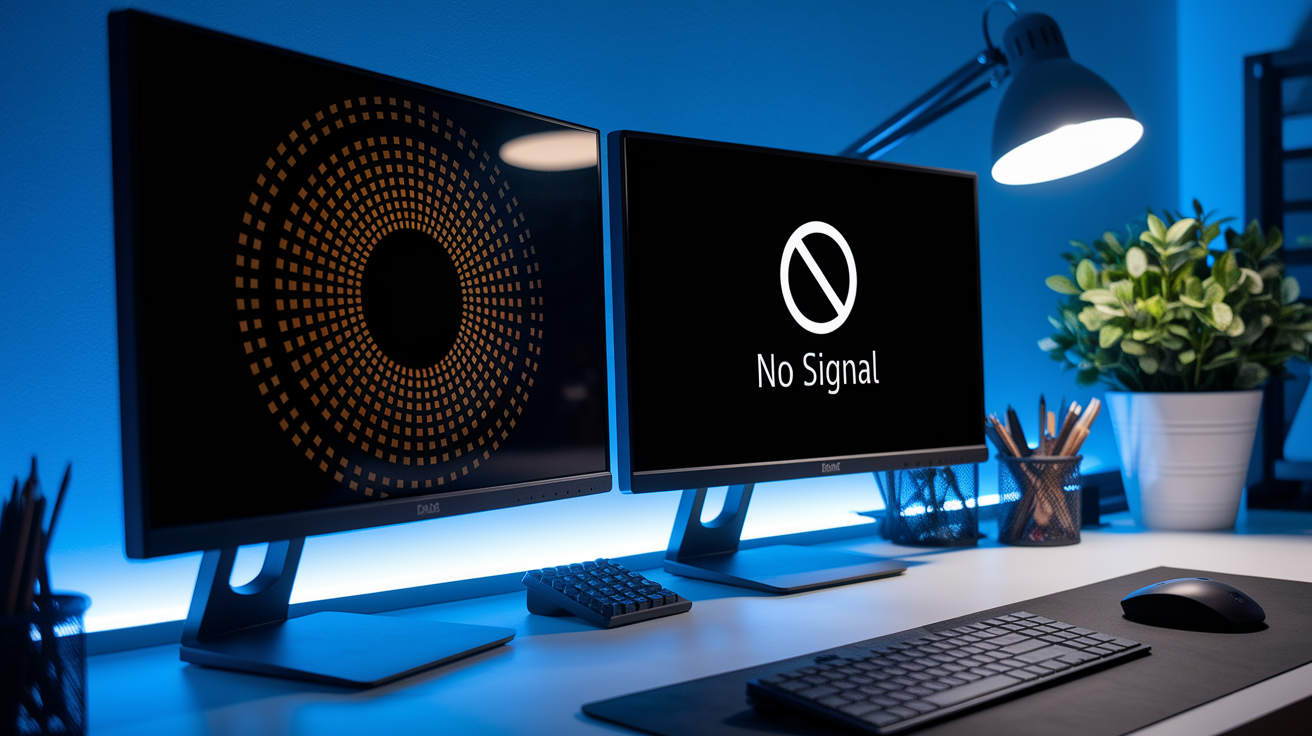
Black screens aren’t all the same, and figuring out which type you’ve got points you toward the right fix. Spinning dots on black means Windows is trying to load but gets stuck somewhere in the process. Blank screen with a cursor usually means the shell (explorer.exe) crashed or didn’t start, or the display driver gave up after login. No signal or input not supported messages mean the GPU isn’t sending video at all, or your monitor can’t read what it’s being sent. Knowing which flavor you’re dealing with saves you from trying fixes that won’t work.
Startup Repair should be your first move when a simple reboot doesn’t do it. It scans boot files, checks system integrity, and can undo problematic driver installs without any input from you. Takes 5 to 15 minutes. If Startup Repair doesn’t find anything or can’t fix what it found, the next step is manually removing recent updates. Windows 11 sometimes pushes out monthly patches or big feature updates (like 22H2 or 23H2) that don’t play nice with your GPU driver or introduce boot problems. WinRE lets you uninstall that last update without needing to see your desktop.
System Restore rolls you back to a snapshot from before the black screen started. Undoes driver changes, registry edits, software installs, all the stuff that happened after that restore point. Your personal files stay put, but apps installed after that date might vanish. Safe Mode strips Windows down to the bare minimum, just core drivers and services, so you can uninstall or roll back whatever display driver is causing the crash. Use it when you think a third-party app or a recent GPU driver update is the culprit.
Here’s what each WinRE repair tool actually fixes:
| Repair Option | What It Fixes |
|---|---|
| Startup Repair | Boot configuration errors, missing system files, broken bootloader, driver conflicts blocking startup |
| Uninstall Updates | Buggy Windows quality update (monthly patch) or feature update (major version) that broke boot or display |
| System Restore | Driver changes, software installs, and registry edits made after the chosen restore point date |
| Safe Mode | Third-party startup apps, display driver conflicts, and malware that prevents normal boot |
To uninstall a recent update from WinRE, go to Troubleshoot > Advanced options > Uninstall Updates. You’ll see two buttons: Uninstall latest quality update pulls the most recent monthly patch, and Uninstall latest feature update removes the last big Windows version jump. Pick whichever one lines up with when your black screen started. After the uninstall finishes, Windows restarts. If you get to the desktop, don’t install that same update again until Microsoft ships a fix.
For System Restore, navigate to Troubleshoot > Advanced options > System Restore. Click Next, pick a restore point from before the black screen showed up, then click Scan for affected programs to see what apps will get removed. Click Finish, then Yes to confirm. Don’t interrupt the restore once it starts.
To boot into Safe Mode, choose Troubleshoot > Advanced options > Startup Settings and click Restart. When the Startup Settings menu pops up, press 5 for Enable Safe Mode with Networking. Once Safe Mode loads, open Device Manager (right-click Start, pick Device Manager), expand Display adapters, right-click your GPU, and hit Properties > Driver > Roll Back Driver if that button’s available. If Roll Back is grayed out, go with Uninstall Device instead, check Attempt to remove the driver for this device, then restart. Windows will put a basic driver back in automatically.
Display and Graphics Fixes for Windows 11 Black Screen Problems
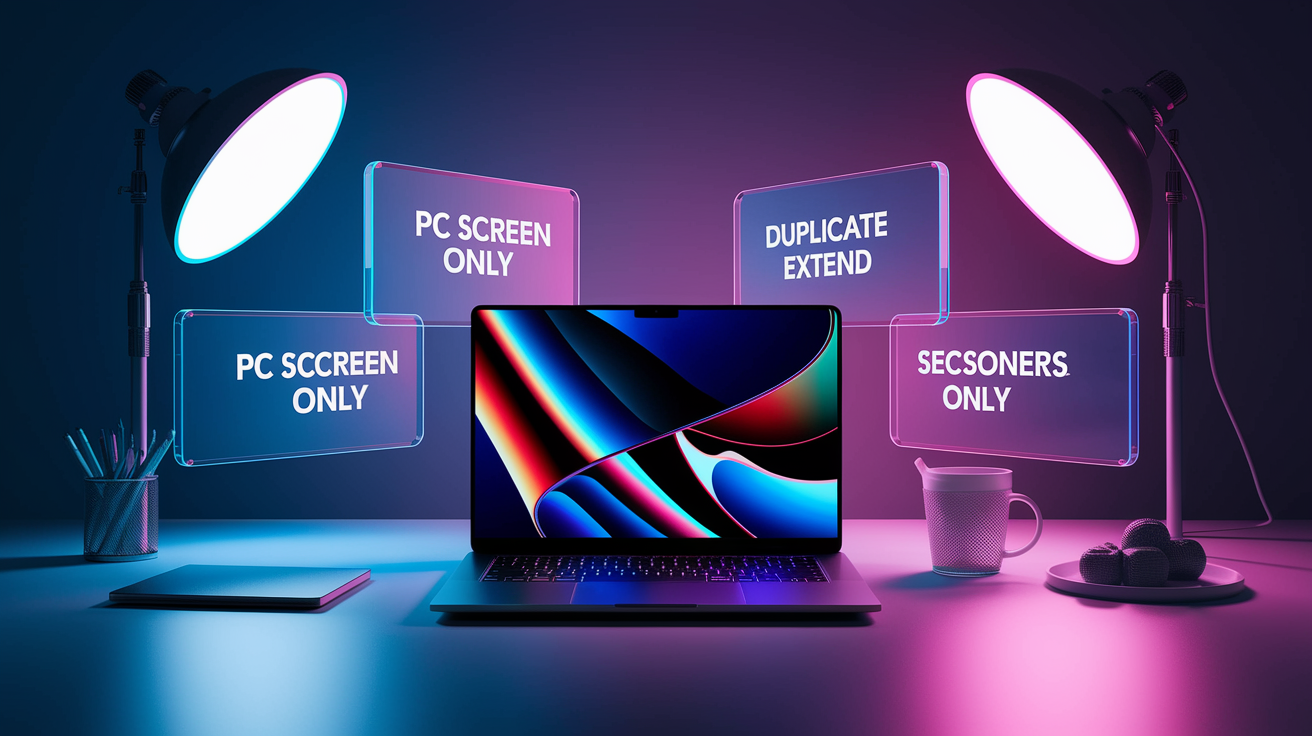
Display driver failures cause more black screens after login than anything else. When a driver crashes or gets corrupted during an update, Windows might load far enough that you can move the cursor, but the desktop shell never shows up. Other times the driver loads but sends output to the wrong monitor or picks a resolution your display can’t handle. Three keyboard shortcuts can wake or reset the display without needing to see anything: Win + P cycles through projection modes (PC screen only, duplicate, extend, second screen only), Ctrl + Alt + Delete followed by Esc tries to get you back to the desktop, and Win + Ctrl + Shift + B forces a full GPU and driver reset that makes the screen flash for a second or two.
If keyboard shortcuts don’t bring the desktop back, you’re probably looking at a driver reinstall or a multi-monitor config problem. Multi-monitor setups are especially prone to this when Windows assigns the primary display to a monitor that’s turned off, unplugged, or set to the wrong input. Disconnect all external monitors and restart. If the desktop appears on your laptop screen or main monitor, you’ve found the issue. Reconnect monitors one at a time and set the correct primary display.
For driver problems, Safe Mode is where you want to be. You can’t reliably uninstall or roll back GPU drivers from WinRE’s command prompt, so boot into Safe Mode first (see the previous section). Once you’re in, use Device Manager to remove the current driver, then either let Windows reinstall something generic or grab the latest stable driver from the GPU maker (NVIDIA, AMD, or Intel) and install it yourself. If you’ve tried rolling back and the problem keeps coming back, a clean driver removal is next.
Resetting Windows Display Output
Windows 11 remembers which monitor was set as primary, and if that monitor’s missing or off, the desktop might be rendering to a screen you can’t see. Press Win + P four times slowly, pausing one second between each press. This cycles through all projection modes. After the fourth press, hit Enter to confirm. Wait 5 seconds and see if anything appears. If you still get nothing, restart with all external monitors unplugged. Once the desktop loads, open Settings > System > Display, click Identify to see which monitor is which, then click the one you want to use and check Make this my main display. Restart with that monitor connected to make sure the setting sticks.
Here are six display and driver fixes, ranked by speed and how well they work:
- Roll back the GPU driver in Safe Mode: Open Device Manager, expand Display adapters, right-click your GPU, pick Properties > Driver > Roll Back Driver. If the button’s active, click it, pick a reason, restart. This removes the newest driver and brings back the previous one.
- Reinstall the display adapter from Device Manager: Right-click your GPU in Device Manager, choose Uninstall device, check “Attempt to remove the driver for this device,” click Uninstall. Restart. Windows will put a basic driver back automatically. If the desktop shows up, download the latest stable driver from the manufacturer’s site and install it yourself.
- Use Display Driver Uninstaller (DDU) for a clean GPU driver reinstall: Download DDU from a working PC, copy it to a USB drive, boot into Safe Mode, run DDU, select your GPU manufacturer (NVIDIA, AMD, or Intel), and choose “Clean and restart.” After restart, install the latest driver from the manufacturer. This strips every trace of the old driver, including registry entries and hidden files.
- Switch projection modes using Win + P: Press Win + P, wait one second, press the down arrow twice, then press Enter. This switches to “Extend” mode. If that doesn’t work, press Win + P again, arrow down once, press Enter to pick “Duplicate.” Keep cycling until you see output.
- Disconnect all secondary monitors: Unplug every monitor except your primary (laptop screen or main desktop monitor). Restart. If the desktop appears, reconnect monitors one at a time and reassign the primary display in Settings.
- Reassign the main display in Settings > System > Display: Once you can see the desktop, open Settings, go to System > Display, click Identify to label each monitor, click the one you want as primary, scroll down, check “Make this my main display.” Click Apply and restart to confirm.
System File and Boot Repair Tools for Black Screen Recovery

Corrupted system files or a damaged bootloader can stop Windows from finishing startup, leaving you with a black screen and no error message. System File Checker (SFC) scans every protected Windows file and swaps corrupted copies with cached originals. DISM (Deployment Image Servicing and Management) fixes the component store that SFC relies on, so always run DISM first if SFC finds errors it can’t fix. Check Disk (chkdsk) scans your hard drive or SSD for bad sectors and file system errors, then marks damaged areas so Windows won’t try to use them. Boot repair commands (bootrec and bcdboot) rebuild the boot configuration database and master boot record, which can get corrupted during interrupted updates or power failures.
Run these from an elevated Command Prompt in WinRE. To open Command Prompt in WinRE, boot into the recovery environment (force reboot three times or hit F11 at startup), choose Troubleshoot > Advanced options > Command Prompt. Pick your user account and enter your password if it asks. You’ll see a black window with white text starting with X:\Windows\system32>.
Start with DISM, which takes 15 to 45 minutes depending on your drive speed and how much corruption there is. Type DISM /Online /Cleanup-Image /RestoreHealth and press Enter. Wait for the progress bar to finish. If DISM reports errors it couldn’t fix, you might need to provide a known-good Windows image from installation media, but usually RestoreHealth completes successfully. Once DISM finishes, run SFC by typing sfc /scannow and pressing Enter. SFC takes 10 to 30 minutes and will tell you if it found and repaired corrupt files, found corrupt files it couldn’t repair, or found nothing wrong. If SFC fixed files, restart and see if the black screen’s gone.
Essential Repair Commands
These seven commands cover system file repair, disk repair, and boot config fixes. Run them in order if the black screen sticks around after driver fixes. All of them need an elevated Command Prompt in WinRE (Troubleshoot > Advanced options > Command Prompt).
- sfc /scannow – Scans and repairs protected Windows system files. Takes 10 to 30 minutes. Always run DISM first if this reports unfixable errors.
- DISM /Online /Cleanup-Image /RestoreHealth – Repairs the Windows component store that SFC uses. Takes 15 to 45 minutes. Run this before SFC if you think there’s deep corruption.
- chkdsk C: /f /r – Scans drive C: for file system errors (/f) and bad sectors (/r). Needs a restart to run because it locks the drive. Takes 30+ minutes on HDDs, faster on SSDs.
- bootrec /fixmbr – Rewrites the master boot record on the system partition. Use this if Windows won’t start at all or you see “bootmgr is missing.”
- bootrec /fixboot – Writes a new boot sector on the system partition. Use this after /fixmbr if boot problems continue.
- bootrec /rebuildbcd – Scans all drives for Windows installations and rebuilds the Boot Configuration Data store. Follow the prompts to add detected installations.
- bcdboot C:\Windows – Recreates boot files on the system partition and copies boot environment files from the Windows folder. Use this if rebuildbcd doesn’t work or if the BCD store is completely missing. Replace C:\ with the actual drive letter of your Windows install if it’s on a different drive.
After running any boot repair command, type exit and press Enter to close Command Prompt, then choose Continue to restart Windows. If the black screen comes back, move to hardware diagnostics or recovery options.
Hardware Diagnostics for Windows 11 Black Screen During Startup
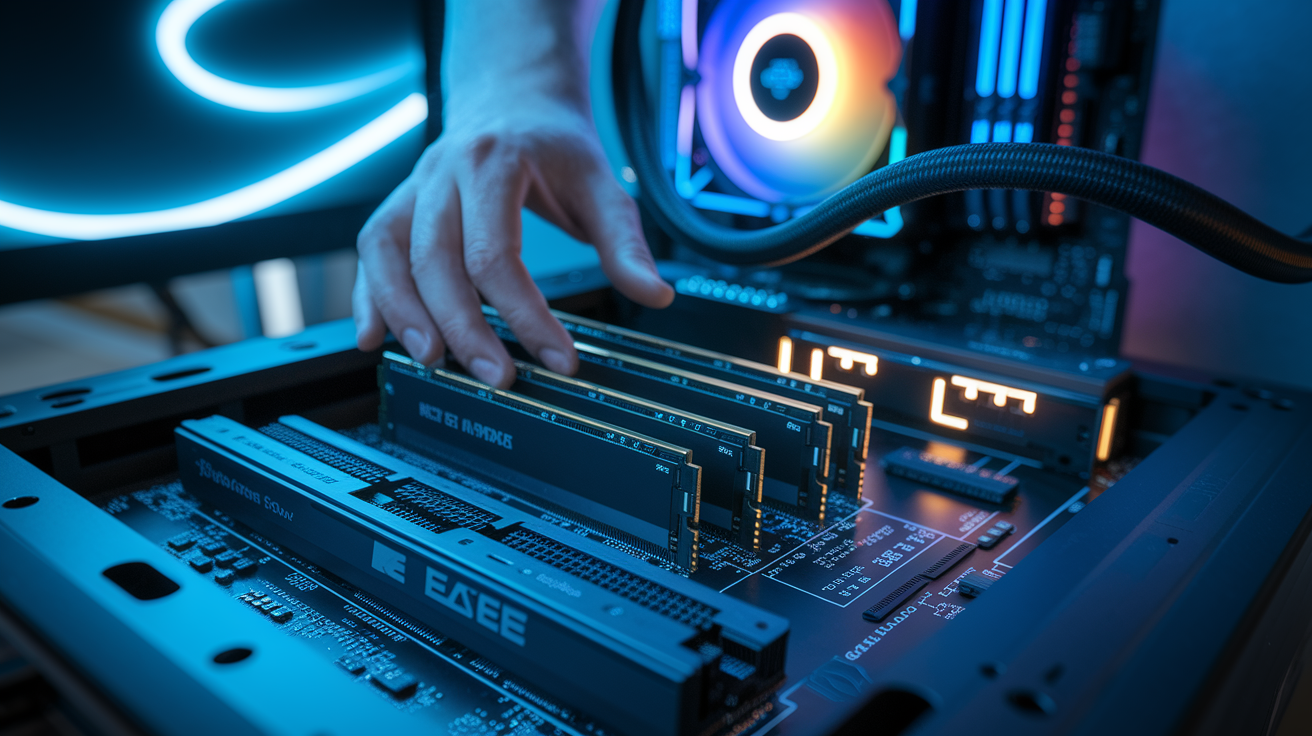
When software fixes don’t work, the black screen might be a loose cable, a failing GPU, bad RAM, or a monitor problem. Start with the easiest checks: make sure the monitor’s powered on and set to the correct input (HDMI 1, HDMI 2, DisplayPort, etc.). Try a different cable if you’ve got one. HDMI and DisplayPort cables can fail internally or develop bent pins that cause intermittent signal loss. If you’re using an adapter (USB-C to HDMI, for example), the adapter itself might be toast.
Test your monitor by hooking it up to another PC, laptop, or game console. If the monitor works elsewhere, the problem’s in your PC. If the monitor stays black or shows “no signal” on every device, the monitor or its power supply is dead. Some monitors have a backlight that can fail while the panel itself still works. If you shine a flashlight at the screen and see a faint image, the backlight’s out and the monitor needs repair or replacement.
Reseat the GPU by powering off, unplugging the PC, pressing the power button a few times to drain residual power, opening the case, and firmly pressing the GPU down into its PCIe slot. Check that any PCIe power cables (6-pin or 8-pin) are fully seated in the GPU. If you’ve got integrated graphics (Intel or AMD APU), pull the discrete GPU temporarily and plug your monitor into the motherboard’s video output. If the display works with integrated graphics, your GPU’s failing or needs a BIOS update. Reseat RAM by removing all modules, cleaning the contacts with a soft cloth, and putting them back in one at a time. Bad RAM can prevent POST (Power-On Self-Test) and leave you with a black screen and no beep codes.
Use these seven hardware checks to find the failure point:
- Swap the HDMI or DisplayPort cable and test alternate ports: Try a different cable and plug into a different port on both the GPU and the monitor. If the display works with a new cable, the old one was damaged.
- Test the monitor on another PC: Connect your monitor to a laptop or another desktop. If it works, your PC’s GPU or motherboard video output is the problem. If it stays black, replace the monitor.
- Reseat all RAM modules: Power off, unplug, open the case, push down the RAM retention clips, remove each module, and reinstall them firmly until the clips snap into place. Try one stick at a time in different slots to rule out a bad module or slot.
- Reseat or replace the GPU: Power off, unplug, remove the GPU, check the PCIe slot and GPU contacts for dust or damage, then reinstall the GPU and any power cables. If the system works without the GPU (using integrated graphics), the GPU’s failing.
- Check GPU power connectors: Make sure all 6-pin or 8-pin PCIe power cables are seated fully in the GPU. Some high-end cards need two or three power connectors. A loose cable will stop the GPU from initializing.
- Test onboard graphics: Remove the discrete GPU and connect your monitor to the motherboard’s HDMI or DisplayPort output. Enter BIOS and enable integrated graphics if it’s disabled. If the display works, the problem’s isolated to the discrete GPU or its drivers.
- Reset BIOS/UEFI to defaults: Power off, unplug, locate the CMOS battery (round, silver, coin-sized) on the motherboard, remove it for 10 seconds, then put it back. Or use the CMOS reset jumper if your motherboard has one (check the manual). Power on and enter BIOS to confirm settings are reset. This clears bad overclocks or misconfigured boot settings.
If swapping cables, reseating components, and resetting BIOS don’t fix the black screen, the GPU, motherboard, or power supply is probably failing and needs replacement.
Recovery and Reset Options When Windows 11 Black Screen Fixes Don’t Work
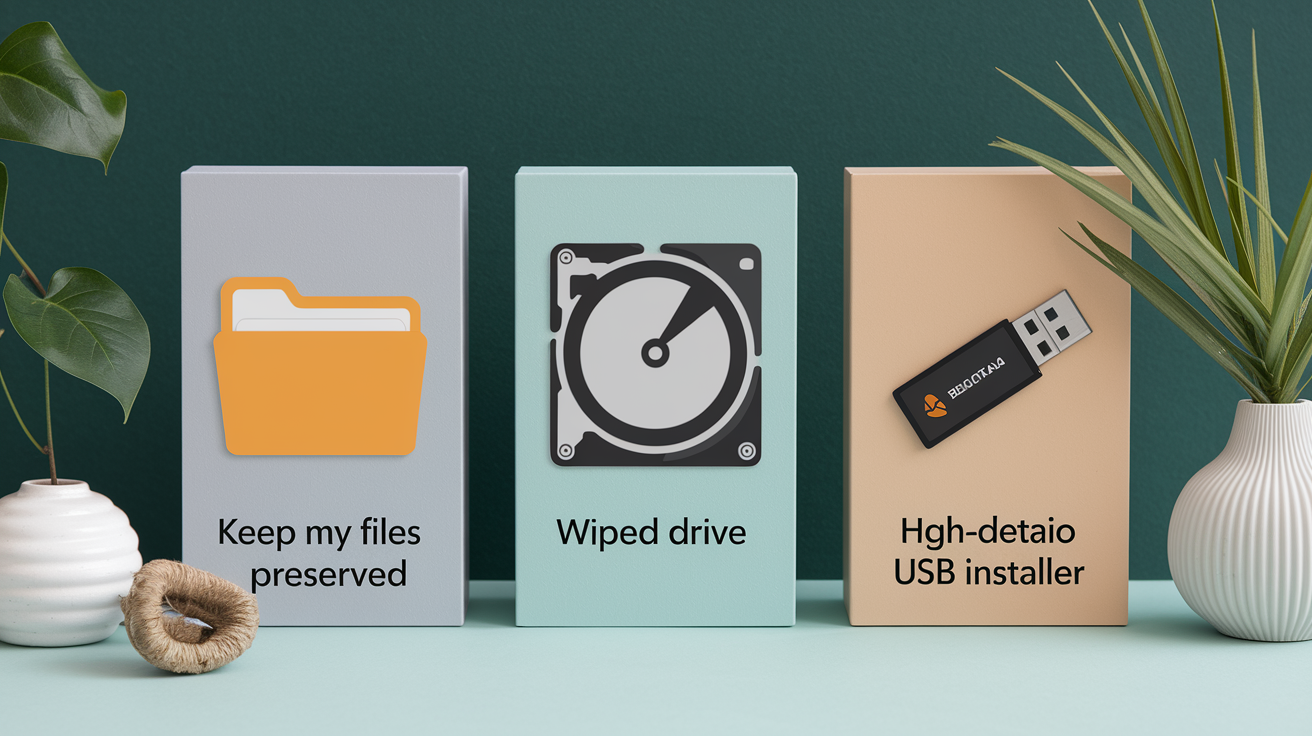
When Startup Repair, driver fixes, and system file repairs all fail, Windows Recovery Environment offers three last-resort options that reinstall or reset the OS while keeping varying amounts of your data. These take longer (30 minutes to 2 hours) and you need to back up important files first if you can. If you can boot into Safe Mode or WinRE Command Prompt, copy critical files to an external drive before you start.
Reset this PC (Keep my files) reinstalls Windows 11 but keeps your personal files, desktop items, and some settings. Removes all installed apps and drivers, so you’ll need to reinstall software afterward. This is faster than a clean install and doesn’t need installation media. To start it, boot into WinRE, choose Troubleshoot > Reset this PC > Keep my files, then follow the prompts. Takes 30 to 90 minutes. When it’s done, Windows will boot to the out-of-box setup, and your files will be in the same folders (Documents, Pictures, Desktop) as before.
Reset this PC (Remove everything) wipes the entire drive and reinstalls Windows from scratch. Use this if you’re giving away or selling the PC, or if malware or severe corruption makes a clean slate necessary. Boot into WinRE, choose Troubleshoot > Reset this PC > Remove everything. You’ll be asked if you want to wipe all drives or just the Windows drive, and whether to fully clean the drive (slow, secure) or just remove files (fast). For a PC you’re keeping, choose “Just remove my files” and “Only the drive where Windows is installed” to save time. Takes 30 to 120 minutes.
Clean install using a USB installer is the most thorough fix and the only option if WinRE itself is corrupted or missing. Download the Windows 11 installation media from Microsoft’s site on a working PC, create a bootable USB drive using the Media Creation Tool, boot from the USB, and choose Custom: Install Windows only (advanced). Delete all partitions on the target drive (this erases everything), select the unallocated space, and click Next. Windows will install fresh. Takes 30 to 90 minutes plus time to reinstall drivers and apps. Always back up personal files to an external drive before a clean install.
Here are the three recovery paths, ranked by how much data they preserve and how long they take:
- Reset this PC (Keep my files): Reinstalls Windows and removes apps but keeps personal files and some settings. Takes 30 to 90 minutes. Use this when startup or driver problems stick around after all other fixes.
- Reset this PC (Remove everything): Wipes the drive and reinstalls Windows from scratch. Takes 30 to 120 minutes. Use this for severe corruption, malware infections, or when you’re prepping a PC for sale.
- Clean install using a USB installer: Deletes all partitions and installs Windows fresh from installation media. Takes 30 to 90 minutes for installation, plus time to download and create the USB drive. Use this when WinRE is inaccessible or Reset this PC fails. Back up all files to an external drive before you start.
Final Words
Start by trying the fast fixes: GPU reset (Win+Ctrl+Shift+B), swap the cable, and force WinRE to get back in quickly.
You also learned structured steps: Startup Repair, uninstall recent updates, and use Safe Mode or System Restore when needed.
If that doesn’t work, dive into graphics driver steps, run sfc/DISM/chkdsk, and test hardware like GPU, RAM, and monitor.
These steps cover the path from quick recovery to full reset, so you can fix a windows 11 black screen on startup and get back to work with less stress.
FAQ
Q: Is the black screen of death fixable?
A: The black screen of death is often fixable with steps like checking cables and display input, using the GPU reset shortcut, booting into WinRE for Startup Repair, or reinstalling drivers or Windows if needed.
Q: What is the black screen of death?
A: The black screen of death is a failure where your screen stays dark at startup or after login, sometimes showing only a cursor or spinning dots, caused by driver, update, boot or hardware problems.
Q: What is the black screen virus on Windows 11?
A: The “black screen virus” on Windows 11 usually means display or boot problems, not an actual virus, but malware can cause it, so scan in Safe Mode, remove suspicious updates, or restore Windows.
Q: How do you fix a laptop that turns on but has a black screen?
A: To fix a laptop that turns on but has a black screen, run GPU reset (Win+Ctrl+Shift+B), check brightness and external display, unplug peripherals, force reboot into WinRE, then use Startup Repair or Safe Mode.