
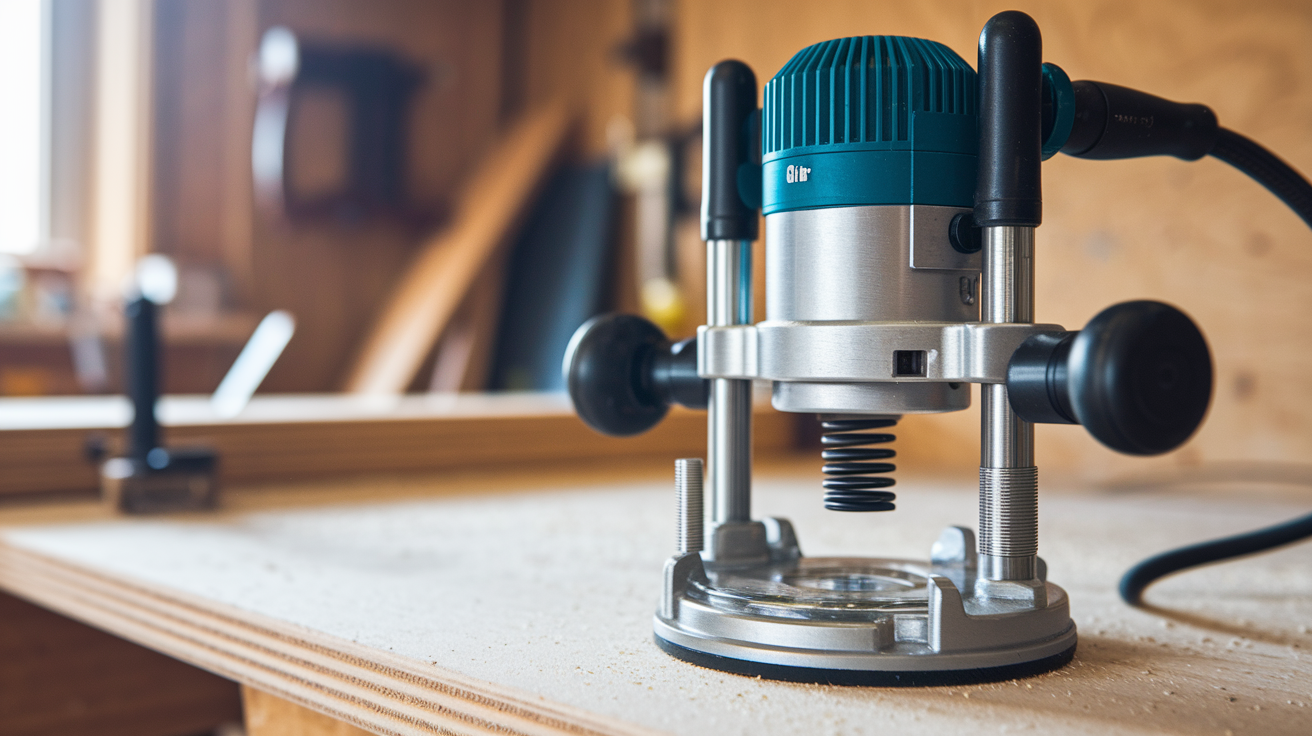

Think routers only trim edges? A plunge router proves that wrong.
It lets you lower the bit into the wood from above, start cuts in the middle of a board, and lock the depth so repeats match.
That ability makes it the go-to tool for grooves and dados for shelves, mortises and hinge recesses, precise inlays and pattern routing, and stopped cuts you can’t start from an edge.
Read on to learn what a plunge router does, why it matters, and when to choose one over a fixed-base router.
Core Functions and Definition of a Plunge Router

A plunge router is a handheld woodworking power tool with a spring-loaded base that lets the motor and spinning bit move vertically into the workpiece while the base stays flat on the surface. Unlike a fixed-base router, which locks the bit at one depth before you start cutting, a plunge router can lower the bit into the wood from above, start cuts in the middle of a board, and then lock at a controlled depth while routing.
Typical plunge routers offer 0.75″ to 2.5″ of vertical travel, controlled by a depth stop rod, a rotating turret with multiple preset stops, and a fine-adjustment knob that moves in increments as small as 1/64″ to 1/32″. These adjustments let you dial in exact depths and make multiple shallow passes by rotating the turret to progressively deeper stops.
The plunge mechanism adds weight and setup steps compared to a fixed-base router. But it gives you control over where and how deep you cut. You can lower the bit gradually, lock it at any point, and start or stop cuts exactly where you need them.
Here’s what makes plunge routers especially useful:
Interior cutting. Start cuts in the middle of panels without routing from an edge.
Depth-controlled routing. Set precise depths using turrets and micro-adjustments, then repeat identical cuts.
Template compatibility. Work with guide bushings, jigs, and patterns for consistent shapes and recesses.
Specialty recessing. Cut pockets, channels, and recesses that don’t break through edges.
Controlled start/stop routing. Plunge at your start point, route along a line, and lift out at the stop point.
Plunge Router Mechanics and Key Features
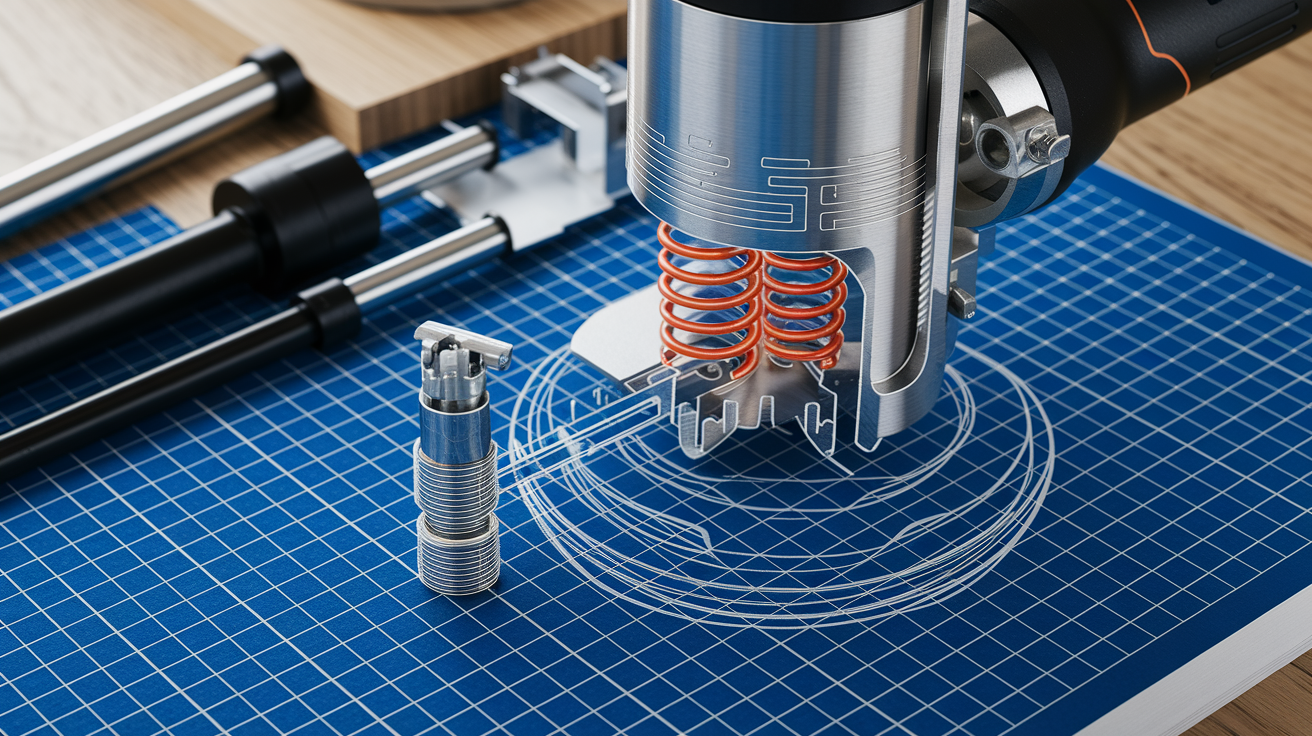
The plunge system works through two polished steel columns attached to the router base. The motor housing rides on these columns and is held up by internal springs. When you press down on the handles, the motor and bit lower against spring tension. Release pressure, and the springs push the motor back up. The plunge lock lever holds the motor at your chosen depth while routing.
Depth control happens through several linked features. A depth stop rod rides against a rotating turret with three to six preset stops at different heights. Each turret position lets the bit plunge to a different depth, so you can make the first pass shallow, rotate the turret, and go deeper on the next pass. A fine-adjustment knob on the depth rod lets you nudge the final depth in tiny steps. Most routers also include a clear baseplate or viewing window so you can see the bit’s path. Higher-end models add LED lights.
| Feature | Function | Typical Spec | Benefit |
|---|---|---|---|
| Plunge travel | Maximum vertical movement of the bit | 0.75″–2.5″ | Determines how deep you can cut in one setup |
| Depth turret | Rotating stop with multiple preset depths | 3–6 stops | Lets you make staged passes without re-measuring |
| Fine-adjust knob | Precision depth changes | 1/64″–1/32″ increments | Dial in exact final depth after rough setting |
| Plunge lock | Holds motor at fixed depth during cut | Lever or twist-lock | Prevents unintended depth changes mid-cut |
Common Woodworking Tasks Done With a Plunge Router

Cutting grooves and dados ranks among the most frequent plunge-router jobs. A groove runs parallel to the grain, while a dado runs across it. Both are channels cut partway into a board. Set your depth stop to 1/4″ or 3/8″, use a straight bit in the width you need (often 1/4″ to 3/4″), and plunge at the start point. Guide the router along a straightedge or fence, keep the base flat, and lift out at the end. Drawer bottoms slide into grooves. Shelves sit in dados. The plunge router makes both cuts repeatable and accurate because you can lock the depth and use the same turret setting for every matching piece.
Mortises are rectangular recesses that accept tenons or hinges. Hinge mortises typically run 3/16″ to 1/4″ deep and match the hinge-leaf thickness. Plunge the bit, rout the perimeter first, then clear the interior waste with overlapping passes. A plunge router lets you start inside the layout lines and stop exactly at the edges without running off the board. Lock-mortise work for door hardware or box joinery follows the same approach. Plunge, rout the shape, lift out.
Decorative and creative tasks include sign lettering, inlay work, and freehand carving. For sign lettering, you follow stencil edges or templates and plunge shallow, often 1/16″ to 1/8″, so the letters sit below the surface. Inlay pockets for wood veneer or metal strips require precise shallow depths, usually 1/16″ to 1/4″, matched to the inlay thickness. Circle-cutting jigs pivot the router around a center pin to rout perfect arcs or round recesses.
Pattern routing. Mount a template on your workpiece, install a guide bushing on the router base, and the bushing follows the template edge while the bit cuts the matching shape in the wood below.
Circle jigs. Attach a trammel arm or circle-cutting jig to the router base, set the radius, plunge the bit, and pivot the router to cut perfect circles or arcs.
Hinge recessing. Lay out hinge positions on door or cabinet edges, plunge to the exact leaf thickness, and rout the recess so the hinge sits flush.
Interior cutouts. Start a cut in the middle of a panel (for outlets, vents, or access holes) without drilling a starter hole or cutting from an edge.
Sign lettering. Trace letters with a guide bushing and template, plunging shallow to leave raised or recessed text.
Inlay work. Cut shallow pockets that match the thickness of veneer, metal, or contrasting wood inlays for decorative borders or surface details.
Plunge Router vs Fixed-Base Router Comparison
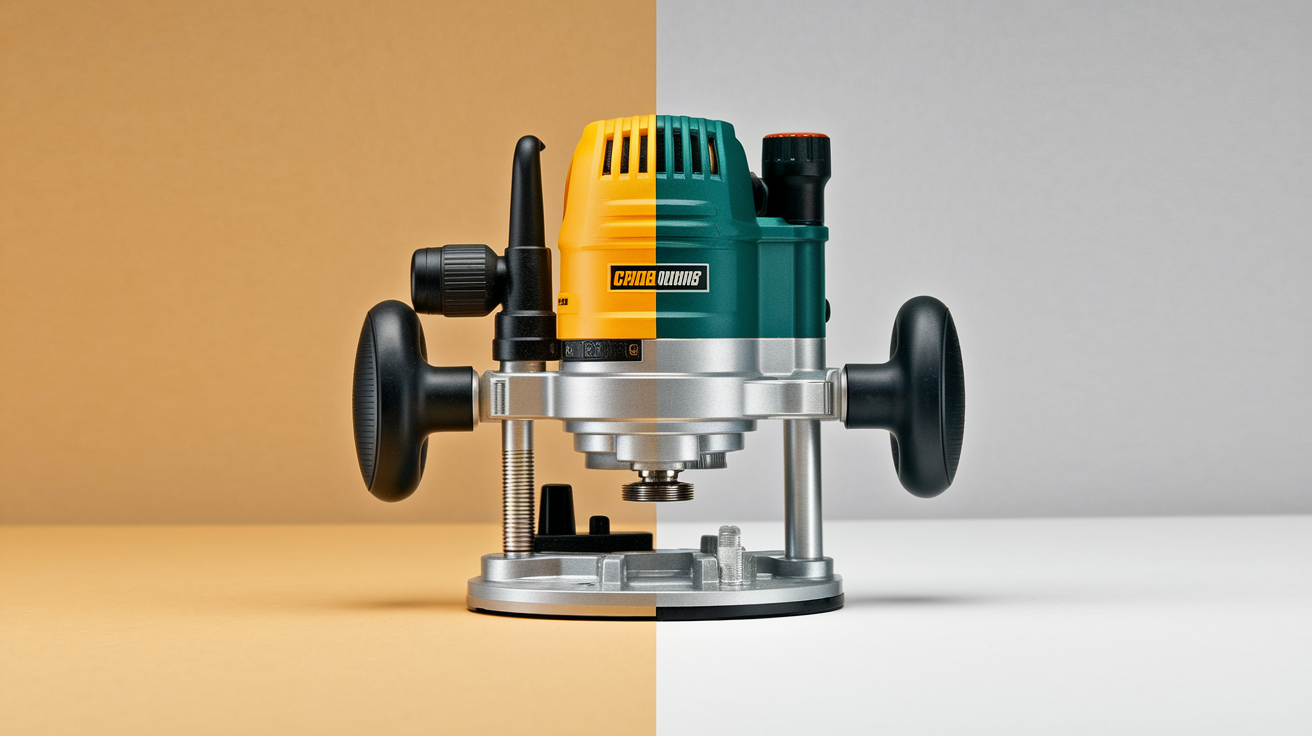
Fixed-base routers lock the motor at a set height before you turn them on. You adjust depth by loosening a clamp, raising or lowering the motor, and tightening the clamp again. Once locked, the bit stays at that depth for the entire cut. This design works well for long runs along board edges. Roundovers, chamfers, flush trimming, and profile cuts that start at one end and finish at the other. Fixed-base routers are lighter, simpler to set up for repetitive edge work, and easier to mount in a router table because the motor doesn’t move during operation.
Plunge routers trade simplicity for flexibility. They weigh more because of the spring mechanism and plunge columns, and they require extra steps to set depth stops and lock the plunge. But they let you start cuts anywhere, including in the middle of a board, and they give you fine control over how deep the bit goes. For joinery, template work, and interior cuts, a plunge router is often the only practical choice. For long edge profiles or router-table mounting, a fixed-base router is usually faster and more stable.
| Router Type | Strengths | Limitations | Ideal Uses |
|---|---|---|---|
| Plunge router | Start cuts anywhere, precise depth control, works with jigs and templates, handles interior and stopped cuts | Heavier, more setup time, bulkier for simple edge work | Mortises, grooves, dados, inlays, template routing, circle cutting, stopped cuts |
| Fixed-base router | Lighter, faster setup, stable depth for long runs, easier to mount in router table | Hard to start cuts in board interior, less flexible for staged depth passes | Edge profiles, roundovers, chamfers, flush trimming, continuous cuts, router-table work |
| Plunge router (handheld) | Full control over where bit enters wood | Requires both hands on handles, less visibility on some edge work | Freehand routing, jig work, sign carving |
| Fixed-base (table-mounted) | Stable, repeatable, hands free to guide workpiece | Depth changes take longer, not designed for mid-board plunges | Production edge profiling, raised panels, joinery with featherboards |
| Combo kit (both bases) | One motor fits either base | Cost, storage space | Workshops that need both plunge and fixed-base capabilities |
Advanced Joinery Applications for Plunge Routers
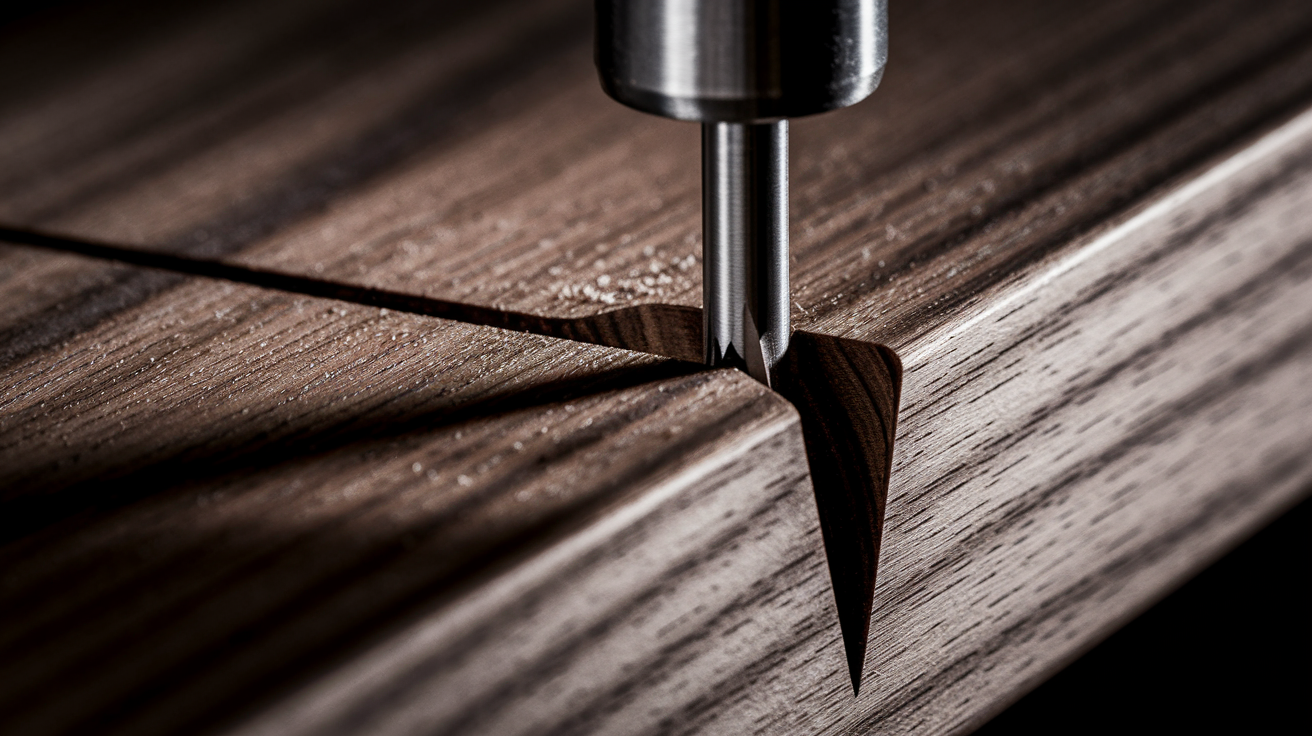
Beyond basic grooves and mortises, plunge routers handle complex joinery that requires exact depth control and the ability to start cuts inside board edges. Sliding dovetails, box joints, and rabbets all become faster and more consistent when you can plunge to a precise depth, lock the router, and make identical passes on multiple workpieces.
Sliding dovetails connect parts at right angles using a tapered slot and matching tail. The slot is a trapezoidal groove cut with a dovetail bit. The tail is a matching profile routed on the mating piece. Both cuts demand tight depth tolerances. Too shallow and the joint is loose, too deep and the parts won’t slide together. A plunge router lets you sneak up on final depth using the fine-adjust knob.
Box joints (finger joints) require a series of evenly spaced slots, cut to identical depths using a jig. Plunge the bit at each slot location, rout to the stop, lift out, shift the workpiece, and repeat. Rabbets are L-shaped recesses along board edges, often used to recess cabinet backs or join corners. A plunge router can start a rabbet mid-edge if your design requires it, or cut stopped rabbets that don’t run the full length of a board.
Incremental depth control through the turret system reduces tearout and prevents overloading the router motor. Set the first turret stop shallow, maybe 1/8″, and make a light pass. Rotate the turret to the next stop and go deeper. Finish at the final depth. This staged approach leaves less waste for the bit to remove on each pass and gives you cleaner walls and floors in grooves, slots, and recesses.
Plunge Router Project Examples and Measurements

Hinge mortises on cabinet doors typically measure 3/16″ to 1/4″ deep, matching the thickness of the hinge leaf so the hinge sits flush with the door edge. Mark the hinge outline, set your depth stop to the leaf thickness, plunge a 1/4″ or 3/8″ straight bit inside the lines, rout the perimeter, then clear the waste with overlapping passes.
Drawer grooves that hold the drawer bottom usually run 1/4″ wide and 3/8″ deep, centered about 3/8″ up from the bottom edge of the drawer side. Use a 1/4″ straight bit, clamp a fence parallel to the board edge, set the depth to 3/8″, and make one steady pass along each drawer side and the drawer front.
Inlay pockets for decorative veneer or contrasting wood strips are often cut 1/8″ deep, just enough to seat the inlay flush with the surrounding surface. Use a spiral upcut bit for chip clearance, and follow a template with a guide bushing to trace the inlay shape.
Channel routing for cable management or wire runs uses a straight bit in the width you need and a depth that hides the cable. Common depths range from 1/4″ to 1/2″, depending on cable size. Clamp a straightedge, plunge at the start, rout along the guide, and lift at the end for a stopped channel that doesn’t show at board edges.
Recesses for hardware, such as lock bodies, drawer slides, or mounting plates, are cut to exact depths using the plunge router’s depth stop. Measure the hardware thickness, set the stop, plunge inside the layout lines, and clear the recess. The fine-adjust knob lets you sneak up on final depth for a tight fit.
Hinge mortise. 3/16″ to 1/4″ deep, routed with a 1/4″ or 3/8″ straight bit to match hinge-leaf thickness.
Drawer groove. 1/4″ wide × 3/8″ deep, cut with a 1/4″ straight bit, centered 3/8″ from the drawer-side bottom edge.
Inlay pocket. 1/8″ deep, traced with a spiral upcut bit and template guide bushing for precise shapes.
Channel routing. 1/4″ to 1/2″ deep channels for cable runs, stopped at both ends to keep wires hidden inside panels.
Hardware recesses. Custom depths matching lock bodies, mounting plates, or drawer-slide hardware, dialed in with fine-adjust and turret stops.
Techniques for Cleaner, Safer Plunge Routing
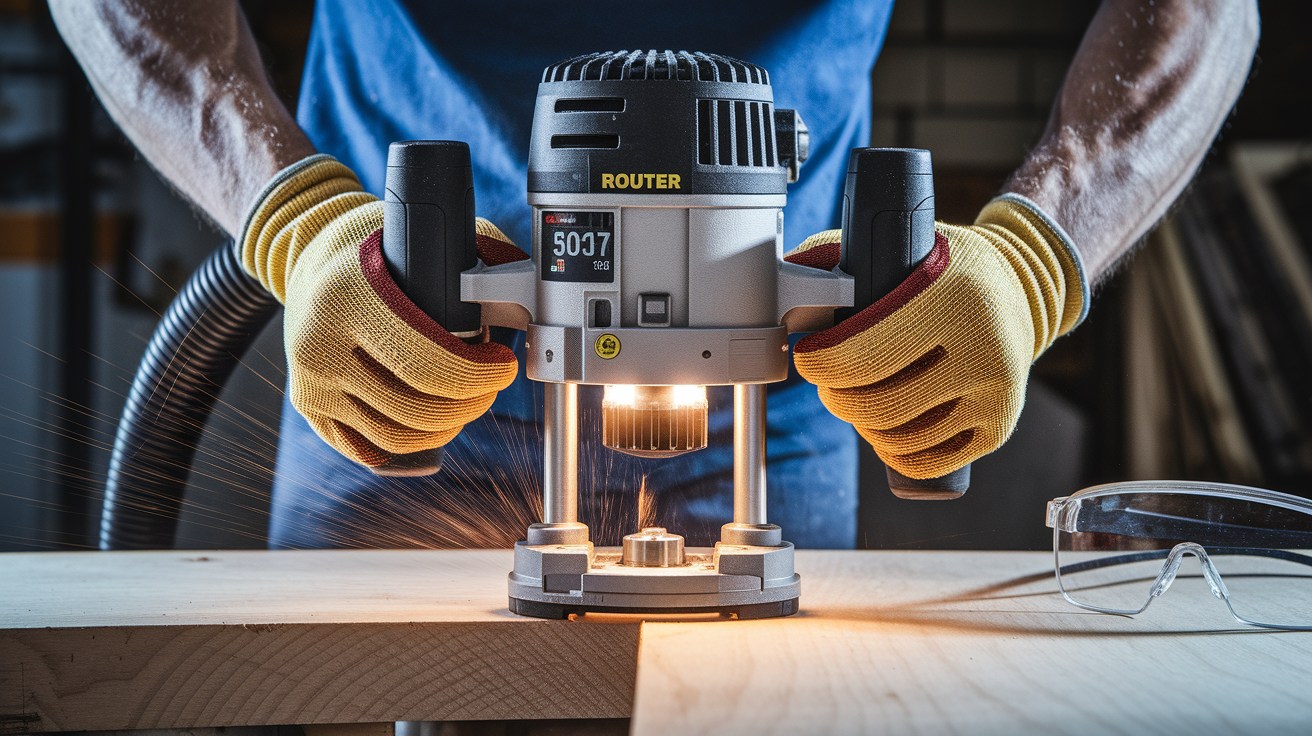
Lower the bit slowly when you plunge. Push down on both handles evenly, let the bit enter the wood at a controlled pace, and watch for any sideways drift. Once the bit reaches your target depth, lock the plunge lever before you start moving the router. A locked plunge keeps depth consistent and prevents the springs from pushing the bit back up mid-cut.
Make multiple shallow passes instead of trying to remove all the waste in one deep plunge. For example, if your final depth is 3/8″, set the first turret stop at 1/8″, rout the full path, then rotate the turret and go deeper on the second pass. The third pass brings you to final depth. Shallow passes reduce heat, improve surface finish, and put less strain on the motor and bit.
Slow plunge starts. Lower the bit gradually to avoid kickback or bit deflection. Lock the plunge before moving the router horizontally.
Bit selection. Use plunge-rated bits with center-cutting edges (spiral upcuts, straight bits, or mortising bits designed for plunging). Avoid bits without center-cutting geometry.
Speed adjustment. Match router speed to bit diameter and material density. Larger bits need lower RPM to prevent burning, while smaller bits can run faster on softwoods.
Dust-port usage. Connect a shop vacuum or dust extractor to the router’s dust port for better visibility, cooler cuts, and less cleanup. Sawdust buildup obscures layout lines and can cause burning.
Plunge Router Accessories and Jigs
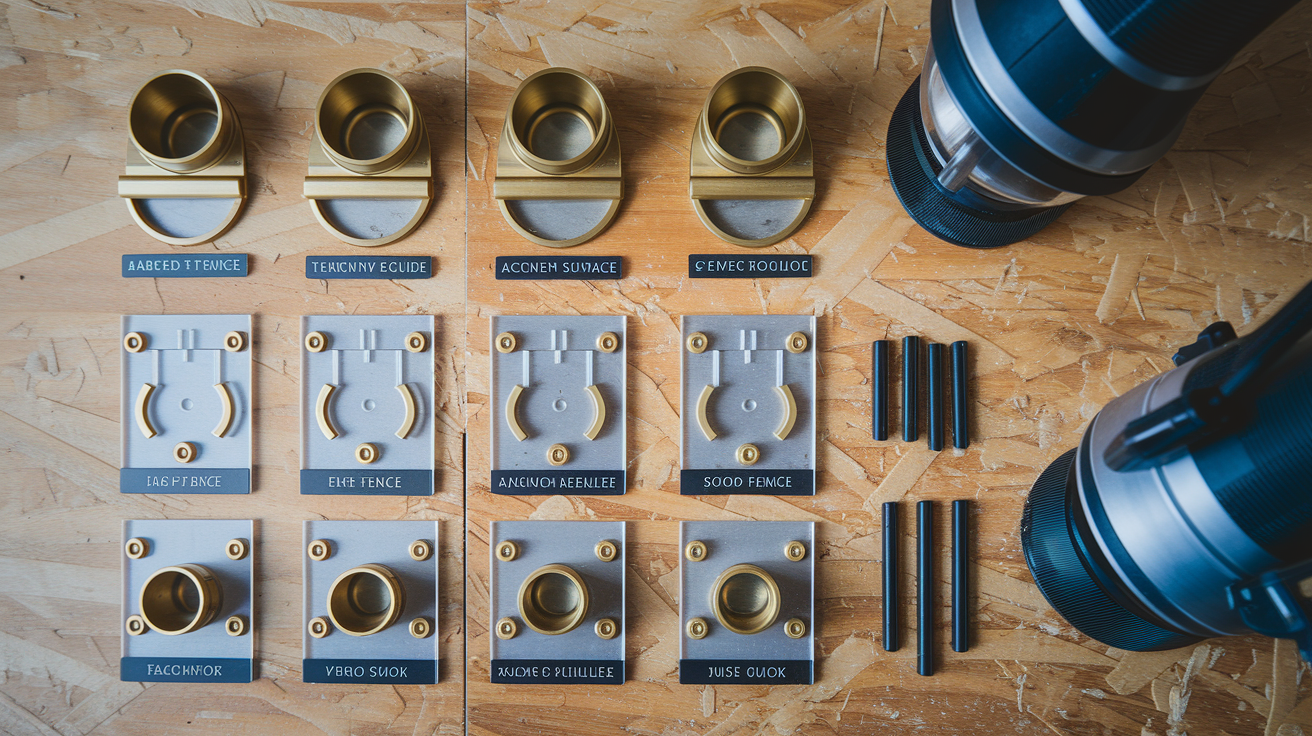
Guide bushings mount to the router base and ride along template edges while the bit cuts inside the bushing’s path. The bushing outer diameter is larger than the bit, so the final cut is offset from the template edge by a predictable amount. This offset lets you trace patterns, cut identical parts, and rout decorative shapes repeatedly.
| Accessory | Purpose | Typical Use Case |
|---|---|---|
| Template guide bushings | Follow template edges to cut matching shapes | Inlay work, repeated parts, mortising templates |
| Clear sub-base | Improve visibility of bit and layout lines | Freehand carving, sign lettering, precision alignment |
| Edge guide / fence | Keep router parallel to board edge at set distance | Grooves, dadoes, rabbets along straight edges |
| Circle-cutting jig | Pivot router around center pin to cut arcs and circles | Round tabletops, speaker-hole cutouts, curved recesses |
| Dust hood and port adapter | Capture sawdust at the source | All routing tasks, especially in enclosed spaces or for cleaner cuts |
FAQs About Plunge Router Uses and Capabilities

How deep can a plunge router cut?
Most plunge routers have a maximum plunge depth between 2″ and 3″, depending on the model. You can see the maximum travel listed in the router’s specs, but actual cutting depth also depends on bit length and how much shank you leave in the collet.
Can you use any router bit in a plunge router?
No. Use bits rated for plunge cutting. These bits have cutting edges that extend to the center (center-cutting geometry), so they can bore straight into wood. Bits without center-cutting edges, like some profile bits, can’t plunge. They’ll burn or grab.
Can you route edges with a plunge router?
Yes. Plunge the bit to your desired depth, lock the plunge, and guide the router along the edge just like a fixed-base router. It’s less convenient for long runs of simple profiles, but it works fine once depth is locked.
Can a plunge router drill holes?
Yes, using a straight or spiral bit. Set your depth stop, plunge straight down, hold steady until the bit clears the waste, then lift out. For cleaner results, back the bit out partway a few times to clear chips.
Do I need to secure my workpiece?
Always. Clamp the board to your workbench or use a router table. A shifting workpiece is the most common cause of bad cuts, tear-out, and mistakes. If the piece is too small to clamp safely, it’s too small to rout safely.
How do I set the depth accurately?
Unlock the plunge, lower the bit until it touches the workpiece surface, lock the plunge, set the depth rod to zero on the scale, then raise the bit and adjust the rod to your target depth. Rotate the turret to the first (shallowest) stop and lock the rod.
What’s the difference between the turret stops and the fine-adjust knob?
Turret stops let you preset multiple depths for staged passes. The fine-adjust knob nudges the final depth up or down in tiny increments (often 1/64″) after you’ve set the turret, so you can sneak up on a perfect fit.
Is a plunge router good for beginners?
Yes, if you’re doing joinery, template work, or interior cuts. It has more controls than a fixed-base router, but once you understand the depth system it’s straightforward. Start with simple grooves and work up to mortises and inlays.
Final Words
You saw a plunge router in action: the spring-loaded base lets the bit drop straight into the wood so you can start cuts inside a board.
We covered depth controls and parts, common tasks, how it stacks up against fixed-base routers, advanced joinery, example measurements, safety tips, accessories, and FAQs.
If you’re still wondering what is a plunge router used for, it’s for precise interior starts, controlled depth passes, and flexible setups for joinery and everyday routing. Try practice plunges on scrap and enjoy safer, cleaner cuts.
FAQ
Q: What is the difference between a router and a plunge router?
A: The difference is a plunge router has a spring‑loaded base so the bit moves up and down, letting you start cuts inside a board. A standard (fixed‑base) router locks at one depth and suits edge work.
Q: Can you drill a hole with a plunge router?
A: You can drill a hole with a plunge router using the right bit and a guide, but it’s better for shallow, wide holes; a drill is safer and faster for deep, straight holes.
Q: Do you need a plunge router for juice grooves?
A: You don’t need a plunge router for juice grooves; a fixed‑base router or an edge guide can cut them. Plunge routers make interior starts easier, but both work with the right bit and setup.
Q: Can a plunge router be used on edges?
A: A plunge router can be used on edges by locking the plunge mechanism and setting the desired depth. It’s heavier than a fixed base, but it will cut edge profiles and trim work effectively when locked.