

Tired of slow WiFi even when your plan promises fast speeds?
Often the culprit isn’t your provider but the router’s channel — the radio lane your WiFi uses.
Pick a crowded channel and your speed tanks; move to a quieter one and downloads, video calls, and gaming all feel better.
This guide shows, step by step, how to scan nearby networks, spot the least crowded channel, and change your router settings without guessing.
No jargon — just practical checks and quick wins so you can actually fix the problem.
Selecting the Optimal WiFi Channel for Better Router Performance
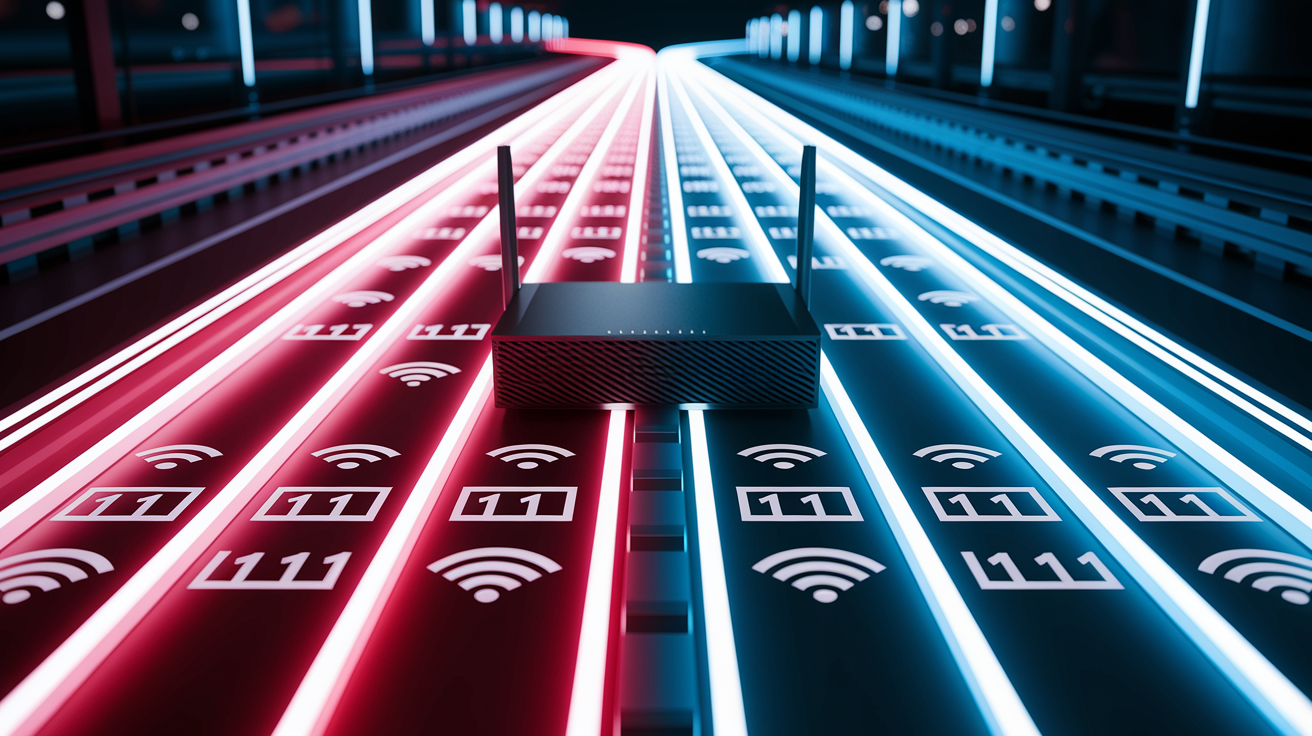
WiFi channel selection is about picking which radio frequency “lane” your router uses to broadcast. Every router sits on a numbered channel, but they’re not all equal. Choose a crowded channel and your speed tanks, connections sputter, devices drop off. Switch to a clearer one and those problems often vanish.
Think of it like highway traffic. A jammed channel makes your router fight for airtime with a dozen other networks, retransmitting packets over and over, grinding everything down. A clear channel? Your data moves without fighting for space. Most routers ship with channel settings on “Auto,” which sounds helpful but usually just locks you onto whatever the router grabbed on day one. Even if five neighbors pile onto that same channel later.
Finding the right channel means scanning what’s around you, spotting where the crowds are, and moving somewhere quieter. For 2.4 GHz networks, only channels 1, 6, and 11 actually stay separate. For 5 GHz, you’ve got way more room and far less mess. A quick scan shows exactly where to go.
Fastest ways to pick the right channel:
- Grab a WiFi analyzer tool for Windows, macOS, Linux, Android, or iOS and scan nearby networks to see who’s where.
- Stick to non-overlapping channels on 2.4 GHz (that’s 1, 6, or 11).
- Use 5 GHz when you can because it’s got around 130 channels with almost no overlap.
- Scan during your worst performance window to catch congestion when it actually matters.
- Move to whichever channel has the fewest neighbors or the weakest competing signals.
Understanding WiFi Channels and Frequency Bands
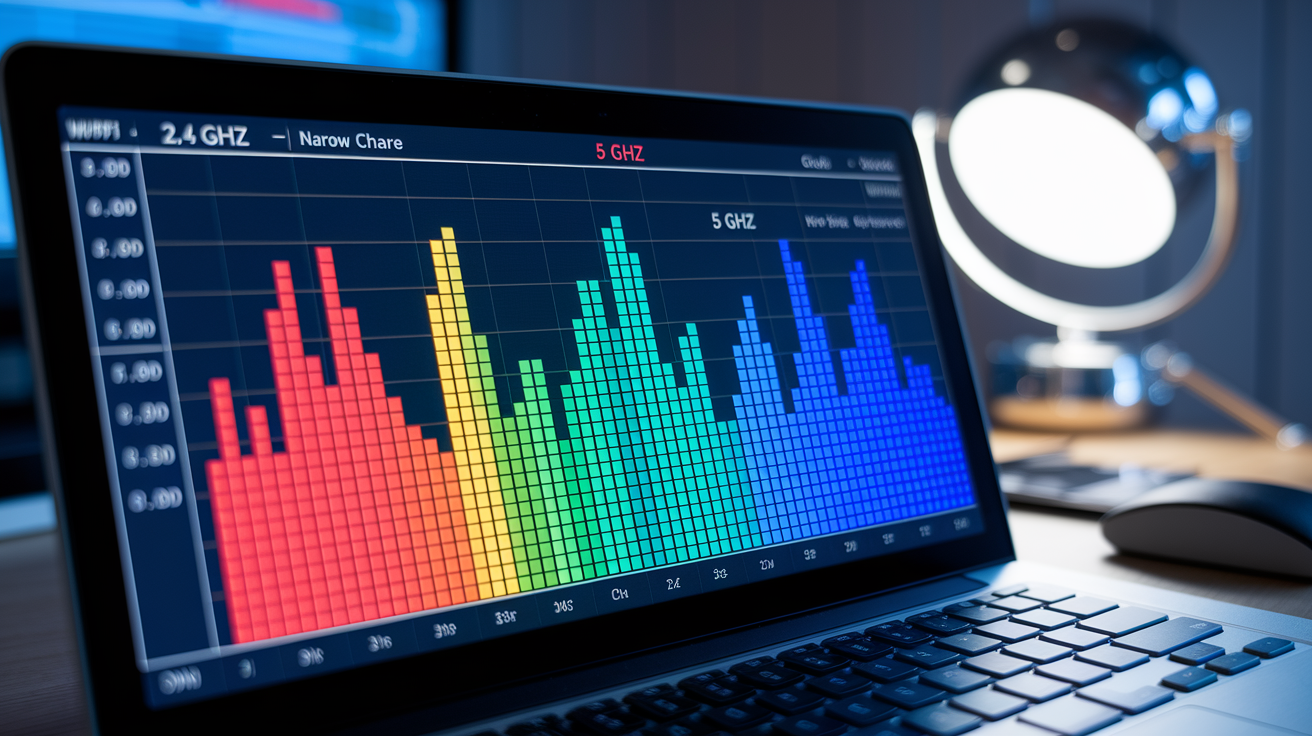
WiFi routers work across three main frequency bands: 2.4 GHz, 5 GHz, and 6 GHz. Each band gets split into numbered channels. Picture each channel as a narrow slice of the spectrum, like individual stations on an old radio dial. When you set your router to a specific channel, it’s using that slice to send and receive. Problem is, many of these slices overlap. Two routers on adjacent channels step on each other.
The 2.4 GHz band has 14 channels total, running from 2.402 GHz (channel 1) up to 2.492 GHz (channel 14). Each channel is 20 MHz wide, but they sit only 5 MHz apart. That tight squeeze means most channels bleed into their neighbors. Only 1, 6, and 11 have enough separation to avoid interfering with each other. In the United States, channels 12, 13, and 14 aren’t available because of regulatory rules, leaving you with 11 usable channels but still just three that don’t overlap.
The 5 GHz band gives you breathing room. Channels range from 36 to 165, roughly 130 total depending on where you live. These channels space out nicely when you use 20 MHz widths. The 6 GHz band, which showed up with WiFi 6E, offers even more space with channels numbered 1 to 233. Regulators control which ones you can legally touch. Channels 116 through 132 in the 5 GHz band, for example, share spectrum with weather and airport radar. Routers on these channels have to shut down within 200 milliseconds if they detect radar. That’s called Dynamic Frequency Selection (DFS).
How Overlap Impacts Performance
When two routers sit on overlapping channels, they create adjacent channel interference. Your router hears the neighbor’s signal as noise, both devices slow down, retransmissions pile up. Co-channel interference happens when multiple routers share the exact same channel. Everyone takes turns, speed drops for all. Non-overlapping channels cut adjacent interference completely. That’s why 1, 6, and 11 are the go-to picks for 2.4 GHz. When you switch to 5 GHz, the wider spacing and bigger channel count make finding clean spectrum way easier, especially if you stick to 20 or 40 MHz widths.
Identifying Channel Congestion and Interference Sources

Channel congestion means too many WiFi networks squeezing onto the same channel or neighbors close by. Every network fights for airtime. You’ll notice it as slow downloads, choppy video calls, websites that drag, especially during peak hours when everyone’s streaming or working from home. Interference comes from devices that don’t follow WiFi rules but still blast noise on the same frequencies.
Non-WiFi interference floods the 2.4 GHz band with signals your router can’t negotiate with. Common sources:
- Microwave ovens, which leak radiation around 2.45 GHz and can wreck nearby 2.4 GHz networks while cooking
- Bluetooth devices sharing the 2.4 GHz spectrum and hopping across channels
- Baby monitors broadcasting continuous signals on fixed spots
- Cordless phones using 2.4 or 5 GHz
- Wireless security cameras sending video feeds
- Zigbee smart-home hubs and sensors
Scanning your environment at different times shows when congestion peaks. Scan at 2 p.m. and see three neighboring networks, then scan at 8 p.m. and find twelve? That’s why your evening calls fail. Interference and congestion shift constantly. Neighbors turn things on, visitors bring phones, patterns change. Scanning during your worst window shows the real problem and helps you pick a channel that stays clear when you need it.
Analyzing WiFi Channels Using Built-In Tools and Apps
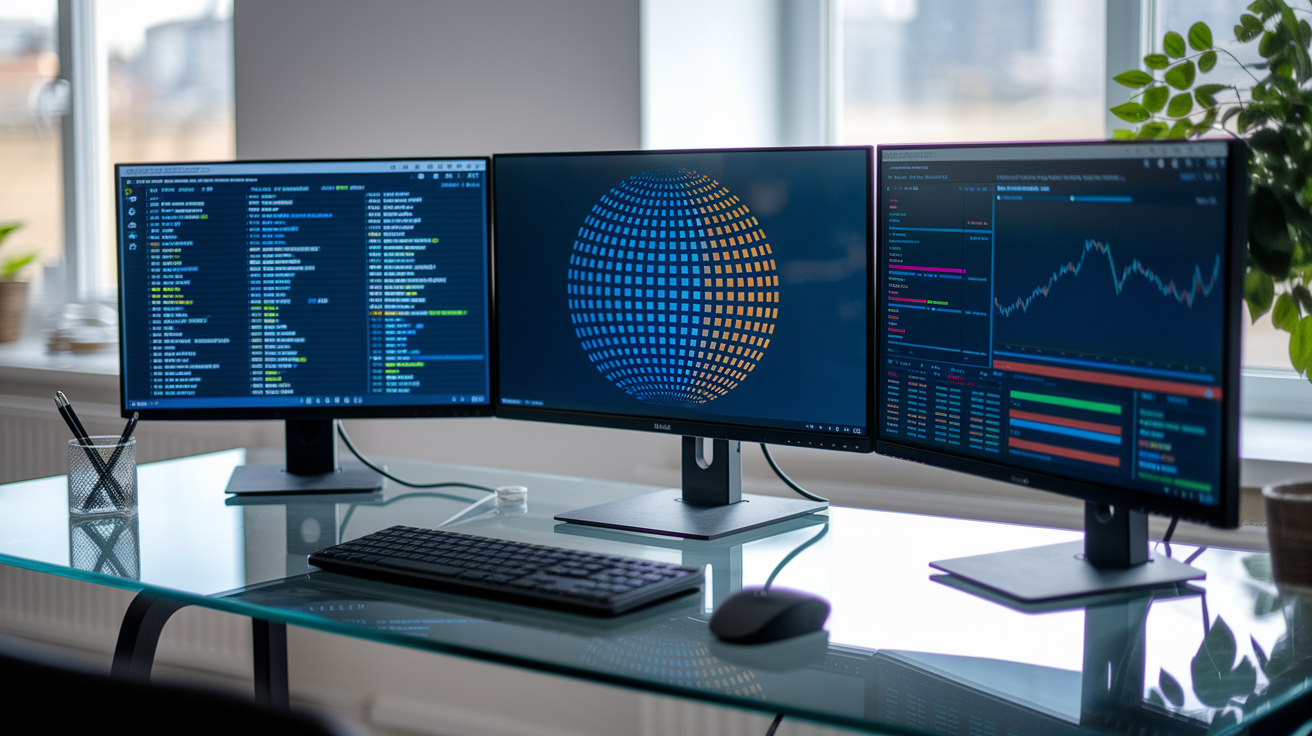
Scanning nearby channels shows exactly which ones are packed and which are open. Each operating system has tools for this, though some are easier than others.
Windows
Windows doesn’t include a WiFi analyzer, so grab a third-party tool. Download NirSoft WifiInfoView, a portable file that doesn’t need installation. Run it and you’ll see a list of all nearby networks. Click the “Channel” column header to sort by channel number. Ten networks piled on channel 6 and only two on channel 1? Channel 1’s your better bet.
macOS
macOS hides a tool called Wireless Diagnostics. Hold Option and click the WiFi icon in your menu bar, then pick “Open Wireless Diagnostics.” Ignore the startup screen. Go to Window → Utilities instead, then click the “Wi-Fi Scan” tab. Hit “Scan Now” and macOS displays nearby networks plus recommendations labeled “Best 2.4 GHz Channels” and “Best 5 GHz Channels.” The tool reads congestion and picks the clearest options for you.
Linux
Linux users work with the iwlist command in terminal. First, find your WiFi adapter name by running ip link or iwconfig. Common names are wlan0, wlp2s0, or wlo1. Once you’ve got the name, run sudo iwlist [interface-name] scan to see nearby access points and their channels. Read through the output to find which channels have the fewest networks. If you see “wlan0 cannot scan,” double-check your interface name and make sure your adapter supports scanning.
Android
Grab Wifi Analyzer from the Google Play Store. Open it and you’ll see a graphical view of nearby networks and their channels. The app uses a star rating system that ranks channels by quality. Five stars means little interference. One star means crowded. Tap the highest-rated channel and note the number.
iOS
Apple blocks third-party apps from detailed WiFi channel data, so you’ll use AirPort Utility. First, turn on the WiFi Scanner feature by opening Settings, scrolling to AirPort Utility, and toggling on “Wi-Fi Scanner.” Then open AirPort Utility, tap “Wi-Fi Scan,” and tap “Scan.” The app lists nearby networks and their channels but won’t recommend the best one. Compare the list yourself to find the least crowded spot.
| OS | Tool | Insight Provided |
|---|---|---|
| Windows | NirSoft WifiInfoView | Sort networks by channel to spot congestion |
| macOS | Wireless Diagnostics | Recommends best 2.4 GHz and 5 GHz channels |
| Linux | iwlist command | Lists nearby APs and channels in terminal output |
| Android | Wifi Analyzer | Star ratings show channel quality and congestion |
| iOS | AirPort Utility | Lists networks and channels for manual comparison |
Changing Your Router Channel in the Admin Interface
Logging into your router’s admin page comes first. Open a browser and type your router’s IP address in the address bar. Most use 192.168.1.1 or 192.168.0.1. If neither works, check the sticker on the back or dig up the user manual. You’ll need a username and password. Common defaults are “admin” for both, or “admin” as username with “password” as password. If you changed these and forgot them, you’re looking at a factory reset.
Once you’re in, here’s how to switch channels:
- Find the Wireless or WiFi settings page. Some routers tuck this under “Advanced” or “Advanced Wireless.”
- Look for a section called “WiFi Channel,” “Wireless Channel,” or just “Channel.” You’ll see a dropdown or text field.
- Change the channel to the number you found during your scan. For 2.4 GHz, pick 1, 6, or 11. For 5 GHz, choose the least crowded channel from your results.
- If you’ve got the option, adjust channel width. For 2.4 GHz, keep it at 20 MHz. For 5 GHz, use 20 or 40 MHz in crowded spots, or 80 MHz if your scan shows plenty of free space.
- Save or apply. Your router restarts the wireless radio, which takes a few seconds. Most devices reconnect automatically.
Auto channel selection sounds convenient but rarely works. On “Auto,” your router picks a channel once at boot and sticks with it, even if the landscape changes. Manual gives you control to react to real congestion and interference. If you rent a modem/router combo from your internet provider, you might not get full web access. Some ISPs make you use their app to change channels. Others lock the settings completely. Call your provider if the app doesn’t show channel options.
Recommended Channels and Best-Practice Configurations

For 2.4 GHz networks, always pick channel 1, 6, or 11. They’re the only three that don’t overlap. Scan and find channel 6 packed with neighbors but channel 1 has just one weak signal? Switch to 1. Japan allows channel 14, which also stays clear of 1, 6, and 11, but it’s unavailable everywhere else. Never pick channels between these non-overlapping ones. Channel 3, for instance, overlaps both 1 and 6, creating interference on both sides.
For 5 GHz networks, your choice depends on how packed things are. Scan shows dozens of networks? Stick to 20 MHz widths to leave room. Very few networks? You can safely use 40 or 80 MHz to boost speed. Wider channels bond multiple 20 MHz slices together, but every doubling adds 3 dB of noise. In a dense apartment building, that extra noise from wider channels often kills the speed gain. In a suburban house with few neighbors, an 80 MHz channel on 5 GHz delivers noticeably faster performance.
For 6 GHz networks, 80 MHz channels work well in places like the United States with 1200 MHz of spectrum. If your country has limited 6 GHz space, like the EU’s current 500 MHz, drop to 20 or 40 MHz to dodge congestion. The 6 GHz band is still new and less crowded, so you’ve got more flexibility than on 2.4 or 5 GHz.
Channel width rules:
- 2.4 GHz: always 20 MHz. Wider causes severe overlap and interference.
- 5 GHz: 20 MHz in congested areas. Upgrade to 40 or 80 MHz only when scans show clear spectrum.
- 6 GHz: 80 MHz works in regions with full allocation. Reduce to 40 or 20 MHz in limited regions.
- Don’t mix channel widths on the same band if you’re running multiple access points. Mixed widths hurt overall performance.
Troubleshooting Slow Speeds and Connection Drops Related to Channel Issues

Four signs point to channel trouble. First, slow speeds that get worse at certain times suggest congestion. Fine at 10 a.m. but crawling at 7 p.m.? Scan during evening hours to spot the networks that showed up. Second, intermittent disconnections mean interference or weak signal. If your router’s signal strength (RSSI) measures stronger than −75 dBi and devices still drop, the channel’s probably too crowded or polluted with non-WiFi noise.
Third, high or bouncing latency wrecks video calls and gaming. Audio cuts out, video freezes, lag spikes hit. Speed test shows decent downloads but latency jumps all over? Interference or congestion is forcing retransmissions. Fourth, devices that can’t find your network or fail to connect often struggle because the channel’s so noisy the router’s beacon signal gets buried. If your laptop sees the neighbor’s network but not yours, even standing next to your router, the channel’s the culprit.
Actions to fix these:
- Rescan during your worst performance window to spot peak congestion.
- Switch to a different non-overlapping channel and test for 24 hours to see if it sticks.
- If all 2.4 GHz channels are packed, move devices to your 5 GHz network, which has far more room.
- Check for strong interfering networks on your current channel. Switching to a channel with several weak networks (RSSI below −85 dB) often beats staying on a channel with one strong interferer at −60 dB.
- Reduce your 5 GHz channel width from 80 MHz to 40 or 20 MHz if scans show overlapping networks using wide channels.
- Test wired connections to rule out internet service problems. If wired speeds are also slow, the issue isn’t your WiFi channel.
Final Words
Start by scanning your airspace for crowded channels and nearby devices that cause interference. Run a quick app or the built‑in Wi‑Fi scan and note which channels are busy.
Pick non‑overlapping channels on 2.4 GHz (1, 6, 11), or move to 5 GHz/6 GHz when you can. Change the channel in your router’s admin page and test with a few devices.
If things still wobble, try different times, reset settings, or switch between auto and manual. This router channel selection guide gives simple steps to faster, steadier Wi‑Fi. You’ll get it working.
FAQ
Q: Which channel to select in a router?
A: You should select the least congested, non‑overlapping channel. On 2.4 GHz use channels 1, 6, or 11; on 5 GHz pick a clear channel or wider band after scanning for nearby networks.
Q: Is channel spacing 20 or 20 40 better?
A: Channel spacing of 20 MHz is usually better on crowded 2.4 GHz networks because it avoids overlap and interference. Use 40 MHz or wider only on 5 GHz or when the spectrum is mostly free for faster speeds.
Q: How do I find the best channel for my router?
A: To find the best channel for your router, run a Wi‑Fi scan with tools like WifiInfoView (Windows), Wireless Diagnostics (macOS) or Wifi Analyzer (Android), choose the least crowded non‑overlapping channel, then test speeds.
Q: Why only channels 1, 6 and 11?
A: Channels 1, 6, and 11 are non‑overlapping in the 2.4 GHz band, so they avoid adjacent‑channel interference. Using them reduces collisions and usually gives the most reliable performance in crowded areas.