


What if your new phone swallows your photos during the switch?
Don’t panic. Most transfers go fine if you do three things first: charge both phones, make a fresh backup, and connect them to the same Wi‑Fi.
This guide walks you through fast, foolproof steps for Android, iPhone, and cross‑platform moves.
You’ll get quick checklists, the best backup options, when to use a cable versus Wi‑Fi, and how to avoid the common gotchas so your apps, messages, and photos show up where you expect them.
Immediate Steps for a Smooth New Phone Data Transfer
Before you touch settings or cables, get both phones ready. Plug in your old phone and your new one so they hit 100% battery. A dying phone halfway through? That’s a pain you don’t need. Connect both devices to the same Wi‑Fi network and write down the password if the new phone needs to rejoin after a restart. Most people leave the SIM in the old phone until everything’s done transferring, then swap it over.
- Charge both phones to full
- Connect both to the same Wi‑Fi network
- Note your Wi‑Fi password for setup screens
- Update the OS on both phones if an update’s available
- Run a fresh backup on your old device right now
- Keep your old phone powered on and unlocked during the transfer
Check that your old phone finished its most recent backup within the last few hours. On Android, go to Settings > System > Backup and tap “Back up now.” On iPhone, open Settings > [Your Name] > iCloud > iCloud Backup and tap “Back Up Now.” These backups save your apps, call history, contacts, device settings, texts, photos, accounts, and documents. Expect the backup to take anywhere from 5 minutes to over 3 hours if you’ve got years of photos and large app data. The actual transfer adds another 10 minutes to 2 hours depending on how much you’re moving and whether you use a cable or wireless.
If your backup stalls or your screen locks, unlock the phone and restart the backup. A completed backup is your safety net if anything goes wrong.
Understanding Backup Options Before Beginning the Data Transfer

Android backups store apps, call history, contacts, SMS texts, and device settings in your Google account. iPhone iCloud backups capture photos, app data, accounts, documents, and system settings. Both platforms let you trigger a manual backup any time. Both will restore most of your data automatically during new phone setup. The catch is version compatibility. You can’t restore a backup made on a newer Android version onto a phone running an older Android version. If your new phone ships with an older OS than your current device, you’ll need to update it first or use manual file transfer instead.
Always verify your backup actually completed before you wipe or trade in the old device. Open the backup screen again and confirm the date and time stamp match the backup you just triggered. If the timestamp is days or weeks old, the backup didn’t finish. A verified backup means you can recover everything if the transfer fails or if you realize a week later that something important didn’t copy.
- Cloud backup: Google Drive or iCloud. Fast and automatic but limited by free storage (15 GB for Google, 5 GB for iCloud).
- In-app backups: WhatsApp, Signal, Telegram store chat history separately. Enable these inside each app before switching.
- Encrypted backups: iTunes/Finder on Mac or PC and some Android tools let you password-protect the backup file for extra security.
- Manual USB backup: Copy files directly from phone to computer, then computer to new phone. Slower but works offline.
- ADB backup: Advanced command-line method for Android power users. Requires Android SDK and USB debugging. Not all data transfers and the process takes several minutes.
Android-to-Android Data Transfer Pathways Explained
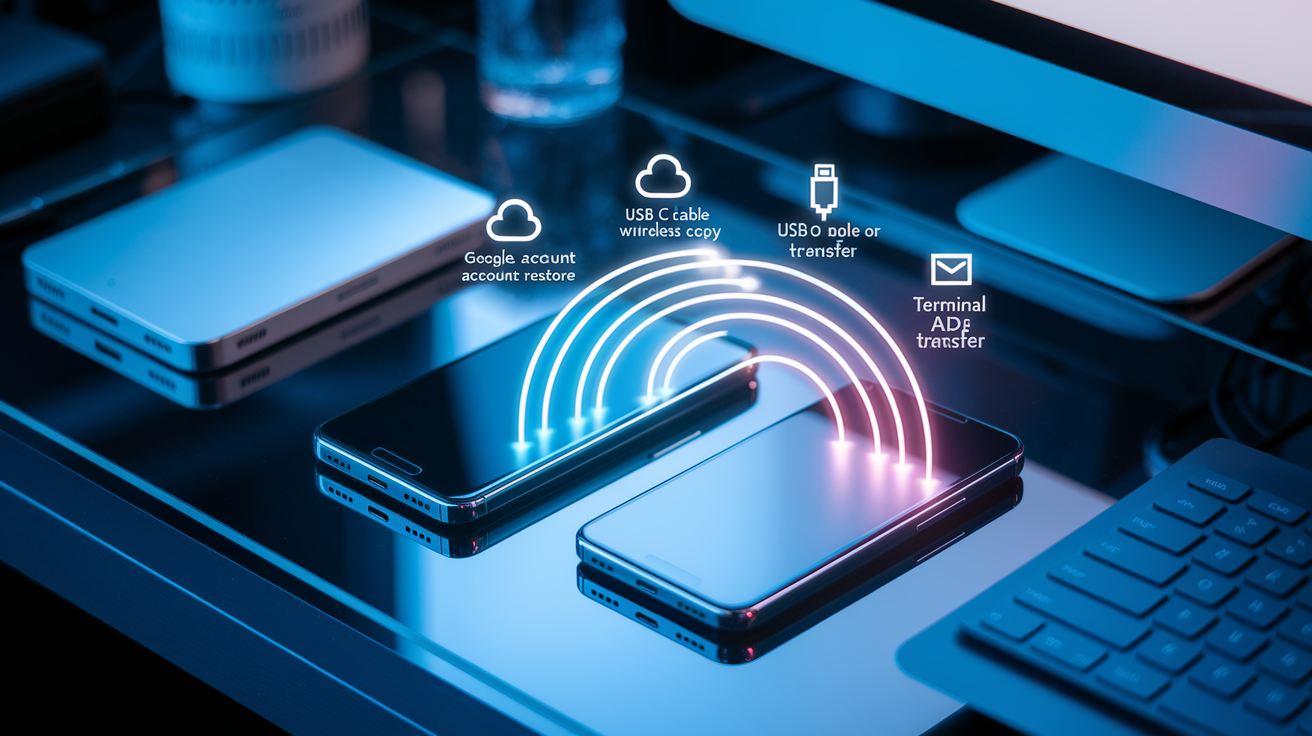
Android gives you multiple ways to move your data. The best one depends on how much control you want and whether both phones are in front of you right now.
Google Account Restore
When you turn on a new Android phone and sign in with your Google account, the setup wizard offers to restore your latest backup. This pulls down apps, contacts, call history, device settings, and texts. It doesn’t move local files like downloads, offline music, or photos that live only on your old phone’s storage. If you skipped the offer during setup, you can still restore by going to Settings > Google > All services > Backup and choosing a backup to apply.
Cable or Wireless Copy Apps & Data
Most new Android phones show a “Copy apps and data” screen during first time setup. Tap that option, choose “A backup from an Android phone,” then pick cable or wireless. If you have a USB‑C cable, plug the old phone into the new one using the cable (you might need a USB‑C to USB‑C cable or a USB‑C to USB‑A adapter). The new phone will walk you through unlocking the old device and selecting what to copy: photos, apps, contacts, call history, settings, and more. Wireless transfers work the same way but take longer because Wi‑Fi is slower than a direct cable.
Manual USB Transfer
If built-in tools aren’t working or your new phone runs an older Android version than the backup, copy files manually through a computer.
- Plug your old phone into your PC with a USB cable.
- Swipe down on the old phone, tap “Charging this device via USB,” and select “File transfer” or “Android Auto.”
- On your PC, open This PC, find your phone, open the device folder, and copy the files you want into a folder on your computer.
- Unplug the old phone and plug in the new phone.
- Set the new phone’s USB mode to file transfer, then copy the files from your computer into the new device.
ADB Transfer
For users comfortable with command-line tools, ADB (Android Debug Bridge) can back up and restore app data and settings. You need the Android SDK installed, Developer options and USB debugging enabled on your phone, and a working ADB connection. Run adb backup -apk -shared -all -f <filepath>/backup.ab on your old device, confirm the backup on the phone screen, and wait several minutes. Then connect the new device and run adb restore <filepath>/backup.ab. Not all apps support ADB backup, so check your data after the restore finishes.
| Method | Ideal For |
|---|---|
| Google Account Restore | Quick setup with mostly Google apps and cloud data |
| Cable or Wireless Copy | Full transfer including local files and settings |
| Manual USB Transfer | Selectively moving files or working with older Android versions |
| ADB Transfer | Power users who need deep app-data backup and control |
iPhone-to-iPhone Transfer Using Quick Start and iCloud Restore
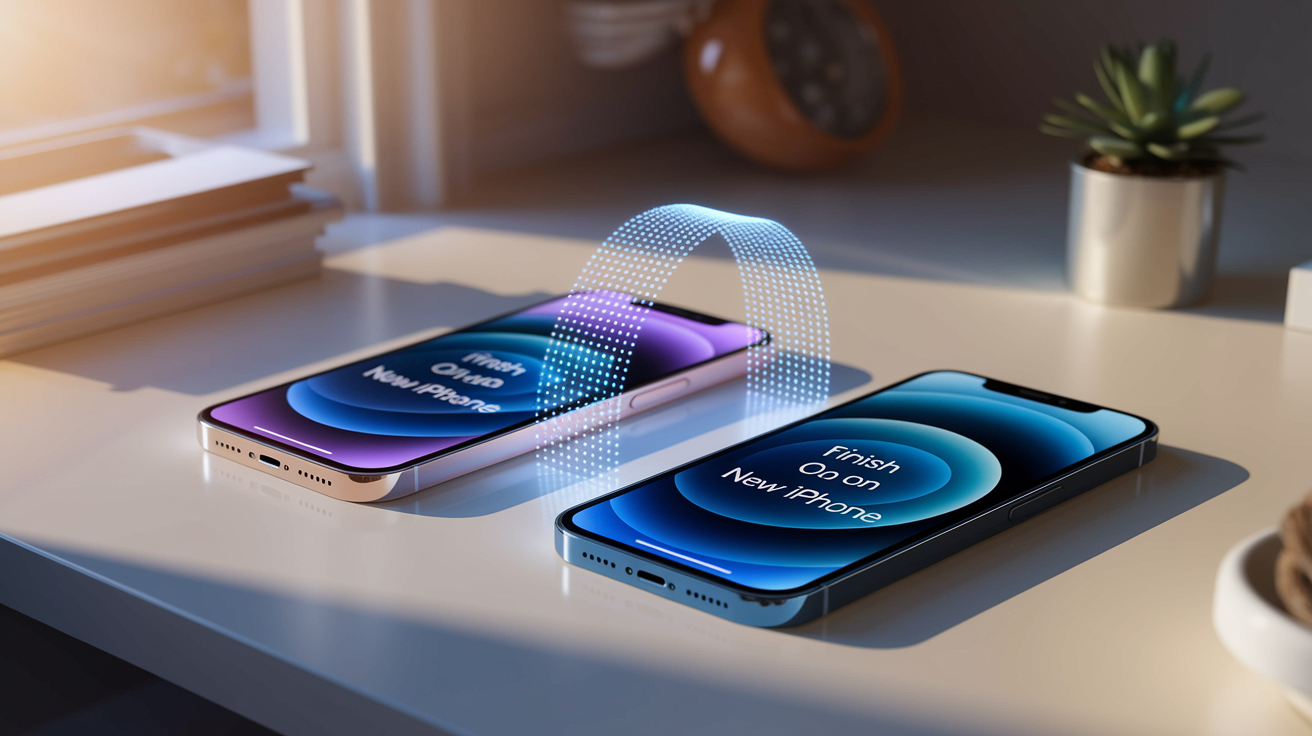
Apple’s Quick Start makes iPhone-to-iPhone transfers nearly automatic if both devices meet the requirements. You need iOS 11 or newer on both phones, Bluetooth and Wi‑Fi turned on, and the two devices placed next to each other. Quick Start copies your app layout, settings, and preferences directly from the old iPhone to the new one without routing everything through iCloud first.
Using Quick Start
Turn on your new iPhone and hold it close to your old one. A Quick Start prompt will appear on the old iPhone asking if you want to set up the new device with your Apple ID. Tap Continue, then follow these steps:
- An animation appears on the new iPhone. Hold the old iPhone over it so the animation sits inside the camera viewfinder.
- Wait for the message “Finish on New iPhone.”
- Enter your old iPhone’s passcode on the new iPhone when prompted.
- Set up Face ID or Touch ID on the new device.
- On the Transfer Your Data screen, tap “Transfer from iPhone” to move everything directly, or choose “Download from iCloud” if you prefer a cloud restore.
If you picked “Transfer from iPhone,” keep both devices plugged in, unlocked, and next to each other. The transfer can take anywhere from 10 minutes to a few hours depending on how many photos and videos you have. If Quick Start doesn’t appear or you skipped it during setup, you can still restore from an iCloud backup by going to Settings > General > Transfer or Reset iPhone > Erase All Content and Settings, then choosing “Restore from iCloud Backup” when the phone restarts and walks through setup again.
Switching Between iPhone and Android: Cross-Platform Transfer Methods
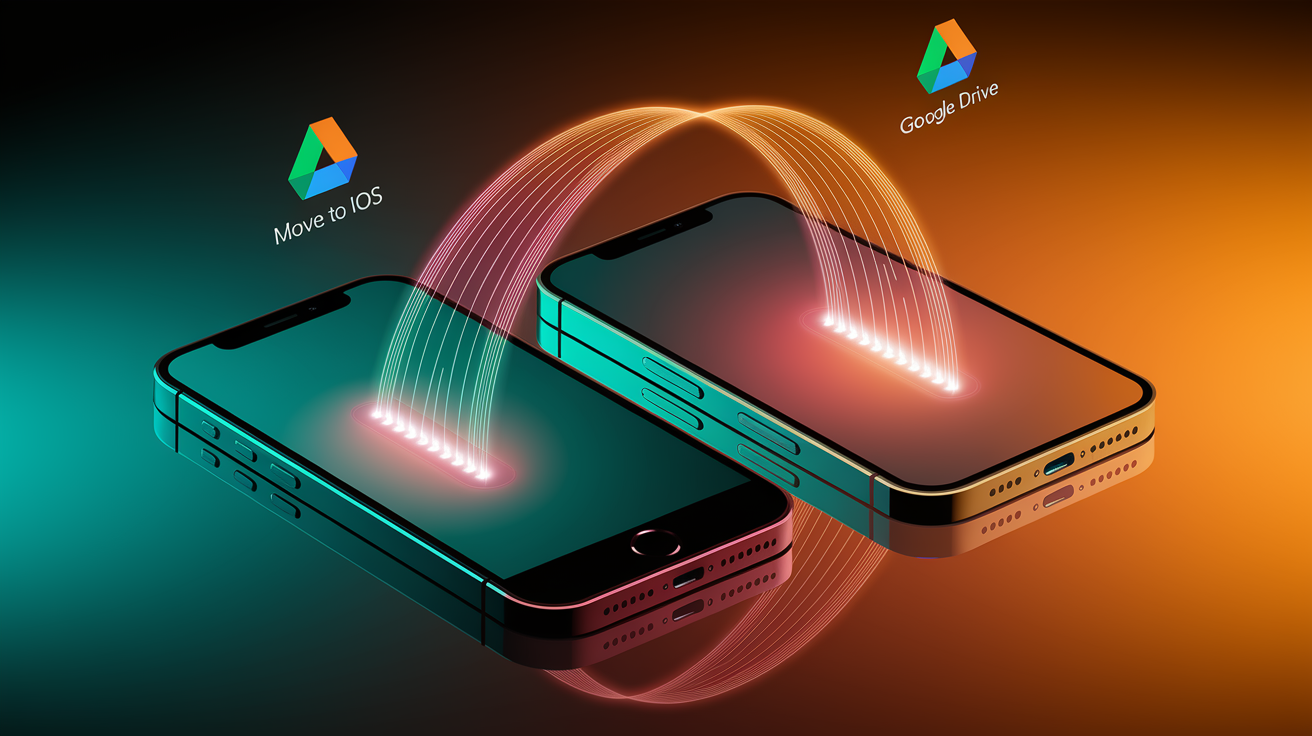
Moving between ecosystems takes a bit more work because Apple and Google don’t share the same app stores or file formats. About 18% of users switch from Android to iPhone, and around 11% move from iPhone to Android. You’re not alone if you’re making the jump.
Android → iPhone with Move to iOS
Apple’s Move to iOS app (available on Google Play) helps transfer contacts, message history, photos, videos, web bookmarks, mail accounts, and calendars. Download Move to iOS on your old Android phone before you start setting up the new iPhone. During iPhone setup, choose “Move Data from Android” on the Apps & Data screen. The Move to iOS app will give you a code. Enter that code on your Android device and select what to transfer. Limitations? App data, call history, and some file types won’t move because the apps don’t exist in the same form on iOS.
iPhone → Android with Google Drive / Switch to Android
Before you switch, disable iMessage and FaceTime on your iPhone so text messages route correctly to your new Android phone. Go to Settings > Messages and toggle off iMessage, then Settings > FaceTime and toggle that off too. Install Google Drive on your iPhone, open it, tap the menu, go to Settings > Backup, and back up your contacts, calendar events, and photos. Sign in with the same Google account on your new Android phone and your data will sync down. Google also offers a Switch to Android app (available on the App Store) that automates parts of the process, walking you through disabling iMessage, backing up to Drive, and transferring files over a cable.
Commonly missed data types when switching ecosystems:
- MMS messages (photos and group texts in SMS apps often don’t transfer reliably)
- App-specific data (game progress, in-app purchases, notes apps, fitness data)
- Local downloads (offline music, PDFs, saved files not stored in cloud services)
- Call history (logs usually don’t migrate between platforms)
Transferring Specific Data Types (Photos, Contacts, Messages, Apps, Passwords)

Different types of data move through different paths. Knowing which tool handles what will save you from losing important files.
Photos and videos transfer most reliably through cloud services. Google Photos backs up unlimited photos at high quality (or original quality if you pay for Google One storage beyond the free 15 GB). On iPhone, iCloud Photos syncs automatically when iCloud Backup is enabled. If you’re moving from iPhone to Android, turn on Google Photos on the iPhone before switching and let it upload everything. Sign in on Android and the same library appears. For Android-to-Android or iPhone-to-iPhone, built-in transfer tools and Quick Start will copy your camera roll as long as both devices stay connected and powered.
Contacts usually transfer smoothly because they sync through your Google account or iCloud. If contacts don’t appear after setup, open Contacts or Phone, check that the correct account is selected as the default, and give the sync a few minutes to finish. Text messages (SMS) move with Android built-in backups and iPhone backups, but MMS (picture messages and group texts) can be unreliable. SMS Backup & Restore (available on Google Play) is recommended if you need a bulletproof backup of all messages including MMS.
Apps reinstall from the Google Play Store or App Store after transfer, but app data doesn’t always follow. Games, note apps, and banking apps often require you to sign in again or restore from an in-app backup. Check each critical app’s settings for backup options before you wipe the old phone. WhatsApp, Signal, and Telegram all have their own cloud backup features that you need to enable separately. Password managers (LastPass, 1Password, Google Password Manager) simplify the process because they auto-fill credentials on your new device once you sign in. If you use an authenticator app for two-factor logins, make sure it supports cloud sync (Google Authenticator now offers backup, Authy and some others have always offered it) or manually move your 2FA codes before switching.
| Data Type | Recommended Transfer Method |
|---|---|
| Photos and Videos | Google Photos, iCloud Photos, or built-in transfer tools |
| Contacts | Google account sync or iCloud; verify default account after setup |
| SMS and MMS | Android backup, iCloud backup, or SMS Backup & Restore for reliability |
| Apps and App Data | Store reinstall + in-app backups (WhatsApp, Signal, games, notes) |
| Passwords and 2FA | Password manager sync + authenticator app cloud backup |
| Local Files and Downloads | Manual USB copy or cloud upload (Google Drive, iCloud Drive) |
Common issues and what causes them:
- Missing contacts: Wrong account set as default or sync didn’t finish. Wait a few minutes or manually trigger sync.
- App login loops: Password manager not installed yet or 2FA device not paired. Install manager first, then open apps.
- MMS gaps: SMS backup didn’t include picture messages. Use SMS Backup & Restore and restore manually.
- Lost downloads: Local files aren’t part of cloud backups. Copy via USB or upload to Drive before switching.
- Password resets: Authenticator app wasn’t backed up or old phone was wiped. Keep old device powered for a week to avoid lockouts.
Troubleshooting New Phone Data Transfer Problems and Delays
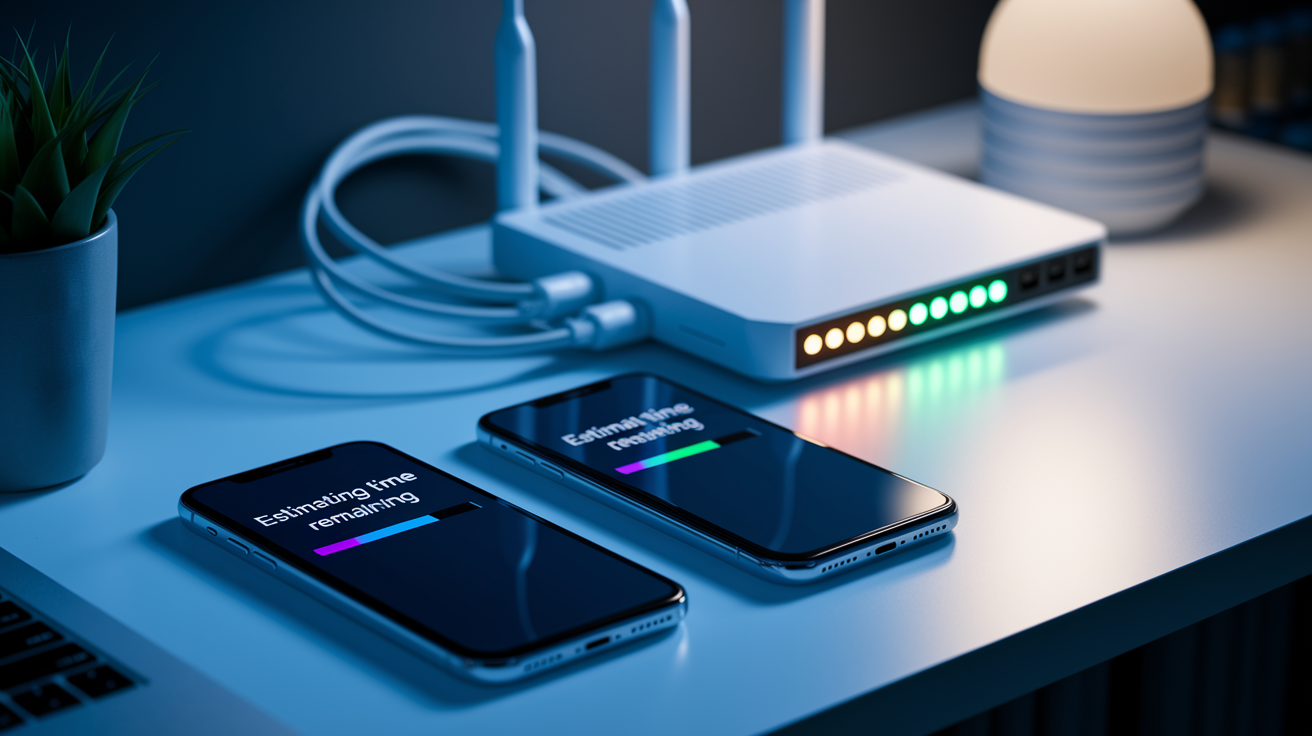
When transfers stall or data goes missing, the fix is usually simple if you know where to look. Unstable Wi‑Fi is the top cause of interrupted transfers. If the backup or transfer stops midway, move both phones closer to the router or plug into a computer and use a cable instead. Battery drain is the second most common issue. If either phone drops below 50% during a wireless transfer, plug it in and let it charge back up before resuming. Mismatched OS versions will block Android restores entirely if the backup was made on a newer version than the target phone runs, so update the new device first or fall back to manual file copy.
If apps don’t appear on your new phone after the transfer finishes, sign in with the same Google or Apple account and open the Play Store or App Store. On Android, tap your profile icon > Manage apps and device > Manage tab > drop the filter to “Not installed” and you’ll see every app you previously downloaded. Select the ones you want and tap the download icon. On iPhone, open the App Store, tap your profile, scroll to find the app in your purchase history, and tap the download icon. For missing messages or contacts, go back to the backup screen on your old device and confirm the backup actually completed. Check the date and time stamp. If it’s old or shows an error, run the backup again, then restore on the new phone.
- Wi‑Fi keeps dropping: Move closer to the router, restart the router, or switch to a cable transfer.
- Transfer says “Estimating time remaining” forever: Unlock both phones, disable battery-saver mode, and confirm both are on the same network.
- Apps installed but data is missing: Open each app and check for in-app restore or backup options. Some apps don’t sync data automatically.
- Old device battery dies mid-transfer: Plug in the old phone, let it charge to at least 50%, then restart the transfer from the beginning.
- New phone says backup is incompatible: Update the new phone’s OS to match or exceed the old phone’s version, or use manual USB copy.
- Photos uploaded but blurry: Check Google Photos settings. Free tier compresses to high quality, not original. Upgrade to Google One for original quality.
- Two-factor codes don’t work: If you wiped the old phone, use backup codes or contact support. This is why you keep the old device powered for a week.
Backup times range from roughly 5 minutes for a phone with minimal data up to 180 minutes or more if you have hundreds of gigabytes of photos and years of app data. Transfer times typically run 10 to 120 minutes depending on connection speed and data size. If you’re past the high end of those estimates and progress hasn’t moved in 30 minutes, cancel and restart with a cable instead of wireless.
Securely Wiping the Old Phone After Completing Your Data Transfer

Once you’ve verified that your contacts, photos, apps, and files all made it to the new device, it’s time to erase the old phone properly. A factory reset alone isn’t enough if you plan to sell or trade in the device. You also need to sign out of accounts, remove any eSIM or SIM lock, and confirm the wipe actually completed. Skipping these steps can leave personal data accessible to the next owner or cause activation-lock issues that brick the phone.
Check your new phone one more time before you wipe the old one. Open Photos, Contacts, Messages, and any apps with important data to confirm everything transferred. If you’re selling or trading in, create a quick device-history note (model, storage size, condition, original purchase date) to maximize resale value. For businesses or anyone handling multiple devices, certified data-erasure software that meets ADISA, NIST, and GDPR standards is required. These tools can process up to 60 smartphones or tablets per hub and generate a per-device erasure report for compliance and verification.
Steps to safely wipe your old phone:
- Sign out of all accounts (Google, Apple ID, Samsung, email, social apps, banking apps)
- Remove or disable the eSIM if your carrier uses eSIM activation
- Eject the physical SIM card and keep it or destroy it
- Go to Settings > System > Reset options > Erase all data (factory reset) on Android, or Settings > General > Transfer or Reset iPhone > Erase All Content and Settings on iPhone
- Confirm the wipe and wait for the phone to restart and show the setup screen
- Verify the phone boots to the welcome screen with no account or data visible. If it asks for your old password or shows activation lock, you skipped sign-out and need to restore the device, sign out properly, then wipe again.
Final Words
Charge both phones, update software, and make fresh backups. Connect to stable Wi‑Fi and keep the SIM in the old phone until the transfer finishes. Backups can take 5–180+ minutes; transfers 10–120+ minutes.
Pick the right path: Google or Quick Start for same‑brand moves, Move to iOS or Google Drive for cross‑platform, or manual USB for specific files. Verify backup integrity, note app logins and authenticator steps, and watch for missed items like MMS or app data.
Use this new phone data transfer guide as your checklist. If something stalls, try the troubleshooting tips and confirm backups before wiping the old device. You’ll be up and running soon.
FAQ
Q: How do I transfer everything from my old phone to my new phone?
A: Transferring everything from your old phone to your new phone involves updating both devices, making a current backup, connecting to stable Wi‑Fi, then using Quick Start, Google account restore, or a cable/cloud transfer and following prompts.
Q: Is it really going to take 5 hours to transfer data to a new iPhone?
A: Transferring data to a new iPhone can take minutes to several hours; a 5‑hour transfer is possible if you have a very large photo library, slow Wi‑Fi, or you’re restoring a large iCloud backup.
Q: Which phone is safest from hackers?
A: No phone is fully safe from hackers; iPhones often offer stronger default protections and faster updates, but real safety depends on frequent updates, strong passwords, 2FA, and cautious app and link habits.
Q: What will not transfer to a new phone?
A: Not everything will transfer to a new phone: some app data, saved passwords, authenticator tokens, certain MMS or in‑app files, and locally stored downloads may not move—use app backups and export passwords first.