

Think your new iPad works right out of the box?
Not quite. A rushed setup can leave you off-grid, insecure, or missing your apps.
This quick checklist walks you through the essential steps to get your iPad ready: power on, connect Wi‑Fi, choose a passcode and biometrics, move or restore your data, sign in to your Apple ID and iCloud, enable Find My iPad, and tweak privacy and display settings.
Follow it and you’ll save time, keep your stuff safe, and start using the iPad the way you want.
Essential New iPad Setup Steps for First‑Time Configuration
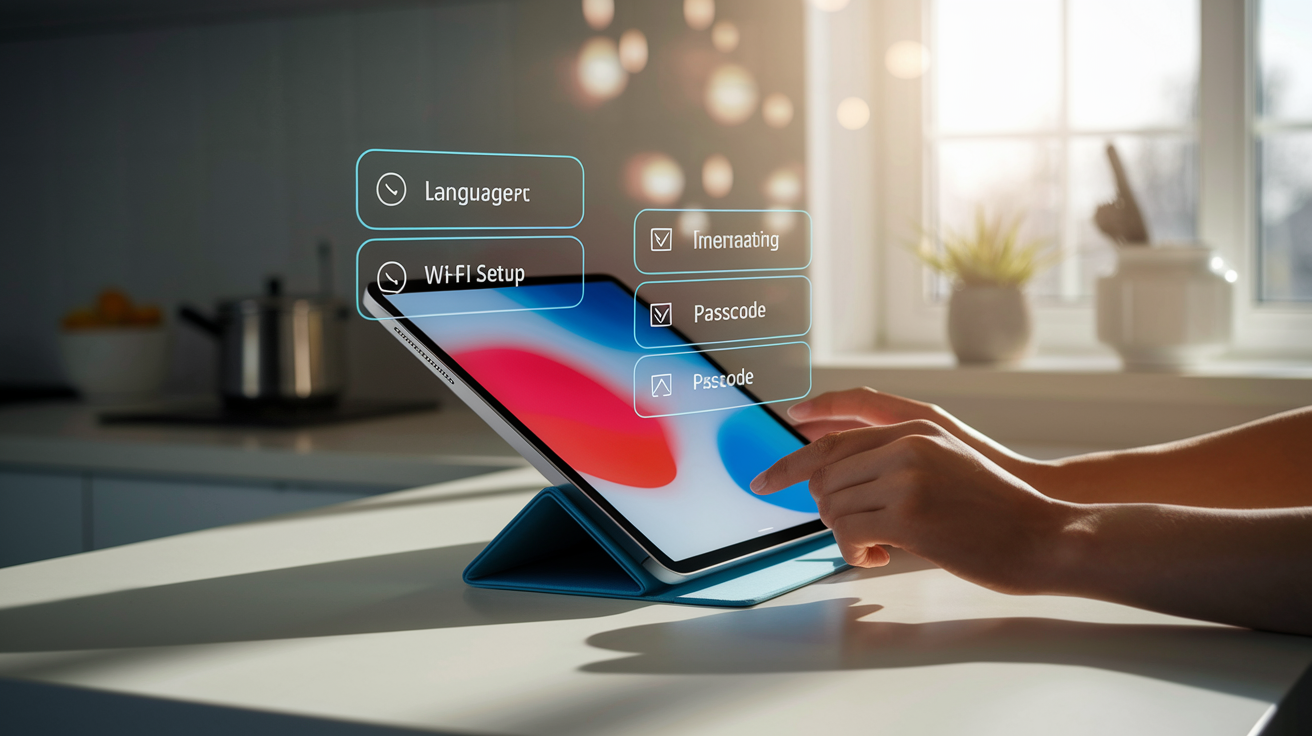
Your new iPad usually ships around 90% battery, so you can jump in right away. Screen won’t turn on? Plug it in with the included cable and adapter, wait about 10 minutes, then try again. Press and hold the power button (top-right edge on most models) until you see the Apple logo, then slide to start. First couple of screens ask for your language and region, which sets things like date formats and whether you see miles or kilometers.
Next up is Location Services. This is just GPS and network positioning. Tap Enable so Maps and other apps know where you are. You can skip it now and flip it on later in Settings if you want. Then the wizard scans for Wi‑Fi. Pick your network, type the password, and tap Join. Using Wi‑Fi for setup is way faster than cellular and won’t burn through your data cap if you grabbed a cellular model.
After Wi‑Fi connects, you’ll create a passcode. Default is six digits, but tap “Passcode Options” to switch to four digits or a full alphanumeric password. Choosing “Don’t Add Passcode” leaves your iPad unlocked, which is a terrible idea. Newer iPads will also prompt you to set up Touch ID (fingerprint on the Home button) or Face ID (face scan on 2018 and later iPad Pros). These let you unlock and approve App Store buys with a tap or a glance.
Once passcode and biometrics are done, the wizard moves to data transfer and account setup. Here’s what happens in order:
- Power on and wake – Hold the power button until the Apple logo shows, then slide.
- Choose language and region – Sets system language and local formats.
- Enable Location Services – Tap Enable so apps can use GPS and Wi‑Fi positioning.
- Join Wi‑Fi – Pick your network, enter the password, tap Join.
- Create a passcode – Six digits by default; tap options for four digits or alphanumeric.
- Set up Touch ID or Face ID – Scan your fingerprint or face for quick unlocking.
- Review gesture controls – Some models briefly introduce multitasking swipes.
- Pick data transfer method – Restore from a backup or start fresh.
Data Transfer Options for Your New iPad Setup
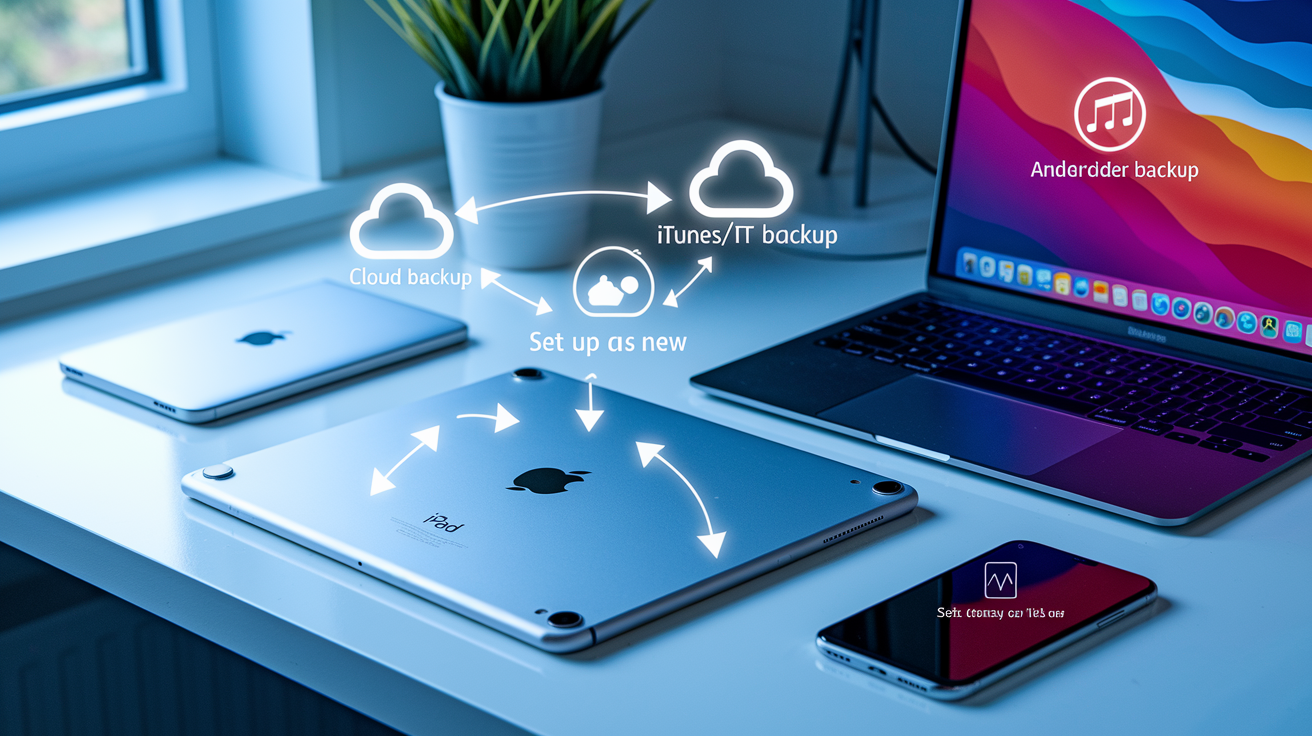
Next big choice is how to fill your new iPad. The wizard gives you four paths: Set Up as New, Restore from iCloud Backup, Restore from iTunes or Finder Backup, and Move Data from Android. First Apple device or want a clean start? Tap “Set Up as New” and skip to the Apple ID sign-in. Upgrading from an older iPad or iPhone? Restoring pulls in your apps, settings, photos, and messages in one go.
Before you restore, check that your old device has a recent backup. For iCloud, open Settings on the old iPad, tap your name at the top, then Find My (or iCloud), then Storage & Backup (or iCloud Backup on newer versions). Look at the “Last Backup” timestamp. Out of date? Tap “Back Up Now” and wait for it to finish before switching devices. For a computer backup, plug your old iPad into a Mac or PC, open iTunes (or Finder on macOS Catalina and up), click the device icon, and hit “Back Up Now.” Once the backup’s ready, choose “Restore from iCloud” or “Restore from iTunes/Finder” on the new iPad. You’ll enter your Apple ID and password, then the device downloads and installs everything. This can take a few minutes or an hour depending on backup size and internet speed.
The fourth option, “Move Data from Android,” is for anyone jumping from a Samsung tablet, Pixel phone, or other Android hardware. This walks you through installing Apple’s “Move to iOS” app on your Android device, then wirelessly transfers contacts, photos, messages, and some app data. Not all Android apps have iOS versions, so you’ll need to hunt down replacements in the App Store after the transfer wraps up.
- Set Up as New – Clean slate, no old data. Best for first-timers or if you want a fresh start.
- Restore from iCloud Backup – Downloads apps, settings, photos, messages from Apple’s servers. Needs Apple ID and a recent backup.
- Restore from iTunes/Finder Backup – Uses a backup on your Mac or PC. Faster than iCloud for big libraries but you need a cable.
- Move Data from Android – Transfers contacts, photos, messages from an Android device via the “Move to iOS” app. Some stuff won’t carry over.
- Manual setup flexibility – Choose “Set Up as New” and you can still grab backed-up apps later from the App Store’s Purchased tab.
- Time commitment – iCloud restores run 30 minutes to an hour; computer backups finish quicker; Android migrations vary a lot.
iCloud vs Computer Backup Comparison
iCloud backups happen automatically when your iPad’s plugged in, locked, and on Wi‑Fi. You get 5 GB free, which fills up fast if you shoot a lot of photos or video. Apple sells paid tiers for more space. Computer backups through iTunes or Finder live on your Mac or PC, so they don’t eat your iCloud quota, and they restore faster if you’re sitting next to your computer during setup. Go iCloud if you want automatic wireless backups. Go iTunes/Finder if you prefer local control and don’t want to pay for extra cloud storage.
Apple ID, iCloud, and Find My iPad Setup Essentials

After picking your restore option (or skipping it), the wizard asks you to sign in with your Apple ID or make a new one. Your Apple ID handles the App Store, iCloud, iMessage, FaceTime, and any Apple subscriptions. Already have one? Type your email and password. Don’t have one? Tap “Create a Free Apple ID” and fill in your name, birthday, and an email address (new or existing). Apple sends a verification email and asks for a password. Pick something strong and unique.
Once you’re signed in, you’ll agree to Apple’s Terms and Conditions. Tap “Agree,” then “Agree” again on the pop-up. The iPad connects to Apple’s servers to activate iCloud, which takes a minute or two. Next screen asks “Use iCloud?” Tap it to turn on iCloud Drive, iCloud Photos, and automatic backups. This syncs your files, photos, and settings across all your Apple gear and makes restoring easy if you lose your iPad or upgrade later.
Following screen prompts you to enable “Find My iPad.” This uses GPS and network data to show your iPad’s location on a map, lock it remotely, display a custom message, or wipe all data if someone steals it. Just tap “Enable Find My iPad” during setup. You can also share your location with family or friends, which is handy if you want someone to see where you are in real time. Skip this and you can turn it on later in Settings by tapping your name at the top, then Find My, then toggling on “Find My iPad.”
Here’s how to enable Find My iPad from Settings if you skipped it during setup:
- Open Settings and tap your name at the very top.
- Tap Find My.
- Tap Find My iPad and flip the switch to On (green).
- Enter your Apple ID password if prompted.
- Toggle on Share My Location if you want family or friends to see your real-time position on a map.
Privacy, Security, and Passcode Protection for New iPad Setup
Location Services is one of the first privacy calls you make. Turning it on lets Maps, Weather, and other apps figure out where you are using GPS, Wi‑Fi, and cell towers. You can shut it off entirely or customize which apps see your location by going to Settings → Privacy & Security → Location Services after setup. The wizard also asks whether to send diagnostics and usage data to Apple. Tap “Automatically Send” if you’re okay sharing crash reports and app-usage patterns to help Apple improve iPadOS, or “Don’t Send” if you’d rather keep that info private.
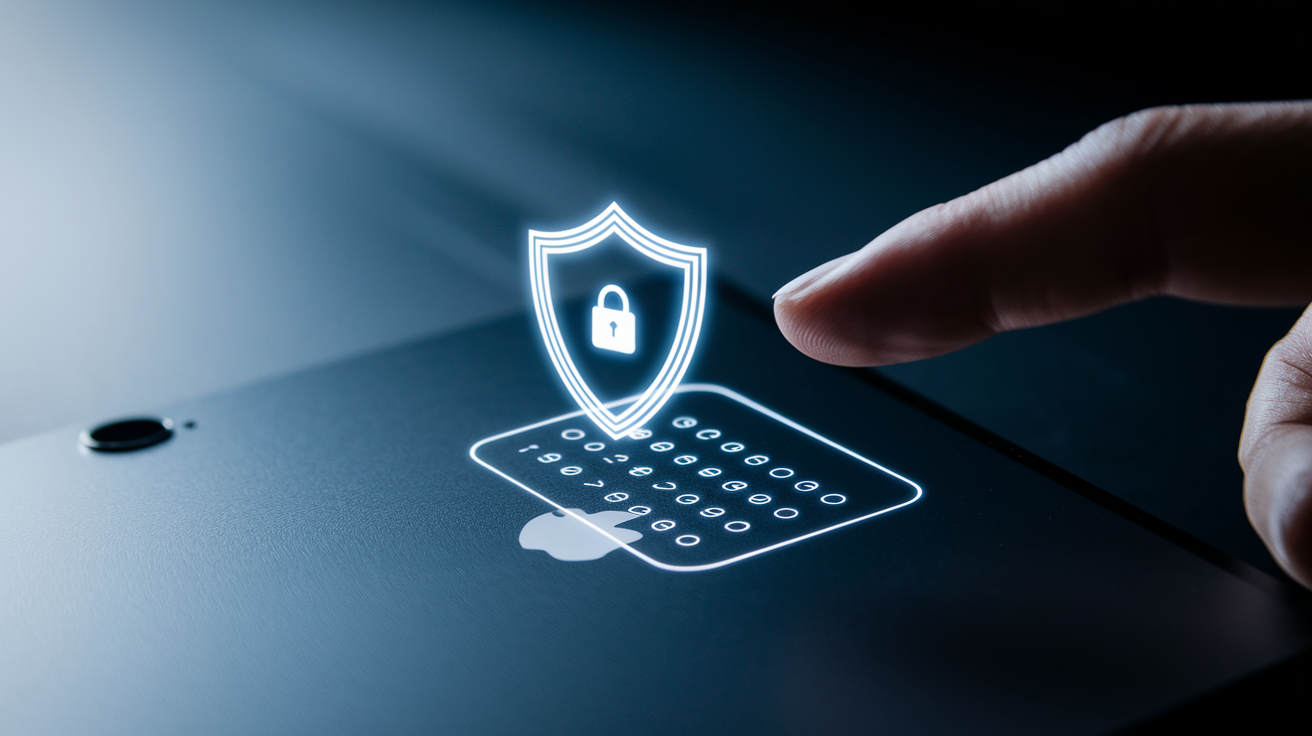
Your passcode is the main lock if someone grabs your iPad. Like we said earlier, default is six digits, but tapping “Passcode Options” during setup lets you pick a custom alphanumeric password (longer, more secure) or a simpler four-digit code (easier to type, less safe). Whatever you choose, your iPad asks for it every time the screen locks or you restart. If your model has Touch ID or Face ID, biometric unlock is faster day to day, but the passcode stays the fallback if the sensor doesn’t recognize you or after a restart.
Registration is another quick step near the end. Apple asks for your name and contact details to link the device serial number to your Apple ID for warranty and service. Optional but worth doing. If you ever need a repair or want to check AppleCare coverage, having the device registered makes it smoother. Some iPads will also nudge you to set up two‑factor authentication (2FA) if you haven’t already, which adds an extra login step (usually a six-digit code sent to your phone) whenever you sign in on a new device. Turning on 2FA protects your Apple ID even if someone steals your password.
- Enable Location Services selectively – Turn it on during setup, then tweak per-app permissions in Settings → Privacy & Security → Location Services.
- Choose a strong passcode – Six digits minimum; alphanumeric is better for max security.
- Set up Touch ID or Face ID – Faster unlocking and App Store approvals; passcode stays the backup.
- Turn on two‑factor authentication – Adds a second login step to protect your Apple ID from hackers.
- Review diagnostics sharing – Decide whether to share crash reports with Apple or keep usage data private.
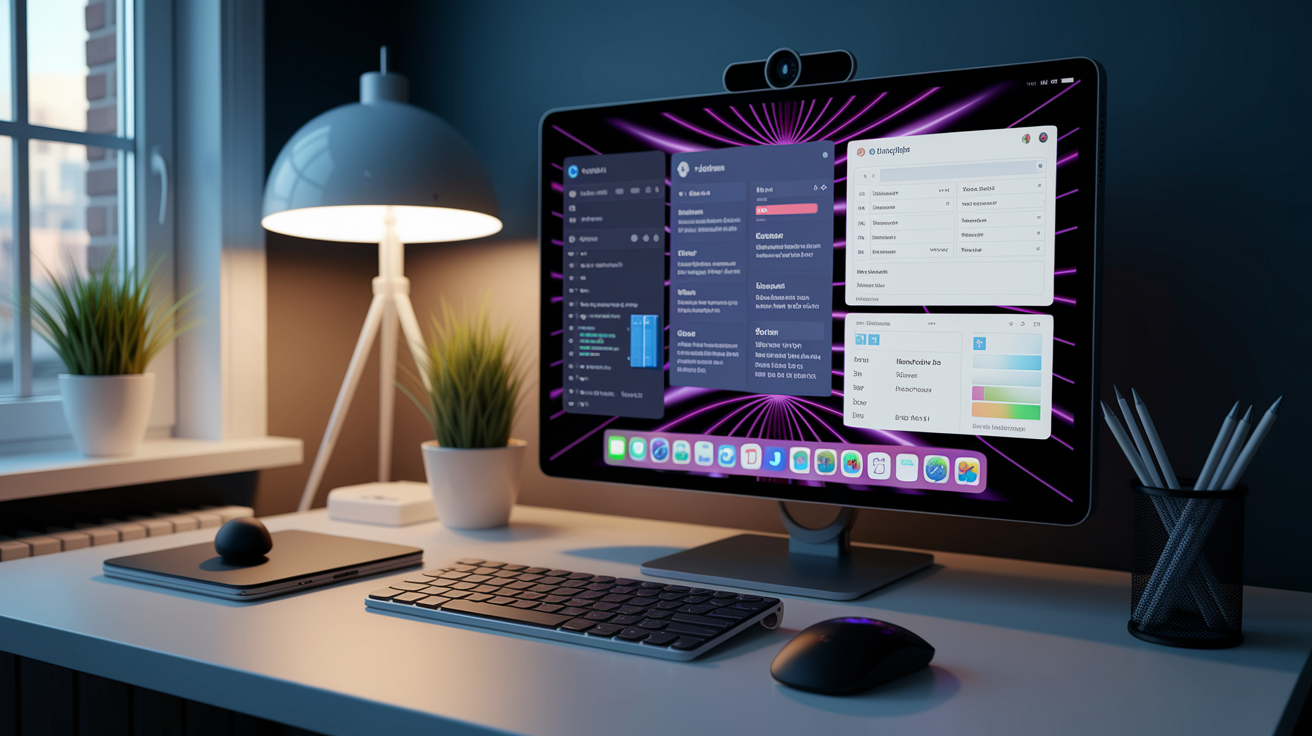
Display, Home Screen, and Widget Customization During Setup
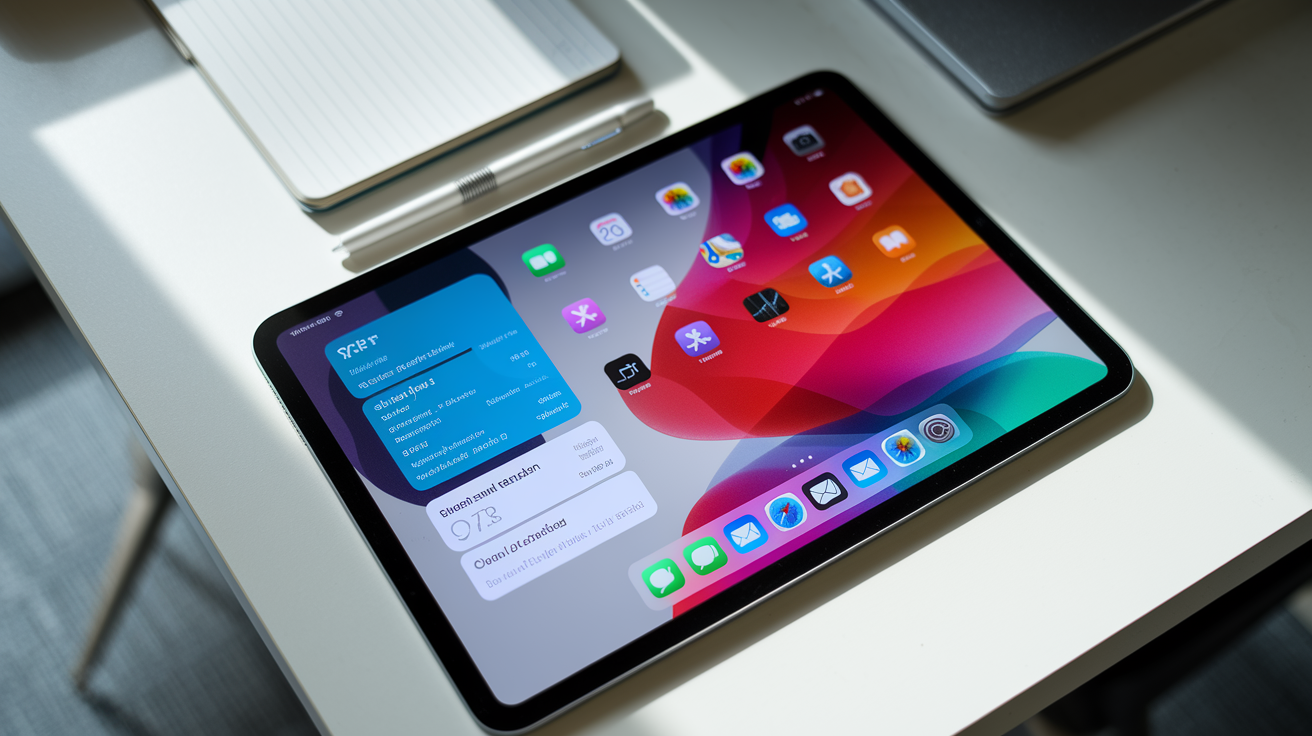
Setup doesn’t let you customize much visually, but once you hit the home screen you can personalize it. Press and hold any empty space between app icons until they start jiggling. A small Edit button pops up in the upper-left. Tap it to access wallpaper options, toggle between light and dark mode, and add widgets. Widgets are little app panels showing live info like weather forecasts, calendar appointments, news headlines right on your home screen. They showed up in iPadOS 17 and work on the home screen and sometimes the lock screen.
To add a widget, make sure you’re in edit mode (icons jiggling), then tap Edit again and look for the Widgets menu. Scroll through to find widgets from Apple apps (Calendar, Weather, Photos, News) and third-party apps that support it. Tap a widget to see size options (small, medium, large), then tap “Add Widget” and drag it into place. You can stack multiple widgets in one spot by dropping one on top of another, creating a “Smart Stack” that auto-rotates based on time of day or how often you use each app.
Control Center is another thing you’ll want to tweak early. Swipe down from the upper-right corner (not the very top-center, which opens Notification Center) to pull up Control Center. You’ll see quick toggles for Wi‑Fi, Bluetooth, screen brightness, volume, media playback. To customize which controls show up, tap the small plus (+) in the upper-left of Control Center to enter edit mode. From there, tap the green plus next to a control to add it, tap the red minus to remove one, or drag the three-line handle on the right to reorder. Some controls can be resized by dragging the corner handles, letting you make frequently used toggles bigger and easier to tap.
- Enter home-screen edit mode – Press and hold empty space until icons jiggle.
- Tap the Edit button – Upper-left corner; opens wallpaper, mode, and widget settings.
- Add widgets – Tap Edit → Widgets, pick an app, choose a size, drag to your home screen.
- Create Smart Stacks – Drop one widget on top of another to build a rotating stack.
- Open Control Center correctly – Swipe down from the upper-right corner, not top-center.
- Customize Control Center – Tap the plus (+) in the upper-left to add, remove, or resize controls.
Productivity Setup: Multitasking, Gestures, and Accessories
Modern iPads offer three multitasking modes. You can switch between them in Settings → Multitasking & Gestures. Default is Full Screen Apps, where one app takes the whole display and you swipe between apps or use the app switcher (double-press Home on older iPads, or swipe up and pause from the bottom edge on newer ones). This mode’s simplest and works well if you mostly focus on one thing at a time.
Second mode is Windowed Apps, which lets you open multiple apps in resizable, movable windows like a Mac or PC desktop. Drag any corner to resize; tap and hold the top bar to move it around. You can have several windows open at once and tap between them as needed. This mode shines on the 12.9-inch iPad Pro or when you have an external keyboard and want to bounce between email, a web browser, and a notes app.
Third option is Stage Manager, which puts one main app in the center with other open apps shown as small preview icons along the left edge. Tap any preview to bring that app forward; the previous app slides to the side but stays visible in the stack. Stage Manager can also hook up to an external display, showing extra app windows on the monitor while you keep your main workspace on the iPad screen. It’s built for heavy multitaskers running five or six apps at once who want fast, visual switching without digging through the app switcher.
Understanding Multitasking Modes
Each mode has trade-offs. Full Screen Apps is the least cluttered and easiest to learn, making it right for casual users or anyone who likes a simple, phone-like feel. Windowed Apps and Stage Manager add flexibility but need more screen space and a bit of practice to manage efficiently. Try each for a day or two before settling on one. Your choice isn’t locked in, and you can switch back anytime in Settings.
Planning to use your iPad for writing, drawing, or long work sessions? Pairing accessories early saves time. Common add-ons to set up right away:
- Apple Pencil (1st or 2nd gen) – Magnetically attach to the side of compatible iPads (2nd gen) or plug into the Lightning port (1st gen) to pair and charge.
- Magic Keyboard or Smart Keyboard Folio – Attach via the Smart Connector on the back edge; no Bluetooth pairing needed, works immediately.
- Bluetooth keyboard and mouse – Open Settings → Bluetooth, turn on the accessory’s pairing mode, tap its name when it shows up.
- AirPods or other Bluetooth headphones – Open the charging case near the iPad (AirPods) or hold the pairing button, then select from Settings → Bluetooth.
- External display (Stage Manager) – Connect via USB‑C or a hub; enable Stage Manager in Settings → Multitasking & Gestures, then drag windows to the external screen.
Essential Apps, App Store Setup, and Notifications
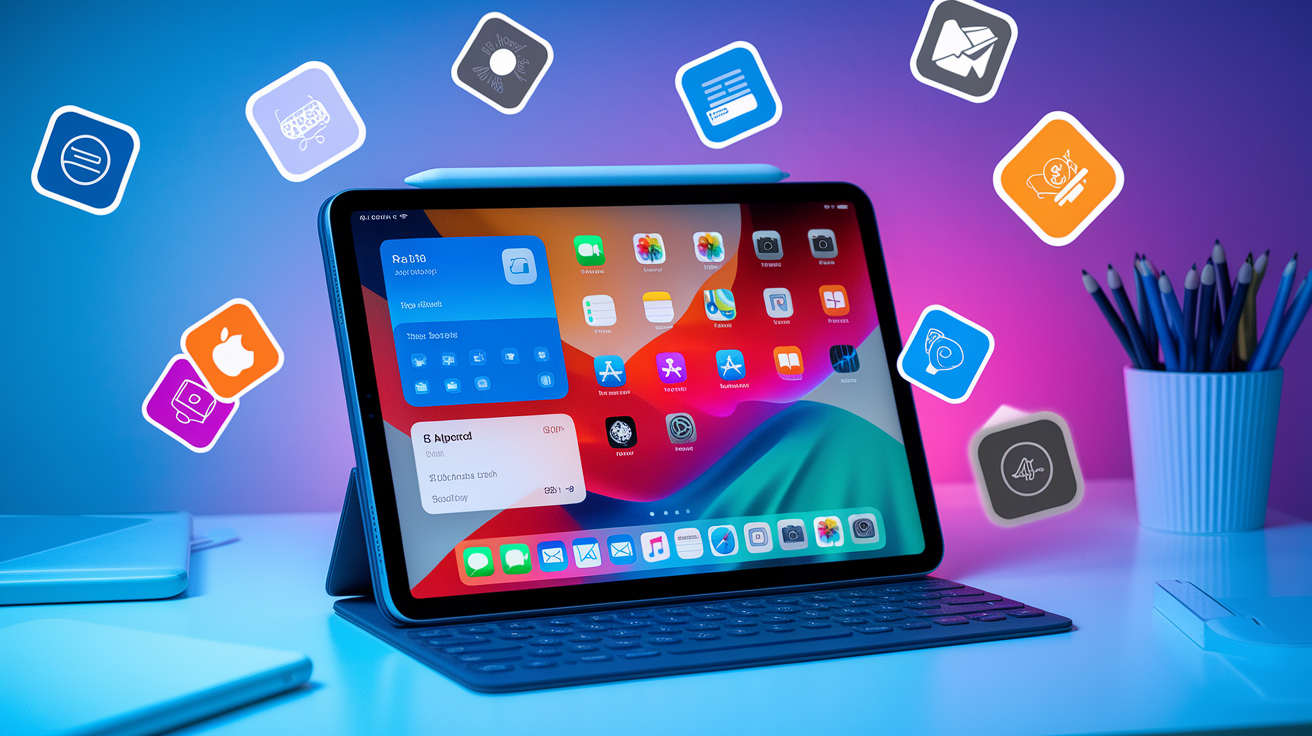
Setup’s done, so next step is installing the apps you’ll actually use. Open the App Store from the home screen (blue icon with a white “A” made of sticks). If you restored from a backup, your old apps start downloading automatically in the background. Set up as new? Tap the Today tab at the bottom to browse editorial picks, or tap Search and type the name of an app you need. Popular categories include productivity (Notes, Pages, Microsoft Office), communication (Slack, Zoom, Discord), media (Netflix, Spotify, YouTube), and creative tools (Procreate, Adobe Lightroom, GarageBand).
Before you grab paid apps, make sure your payment method is set up. Tap your profile icon in the upper-right of the App Store, then Payment & Shipping. You can add a credit card, debit card, PayPal account, or redeem an App Store gift card. Free apps don’t need payment info, but having it on file speeds up purchases and in-app subscriptions later. If you share an Apple ID with family, think about setting up Family Sharing (Settings → your name → Family Sharing) so everyone can access purchased apps without sharing a credit card.
Notifications pile up fast once you install a dozen apps. Each app asks for notification permission the first time it wants to send you an alert. You can tap “Allow” or “Don’t Allow” on the spot, but it’s worth reviewing your choices later. Go to Settings → Notifications to see every app and toggle alerts on or off individually. You can also set up Focus modes (Settings → Focus) to silence non-essential notifications during work hours, sleep, or personal time. For example, a “Work” Focus might allow only Messages and Calendar alerts, blocking social media and games until you switch Focus off.
| App Category | Example Use |
|---|---|
| Productivity | Notes for quick lists, Pages for documents, Notion for project tracking |
| Communication | Slack for team chat, Zoom for video calls, Discord for community groups |
| Media & Entertainment | Netflix for movies, Spotify for music, YouTube for videos |
| Creative Tools | Procreate for digital art, Lightroom for photo editing, GarageBand for music |
| Reading & News | Apple Books for ebooks, Kindle for Amazon library, Apple News for headlines |
| Utilities | 1Password for password management, Google Drive for cloud storage, Speedtest for network checks |
Battery Optimization and Charging Tips for Newly Set Up iPads
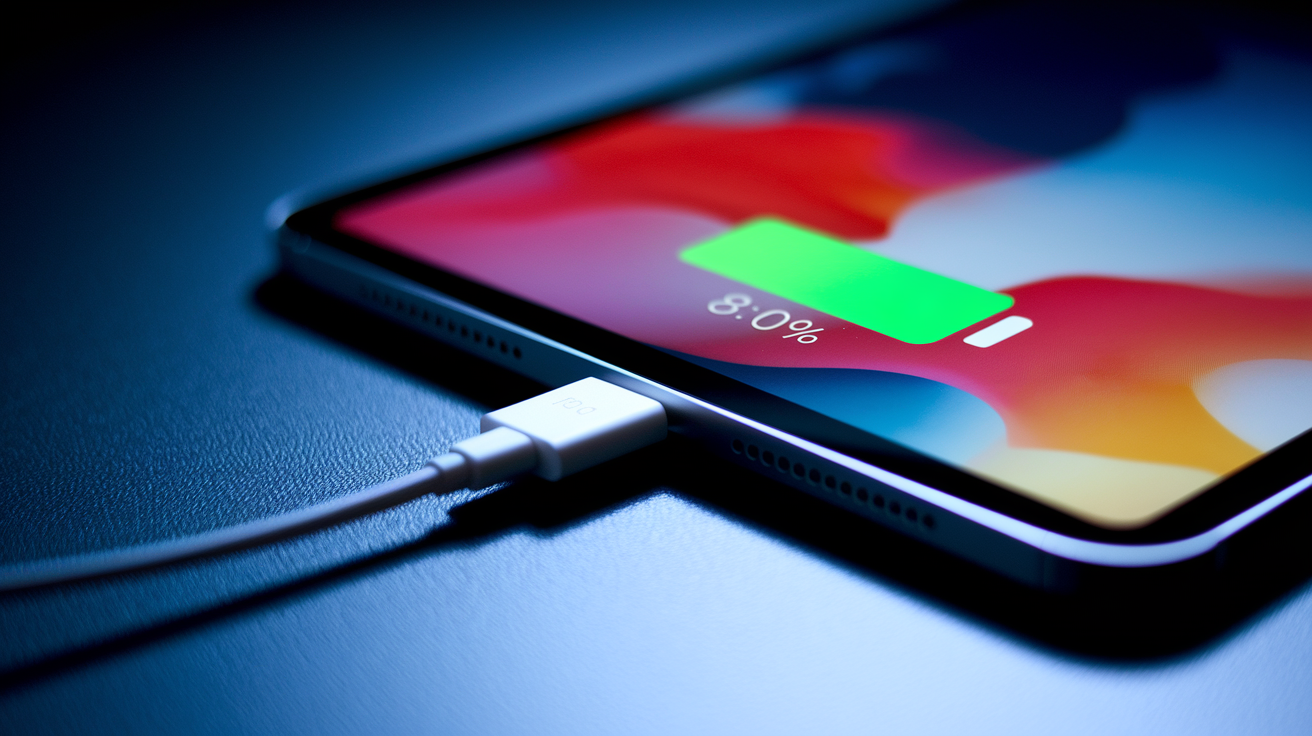
Your iPad’s battery drains faster during the first few hours as it downloads app updates, indexes photos for search, and syncs iCloud data in the background. Totally normal. If you see the battery percentage dropping quickly, plug in the included cable and adapter and let it charge while the initial sync wraps up. Most iPads ship around 90% charged, but if yours arrived lower or you restored a huge backup, expect to top up within the first day.
To keep battery health strong long term, Apple includes an “Optimized Battery Charging” feature (Settings → Battery → Battery Health & Charging). When it’s on, the iPad learns your daily charging routine and waits to charge past 80% until just before you usually unplug. This cuts the time the battery spends at full charge, which slows down chemical aging. Leave this on unless you need a full charge right before a trip. You should also manage Background App Refresh (Settings → General → Background App Refresh) by turning it off for apps that don’t need to update in the background, like games or single-use utilities. Saves both battery and cellular data if you’re on a limited plan.
- Expect higher battery drain on day one – App downloads, photo indexing, and iCloud sync all run in the background after setup.
- Use the included cable and adapter – Third-party chargers work, but Apple’s adapter ensures safe, optimal charging speed.
- Turn on Optimized Battery Charging – Settings → Battery → Battery Health & Charging; helps stretch long-term battery lifespan.
- Disable Background App Refresh for unused apps – Settings → General → Background App Refresh; stops apps from updating when you’re not using them.
- Avoid letting the battery hit 0% regularly – Lithium-ion batteries last longer when kept between 20% and 80% most of the time.
- Consider a 20W or higher USB‑C adapter for fast charging – Newer iPad models support faster charging with a compatible adapter, cutting charge time in half.
Final Words
Power on your iPad, plug it in if the battery is low, and connect to Wi‑Fi — that’s where setup begins. You moved through language, Apple ID sign‑in, and choosing how to transfer your data.
You picked a passcode, set up Touch ID or Face ID, enabled Find My iPad and iCloud backups, and adjusted privacy and widgets. You also paired accessories and checked battery tips.
Use this new ipad setup checklist to double‑check battery level, Wi‑Fi, passcode choice, and biometrics. Enjoy your ready, secure iPad.
FAQ
Q: What are the first things I should do with my new iPad?
A: The first things you should do with your new iPad are check the battery (charge ~10 minutes if low), power on, connect to Wi‑Fi, sign in with your Apple ID, create a secure passcode, and set up Face/Touch ID.
Q: How long should it take to set up a new iPad from an old iPad?
A: Setting up a new iPad from an old iPad usually takes 15–60 minutes for Quick Start or a local restore; iCloud restores or large app downloads can extend setup to several hours depending on backup size and Wi‑Fi speed.
Q: How can an iPad help with ADHD?
A: An iPad can help with ADHD by providing timers, reminders, calendar and focus apps, customizable notifications and Focus mode, distraction blockers, and stylus note-taking to keep tasks organized and on track.
Q: How do I transfer everything from my old iPad to my new iPad?
A: You transfer everything from your old iPad to your new iPad using Quick Start (device‑to‑device), Restore from iCloud, or a Finder/iTunes backup; keep both devices on Wi‑Fi and plugged in, then sign in with your Apple ID.