

Setting up a mesh WiFi system sounds complicated, but it’s really not—and you definitely don’t need to call someone to do it for you.
Most people avoid mesh networks because they think the setup takes hours or requires tech expertise. It doesn’t. Linksys gives you three simple ways to get your mesh network running, and the fastest method doesn’t even need an app. You’ll have full WiFi coverage in your whole house in under 15 minutes, even if you’ve never set up a router before.
Step-by-Step Installation Guide: Three Setup Methods

Linksys mesh systems give you three different ways to get things running. The Pair button method is fastest and you won’t need an app or browser. The mobile app method adds cloud management so you can control things remotely. The web browser method works without downloading anything and gets you straight into the dashboard. All three get you to the same place—a working mesh network. Pick whichever feels easiest.
Pair Button Method (Recommended)
-
Unplug your existing router from the modem if there’s one connected.
-
Unplug the modem’s power cable, wait 30 seconds, then plug it back in and let it fully restart.
-
Connect an ethernet cable from the modem to the Internet or WAN port on your Linksys parent node (the one you want as your main router).
-
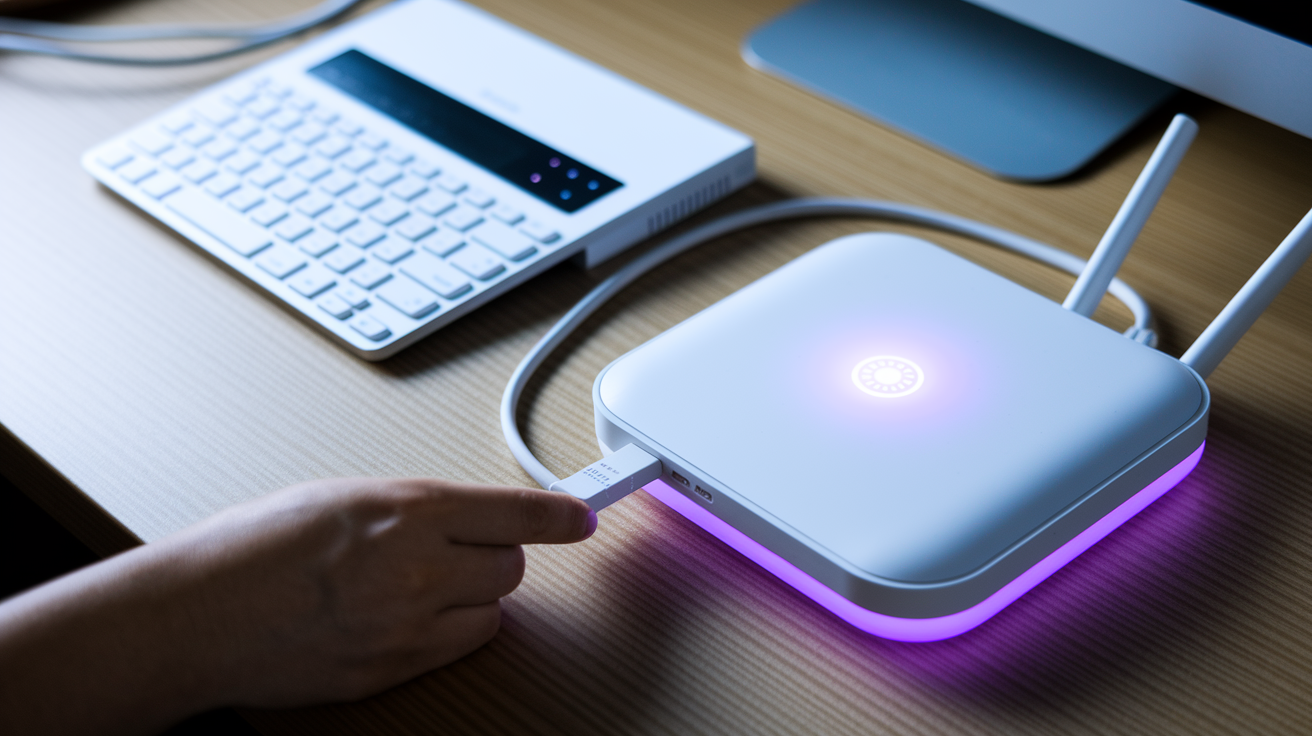
Plug in the parent node’s power adapter and wait for the LED light to turn solid purple.
-
Press and release the Pair button on top of the parent node for at least 1 second. The light will start blinking white.
-
Power on your first child node within 10 feet of the parent node, ideally in the same room.
-
Watch for the child node’s light to blink white (pairing in progress), then turn solid white when pairing completes. This usually takes up to 2 minutes.
-
Repeat steps 6 and 7 for any additional child nodes you want to add.
-
Wait for all nodes to display solid blue lights, which means they’re online and ready.
-
Connect a computer or phone to the new WiFi network using the network name and password printed on the bottom of the parent node.
After the Pair button setup connects your hardware, you’ll still need to customize settings like changing your WiFi name and password. Connect to the default network, open a browser, and go to myrouter.local or 192.168.1.1 to access the setup dashboard.
Mobile App Method
-
Complete the hardware connection steps. Disconnect your old router, power cycle the modem, connect the parent node to the modem via ethernet, and plug in the parent node’s power.
-
Download the Linksys app from the App Store (iOS) or Google Play (Android).
-
Open the app and create a new Linksys cloud account or sign in if you already have one.
-
Tap “Set up a New Product” and follow the on-screen prompts to connect to your parent node.
-
Scan the QR code on the bottom of the parent node or manually enter the serial number when prompted.
-
Create your WiFi network name and password. Remember, the password is case-sensitive.
-
Configure optional features like guest network access or parental controls, or skip these to set up later.
-
Add child nodes by powering them on within 10 feet of the parent node. The app will detect them automatically and walk you through adding each one.
-
Wait for all nodes to show solid blue lights before relocating them.
The app setup automatically links your mesh system to your Linksys cloud account, which lets you manage your network remotely from anywhere with internet access.
Web Browser Method
-
Complete the hardware connection steps and connect your phone or computer to the default WiFi network (name and password are on the parent node’s bottom label).
-
Open any web browser on your connected device.
-
Type myrouter.local or 192.168.1.1 in the address bar and press Enter.
-
You’ll see a browser security warning. Click Advanced, then “Proceed to 192.168.1.1” in Chrome, “Advanced” then “Accept the Risk” in Firefox, “Advanced” then “Continue to this website” in Edge, or “Show Details” then “visit this website” in Safari.
-
Log in using the default password “admin” or enter the recovery key printed on the bottom of the parent node.
-
The Setup Node wizard launches automatically. Follow the prompts to configure your internet connection.
-
Set your WiFi network name and password on the next screen.
-
Add child nodes through the dashboard by clicking “Add Wireless Child Nodes” if setting up wirelessly, or “Add Wired Child Nodes” if you’ve connected a child node to the parent via ethernet cable.
-
For wireless nodes, power them on within 10 feet of the parent and wait for solid purple lights before clicking the Add button.
-
Change the admin password from the default “admin” to something secure when prompted.
After any of these setup methods finish and all your nodes display solid blue lights, you can move the child nodes to their final locations throughout your home to extend WiFi coverage. The mesh system automatically manages connections between nodes, so you don’t need to configure anything else for basic operation.
LED Light Indicators and Status Meanings During Setup

Your Linksys mesh nodes communicate their status through LED light colors and patterns. Watching these lights tells you exactly what’s happening during setup and whether each step completed successfully. Most setup issues become obvious once you know what each light means.
| LED Color/Pattern | Meaning | Action Required |
|---|---|---|
| Solid purple | Node is ready for setup and waiting to pair | Proceed with pairing using your chosen setup method |
| Blinking blue | Node is booting up | Wait for the light to change, usually 30 to 60 seconds |
| Blinking white | Pairing is in progress | Wait up to 2 minutes for pairing to complete |
| Solid white | Successfully connected to the mesh network | No action needed, node is paired |
| Solid blue | Node is online and working normally | No action needed, node is ready to use |
| Red (solid or blinking) | Setup failed, no internet connection, or node is too far from parent | Check cable connections, move closer to parent node, or factory reset by holding reset button 15 to 20 seconds |
If your node’s LED doesn’t progress through the expected sequence (for example, it stays blinking white for more than 3 minutes or jumps straight to red), something interrupted the setup process. Power cycle the node by unplugging it for 10 seconds, check that your modem has an active internet connection, and try the setup steps again from the beginning.
Optimal Node Placement for Maximum WiFi Coverage
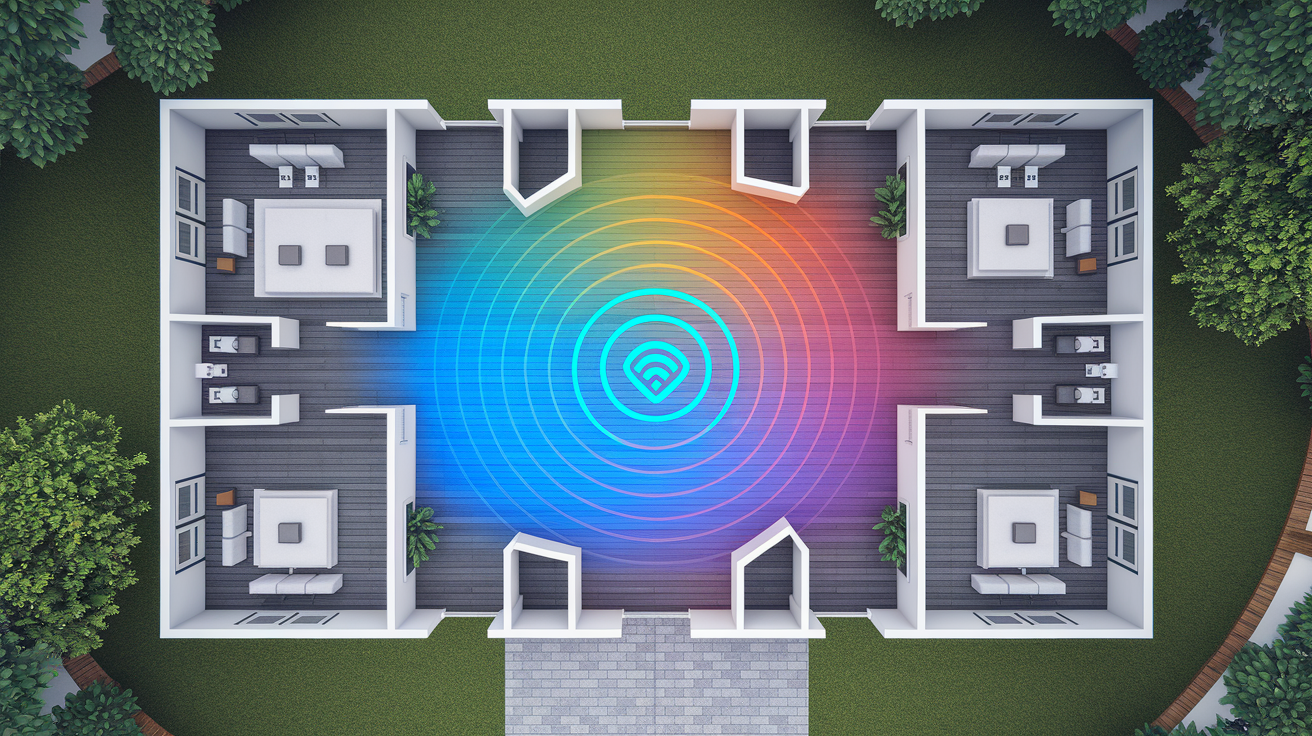
During setup, you need child nodes close to the parent node. Within 10 feet, preferably in the same room. After setup completes, you’ll relocate them to strategic spots that extend coverage throughout your space.
Your final node placement makes the difference between full strength WiFi everywhere and frustrating dead zones. Here’s how to position nodes for the best performance.
Place the parent node centrally if possible, near your modem but in an open area where WiFi signals can spread. Position child nodes roughly halfway between the parent node and areas with weak or no signal. Avoid placing nodes behind thick walls, inside cabinets, or near large metal objects like filing cabinets or appliances.
Elevate nodes when you can. On a shelf or mounted on a wall works better than sitting on the floor. Keep nodes in open spaces where air flows, not enclosed in entertainment centers or closets. Maintain line of sight between nodes when your home’s layout allows it.
For multi-story homes, place a node near a stairwell so signals can reach between floors. If you have specific dead zones (a basement office, back bedroom, detached garage), position a child node between that area and the parent node.
After relocating your nodes to their final spots, walk around with your phone and check signal strength in different rooms. Most mesh systems include a network health check feature in the mobile app that shows how well each node connects to the others. If you see weak connections, try moving a node slightly closer to the parent or to a more open location.
Mesh networks automatically optimize which node your devices connect to as you move around. You don’t need to manually switch networks. If you notice a particular area still has weak coverage after adjusting node placement, that’s when you’d add another child node to fill the gap.
Understanding Backhaul Connection Options in Mesh Networks

Backhaul refers to how your mesh nodes talk to each other. Think of it as the behind-the-scenes connection that passes internet traffic between the parent node and child nodes.
Wireless backhaul happens automatically without any ethernet cables. Your child nodes connect to the parent (or to other child nodes) over WiFi. On tri-band mesh systems, one WiFi band is dedicated just for this inter-node communication, which keeps backhaul traffic separate from your devices’ WiFi usage. Wireless backhaul works well for most homes and requires no extra setup. Just power on the nodes and they figure it out.
Wired backhaul uses ethernet cables to connect child nodes to the parent node or to each other. This creates a faster, more stable connection because the backhaul traffic travels over cable instead of competing for wireless bandwidth. To set up wired backhaul, run an ethernet cable from a LAN port on the parent node to the WAN port on a child node, then add that child node through the app or web dashboard using the wired option. The node will detect the cable connection and configure itself automatically.
Wired backhaul makes sense in these situations:
Multi-story homes where ethernet cables already run between floors. Home offices with heavy upload and download traffic throughout the day. Households streaming 4K video to multiple TVs simultaneously. Gaming setups where you need the most stable connection possible. Mesh nodes positioned far apart, like covering a main house and a detached garage. Environments with heavy WiFi interference from neighbors or other devices.
You can mix both types. Some child nodes on wireless backhaul, others wired. The system adapts. Switching from wireless to wired just means plugging in an ethernet cable and letting the node reconfigure. Performance differences become noticeable during high bandwidth activities, but for everyday browsing, email, and streaming one or two videos, wireless backhaul handles it fine.
Firmware Updates and System Maintenance for Mesh Routers
Keeping your mesh system’s firmware current protects against security vulnerabilities and adds performance improvements or new features. Linksys releases firmware updates periodically, and staying up to date takes almost no effort on your part.
Automatic firmware updates are enabled by default on Linksys mesh systems. Your router checks for new firmware releases regularly, then downloads and installs updates during low usage periods (usually between 3 AM and 5 AM). When an update happens, each node updates sequentially to avoid taking your entire network offline. You might notice brief WiFi interruptions during the update process. Typically your connection drops for 30 seconds to a minute, then comes back on its own.
If you prefer to check for updates manually or want to confirm you’re running the latest version:
Open the Linksys app or log into the web dashboard at myrouter.local. Navigate to Router Settings or System Settings. Select Firmware Update or Check for Updates. Review the current firmware version displayed and whether a newer version is available. Tap or click Install Update if one is available. Wait for all nodes to complete the update process before using the network heavily. This usually takes 5 to 10 minutes total.
Your mesh system includes tools to monitor network health beyond just firmware. Open the Linksys app and look at the network map to see which nodes are online and how devices connect. Run a speed test through the app occasionally to verify you’re getting the internet speeds your ISP provides. If speeds drop significantly from what you normally see, that’s when you’d check for firmware updates, restart the system, or contact your ISP.
If you run into persistent issues that basic troubleshooting doesn’t fix (like frequent disconnections, nodes that won’t stay online, or significant speed drops), that’s when to reach out to Linksys technical support with your model number and a description of what’s happening.
Troubleshooting Common Mesh WiFi Setup Problems

Setup issues happen. Most of them come down to a cable in the wrong port, a step done out of order, or nodes trying to pair while too far apart. Here’s how to fix the most common problems.
Node Shows Red Light or Won’t Connect
A red light means the node can’t establish a working connection. Start by checking that the ethernet cable from your modem plugs into the WAN or Internet port on the parent node, not one of the LAN ports. Wrong port placement is the number one cause of red lights right after setup. If the cable is in the correct port, power cycle your modem by unplugging it for 30 seconds, plugging it back in, and waiting for it to fully restart before checking the node again.
If the red light persists, factory reset the problematic node by holding down the reset button for 15 to 20 seconds until the light changes. Release the button, wait for the node to reboot and show a solid purple light, then start the setup process again from the beginning.
No Internet Connection After Setup
Your nodes might show solid blue lights but you can’t load websites or connect to anything online. First, confirm your ISP service is active by connecting a computer directly to the modem with an ethernet cable. If that doesn’t work, the issue is with your internet service, not the mesh system. If direct modem connection works, check that you’re using a working ethernet cable between the modem and parent node (try a different cable if you have one).
Some ISPs require the modem to recognize a new device before providing internet access. Turn off the parent node and modem, wait 2 minutes, turn on the modem first and let it fully start, then turn on the parent node. This reboot sequence forces the modem to detect and authenticate the mesh system.
Child Node Won’t Pair
When a child node refuses to connect during setup, distance is usually the culprit. Child nodes must be within 10 feet of the parent node during initial pairing. Move them into the same room temporarily. Watch the LED status on both the parent and child nodes. The parent needs to show solid blue (online and working) before you try pairing a child node. If the parent node isn’t solid blue yet, wait for it to fully connect to the internet first.
Factory reset the child node that won’t pair by holding its reset button for 15 to 20 seconds, then try the pairing process again. Make sure you’re waiting long enough for the pairing lights. Blinking white can last up to 2 minutes on some models, and that’s normal.
If you’ve tried these steps and still can’t get your mesh system working, contact Linksys support with your model number, firmware version (found on the router label or in settings), and a description of which lights you’re seeing. Have your ISP information ready in case the support team needs to verify compatibility with your internet connection type.
Network Security Configuration and Password Management

Changing default passwords is the most important security step after setup completes. Your mesh system ships with a default admin password of “admin” and a unique default WiFi password printed on the parent node’s label. Both need to be changed.
A strong WiFi password protects your network from unauthorized access. Create a password with at least 12 characters mixing uppercase letters, lowercase letters, numbers, and symbols. Avoid common words, your address, birth dates, or sequential patterns like “123456” or “password”. Remember that WiFi passwords are case-sensitive. “MyNetwork2024!” is different from “mynetwork2024!” So write it down somewhere secure until you memorize it.
Basic security practices that take just a few minutes to set up:
Change the default admin password immediately through the router dashboard settings. This controls who can modify your router configuration. Enable WPA2 or WPA3 encryption, which is set automatically on newer Linksys models. Create a separate guest network for visitors so they can access the internet without seeing your main network or connected devices.
Set up parental controls if you have kids, to manage when devices can connect and filter content. Disable WPS (WiFi Protected Setup) unless you specifically use it for connecting devices. Review the list of connected devices in your app or dashboard weekly and remove any you don’t recognize. Keep automatic firmware updates enabled so security patches install as soon as they’re available.
Access these security settings by opening the Linksys app or logging into the web dashboard at myrouter.local, then looking for Security, Advanced Settings, or Privacy sections depending on your model. Your admin password (the one you use to log into the router dashboard) is completely separate from your WiFi password (the one devices use to connect to your network). Changing one doesn’t change the other, so you’ll need to update both.
Adding and Managing Additional Nodes After Initial Setup
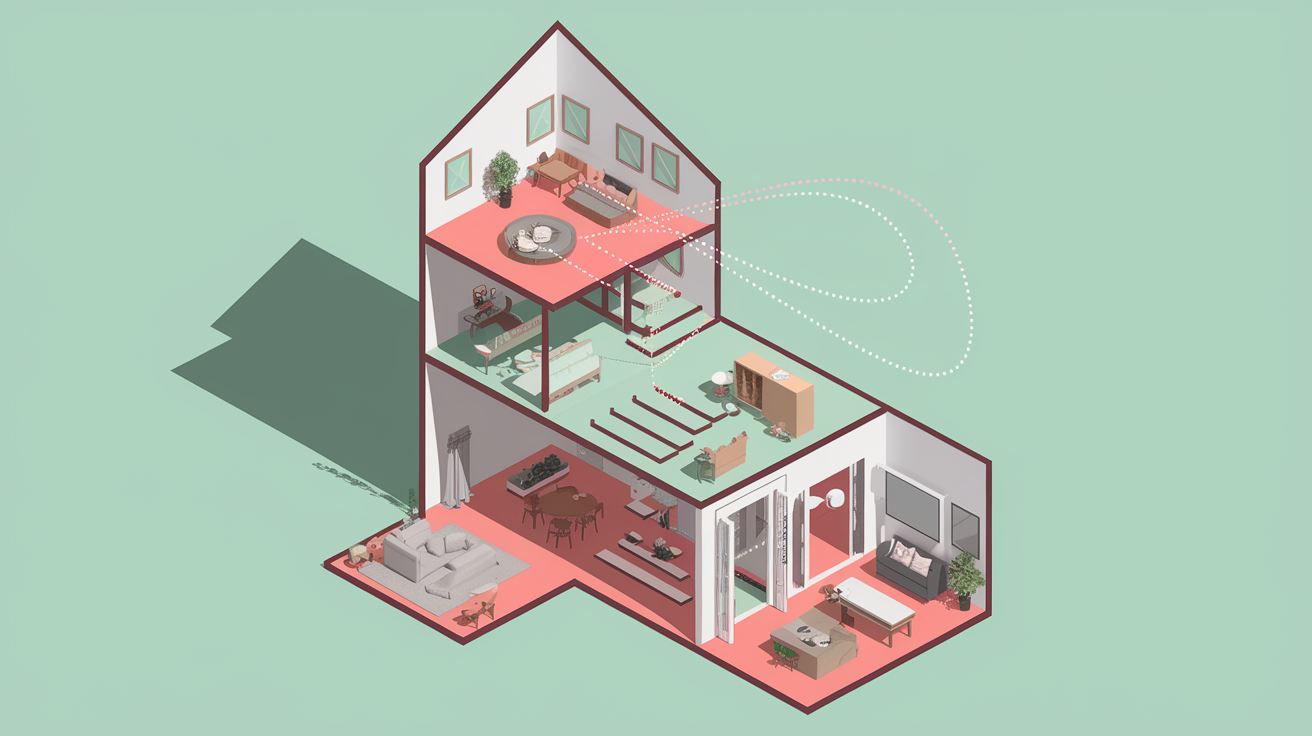
You can expand your mesh network anytime by adding more child nodes. This works the same whether you’re filling a coverage gap you discovered after living with the system for a while, extending WiFi to a new area, or adding nodes you purchased separately.
-
Open the Linksys app or log into the web dashboard at myrouter.local.
-
Look for “Add Device,” “Add Node,” or a plus icon, usually in the network map or main dashboard view.
-
Power on your new child node within 10 feet of any existing node in your network.
-
Wait for the new node to boot up and display a solid purple LED.
-
Select whether you’re connecting this node wirelessly or via ethernet cable (wired backhaul).
-
Follow the on-screen prompts. The system will detect the new node automatically and begin pairing.
-
Watch for the new node’s LED to blink white during pairing, then turn solid blue when it joins the network.
-
Relocate the node to its final position once the setup completes and the light turns solid blue.
Linksys mesh systems support different maximum node counts depending on the model. Typically 3 to 10 nodes per network. The system automatically manages which devices connect to which node and handles traffic routing between nodes without any configuration on your part. Adding more nodes than recommended for your model can actually decrease performance because nodes spend more time coordinating with each other instead of serving your devices.
If you need to remove a node (maybe you’re moving it to a different location permanently or replacing it), factory reset it by holding the reset button for 15 to 20 seconds, then remove it from the network through the app or dashboard’s device list.
Advanced Settings and Network Customization Options

Beyond the basic setup, Linksys mesh systems include configuration options for specific needs like gaming, remote access, or managing bandwidth across many devices. These settings are optional. Your network works fine without touching them. But they solve particular problems when you need them.
Key advanced features you can configure through the web dashboard:
Port forwarding to direct incoming traffic to specific devices, necessary for hosting game servers or remote desktop access. Static IP assignment to give specific devices the same local IP address every time they connect. DHCP reservation, which is similar to static IP but managed by the router instead of configuring each device individually.
Quality of Service (QoS) to prioritize bandwidth for specific devices or applications, useful if video calls keep lagging during peak usage. Device prioritization for work from home setups where one computer needs guaranteed bandwidth. Manual channel selection to avoid interference if you live in an apartment building with dozens of competing WiFi networks.
IPv6 enable or disable, depending on your ISP’s network setup. DMZ configuration to expose one device completely to the internet (rarely needed and comes with security risks). UPnP settings that let devices automatically configure port forwarding, which some gaming consoles and smart home devices use. Remote management through your Linksys cloud account to access settings when you’re away from home.
Access these options by logging into the web dashboard at myrouter.local or 192.168.1.1, then looking for an “Advanced” or “Advanced Settings” tab in the top navigation. Some features also appear in the mobile app under Router Settings.
Before changing advanced settings, write down the current configuration or take a screenshot so you can revert if something stops working. Most settings include a description of what they do and whether they should be enabled for your situation.
If you make changes that cause connectivity problems or unexpected behavior, you can factory reset the entire system by holding the reset button on the parent node for 15 to 20 seconds. This wipes all custom settings and returns everything to defaults, so you’ll need to run through setup again.
For complex configurations like setting up a VPN server, advanced firewall rules, or integrating with specific ISP requirements, check the Linksys support site for model-specific guides or contact technical support with your specific use case.
Compatible Devices and System Requirements for Setup

Before starting setup, confirm your equipment and internet service work with Linksys mesh systems. Most standard home internet configurations are compatible, but a few specific setups require extra configuration.
| Component | Requirements | Notes |
|---|---|---|
| Linksys Models | MBE7000, MX6200, LN1400, and other Velop series routers | Different Linksys mesh models can work together, but use MBE7000 or LN1400 as parent node for best performance |
| Modem Type | Cable, DSL, or fiber modem with ethernet output | Most ISP-provided gateways work, but you may need to enable bridge mode on the gateway |
| Internet Service | Any ISP using DHCP automatic configuration | PPPoE, static IP, and other connection types require manual configuration in Advanced Settings |
| Mobile Devices | iOS 12 or newer, Android 8 or newer | Required only if using the mobile app setup method |
| Web Browsers | Current versions of Chrome, Firefox, Safari, or Edge | Older firmware versions require browser setup; newer versions support app-only setup |
Most internet service providers use DHCP, which means your mesh system gets its internet settings automatically from the modem without any manual configuration. This “automatic” connection type works with cable internet, most fiber services, and many DSL providers. If your ISP requires PPPoE login credentials (common with some DSL and fiber providers) or gave you a static IP address, you’ll need to enter those details manually through the router’s Internet Settings page after completing the basic hardware setup.
When mixing different Linksys mesh models (for example, using an MBE7000 with older MX6200 nodes), make the MBE7000 or LN1400 your parent node. These newer models support faster WiFi standards and more simultaneous connections, so they perform better as the network’s central hub.
Check the Linksys website’s compatibility page for the most current list of supported models and any firmware requirements for mixing different model families. Some older Velop models require a firmware update before they can join a network with newer models.
Final Words
Your Linksys mesh WiFi setup comes down to three solid methods, clear LED feedback, and smart node placement.
Pick the pair button route if you want fast results. Use the app if you like guided steps and remote control later. Go browser-based if you’re working with older firmware or prefer desktop access.
Once your nodes show solid blue, you’re online. Move them where coverage matters, check the lights, and adjust if a zone still feels weak.
Most connection hiccups trace back to cables, distance during pairing, or a modem that needs a restart. Fix those and you’re back on track.
Strong passwords, firmware that updates itself, and a guest network keep things secure without extra effort. Add nodes when you need more reach. Your mesh handles the rest.
FAQ
What are the disadvantages of mesh WiFi routers?
Mesh WiFi routers have a few disadvantages including higher upfront cost compared to traditional routers, potential wireless backhaul speed reduction if nodes aren’t wired together, and more complex troubleshooting when issues occur across multiple nodes.
What is the default Linksys 192.168.1.1 password?
The default Linksys password for accessing the router dashboard at 192.168.1.1 is “admin” (all lowercase). You should change this administrator password immediately after completing your initial setup for better network security.
How do I connect mesh WiFi to an existing router?
To connect mesh WiFi to an existing router, you must first disconnect your old router from the modem, power cycle the modem for 30 seconds, then connect the mesh parent node directly to the modem using an ethernet cable in the Internet/WAN port.
Why won’t my Linksys router connect to WiFi?
A Linksys router that won’t connect to WiFi typically shows a red LED light and may have the ethernet cable plugged into the wrong port (LAN instead of WAN), need a modem power cycle, or require a factory reset by holding the reset button for 15-20 seconds.
How close do mesh nodes need to be during initial setup?
Mesh nodes need to be placed within 10 feet of the parent router during initial setup, preferably in the same room. After setup completes and nodes show solid blue lights, you can relocate child nodes to their final positions for optimal coverage.
What do the different LED light colors mean on Linksys mesh nodes?
Linksys mesh node LED colors indicate specific statuses: solid purple means ready for setup, blinking white shows pairing in progress, solid white confirms successful connection, solid blue indicates the node is online and working, and red signals a setup problem requiring troubleshooting.
Can I add more nodes to my mesh network later?
You can add more nodes to your mesh network after initial setup by opening the Linksys app or web dashboard, selecting “Add Device,” powering on the new node within 10 feet of your existing network, and following the on-screen prompts until the solid blue confirmation appears.
What is backhaul in a mesh WiFi network?
Backhaul in a mesh WiFi network is the connection method between nodes, either wireless (automatic, no cables needed) or wired (ethernet cable connection between nodes for faster, more stable performance ideal for high-bandwidth needs or challenging home layouts).
Should I use wired or wireless backhaul for my mesh system?
You should use wired backhaul if you have a multi-story home with existing ethernet, need heavy upload/download capacity for work, stream 4K to multiple devices, have gaming setups, or need to place nodes far apart for maximum stability and speed.
How do I perform a factory reset on a Linksys mesh node?
To perform a factory reset on a Linksys mesh node, hold down the reset button for 15 to 20 seconds until the LED light changes. The node will restart and return to its default settings, ready for setup again.
Which Linksys mesh model should be the parent node in a mixed network?
In a mixed Linksys mesh network, the MBE7000 or LN1400 should be set as the parent router because these models provide better WiFi performance when managing the network compared to other models like the MX6200.
How often do Linksys mesh routers update firmware?
Linksys mesh routers update firmware automatically by default during low-usage periods. Updates occur sequentially across all nodes and may cause brief connection interruptions. You can also manually check for updates through the app or web dashboard anytime.
What information do I need before contacting Linksys support?
Before contacting Linksys support, have your router model number (MBE7000, MX6200, or LN1400), current firmware version, LED light status, specific error messages, ISP information, and a description of troubleshooting steps you’ve already tried ready to share.