


Most homes have dead zones where WiFi just dies, and adding another cheap router only makes it worse by creating competing networks that confuse your devices. Mesh systems solve this by replacing your single router with multiple nodes that work together as one unified network, seamlessly handing off your connection as you move around. Setting up mesh WiFi takes 15 to 30 minutes if you follow the right steps, place nodes correctly, and avoid the common mistakes that cause weak spots and slow speeds.
Essential Prerequisites Before Installation

Good prep work saves you from mid-install headaches. Spend 10 to 15 minutes gathering what you need now, and you won’t be running to the store halfway through setup or discovering your modem won’t play nice with your new mesh system after you’ve already ripped everything out.
Here’s what you’ll need:
An active internet plan from your ISP with a working modem already installed. Compatible modem that works with mesh systems (check the manufacturer’s site or call your ISP if you’re not sure). A phone or tablet running iOS 12+ or Android 8.0+ for the setup app. Ethernet cables to connect the main node to your modem (usually comes in the box). Power outlets within 6 feet of your modem for the primary node. Email address for creating a manufacturer account during setup. Your home’s square footage to figure out if you have enough nodes for full coverage. Clear space around your modem with room to position the primary node and access to cables.
Check modem compatibility by looking at the manufacturer’s compatibility list or your ISP’s documentation. Most cable modems and fiber ONT boxes work fine, but older DSL modems or combo modem/router units sometimes need configuration tweaks. If you’re renting equipment from your ISP, call them to confirm the modem supports bridge mode or can work alongside your mesh setup without conflicts.
Clear the area around your modem so you can reach the Ethernet ports and power cable without moving furniture or unplugging other stuff. Make sure there’s open space (about 3 feet) around where you’ll put the primary mesh node. Closets and cabinets kill wireless signals. Confirm you’ve got power outlets within reach of both the modem and the primary node’s spot. Download the manufacturer’s app before you start connecting hardware so you’re ready to configure as soon as the physical setup is done.
Complete Installation Process Step-By-Step

You’re looking at 15 to 30 minutes from start to finish, depending on how many nodes you’re setting up and how fast your modem resets. Most people hit delays when they skip the modem reset step, which creates IP conflicts and blocks the mesh system from getting online.
Unplugging your modem for 30 seconds before you begin is critical. Your modem locks onto the first device it sees when it powers up. If your old router’s still plugged in, the modem won’t give your new mesh system a valid IP address. That 30 second wait clears the modem’s memory and gets it ready to recognize the mesh router as your new primary device.
Follow these steps in order:
- Unplug your modem’s power cable and wait 30 seconds for a full reset.
- Unbox the primary mesh node (sometimes labeled “router” or marked as the main unit) and put it near the modem in open space, not tucked in a closet.
- Connect the modem to the primary node’s WAN port (might say “Internet”) using the included Ethernet cable.
- Plug in the primary node’s power adapter and wait for the LED to light up (usually white or blue, depends on the brand).
- Open the manufacturer’s app on your phone and create an account or log in if you already have one.
- Follow the in-app steps to detect the primary node, usually by tapping “Set Up New Network” or “Add Device.”
- Create a network name and password with at least 12 characters mixing uppercase, lowercase, numbers, and symbols.
- Wait 2 to 3 minutes for the primary node to get online, shown by a solid LED or in-app confirmation.
- Place satellite nodes in your predetermined spots around your home following the two room or 30 foot spacing rule, then plug them into outlets.
- Use the app to add satellite nodes by tapping “Add Node” or “Expand Network,” which triggers automatic connection to the primary unit without extra config.
Check that everything’s working using the in-app connection test showing all nodes online with green status. Most apps show a network map with the primary node and satellites plus signal strength. Run speed tests using Ookla Speedtest in multiple spots to confirm consistent performance. Test near each node, in rooms between nodes, and in areas that used to have weak coverage. Make sure all your household devices (phones, tablets, laptops, smart TVs) can see and connect to the new network. If speeds anywhere drop below 50% of your ISP plan or devices can’t connect reliably, adjust node placement before calling it done.
Optimal Node Placement and Coverage Expansion

The two room or 30 foot maximum distance guideline is your fundamental placement rule for keeping strong connections between nodes. Space them farther apart and you’ll create weak links where the wireless backhaul struggles, causing slow speeds and dropped connections. Closer spacing (15 to 20 feet) works better in homes with thick walls, multiple floors, or lots of interference.
Open spaces at mid-wall height, halfway between floor and ceiling, spread signal in all directions best. Think of the wireless signal as a sphere radiating from the node. Positioning at waist or chest height (4 to 5 feet off the ground) means the signal travels equally well upward toward bedrooms, downward toward basements, and outward across the main floor without getting absorbed by furniture or blocked by floor joists.
Follow these placement practices:
Put the primary unit in a central spot near the modem, even if that means using a longer Ethernet cable to reach a more central location in your home. Avoid metal objects like filing cabinets, metal shelves, mirrors, and aluminum studs that reflect and block signals. Keep line of sight between nodes when possible by avoiding thick walls, brick fireplaces, and large appliances positioned directly between units. Position nodes near where people actually use devices most, like home offices, living rooms, and bedrooms. Skip enclosed spaces like closets, cabinets, entertainment centers, and storage areas that trap signals. Stay away from microwave ovens, cordless phone bases, baby monitors, wireless cameras, and neighboring WiFi networks. Use in-app signal tests to verify placement by checking connection quality between nodes before mounting permanently. Keep that 30 foot max spacing between nodes, measuring actual walking distance through your home rather than straight lines through walls. Elevate nodes off the floor using furniture, wall mounts, or shelves to prevent carpet absorption and improve coverage to upper floors.
For multi-story homes, position upstairs nodes with a max 30 foot vertical distance from downstairs nodes. Signals penetrate floors better than walls, but concrete subfloors and metal ductwork between levels still weaken connections. Put upstairs nodes directly above or within 15 feet horizontally of downstairs nodes when possible for the strongest handoff. If you’ve got a basement, position the main floor node near the basement stairs so signal travels down the open stairway rather than through solid flooring. Use LED indicators or in-app signal tools to verify optimal positioning before finalizing placement. Most systems show green for strong, yellow for moderate, and red for weak connections. If a node shows yellow or red, move it closer to the nearest node before testing again.
Adding nodes to existing networks means opening the app, selecting “Add Device” or “Expand Network,” positioning the new node following the 30 foot rule from the nearest existing node, and allowing automatic config which takes 2 to 5 minutes. The new node detects the existing network and connects without manual network name entry or configuration changes. Calculate optimal node count based on square footage increases, new construction, or outdoor coverage needs. General guideline suggests one node per 1,500 to 2,000 square feet for typical construction with drywall and wood framing. Homes with brick, concrete, or plaster walls need closer spacing, around one node per 1,000 square feet. Too many nodes with units closer than 20 feet can cause interference and diminishing returns as nodes compete for airspace and create overlapping coverage that confuses devices about which node to use.
Backhaul Configuration Options and Band Management

Backhaul is the communication pathway between mesh nodes that distributes your internet connection throughout the network, separate from the connections between your devices and the nodes.
Wired Ethernet backhaul delivers better performance and tighter security than wireless for homes with existing Ethernet wiring. Max speeds reach 1Gbps or higher depending on cable quality, compared to wireless backhaul speeds of 300 to 600Mbps in typical conditions. Connection stability stays consistent regardless of interference from neighboring networks, microwave ovens, or other wireless devices. Enhanced security comes from physical connections that can’t be intercepted wirelessly. This works ideally for homes with Ethernet wall jacks already installed, where you can connect each node directly to a central network switch or router using existing wiring. Setup involves connecting Ethernet cables from your router to each satellite node’s LAN port, then configuring the mesh app to recognize and use wired backhaul instead of wireless.
Wireless backhaul provides simpler installation without cable runs, greater placement flexibility since you’re not limited to locations near Ethernet jacks, and easier expansion when adding nodes to new areas. Setup happens automatically without configuration since nodes detect each other wirelessly and establish backhaul connections without user intervention. Wireless backhaul does deliver slower speeds than wired because the wireless spectrum is shared between backhaul communication and your connected devices. In practice, this means a device connected to a satellite node two rooms away from your primary router experiences more latency and lower speeds than a device connected directly to the primary node.
Dual-band systems operate on 2.4GHz (longer range but slower speeds of 100 to 300Mbps) and 5GHz (shorter range but faster speeds of 400 to 1200Mbps) with both frequency bands shared between client devices and backhaul communication. When a satellite node uses 5GHz to communicate with the primary router, that same 5GHz band must also serve your laptop, phone, and streaming devices connected to that satellite. This shared bandwidth reduces available speed for devices since the node splits its wireless capacity between backhaul duties and client connections.
Tri-band systems add a dedicated backhaul band (either a second 5GHz radio or a 6GHz radio on WiFi 6E systems) that frees primary bands exclusively for connected devices. The dedicated band handles only node to node communication, while the 2.4GHz and 5GHz bands serve your devices without competition from backhaul traffic. This delivers better performance when 20 or more devices connect simultaneously because the backhaul pathway doesn’t compete with client device traffic for wireless airspace. Homes with fiber internet connections above 500Mbps benefit most from tri-band systems since dual-band wireless backhaul often bottlenecks these faster connection speeds.
Automatic band steering assigns devices to optimal frequency bands based on signal strength, distance from the node, and bandwidth requirements without user intervention. A laptop positioned 10 feet from a node automatically connects to 5GHz for faster speeds, while that same laptop moves to 2.4GHz when you carry it to a distant bedroom where 5GHz signals are weaker. Band steering happens invisibly as you move through your home. Manual band assignment through advanced settings in the app may benefit specific devices like battery powered security cameras needing consistent 2.4GHz connections for better range and lower power consumption, or gaming consoles that should always use 5GHz for max speed.
| Configuration Type | Speed | Setup Difficulty | Best For |
|---|---|---|---|
| Wired Ethernet Backhaul | 1Gbps+ (full ISP speed) | Moderate (requires cable runs) | Homes with existing Ethernet wiring, fiber internet 500Mbps+ |
| Wireless Backhaul, Dual-Band | 300-600Mbps effective | Easy (automatic setup) | Apartments, smaller homes under 2000 sq ft, cable internet under 300Mbps |
| Wireless Backhaul, Tri-Band | 600-1200Mbps effective | Easy (automatic setup) | Larger homes over 2500 sq ft, 20+ connected devices, fiber internet 500Mbps+ |
Network Configuration and Security Settings
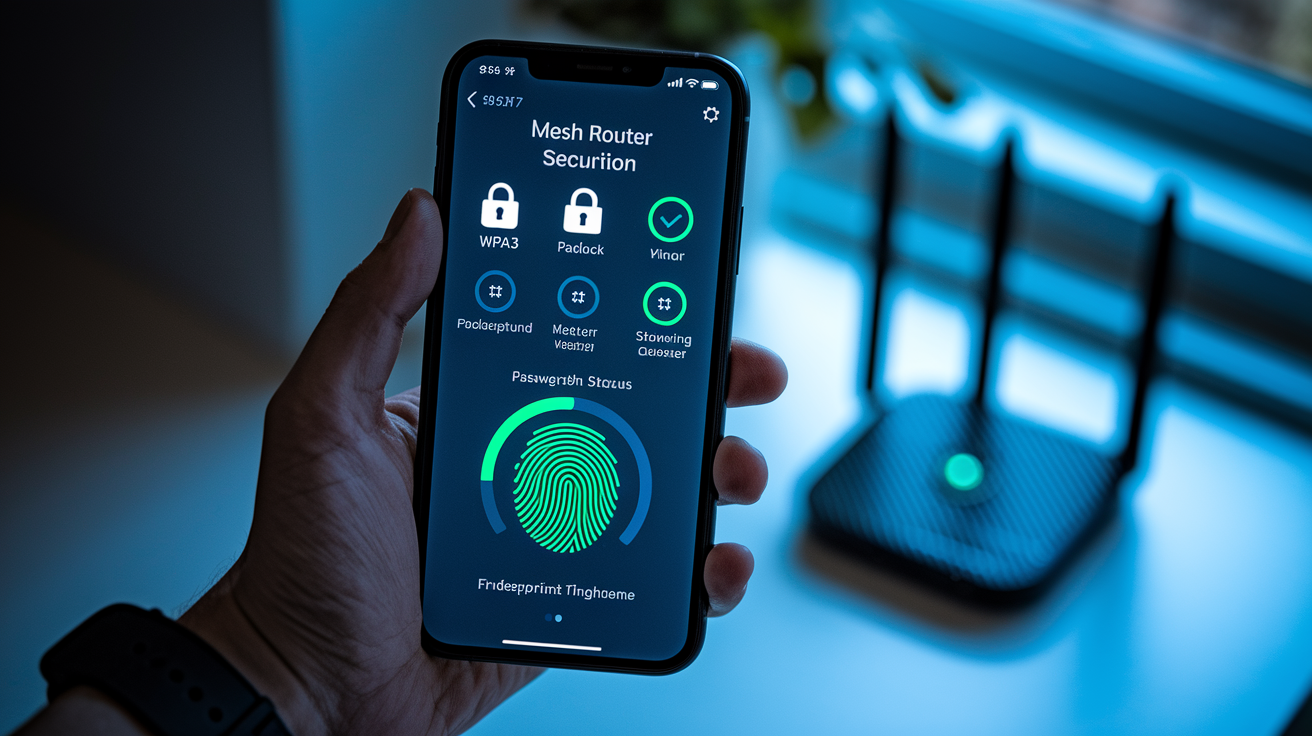
Modern mesh systems use mobile apps rather than web interfaces for simplified initial config and ongoing management. Apps provide step-by-step guided setup with visual instructions, automatic device detection, and troubleshooting tools that web dashboards lack.
Complete these config steps after physical installation:
- Create a manufacturer account with your email and verify through the confirmation link sent to your inbox.
- Allow the app to detect mesh network hardware by granting location and local network permissions when prompted.
- Create a unique network name avoiding personal info like your address, last name, or phone number that could identify your household.
- Set a strong password with a minimum 12 characters including uppercase letters, lowercase letters, numbers, and symbols like “GreenApple#2024$mesh” rather than simple phrases or dictionary words.
- Select WPA3 encryption protocol from the security options menu, or choose WPA2 if your system doesn’t support WPA3 or you have older devices incompatible with WPA3.
- Assign room names to each node (Kitchen, Living Room, Primary Bedroom) for easy identification when troubleshooting or monitoring which node serves specific devices.
- Complete network activation by tapping “Finish Setup” and test connectivity by opening a web browser and loading a website.
Select WPA3 security protocol as the strongest encryption standard offering protection against brute force password attacks where hackers attempt thousands of password combinations. WPA3 provides enhanced safeguarding for IoT devices like smart light bulbs and thermostats that often have weaker built-in security. Password strength matters because short or common passwords can be cracked in hours using readily available hacking tools. Avoid default credentials that come printed on router labels, common words found in dictionaries, or personal info like birthdays and pet names that hackers can discover through social media. Enable built-in firewall protections (usually activated by default) that block unsolicited incoming connection attempts from the internet. Change default admin passwords for accessing the mesh system settings immediately after setup, using a different password than your WiFi network password.
Enable automatic firmware updates to ensure continuous security patches, performance improvements, and new features without manual intervention. Manufacturers release updates monthly or quarterly to fix newly discovered security vulnerabilities, improve connection stability, and add features like better parental controls or device prioritization. Check for and install firmware updates immediately after initial setup to address any known vulnerabilities present in the factory installed software version. Systems typically schedule updates during low usage periods between 2 AM and 4 AM to minimize disruption, and nodes reboot automatically which takes 3 to 5 minutes and briefly disconnects devices before they reconnect automatically.
Network monitoring capabilities include real-time device connection alerts with push notifications sent to your phone when new devices join your network, allowing you to immediately identify unauthorized access attempts or guests connecting without permission. Built-in security features like embedded anti-malware utilities scan network traffic passing through the mesh system, flag devices showing signs of infection or communicating with known malicious servers, and block access to phishing websites and malware distribution sites. Connection logs and device inventories accessible through the app track network activity showing when devices connected, how much bandwidth they consumed, and which websites or services they accessed, helping you identify unauthorized users, bandwidth hogging devices, or compromised IoT gadgets communicating suspiciously with external servers.
Advanced Router Settings and Mode Selection

Mesh systems can operate in different modes depending on existing network infrastructure and whether the mesh replaces or supplements your current equipment. Most home users stick with the default router mode, but specific situations benefit from alternative configs.
Router Mode (Default Setup)
Standard config where the mesh system replaces your existing router completely, with the primary node handling DHCP (assigning IP addresses to all connected devices), firewall protection, and all routing functions. The primary node provides NAT (Network Address Translation) that allows multiple devices to share your single public IP address from your ISP, and serves as the gateway directing traffic between your home network and the internet. This mode works for most home installations where you want a simple all-in-one network without managing multiple devices or complex configs.
Bridge Mode Configuration
Bridge mode disables routing functions in the mesh system to work alongside your existing router, allowing that router to maintain DHCP and gateway control while mesh nodes provide only wireless coverage extension. Configure bridge mode when your ISP provided gateway has specific features you need to keep active (like phone service integration or ISP specific TV service), when you already have an advanced router with custom security rules you want to preserve, or when building a larger network with separate router, switch, and access point components. Setup involves accessing the mesh app’s advanced settings, selecting “Bridge Mode” or “Access Point Mode,” confirming the config change, and allowing the primary node to reboot. After switching to bridge mode, your existing router assigns IP addresses and handles internet traffic while the mesh system focuses exclusively on providing wireless coverage.
Access Point Mode Setup
AP mode transforms the mesh system into pure wireless access points for networks where router functionality must remain with existing equipment. This config disables NAT and DHCP in the mesh system and tells the nodes to use your existing router’s IP addressing scheme. Devices connecting to mesh nodes receive IP addresses from your main router and traffic routes through that router’s firewall and gateway. Configure AP mode by connecting the primary mesh node to your existing router’s LAN port (not the WAN port used in router mode), opening the mesh app, navigating to advanced settings or network mode options, selecting “Access Point Mode,” entering your existing router’s IP subnet (like 192.168.1.x), and saving the config. The mesh system reboots and begins functioning as wireless access points that extend your existing network’s coverage without creating a separate network segment.
Performance Testing, Optimization, and Troubleshooting

Baseline performance testing right after setup completion verifies the network meets your expectations and helps identify problems before they affect daily usage. Testing now, while you’re still in setup mode, means you can adjust node placement or config settings without disrupting established work routines or entertainment schedules.
Testing at multiple locations throughout your home identifies coverage gaps before they become problematic, like discovering your home office has weak signal before an important video call, or learning the backyard patio lacks coverage before planning an outdoor gathering.
Complete these performance tests:
Run Ookla Speedtest at each node location and compare results to your ISP plan speeds (you should see 80 to 90% of subscribed speeds allowing for wireless overhead). Verify all household devices can detect and connect to the network by checking phones, tablets, laptops, smart TVs, gaming consoles, and IoT devices. Conduct roaming tests by walking between rooms while streaming video to test seamless handoff between nodes (video should continue without buffering or connection drops). Monitor bandwidth during peak family usage times (typically 7 PM to 10 PM) when everyone streams, games, and video calls simultaneously. Use manufacturer app signal strength mapping tools showing color coded coverage maps indicating strong (green), moderate (yellow), and weak (red) zones. Check LED indicators on all nodes for solid connection status (solid colors indicate good connections while blinking or off indicates problems).
Compare speeds at different locations to identify performance bottlenecks or weak coverage areas causing slow connections. Speeds within 10 to 20 percent of your ISP plan rates are acceptable given wireless overhead from encryption, multiple device connections, and backhaul communication between nodes. If the primary node shows 500Mbps but a satellite node two rooms away only delivers 150Mbps, the satellite is too far from the primary or obstacles are blocking the signal. Reposition existing nodes versus adding additional nodes based on signal strength readings and dead zone patterns. Moving a satellite node 10 feet closer often solves weak signal issues more effectively than buying another node. Add nodes when repositioning doesn’t help and the problem area sits more than 30 feet from the nearest node.
Connectivity issues are common during initial setup and usually get resolved through systematic troubleshooting steps rather than indicating defective equipment.
| Problem | Likely Cause | Solution |
|---|---|---|
| Satellite nodes not connecting to primary unit | Excessive distance or interference blocking signal | Move satellite closer to primary (within 20 feet for initial pairing), ensure primary unit is online first, check for walls or appliances between units |
| Weak signal in specific rooms | Node placement too far away or obstacles blocking signal path | Add satellite node closer to problem area, reposition existing nodes to reduce obstructions, use wired backhaul if available |
| Devices failing to connect to network | Incorrect password, incompatible security protocol, or outdated device WiFi drivers | Verify password entry (case-sensitive), switch from WPA3 to WPA2 for older devices, update device WiFi drivers or operating system |
| Slower speeds than expected | Wireless backhaul congestion, too many connected devices, or ISP throttling | Test speed directly from modem to verify ISP delivers subscribed speed, reduce device count temporarily, switch to wired backhaul if possible |
| Intermittent disconnections | Channel interference from neighboring networks, firmware bugs, or failing hardware | Use app to switch WiFi channels away from congested ones, update firmware to latest version, check cables for secure connections |
| Nodes showing red or amber LED status | Lost connection to primary node, internet outage, or hardware failure | Verify modem has active internet (check modem LEDs), reboot primary node by unplugging 30 seconds, move affected satellite closer to primary |
Contact manufacturer support when DIY troubleshooting should transition to expert help, including persistent connectivity failures after following all troubleshooting steps where nodes won’t connect even when positioned 10 feet apart, hardware defects indicated by non-responsive nodes that don’t show LED lights even when plugged in, or complex network topology questions about integrating mesh systems with existing business networks or VLANs. Factory reset by holding the reset button for 10 or more seconds (until LEDs flash rapidly) resolves most software related issues by clearing corrupted configs, forgotten password lockouts, or misconfigured network modes. Note that warranty coverage periods typically run 1 to 3 years depending on manufacturer and professional installation services are available for complex home layouts with multiple floors, detached structures, or extensive square footage where optimal node placement isn’t obvious.
Guest Network and Parental Control Setup
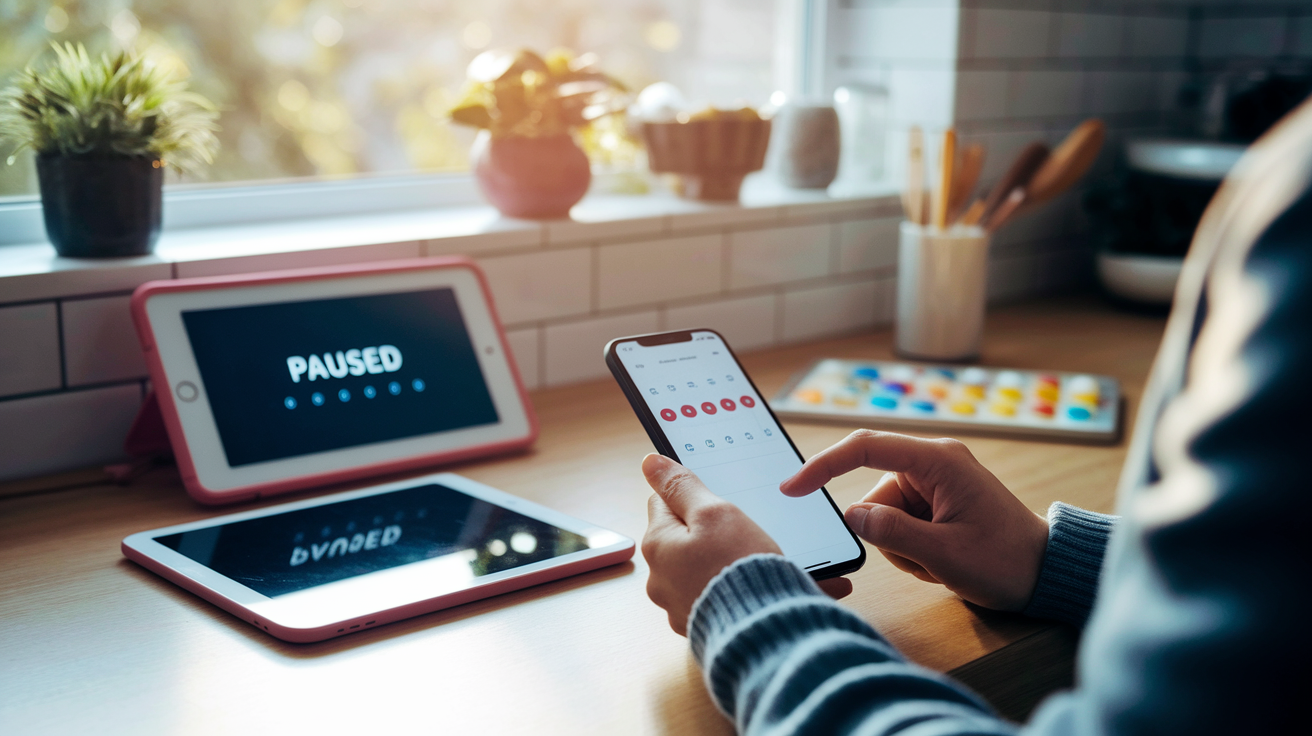
Guest networks and parental controls are essential security and management tools configured after completing basic network setup, usually taking 5 to 10 minutes through the mobile app.
Creating Isolated Guest Networks
Guest network setup through the app starts with opening network settings and selecting “Add Guest Network” or “Guest Access.” Create a separate network name distinct from your main network (like “Smith Family Guest” instead of “Smith Family Home”) and password that you can share with visitors without exposing your main network credentials. Configure network isolation to prevent guest devices from accessing main network resources like shared folders, network printers, smart home devices, and other connected devices on your primary network. This security feature means visitors get internet access but can’t browse your personal files or interfere with home automation systems. Set bandwidth limits to prevent guests from consuming all available bandwidth, typically restricting guest network to 25 to 50 percent of total capacity so visitors can browse and stream without degrading performance for your household devices. Schedule guest network availability for temporary visitors by setting automatic enable times before guests arrive and disable times after they leave, or enable manual on/off controls that let you activate the guest network only when needed and disable it when no visitors are present.
Configuring Parental Controls and Device Limits
Create individual user profiles for family members by opening the parental controls section and selecting “Add Profile” or “Create Family Member.” Name each profile (like “Emma, Age 10” or “Teen Devices”) and assign appropriate age ratings or restriction levels. Assign devices to specific profiles by selecting from the list of currently connected devices or adding devices by MAC address for items that connect intermittently. Implement age appropriate content filtering and website blocking by choosing pre-configured filter levels (Child, Teen, Adult) or creating custom block lists with specific website addresses, categories like gambling or social media, or keywords triggering blocks. Schedule internet access times with bedtime shutoffs by setting allowed hours (like 7 AM to 9 PM on school nights, 8 AM to 11 PM on weekends) that automatically block internet access outside designated times while still allowing devices to connect to the local network for printing or file sharing. Use device pause controls for immediate internet restriction by selecting specific devices or entire profiles and tapping “Pause Internet” which blocks internet access within 30 seconds without requiring schedule changes or logout procedures.
Configure Quality of Service (QoS) priority settings by dragging devices into High priority (work laptops needing consistent video call connections, streaming devices used for family movie nights), Medium priority (smartphones and tablets for general browsing and social media), and Low priority (IoT devices like smart light bulbs, smart home gadgets, firmware update tasks) categories to ensure critical devices receive adequate bandwidth during congestion. When everyone is online simultaneously and total bandwidth demand exceeds your internet connection capacity, high priority devices maintain full speed access while medium and low priority devices share remaining bandwidth proportionally.
Smart Home Device Integration and IoT Connectivity

Mesh networks handle high device counts typical in smart homes including 10 to 30 connected devices per household like video doorbell cameras, motion sensors, smart speakers, thermostats, light bulbs, garage door openers, security systems, robot vacuums, and smart displays. Modern mesh systems support 75 to 150 or more simultaneous connections depending on the model and wireless standard, with WiFi 6 systems handling higher device counts more efficiently than older WiFi 5 systems through improved channel utilization and device scheduling features that reduce airtime conflicts when dozens of devices transmit simultaneously.
Connect devices using multiple methods depending on device type and capabilities. WPS push-button pairing works for compatible devices with physical WPS buttons where you press the WPS button on the mesh node, then press the WPS button on the device within 2 minutes to establish an automatic encrypted connection without entering passwords. App based pairing for smart speakers, streaming devices, and hubs involves opening the device’s companion app, selecting “Connect to WiFi,” choosing your network name, and entering your password. Manual network name entry for devices with displays like smart thermostats and security camera hubs requires navigating the device’s settings menu to WiFi options, selecting your network from the available networks list, and typing your password using the device’s interface. Integrated Zigbee hub connectivity on select models like Amazon eero allows direct smart home device communication without separate hubs by putting compatible Zigbee devices (many smart bulbs, sensors, and switches) into pairing mode, opening the mesh system app, selecting “Add Zigbee Device,” and following pairing instructions that establish connections without using WiFi.
Network capacity planning becomes important when supporting 50 or more connected devices to maintain performance across all connections. Prioritize the 5GHz band for high bandwidth devices like security cameras streaming 1080p video continuously, 4K streaming devices, and gaming consoles requiring low latency and fast speeds by manually assigning these devices to 5GHz through device settings or QoS configs in the mesh app. Relegate IoT sensors to the 2.4GHz band for better range and lower power consumption since devices like door sensors, temperature monitors, and smart switches transmit tiny data packets infrequently and benefit more from 2.4GHz’s longer range than 5GHz’s higher speeds. Use QoS settings to prevent low priority devices from consuming excessive bandwidth by capping bandwidth allocation for non-essential devices like smart refrigerators downloading occasional updates or robot vacuums uploading cleaning maps. Consider tri-band systems or additional nodes when device counts exceed 100 to maintain performance, since even with efficient WiFi 6 technology, over 100 devices competing for airtime on two frequency bands creates congestion that causes latency spikes and connection drops. Adding nodes or upgrading to tri-band systems provides additional wireless channels that spread device load across more radios and reduces per radio congestion.
Monitoring Network Health and Remote Management
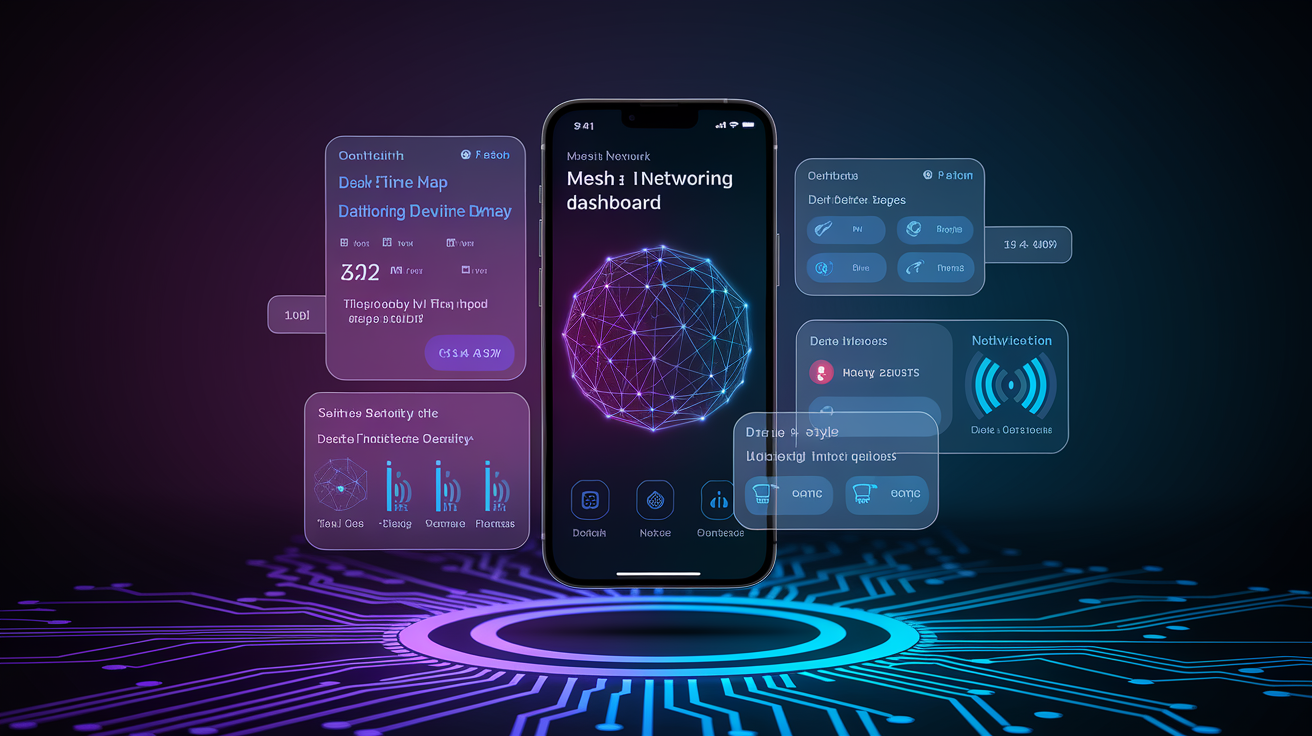
Built-in monitoring tools accessible through manufacturer mobile apps or web dashboards provide real-time network visibility showing what’s happening across your mesh system at any moment, who’s connected, and how bandwidth is being used.
Monitor your network using these features:
Real-time device tracking showing all connected devices with assigned names, device types (phone, laptop, camera), connection status (online or offline), and which node each device connects through. Bandwidth usage analytics displaying which devices consume most data over the past hour, day, or week with sortable lists showing top bandwidth users and total data transferred per device. Security alerts for suspicious activity including multiple failed login attempts to network connected devices, connections to known malicious domains, or infected devices detected by built-in anti-malware scanning. Offline node notifications when satellite units lose connection to the primary node or lose power, alerting you immediately to coverage gaps before family members complain about dead zones. Speed history graphs tracking network performance over time with line charts showing download and upload speeds at different times of day, helping identify patterns like ISP throttling during peak hours. Connected device inventories listing every device that has joined the network since installation with MAC addresses, first connection dates, total connection time, and device manufacturers for identifying unknown or unauthorized devices.
Remote management capabilities allow network setting adjustments from anywhere with internet access through the manufacturer’s cloud service. Pause specific devices remotely while you’re at work by opening the app and selecting devices to block, useful for managing children’s screen time when you’re not home to enforce rules directly. Change WiFi passwords while traveling if you suspect unauthorized access or forgot to change a shared guest password after visitors left. Add temporary guest access for service providers like pet sitters or contractors by creating time limited guest credentials that automatically expire after a specified period without requiring you to remember to delete them later. Reboot nodes to resolve issues without being home by selecting specific nodes or the entire system and tapping “Restart” which often fixes connectivity problems caused by memory leaks or stuck processes.
Configure notification preferences to receive alerts for critical events while filtering routine notifications to prevent alert fatigue. Enable notifications for new device connections so you know immediately when someone joins your network, security threats detected by anti-malware scanning that require immediate attention, and node offline status indicating hardware problems or power outages. Disable or reduce notifications for routine events like firmware update completions, scheduled device pause activations, or bandwidth threshold crossings that don’t require immediate action and would interrupt you with frequent alerts throughout the day.
Final Words
Setting up a mesh network transforms your home’s Wi-Fi from a single-point struggle into seamless, whole-home coverage.
You’ve walked through the complete process: preparing your space, installing the primary node and satellites, optimizing placement, configuring backhaul and security, and troubleshooting common issues.
Now you know how to setup wifi mesh from start to finish.
Test your speeds, adjust node positions if needed, and explore the app’s monitoring tools to keep everything running smoothly.
Your devices will roam between nodes without dropping connections, dead zones disappear, and you’ll finally get consistent coverage in every room.
FAQ
How do you set up a WiFi mesh network?
Setting up a WiFi mesh network involves unplugging your modem for 30 seconds, connecting the primary mesh node to the modem with an Ethernet cable, downloading the manufacturer’s app, creating your network name and password, then placing and connecting satellite nodes throughout your home following the app’s guided setup process.
Can you connect a mesh WiFi system to an existing router?
You can connect a mesh WiFi system to an existing router by configuring the mesh network to operate in bridge mode or access point mode, which disables routing functions in the mesh system while your existing router continues handling DHCP and gateway services.
Does mesh WiFi support wired Ethernet backhaul connections?
Mesh WiFi systems support wired Ethernet backhaul connections, which provide faster speeds, better stability, and enhanced security compared to wireless backhaul by using physical Ethernet cables between nodes instead of sharing wireless spectrum for inter-node communication.
What are the disadvantages of mesh WiFi systems?
The disadvantages of mesh WiFi include higher cost compared to traditional routers, potentially slower speeds with wireless backhaul due to shared wireless spectrum, increased complexity for troubleshooting, and possible performance issues when nodes are placed too close together or exceed recommended distances.
How far apart should mesh network nodes be placed?
Mesh network nodes should be placed no more than 30 feet apart following the two-room rule, with this distance applying to both horizontal spacing on single floors and vertical spacing between floors in multi-story homes for optimal signal strength.
What is the difference between dual-band and tri-band mesh systems?
Dual-band mesh systems operate on 2.4GHz and 5GHz frequencies shared between devices and backhaul communication, while tri-band systems add a dedicated backhaul band (second 5GHz or 6GHz) exclusively for node-to-node communication, improving performance with 20+ connected devices.
How do you add more nodes to an existing mesh network?
You add more nodes to an existing mesh network by opening the manufacturer’s app, selecting “add device,” positioning the new node within 30 feet of the nearest existing node, plugging it in, and allowing the system to automatically detect and configure the additional node.
What security protocol should you use for mesh WiFi?
You should use WPA3 security protocol for mesh WiFi as it provides the strongest encryption standard with protection against brute-force attacks and enhanced safeguarding for IoT devices, falling back to WPA2 only if WPA3 is unavailable on your system.
How do you test mesh network performance after installation?
You test mesh network performance after installation by running Ookla Speedtest at multiple locations throughout your home, comparing results to your ISP subscription speeds, verifying seamless roaming by walking between rooms while streaming video, and checking LED indicators for solid connection status on all nodes.
What is bridge mode on a mesh WiFi system?
Bridge mode on a mesh WiFi system disables the routing functions in the gateway node, allowing the mesh system to work alongside your existing router by providing only wireless coverage extension while your current router maintains DHCP and gateway control.
How many devices can a mesh WiFi system support?
A mesh WiFi system can support 75 to 150+ simultaneous device connections depending on the model, with entry-level systems handling around 75 devices and more robust systems like TP-Link Deco W7200 supporting over 150 connected devices.
How do you set up guest networks on mesh WiFi?
You set up guest networks on mesh WiFi through the manufacturer’s app by creating a separate SSID and password, configuring network isolation to prevent guest access to main network resources, and optionally setting bandwidth limits and scheduled availability for temporary visitors.