
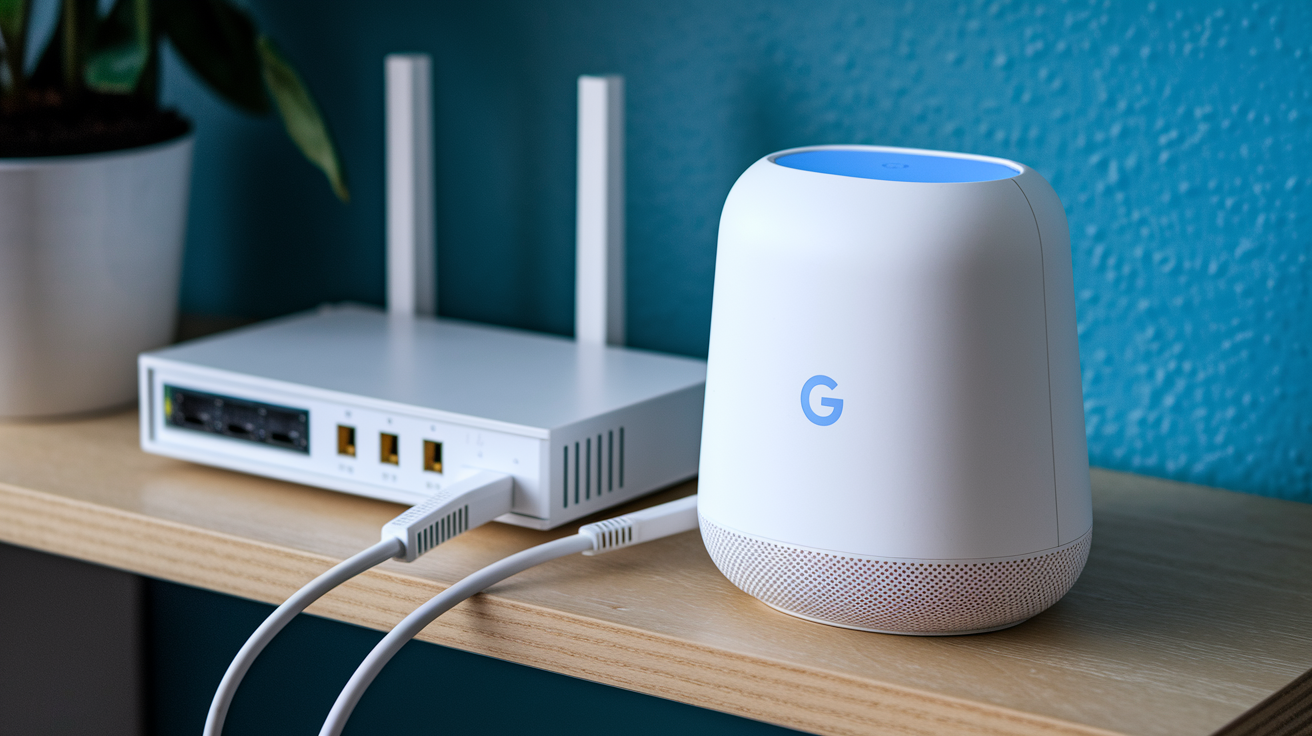

Most people expect WiFi setup to take an hour of confusing menus and tech support calls. Google WiFi breaks that pattern. You’ll finish the entire installation in 10 to 15 minutes using just your phone. No computer, no router login screens, no guessing which cable goes where. This guide walks you through every step, from scanning the QR code to adding extra points for whole-home coverage. By the end, you’ll have a working mesh network and know exactly what each light color means.
Complete Google WiFi Mesh Installation From Unboxing to First Connection
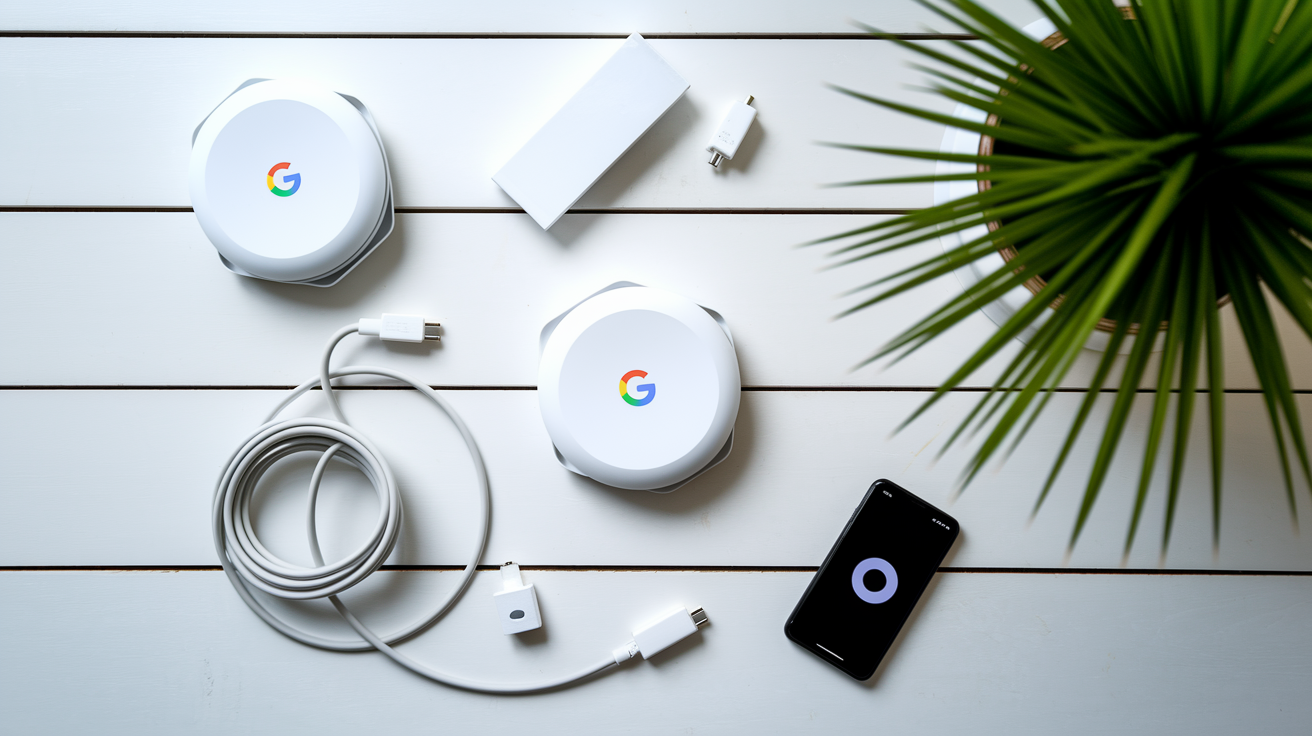
You’ll go from box to working internet in about 10 to 15 minutes. This walkthrough covers everything from opening the package to connecting your first device. All the work happens through your phone. No computer needed.
Before you start, grab these items: Google WiFi points (router plus any extra points), a Google Account, the Google Home app on your Android or iOS phone, active internet service, your modem, an ethernet cable (one usually comes in the box), and power adapters for each WiFi point. You’ll also need Bluetooth turned on. The app uses it to talk to the WiFi hardware during setup. There’s no computer access for Google WiFi settings. Everything gets configured through the mobile app.
- Download the Google Home app from the Google Play Store or Apple App Store and install it.
- Take the ethernet cable and connect one end to your modem, the other to the Google WiFi router (the primary point).
- Plug the power adapter into the primary WiFi point, then into a wall outlet.
- Wait about 90 seconds while it initializes. You’ll see a pulsing blue light during this time.
- Turn on Bluetooth in your phone’s settings if it’s not already active.
- Open the Google Home app and sign in with your Google Account.
- Hold your phone within 3 feet of the WiFi point. Proximity matters for the initial connection.
- In the app, tap “Devices,” then tap “Add,” and select “New Device.”
- Point your phone camera at the QR code on the bottom of the WiFi point and scan it. This creates a secure link between your phone and the hardware.
- Follow the prompts to name your network and create a password (minimum 8 characters recommended).
- Wait for the solid blue light. Setup’s complete.
- Test your connection by opening a browser or app on your phone.
| Light Color/Pattern | Meaning | What To Do |
|---|---|---|
| Pulsing blue | Device starting up (90 seconds) | Wait for initialization to complete |
| Solid blue | Ready for setup or setup complete | Proceed with app setup or begin using network |
| Pulsing white | Connecting to internet | Wait for connection establishment |
| Solid white | Working properly | Normal operation |
| Pulsing amber | No internet connection | Check modem and ethernet connections |
| No light | Powered off or hardware issue | Verify power connection |
When naming your network, you can reuse your previous WiFi network name and password. This saves time. Your phones, tablets, and smart home devices will reconnect automatically without needing to re-enter credentials on every single device. If you create a new network name, write it down before finishing setup. For the password, stick with at least 8 characters and avoid weird symbols that might confuse older devices. Keep the name simple if you plan to share it with guests often.
After setup finishes, the light turns solid white. This means normal operation. Your network’s live and ready. Any device can now connect using the network name and password you just created. If you bought additional WiFi points to expand coverage, you’re ready to add them next.
Strategic WiFi Point Placement and Network Expansion

Add more points when your home has coverage gaps, multiple floors, or more square footage than a single point can handle. Each additional point extends the network under the same network name. Devices roam automatically without switching networks manually.
- Plug in the additional WiFi point somewhere within range of your primary router or an existing mesh point.
- Wait for the pulsing blue light that shows the device is ready.
- The Google Home app will automatically detect the new point and show a setup prompt.
- Look at the WiFi point itself. You’ll see random letters and numbers after the word “setup” displayed on or near the device. Match these with what the app shows on your screen.
- The app runs an automatic connection test to check signal strength.
- If the connection comes back rated below “Very Good,” follow the app’s placement recommendations and move the point.
The primary router covers up to 2,200 square feet. Each additional point covers up to 1,600 square feet. Keep points no more than two rooms apart for the best performance. Pushing them farther creates weak links in the mesh. Larger homes often need more than three units total. Unlike old WiFi extenders that cut your bandwidth in half, mesh technology keeps full speed across all points.
When placing your WiFi points, follow these guidelines:
Position them in open, elevated spots like shelves, mounted on walls, or even on the ceiling if possible. Avoid closed cabinets, closets, and cramped spaces behind furniture. These kill signal strength. Keep the point central within the area you want to cover. Stay away from metal appliances, large electronics, and microwaves. Try to maintain line of sight between points through doorways when your home layout allows it. Space points evenly throughout your home for balanced coverage. Place the first point near your modem since it needs the ethernet connection. Avoid putting points near aquariums or thick concrete walls. For multi-story homes, stagger point placement vertically on different floors. Don’t line them up directly above each other. After installation, use the mesh test feature to verify placement worked.
Thick walls and floors reduce signal penetration significantly. Metal objects and large appliances cause interference. The farther apart you space points, the weaker the connection quality between them. When you have many devices connected, each point handles a portion of the load. One tricky situation: if a device sits exactly between two points, it might struggle to pick which one to use and require you to manually reconnect. For multi-story homes, vertical spacing matters. Signals travel differently up and down compared to across a single floor. If you live in an apartment, your own devices might compete with neighboring networks, especially in dense buildings.
To verify your placement decisions worked, run a mesh test. Open the Google Home app, go to Settings, then Network check, then Test mesh. The test takes about 30 seconds. It measures connection strength between all your WiFi points. You’ll see ratings like “Excellent” when points sit close to the router, “Very Good” for typical placement through walls, and lower ratings if spacing is too far. The app automatically runs this test after you connect all devices initially. If the app shows a “Fix It” button, tap it for specific recommendations about which point to move and where. After making changes, run the test again to confirm improvement.
Google WiFi Mesh System Hardware Requirements and Compatibility

You’ll need a primary Google WiFi or Nest WiFi router, optional additional Google WiFi or Nest WiFi points for expanded coverage, an ethernet cable at least 3 feet long (a 6.5 foot cable typically comes in the box), a power adapter for each point, and an active modem from your internet service provider.
Google WiFi works with all major internet providers. Cable, fiber, and DSL. The primary point must connect directly to your modem via ethernet. If your ISP gave you a gateway or modem-router combo unit, you might need to enable bridge mode to avoid conflicts. One example: the AT&T BGW210-700 fiber gateway works successfully with Google WiFi without double NAT issues when configured correctly. You can disable the ISP router’s WiFi function while keeping DHCP active. This setup avoids interference while maintaining necessary network services.
Google WiFi only works with other Google WiFi and Google Nest WiFi devices. You can’t mix it with Cisco, Linksys, Netgear, or any other brand’s mesh systems. It doesn’t function as an extender for non-Google routers, and you can’t use the ethernet ports to connect Google WiFi to another company’s router for mesh expansion. The system is a closed ecosystem.
If you currently use another router, remove it from your network or place it in bridge mode before setting up Google WiFi. Running both routers at full functionality creates double NAT issues that slow connections and break port forwarding. The cleanest approach is to disable your existing router’s WiFi entirely and let Google WiFi handle everything.
Network Configuration and Advanced Settings Management

All network management happens through the Google Home app. There’s no browser based router interface. You can’t type an IP address into Chrome to access settings. Open the Google Home app, find your WiFi device in the list, and tap it to access settings. You never need a computer for any configuration changes.
Basic settings you can adjust include:
Network name and password changes, guest network creation and management, parental controls and content filtering, device prioritization for bandwidth allocation during set time periods, network speed testing, connected device viewing and management (the system supports up to 100 devices), WiFi sharing via QR code for easy guest access, network notifications and alerts for new device connections.
For security, WPA3 encryption is enabled by default. This is the strongest WiFi security standard currently available. Setting up a guest network isolates visitors from your main network devices, so they get internet access without seeing your printer, smart home devices, or shared files. The guest network uses a separate password from your main network. You can control how long guest access lasts and block or schedule specific devices. The Family WiFi feature lets you pause internet access for particular devices or groups, helpful for enforcing screen time limits.
Google WiFi updates itself automatically. Firmware updates are enabled by default and typically run during low usage hours, usually late at night. You don’t need to do anything. The system handles updates on its own. If you want to check for updates manually, that option exists in settings. The app notifies you when updates happen, though you probably won’t notice since they occur during downtime.
| Setting | Purpose | Configuration Details |
|---|---|---|
| DNS Configuration | Custom DNS servers for privacy, ad-blocking, parental filtering | Enter primary and secondary DNS server addresses in Advanced networking section |
| DHCP IP Reservations | Assign fixed IP addresses to specific devices | Useful for network printers, security cameras, servers requiring consistent addresses |
| Port Forwarding | Direct external traffic to specific internal devices | Required for gaming consoles, remote access, security systems, servers |
| Bridge Mode | Disable Google WiFi routing functions | Use when keeping existing router, disables mesh capabilities |
| IPv6 Support | Enable modern IP protocol | Toggle on/off based on ISP requirements and device compatibility |
| WAN Settings | Configure internet connection type | PPPoE setups, static IP from ISP, automatic or manual configuration |
| UPnP Control | Automatic port configuration for applications | Enable for gaming and media streaming apps requiring dynamic ports |
| Dual Band Management | 5GHz (4×4) and 2.4GHz (2×2) optimization | Automatic band steering, device compatibility, range vs. speed balancing |
Troubleshooting Common Google WiFi Mesh Setup Issues
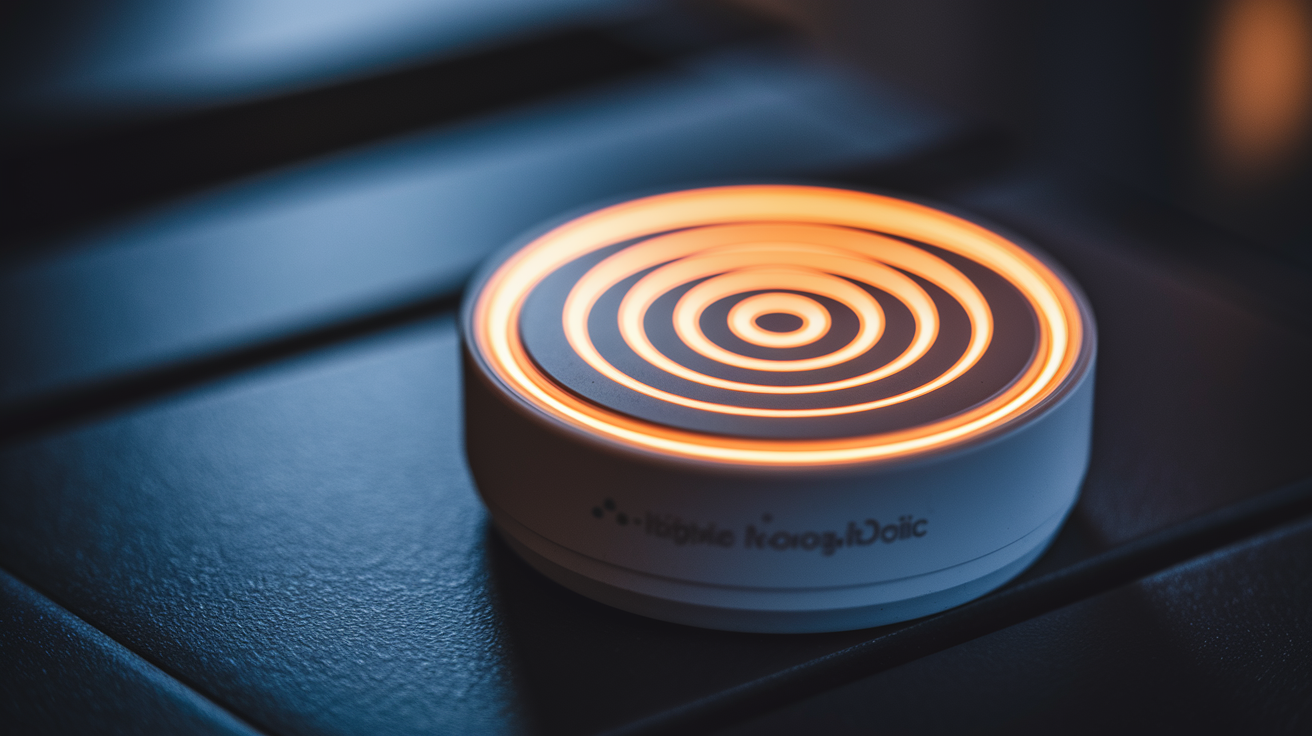
Setup problems happen sometimes, but they usually resolve quickly. Most issues have straightforward fixes you can try before contacting support. The LED light patterns on your WiFi points give you clues about what’s wrong. Here are solutions for the most common problems.
Google WiFi Point Not Detected During Setup
The Google Home app uses Bluetooth to find and connect to WiFi points during initial setup, so your phone needs to be close enough to establish that connection.
Check these things in order: make sure Bluetooth is turned on in your phone’s settings, move your phone closer to the WiFi point (within 3 feet works best), close and restart the Google Home app, verify the WiFi point is powered on and showing a pulsing blue light (not solid or amber), wait for the full 90 second initialization period to complete, then try the setup process again. Often it works on the second try without any changes. Also verify the Google Home app is updated to the latest version in your phone’s app store. The LED indicators tell the story. Pulsing blue means the device is ready for setup, no light means there’s a power issue, and pulsing amber indicates the device is trying to connect but failing.
Additional WiFi Points Showing Offline
When a mesh point shows offline in the app, it means the device lost connection to the primary router or another mesh point in the network.
Start with the basics: verify the power cable is plugged in securely at both the point and the wall outlet. Check how far the point sits from the primary router. If it’s more than two rooms away, the connection might be too weak. Run a mesh test in the app to see connection ratings between all points. If the offline point shows a weak rating, move it closer to either the primary router or another mesh point with a strong signal. Look at the LED light. Pulsing amber means connection problems, while solid white indicates proper operation. If the point still won’t connect, factory reset it by holding the reset button for 10 seconds until you see a flashing blue light, then add it through the app again following the standard process.
No Internet Connection After Setup
When your WiFi points are online but devices can’t reach the internet, the problem is usually between the primary point and your modem.
Work through these steps: verify the ethernet cable is firmly connected to both your modem and the primary WiFi point. Check the primary point’s LED. Pulsing amber means it can’t reach the internet. Try restarting your modem first by unplugging it for 30 seconds, then waiting for it to fully restart (all lights stable). After the modem is back up, restart the primary WiFi point. Look at your modem’s lights to confirm it’s receiving an active internet signal from your provider. If the modem looks fine but you still have no internet, check for service outages or account issues with your ISP. If you’re using a gateway or modem-router combo from your ISP, you might have double NAT issues. Disable the gateway’s WiFi or enable bridge mode in its settings. Make absolutely sure the primary point is connected to your modem, not to another router.
Managing Multiple Devices and Smart Home Integration on Google WiFi

Google WiFi supports up to 100 devices connected at the same time. Real world testing with 80 plus devices shows the system stays stable under heavy loads. You don’t need to configure device limits manually. The system manages connections automatically. Performance depends more on how many devices are actively using bandwidth at once rather than total connected devices. All connected devices share the available bandwidth, so streaming 4K video on five TVs while gaming will impact performance more than having 50 idle smart home sensors online.
Common device types that connect to Google WiFi include smartphones and tablets, laptops and desktop computers, smart TVs and streaming devices, smart home devices like thermostats, cameras, lights, and locks, gaming consoles and entertainment systems, voice assistants and smart speakers.
One major advantage of mesh networks is easy roaming. Devices automatically switch between WiFi points as you move through your home. The system uses a single network name across all points, so your phone doesn’t see separate networks to choose from. No manual network switching is required when walking from room to room. The handoff maintains active connections. Video calls and music streaming continue without dropping. If you need to prioritize certain devices for bandwidth intensive activities like video calls or gaming, device prioritization is available in the app for set time periods.
Google WiFi works with all major smart home platforms. If you have the newer Nest WiFi points (not the original Google WiFi), Google Assistant is built directly into the hardware, letting you use voice commands to manage your network, check internet speed, or control compatible smart home devices. The system optimizes connectivity for IoT devices that use minimal bandwidth, like door sensors and temperature monitors, while still handling high bandwidth devices like security cameras streaming video.
Final Words
Setting up your Google WiFi mesh network takes about 10 to 15 minutes from unboxing to first connection.
Once your primary point is connected to the modem and you’ve scanned the QR code through the Google Home app, the setup wizard handles most of the work. Add extra points by plugging them in and matching the letters on-screen.
When you learn how to setup google wifi mesh properly, you get whole-home coverage, seamless roaming between points, and support for up to 100 devices without switching networks as you move around.
If something doesn’t work the first time, try again. Most setup issues resolve with a quick retry or a mesh test adjustment.
FAQ
How do I connect my Google mesh to Wi-Fi?
To connect your Google mesh to Wi-Fi, plug the primary WiFi point into your modem using an ethernet cable, power it on, wait for the pulsing blue light (about 90 seconds), then open the Google Home app on your smartphone to complete setup by scanning the QR code on the device bottom and following the in-app prompts.
What is a major disadvantage of a mesh network?
A major disadvantage of a Google WiFi mesh network is its closed ecosystem compatibility, meaning it only works with other Google WiFi or Nest WiFi devices and cannot integrate with third-party mesh systems from Cisco, Linksys, or Netgear, limiting your expansion options to Google products only.
Can I add Google Wifi to an existing router?
No, you cannot add Google WiFi to an existing router as a mesh extender. Google WiFi requires the primary point to connect directly to your modem, and your existing router should be removed or placed in bridge mode to avoid double NAT issues and connection problems.
How do I reset my Google Wifi mesh?
To reset your Google WiFi mesh point, hold the reset button on the device for 10 seconds until you see a flashing blue light, which indicates the factory reset is in progress. After resetting, the device will restart and you’ll need to re-add it through the Google Home app.
How long does Google WiFi setup take?
Google WiFi setup takes approximately 10 to 15 minutes for the initial installation from unboxing to first connection. The primary WiFi point needs about 90 seconds to initialize after plugging in, and the remaining time is spent completing the Google Home app configuration process.
How many Google WiFi points do I need?
The number of Google WiFi points you need depends on your home size. The primary router covers up to 2,200 square feet and additional points cover up to 1,600 square feet each. Place WiFi points no more than two rooms apart for optimal performance.
Can I use my old network name and password with Google WiFi?
Yes, you can reuse your previous network name and password during Google WiFi setup to avoid reconfiguring all your connected devices. This option appears in the Google Home app setup wizard when you create your network credentials.
How do I know if my Google WiFi is working properly?
Google WiFi shows a solid white light during normal operation after setup completes. You can verify network performance by running a mesh test through the Google Home app (Settings > Network check > Test mesh), which takes about 30 seconds and measures connection strength between all WiFi points.
Where should I place my Google WiFi points?
Place Google WiFi points in open, elevated locations like shelves or wall-mounted positions, avoiding closed cabinets and cramped spaces. Keep points no more than two rooms apart, away from metal appliances and thick walls, and position them centrally within the intended coverage area for best results.
How many devices can Google WiFi support?
Google WiFi supports up to 100 connected devices simultaneously on a single network. Real-world testing with 80-plus devices shows stable performance, though actual performance depends on how many devices are actively using bandwidth at the same time.