
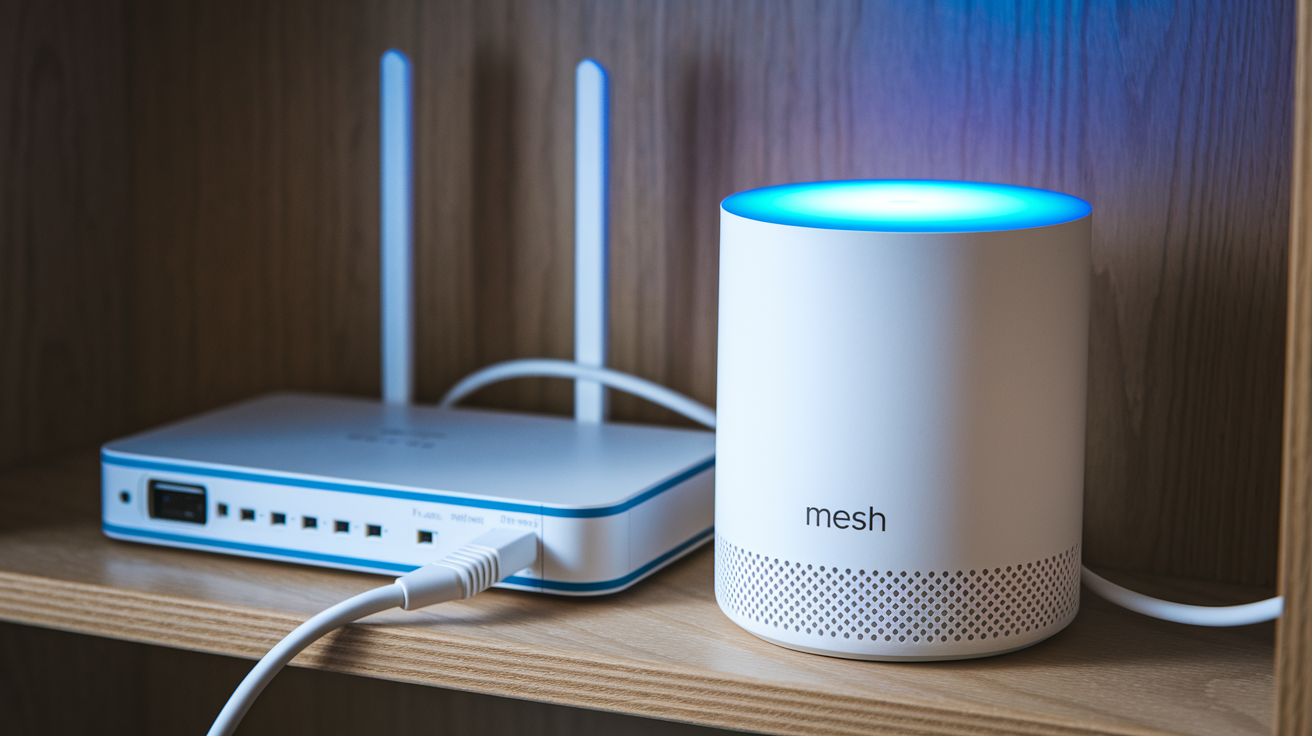

Most mesh WiFi setups promise fast installation, but you’ll actually spend an hour untangling confusing instructions and waiting for devices to connect. Not with eero. The whole process runs through one mobile app, takes 10 to 15 minutes from opening the box to streaming on your couch, and works the same whether you’re setting up one unit or six. You’re plugging in your gateway eero, scanning a code, naming your network, and you’re done. No tech background required, just a phone and 15 minutes.
Complete eero Mesh WiFi Installation Steps

Setting up your eero mesh WiFi system happens entirely through the mobile app. The whole thing usually takes 10 to 15 minutes from unboxing to having your network up and running. You’ll be connecting your gateway eero to your existing modem to get coverage throughout your home.
Step 1: Verify Prerequisites and Prepare Equipment
Make sure your phone runs iOS 15.0 or higher if you’re on Apple, or Android 9.0 or higher for Android devices. You need an active mobile data connection, and turn off WiFi on your phone during setup. Your internet service should provide at least 1 Mbps from your ISP.
Unbox your eero gear and check that you’ve got the gateway eero unit with built-in Ethernet port, power adapter, ethernet cable, and quick start guide. Look over everything for damage before you start. Find your existing modem and figure out which ethernet port you’ll use.
Step 2: Download and Configure the eero Mobile App
Open Google Play Store for Android or Apple App Store for iOS. Search for “eero” and grab the official eero app. Verify it’s published by eero LLC. Install it and open once the download finishes.
Create a new eero account by entering your name, phone number, and email, or log in with your existing Amazon account. Accept the terms of service and privacy policy when it asks. Grant the app permissions for location services and Bluetooth so it can detect your device. Keep the app open and move on to the physical setup.
Step 3: Disconnect Existing Network Equipment
Unplug your existing modem from power completely. If you’ve got a separate router, unplug that too and set it aside. It’s getting replaced by eero. Wait a full 30 seconds so the modem powers down and clears its cache. This matters because the modem needs to recognize the new eero device when you reconnect everything.
Step 4: Connect Gateway eero to Your Modem
Grab the included ethernet cable from your eero package. Connect one end to any ethernet port on your modem, or plug directly into nbn™ NTD if there’s no separate modem.
Connect the other end to either ethernet port on your gateway eero. Put the gateway eero somewhere elevated and central, like on a shelf or tabletop. Don’t put it on the floor, inside cabinets, or behind big furniture. Keep it away from large metal objects and electronics that mess with the signal.
Step 5: Power Up Your Network Equipment in Sequence
First, plug your modem back into power and wait 60 to 90 seconds for it to fully boot up and grab an internet connection. Watch for your modem’s lights to show a stable connection. This varies by ISP and modem model, but you’re usually looking for solid green lights.
Once the modem’s fully online, connect the power adapter to your gateway eero. Plug it into a wall outlet. Skip the power strip if you can. Watch the LED on top of the eero.
LED Status Indicators During Startup:
Flashing white means eero’s powering on and booting up. Takes 30 to 45 seconds. Flashing blue means eero’s ready for pairing and the app has detected it. Shows up after the white flashing stops. Solid blue means eero’s successfully connected to the app and talking to eero’s cloud servers. Solid white means eero finished setup and is working normally. This appears after everything’s configured.
If the LED stays flashing white for more than 2 minutes, unplug the eero, wait 10 seconds, and plug it back in. If it never turns blue, make sure your phone has the eero app open and mobile data enabled, not connected to WiFi.
Step 6: Pair Gateway eero Through the App
Go back to the eero app on your phone. It should automatically detect your powered eero and show “eero found.” If it doesn’t within 60 seconds, tap “Add eero device” manually.
When prompted, scan the QR code or serial number with the SN barcode on the bottom of your eero, or type in the serial number. Confirm the eero model matches what you’re setting up. Wait while the app connects with the eero. Usually takes 30 to 45 seconds. The LED will go from flashing blue to solid blue when it’s paired. The app will then test the internet connection through your modem.
If the app can’t find your eero, check that Bluetooth and location services are on. Move your phone closer to the eero, within 10 feet, and try again.
Step 7: Select Installation Location and Name Your eero
The app will ask where this gateway eero is located, like “Living Room,” “Office,” or “Bedroom.” Pick the room name from the list or make up your own. This helps you manage multiple eeros later if you expand. Tap “Next” to move on.
Step 8: Create Your WiFi Network Name (SSID) and Password
The app will show “Create your eero network.” Enter your WiFi network name, which is what shows up when devices search for networks. Pick something memorable and easy to type.
Create a strong password with at least 8 characters. The app shows password strength. eero automatically turns on WPA3 encryption for security, while keeping WPA2 compatibility for older devices.
You can reuse your existing WiFi network name and password exactly as they were. This lets all your previously connected devices like phones, tablets, and smart home gear automatically reconnect without reconfiguring. But don’t run your old router at the same time with the same SSID. Running two networks with identical names causes serious connection problems.
Tap “Create Network” once you’ve entered everything.
The app will now apply your network settings to the eero, set up the mesh network, connect the eero to cloud services for remote management, and run a final connectivity test. Takes 60 to 90 seconds.
Step 9: Connect to Your New eero Network
Once setup finishes, the app will show “Setup complete!” The eero LED will be solid white, meaning normal operation. On your phone, turn off mobile data and turn on WiFi. Select your newly created eero network from available networks. Enter the password you just made. Your phone will connect. The app will now show your eero dashboard with network insights and management options.
Basic single eero setup is done and typically takes just 10 to 15 minutes from start to finish. The solid white LED confirms your eero’s working normally and providing coverage. You can now connect all your devices to the new network, and firmware updates will install automatically in the background. Additional eeros can be added anytime to expand coverage, covered in the next section.
Adding Additional eero Devices to Expand Mesh Coverage

Adding more eeros is optional but worth it for larger homes, especially if you’ve got weak signal in certain rooms or dead zones. Any eero model can be added as satellite nodes after your gateway eero’s set up. They connect either wirelessly or through ethernet cable.
Adding satellite eeros takes just a few minutes per device:
- Open eero app and select “Add eero device”
- Plug in additional eero where you want it
- Wait for LED to flash blue
- Scan serial number (SN barcode on bottom) or enter manually
- Follow app prompts to finish
For best performance, place eero devices around 50 feet apart to keep signal overlap and strong connections between units. Put additional nodes centrally between dead zones and the gateway device or another eero for stronger connection. Small apartments typically need one to two eero devices while larger houses may need four to six depending on layout, wall construction, and square footage.
Optimal eero Placement for Maximum Wifi Coverage

Where you put your eeros really impacts performance across your entire mesh network. Elevation and open spaces improve signal, helping WiFi reach farther and get through obstacles better.
6 placement best practices:
- Place on shelves or tabletops rather than floor level
- Keep around 50 feet between units
- Position centrally in rooms or hallways
- Avoid enclosed spaces like cabinets or media consoles
- Keep away from large metal objects and electronics
- Multi-story homes require vertical spacing
Walls and obstacles cut down WiFi coverage, and different materials impact signals differently. Hiding units in furniture or cabinets hurts performance because the physical enclosure blocks signal transmission. Metal objects and large electronics like TVs, refrigerators, and microwaves create interference that weakens your mesh network’s ability to communicate between nodes and reach your devices.
Setting Up Ethernet Backhaul for Enhanced eero Performance

Ethernet backhaul is optional but recommended if your home has existing ethernet wiring or you want maximum speed and reliability between eero units. Not all eero models have ethernet ports, so check your specific model before planning a wired setup.
Wired backhaul means connecting your satellite eeros to the gateway eero or to each other using ethernet cables instead of relying only on wireless connection. Run ethernet cable from your gateway eero to additional eero units throughout your home. Benefits include faster speeds, more reliable connection between nodes, and reduced wireless congestion because communication between eeros happens over wired connection instead of competing with your device traffic. This works great for homes with existing ethernet wiring in walls or if you’re willing to run cables for better performance.
Wireless backhaul is the default when eeros connect to each other using WiFi signals to create the mesh network. Devices without ethernet ports only support wireless connection and will automatically join the mesh wirelessly. The system automatically figures out the best mesh paths and selects the best connection route between nodes, balancing load and signal strength without you doing anything.
Configuring eero Guest Network and Security Settings

Setting up a guest network through the eero app takes just a few taps. Open the app, go to Settings, and select Guest Network. Turn on the feature, then create a separate SSID and password just for visitors. This network keeps guest devices away from your main network, stopping visitors from accessing shared folders, printers, smart home devices, or other equipment connected to your primary network.
eero Secure includes useful features like ad blocking, parental controls, and content filtering at the network level. Threat detection watches for suspicious activity and blocks known bad sites before devices can access them. Some ISP subscriptions, like Astound’s basic Whole Home WiFi with eero, include eero Secure at no extra charge.
eero Plus is a premium subscription for $9.99 per month that adds VPN protection, password manager, and virus and malware protection. Additional features include advanced family profiles with individual settings per family member, device activity insights, and device priority to give more bandwidth to important devices during high traffic periods. The VPN service encrypts your internet traffic on all connected devices, and the included password manager securely stores login credentials accessible across your household.
Troubleshooting Common eero Setup Issues

Setup issues happen sometimes, but most problems have simple fixes that take just a few minutes.
eero not detected by app: Check the LED status on your eero. If it’s not flashing blue, the device may not be ready for pairing. Unplug the eero, wait 10 seconds, and plug it back in. Make sure your phone has Bluetooth and location services on, and that you’re within 10 feet of the eero during setup.
Cannot connect to cloud: Check that your modem has active internet connection by looking at its lights. Most modems show solid green when connected properly. If modem lights indicate a problem, unplug the modem for 30 seconds, then plug it back in and wait 60 to 90 seconds for full restart. Confirm your ISP account is active and service isn’t interrupted.
Devices won’t connect to network: Toggle WiFi off and on in your device settings, which forces a fresh connection attempt. If that doesn’t work, restart the device completely. On phones, airplane mode on and off does the same thing. Double check that you’re entering the correct password.
Weak signal between eeros: Check the distance between units. If they’re more than 50 feet apart or separated by multiple thick walls, move them closer. Open the eero app and check signal strength indicators for each node. Move eeros to elevated locations and away from metal objects or large electronics that cause interference.
App setup failure: If setup fails repeatedly, do a factory reset by holding the reset button on the bottom of your eero for 10 seconds until the LED flashes yellow. Release the button and wait for the device to restart. If problems keep happening, uninstall and reinstall the eero app, then try setup again from the beginning.
Contact eero support at 1300 880 905 if issues continue after trying these solutions. The support team can remotely access diagnostic data from your eero network and provide specific guidance. Warranty information and extended troubleshooting resources are available through the eero app under Settings and Help sections.
Advanced eero Configuration: Bridge Mode and Double NAT

Advanced configuration becomes necessary when you have a modem and router combination device from your ISP, or existing network setup you want to keep. Most users can skip this section and use the standard setup process described earlier.
Setting Up eero with Modem/Router Combo Device
Running two networks with the same SSID causes serious problems including connection drops, device confusion, and slow speeds. Bridge mode is recommended for modem and router combo devices to avoid conflicts. Access your combo device’s admin interface, usually through a web browser at an address like 192.168.1.1 or 192.168.0.1. Look for settings labeled Bridge Mode, Access Point Mode, or Disable Router Function. Turn on this setting to disable the routing capabilities while keeping modem function active. This lets eero handle all routing and WiFi duties without interference.
Understanding Double NAT Configuration
Double NAT happens when two routers on your network both perform Network Address Translation, creating two separate private networks. This occurs if you don’t enable bridge mode on your ISP’s modem and router combo. For typical home use like browsing, streaming, and video calls, double NAT causes minimal impact. But it can create problems with gaming, port forwarding, VPN connections, and some smart home devices that require specific network configurations. Check for double NAT in the eero app under Settings and Network Settings. If detected, the app will notify you.
Replacing Existing Router with eero
Remove your old router completely and use eero as your primary router system. Unplug your existing router and set it aside. Connect your eero gateway directly to your modem using ethernet cable as described in the main setup steps. This gets rid of any potential conflicts and lets eero’s mesh system work at full capability. If your old router provided additional ethernet ports you were using, consider adding an eero model with ethernet ports to restore wired connections for devices like gaming consoles, desktop computers, or smart TVs.
Testing and Optimizing Your eero Mesh Wifi Network
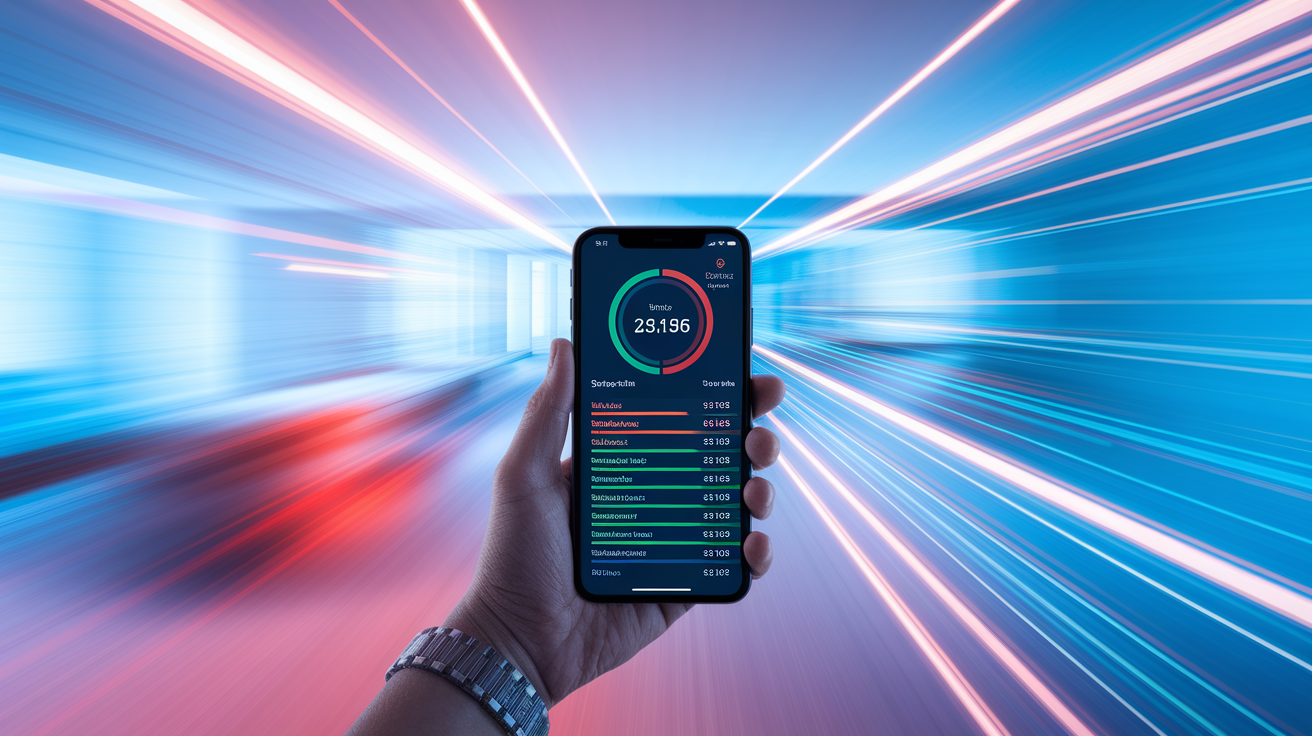
Testing your completed setup confirms coverage reaches throughout your home and speeds meet expectations. The eero app includes built in speed test tools, or you can use third party tools like speedtest.net from various devices in different locations to measure performance.
Open the eero app and go to the speed test feature. Run a test to establish your baseline internet speed. This measures the speed between your modem and the internet. Then, move to different rooms and run speed tests from your phone or laptop to see actual WiFi performance at various distances from eero units.
5 optimization tips:
- Run speed tests from multiple locations throughout your home
- Check coverage in previous dead zones to confirm improvement
- Verify all devices can connect successfully without dropping
- Review network insights in app to identify usage patterns
- Adjust eero placement if weak spots remain after initial setup
Network performance monitoring happens automatically through the eero app, which tracks usage, identifies which devices consume the most bandwidth, and alerts you to potential issues. Firmware updates install automatically in the background without needing you to do anything or causing network interruption. Use bandwidth management features in the app to prioritize important devices like work computers or streaming devices, making sure they get optimal performance even when multiple devices compete for bandwidth.
Final Words
Setting up your eero mesh WiFi takes about 10-15 minutes from unboxing to a fully functioning network.
Once you’ve connected the gateway to your modem, downloaded the app, and created your network name and password, you’re online.
The system handles updates automatically in the background, and you can add more units anytime coverage feels weak.
If you run into issues during how to setup eero mesh wifi, most fixes are quick: power cycling devices, repositioning units, or toggling WiFi off and back on.
Your solid white LED confirms everything’s working as it should.
FAQ
How do you set up an eero mesh network?
You set up an eero mesh network by connecting the gateway eero to your modem with the included ethernet cable, downloading the eero app, and following the in-app setup process to create your network name and password. The entire installation takes about 10 to 15 minutes from unboxing to completion.
Does eero work with Cox?
eero works with Cox and all major internet service providers as long as you have at least 1 Mbps internet speed from your ISP. You connect the gateway eero to your Cox modem using the included ethernet cable, then complete setup through the mobile app.
What are the disadvantages of mesh WiFi?
The disadvantages of mesh WiFi include slightly reduced speeds compared to wired connections, higher upfront cost for multiple units, and potential signal degradation if units are placed incorrectly or too far apart. However, proper placement at 50-foot intervals minimizes performance issues.
How do I connect my WiFi mesh to my router?
You connect your WiFi mesh to your router by unplugging your existing router, then connecting the gateway eero directly to your modem using an ethernet cable. The eero replaces your old router, so you should not run both devices simultaneously to avoid network conflicts.
What happens if my eero LED stays flashing white?
If your eero LED stays flashing white for more than 2 minutes, unplug the eero, wait 10 seconds, and plug it back in. Flashing white means the device is powering on and booting up, which normally takes 30 to 45 seconds before progressing to flashing blue.
Can I use my existing WiFi name and password with eero?
You can use your existing WiFi name and password with eero to allow all previously connected devices to automatically reconnect without manual reconfiguration. Just enter your old network credentials when the app prompts you to create your eero network during setup.
How far apart should eero devices be placed?
eero devices should be placed approximately 50 feet apart to maintain signal overlap and strong connections between units. Position additional eeros centrally between dead spots and other eero units for optimal mesh performance throughout your home.
What mobile devices work with the eero app?
The eero app works with mobile devices running iOS 15.0 or higher for Apple devices and Android 9.0 or higher for Android devices. Download the official eero app from the Apple App Store or Google Play Store to complete setup.
Do all eero models need ethernet ports?
Not all eero models need ethernet ports, but the gateway eero that connects to your modem must have a built-in ethernet port. Additional satellite eeros can be any model and connect either wirelessly or via ethernet cable if they have ports.
What does a solid blue LED mean on eero?
A solid blue LED on eero means the device is successfully connected to the app and communicating with eero cloud servers during the pairing process. After full configuration completes, the LED will change to solid white for normal operation.
Can I add more eero devices after initial setup?
You can add more eero devices after initial setup by opening the eero app, selecting “Add eero device,” plugging in the new unit, and scanning its serial number when the LED flashes blue. Any eero model can be added as satellite nodes to expand coverage.
Should I put eero in bridge mode?
You should put eero in bridge mode if you have a modem/router combo device from your ISP or want to keep your existing router active. Running two networks with the same SSID causes problems, so bridge mode prevents conflicts.
How do I know if my eero setup is complete?
You know your eero setup is complete when the LED shows solid white, the app displays “Setup complete,” and your mobile device successfully connects to the new network. Firmware updates will install automatically in the background after setup.
Where should I not place my eero devices?
You should not place eero devices on the floor, inside cabinets, in enclosed media consoles, or behind large furniture. Also avoid positioning them near large metal objects and electronics that can block WiFi signals and cause interference.
What is ethernet backhaul on eero?
Ethernet backhaul on eero is when you connect multiple eero units using ethernet cables instead of wireless connections, providing faster speeds, more reliable connections, and reduced wireless congestion. This works best for homes with existing ethernet wiring between rooms.