

Think setting up a VPN on your phone is a tech chore?
It isn’t.
In minutes you can set up a VPN (a secure tunnel for your internet) on Android or iPhone using the app method, or enter the details manually when work or company IT requires it.
This guide walks you through both quick app installs and manual profiles (IKEv2, L2TP, OpenVPN), shows what to look for in a trustworthy provider, and gives simple checks so you know the connection is actually protecting you.
Quick Steps to Configure a VPN on Your Phone (Android & iPhone)

Android setup (app method)
- Open Google Play Store and search for your VPN provider’s app.
- Install the app and tap Open.
- Sign in with your account or create a new one.
- Grant VPN permission when the system prompt appears.
- Tap the large Connect button on the home screen.
- Choose a server location from the list if you want a specific country.
- Wait for the key icon to appear in your status bar.
iPhone setup (app method)
- Open the App Store and find your VPN provider.
- Download and launch the app.
- Log in or complete account setup.
- Tap Allow when iOS asks to add VPN configurations.
- Tap Connect on the main screen.
- Select a server location if needed.
- Look for the VPN badge in your status bar to confirm connection.
The app method is the fastest path for most people because the provider handles all the technical fields behind the scenes. Manual setup involves typing server addresses, usernames, passwords, and protocol settings directly into your phone’s system VPN menu. You’ll need that when an app isn’t available or when your company IT department gives you specific configuration details to enter.
Choosing a Reliable Mobile VPN Provider
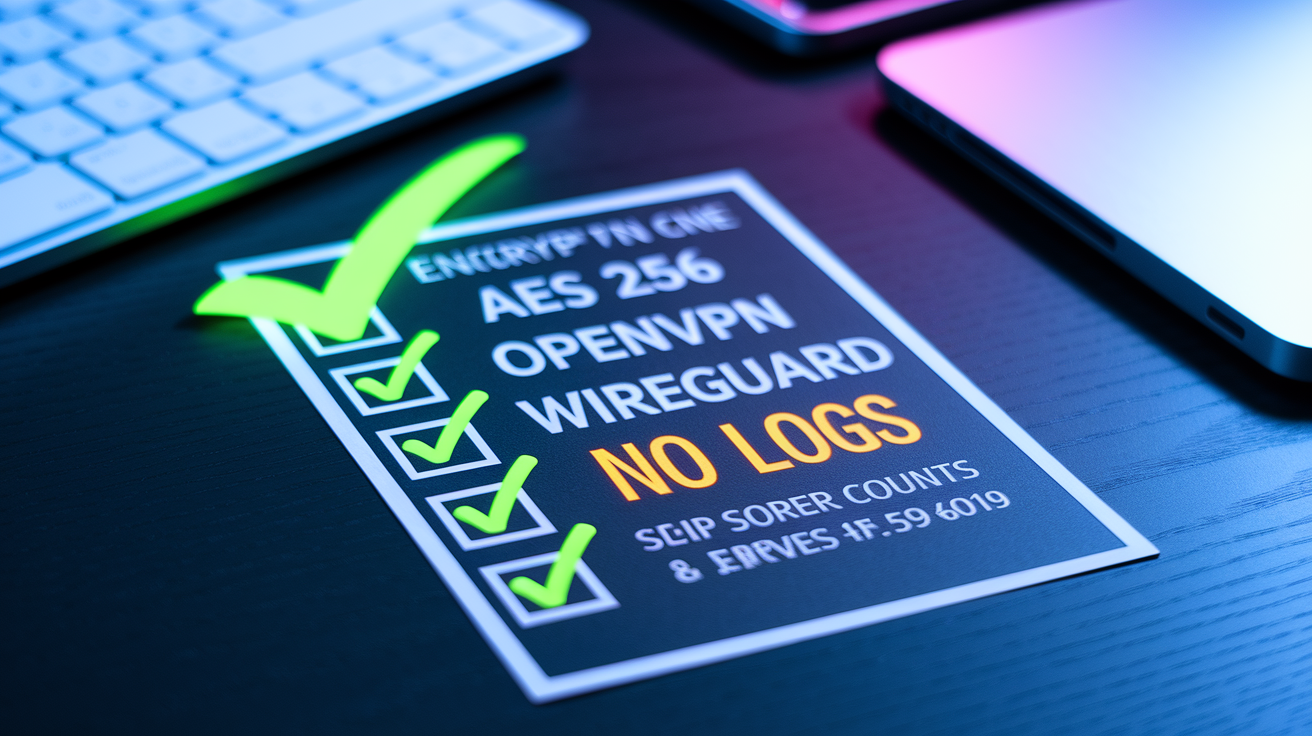
Before you download anything, take a few minutes to compare what each provider actually protects and what it costs. Not every VPN treats your data the same way.
Look for these six things when you’re deciding:
Encryption strength. 256‑bit AES is the current standard for strong protection. Anything weaker leaves gaps.
Protocol support. Confirm the provider offers OpenVPN, IKEv2, or WireGuard. Older options like PPTP are red flags.
Logging policy. Read the privacy policy to see if the company keeps records of what you visit or download. “No logs” means they don’t store your activity.
Pricing and trials. Paid plans typically start around a few dollars per month and often include a 7‑ or 30‑day money-back window so you can test speeds without committing.
Server count and locations. More servers in more countries generally means faster speeds and better odds you’ll find a nearby connection point.
Device limits. Check how many phones, tablets, and computers you can use at once on one subscription. Typical plans allow three to seven devices.
Free VPNs can work for light browsing. But they usually cap your monthly data, show ads inside the app, or fund themselves by collecting and selling anonymized usage logs. If privacy is why you want a VPN, a free tier often defeats the purpose.
Providers like ExpressVPN, NordVPN, and Surfshark appear frequently in app‑store rankings and offer discount codes through their websites. Many let you try the service for a week or claim a refund within 30 days, so you can confirm your connection is fast enough before the trial window closes.
Installing and Using a VPN App on Your Phone
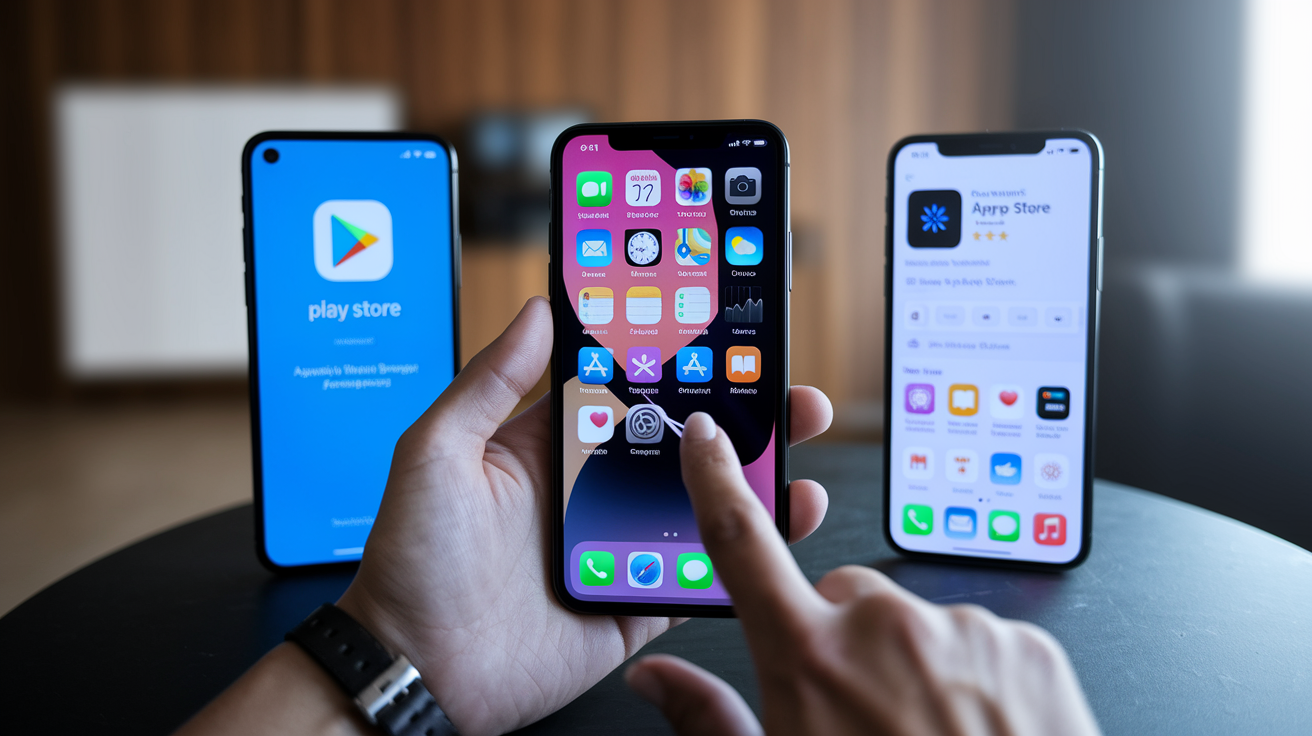
Once you’ve picked a provider, the app itself walks you through the essentials. What it doesn’t always explain is what each permission request does or which toggles inside the settings screen actually matter.
Android app setup (deeper walkthrough)
- After installation, open the app and either log in or tap the sign‑up button to create your account inside the app.
- When Android shows “Connection request” with your VPN provider’s name, tap OK to allow the app to route traffic through its tunnel.
- Grant notification permission so the app can tell you when the VPN connects or drops.
- Open the app’s hamburger menu or settings gear and look for Protocol. Switch to OpenVPN or WireGuard if available.
- Enable Kill Switch (sometimes called Network Lock) so all internet stops if the VPN disconnects unexpectedly.
- Turn on Auto‑Connect or Connect on Untrusted Networks if you want protection to start automatically on public Wi‑Fi.
- Browse the server list and pin your most‑used locations for one‑tap switching.
iPhone app setup (deeper walkthrough)
- Open the app after install and sign in or complete the new‑account flow.
- Tap Allow when iOS asks “app would like to add VPN configurations.” This is required for any VPN app to function.
- Go into the app settings (usually a gear icon or three dots) and confirm notifications are enabled so you see connection alerts.
- Look for Protocol or Connection Settings and choose IKEv2 or WireGuard for speed, or OpenVPN if your network blocks other types.
- Enable Kill Switch or Always‑On VPN if your app offers it. This keeps your real IP from leaking during brief reconnects.
- Turn on Connect On Demand to let iOS reconnect the tunnel whenever you switch from Wi‑Fi to cellular.
- Mark favorite servers in the location list so you don’t scroll past dozens of cities every time.
Most VPN apps stay running in the background after you connect, which uses a small amount of battery and CPU. Modern iPhones and flagship Androids handle this without noticeable slowdown. Older devices, especially budget Androids with less RAM, may see a bit more drain. Keep an eye on your battery stats the first day and adjust Auto‑Connect settings if it becomes a problem.
Manual VPN Setup in iPhone Settings

When you configure a VPN directly in iOS, you control every field the system uses to build the tunnel. This method is common for workplace VPNs or when you want Always‑On protection without relying on an app that might stop running.
IKEv2
IKEv2 is Apple’s preferred modern protocol. You’ll need your provider’s server address (like vpn.example.com), your account username, your password, and a Remote ID (often the same as the server address). Some providers also give you a certificate file to install before you add the configuration. Check your account dashboard or setup email for a .mobileconfig download.
L2TP/IPSec
L2TP wraps your data in two layers. You’ll enter the server address, your username, your password, and a shared secret (sometimes called a pre‑shared key). The shared secret is a second password that authenticates the tunnel itself. If your provider’s instructions say “PSK,” that’s the shared secret.
IPSec (IKEv1)
IPSec alone, without L2TP, uses similar fields: server, username, password, and shared secret. Some older corporate VPNs still require this type. If your IT department sends a configuration email that says “IPSec” but doesn’t mention L2TP, choose IPSec in the Type menu.
Step‑by‑step configuration
- Open Settings and scroll down to General.
- Tap VPN & Device Management (or just VPN on older iOS versions).
- Tap VPN, then tap Add VPN Configuration.
- Under Type, choose IKEv2, IPSec, or L2TP. Match what your provider specifies.
- Fill in Description (a nickname you’ll recognize, like “Work VPN” or “NordVPN UK”), Server (the hostname or IP your provider gave you), and Remote ID (for IKEv2) or leave it blank if not required.
- Enter your Username (account name) and Password in the Authentication section.
- If the setup guide mentions a shared secret or pre‑shared key, scroll to that field and paste it exactly as written.
- Tap Done in the top‑right corner to save the profile, then toggle the Status switch to connect.
After you save, the VPN appears in your Settings under VPN with an on/off switch. You can also add the VPN toggle to Control Center for faster access: go to Settings, then Control Center, then Customize Controls and tap the green plus next to VPN.
Manual VPN Setup on Android Phones
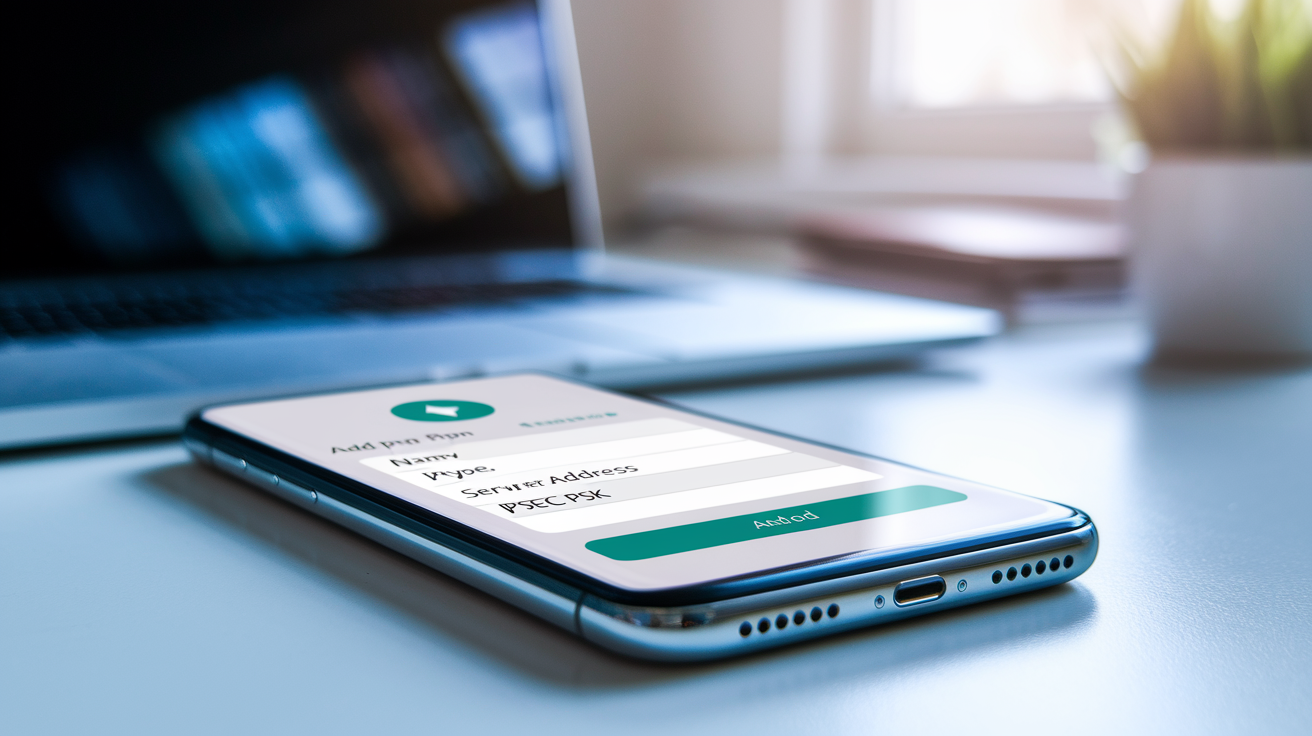
Android’s system VPN menu looks similar across most phones, though Samsung, OnePlus, and Xiaomi sometimes bury it under different labels. The core fields stay the same.
Step‑by‑step configuration
- Open Settings and tap Network & Internet (or Connections on Samsung).
- Scroll down and tap VPN. If you don’t see it, tap Advanced or More first.
- Tap the plus icon in the top‑right corner to add a new profile.
- Enter a Name for the connection (like “ExpressVPN Germany” or “Office VPN”).
- Tap Type and choose the protocol your provider supports, usually L2TP/IPSec PSK or IPSec Xauth PSK.
- Enter the Server address (hostname or IP), then fill in your Username and Password.
- Paste the Pre‑shared key (also called IPSec secret) if required, then tap Save.
- Tap the profile name to connect, or enable Always‑on VPN by tapping the gear icon next to the profile and toggling the switch.
IKEv2 on Android requires a third‑party app
Most Android builds don’t include IKEv2 in the system VPN menu. If your provider or workplace requires IKEv2, download the strongSwan app from the Play Store. Import your certificate and config file through the app, then strongSwan will handle the connection instead of the built‑in menu.
Fields you need before you start
Gather these details from your VPN provider’s website, email, or account dashboard before you open the Settings menu:
Server address (hostname like us.vpn.com or an IP like 198.51.100.5)
VPN type or protocol (L2TP/IPSec, IKEv2, IPSec, etc.)
Username and password for your account
Pre‑shared key or IPSec secret (a second password for the tunnel itself)
Setting Up OpenVPN and Importing .ovpn Files on Your Phone
OpenVPN isn’t built into Android or iOS, so you’ll install the official OpenVPN Connect app and import a configuration file your provider gives you. These .ovpn files include the server address, encryption settings, and certificates all in one package.
Android .ovpn import
- Download OpenVPN Connect from the Google Play Store and open it.
- Download your provider’s
.ovpnfile (often delivered as a.zipcontaining multiple server configs). - If the file is zipped, open a file manager app (Files by Google, Solid Explorer, or any third‑party manager) and extract the
.zipto a folder you’ll remember. Android’s built‑in Downloads app usually can’t unzip files. - In OpenVPN Connect, tap the plus icon or Import Profile.
- Tap File and navigate to the folder where you unzipped the
.ovpnfiles. - Select the server file you want (like
us-newyork.ovpn) and tap Import. - Enter your username and password when prompted, then tap Add to save the profile and tap the toggle to connect.
iPhone .ovpn import
- Install OpenVPN Connect from the App Store.
- Download the
.ovpnfile through Safari or Mail (some providers let you download directly from their account portal). - Tap the file in your Downloads or tap “Open in OpenVPN” if your mail app shows that option.
- OpenVPN Connect will open with a green Add button. Tap it.
- Type your account username and password in the fields, then tap Add again.
- Tap the toggle next to the profile name to connect.
OpenVPN and WireGuard are both modern, open‑source protocols that use strong encryption. WireGuard is newer and often faster because it has less code to process. If your provider offers both in their app settings, try WireGuard first. If you run into connection problems on certain networks (corporate firewalls sometimes block it), switch back to OpenVPN. OpenVPN has been around longer and works through more restrictive firewalls, which is why many providers still default to it.
Mobile VPN Protocols Explained for Everyday Users

Every VPN protocol is a set of rules that decides how your data gets encrypted, packaged, and sent through the tunnel. Speed, security, and compatibility all shift depending on which one you pick.
| Protocol | Speed | Security Level | Platform Support |
|---|---|---|---|
| OpenVPN | Medium | High (AES‑256) | App required on Android & iOS |
| WireGuard | Fast | High (ChaCha20) | App or native on newer Android/iOS |
| IKEv2 | Fast | High | Native iOS, Windows; needs app on most Android |
| L2TP/IPSec | Slow | Medium | Native on both platforms |
| PPTP | Fast | Weak (deprecated) | Removed from iOS; insecure |
For everyday use, stick with OpenVPN or IKEv2. Both offer strong encryption and wide support. WireGuard is the newest option and performs well if your provider supports it and your phone runs a recent OS version. Avoid PPTP entirely. It was fast in the 1990s but has known security holes that make it useless for privacy today.
VPN Features and Settings to Adjust on Your Phone

Most VPN apps bury useful toggles a few screens deep. Turning on the right settings up front can prevent connection leaks, save you from forgetting to connect, and speed up your everyday browsing.
Enable or configure these six features:
Kill switch (or Network Lock) cuts all internet traffic if the VPN drops, so your real IP never leaks during reconnects.
Auto‑connect starts the VPN automatically when you join a Wi‑Fi network or switch from Wi‑Fi to cellular.
Always‑On VPN keeps the tunnel active at all times (available in Android system settings and some iOS configurations).
Server location. Pick a server close to you for speed, or a specific country to unblock region‑locked content.
Split tunneling lets you choose which apps go through the VPN and which use your normal connection. Useful if banking apps block VPN traffic.
Protocol selection. Switch to WireGuard or IKEv2 if OpenVPN feels slow, or change back to OpenVPN if a network blocks WireGuard.
Kill switch and auto‑connect are the two most important for everyday safety. Without a kill switch, a brief disconnect (like switching from Wi‑Fi to mobile data) will send a few seconds of unencrypted traffic that exposes your real location and activity.
Server distance affects speed more than most people expect. A VPN in the same country usually adds 10 to 30 milliseconds of latency. Connecting halfway around the world can add 150 to 300 ms, which makes web pages feel sluggish and video calls stutter. Test a few servers in your region and save the fastest one as a favorite. If you need a foreign IP for streaming, accept the slower speed as a trade‑off.
Split tunneling helps when certain apps refuse to work over a VPN. Banking apps and some payment processors block connections from data‑center IPs. Instead of turning off the VPN entirely, add those apps to the split‑tunnel exclusion list so they bypass the tunnel while everything else stays protected.
Troubleshooting VPN Not Working on Android or iPhone
When the connection fails or your IP doesn’t change, work through these fixes in order. Most problems come from incorrect credentials, blocked ports, or app conflicts. Rarely from the VPN protocol itself.
- Restart your phone. Clears temporary network state and often fixes “VPN connected but no internet” issues.
- Check your subscription status in the provider’s app or website. Expired accounts connect but won’t route traffic.
- Verify the server address, username, password, and pre‑shared key match exactly what your provider sent. One wrong character breaks the tunnel.
- Switch to a different server location. The current server might be down or overloaded.
- Toggle Airplane mode on, wait five seconds, then turn it off to reset all radios.
- Disable any other VPN profiles in Settings, then VPN. Running two profiles at once causes routing conflicts.
- Check app permissions in Settings, then Apps, then [VPN app], then Permissions. The app needs network and VPN access.
- Reinstall the VPN app to clear corrupted cache files.
- Try a different protocol in the app settings. If OpenVPN fails, switch to IKEv2 or WireGuard.
- Contact your provider’s support with a screenshot of the error message and the server name you tried.
After you connect, visit a site like ipleak.net in your phone’s browser to confirm your IP address matches the VPN server location. If your real ISP and city still appear, the tunnel isn’t routing traffic correctly. Check for DNS leaks (the page will show which DNS servers you’re using) and IPv6 leaks (a second IP in a different format). Many VPN apps include a built‑in leak test. Run it once to confirm everything is sealed before you rely on the connection for sensitive work.
Security Tips for Using a VPN on Your Phone Safely
A VPN only protects you if the company running it keeps your data private and your connection secure. Follow these steps to avoid the most common traps.
Use a paid VPN from a known provider. Free services often log and sell your browsing history to cover costs.
Read the logging policy on the provider’s website. Look for explicit “no traffic logs” or “no activity logs” language.
Create a strong, unique password for your VPN account. If someone gains access, they can see which servers you use and when.
Keep the VPN app and your phone’s OS updated. Security patches close holes that attackers exploit.
Enable Always‑On VPN for work devices or any time you handle sensitive data.
Avoid PPTP entirely. It’s fast but broken.
Turn on the kill switch so your IP never leaks during brief disconnects.
Logging policies matter more than marketing claims. A provider might advertise “total privacy” but still keep connection timestamps, IP addresses, and bandwidth logs. Read the privacy policy section on data retention. Legitimate no‑log providers publish third‑party audits or transparency reports that prove they don’t store your activity.
Encryption strength shows up in the app or manual‑setup instructions. Look for “AES‑256” or “ChaCha20” in the protocol details. Both are strong. Anything labeled AES‑128 or below is weaker but still acceptable for everyday browsing. If the app doesn’t say, check the provider’s website FAQ or support docs. Reputable companies publish this information clearly.
Final Words
Start with the app method — install the app, sign in, tap Connect. If you need custom servers, use manual setup via Settings on Android or iPhone.
Use the provider checklist (encryption, protocols, no-logs, price, servers, device limits), tune features like kill switch and auto-connect, and import .ovpn files only when required. Follow the troubleshooting list if connections drop.
Use the app for speed and ease; use manual when you must enter server details. This shows how to set up vpn on phone and keeps your connection simple and secure.
FAQ
Q: How do I set a VPN on my phone and do phones have built-in VPN?
A: You set a VPN on your phone by installing a VPN app or using the phone’s built-in VPN client in Settings; Android and iPhone both include manual VPN options under Network or General → VPN.
Q: Does Aura have a VPN?
A: Aura includes a VPN as part of some of its security plans; check your Aura app or account details to see if your subscription includes the VPN and how to enable it.
Q: What is the best VPN for Rainbet?
A: The best VPN for Rainbet is one with fast servers near the service, strong encryption, and reliable unblocking; paid providers like ExpressVPN or NordVPN usually offer the needed speed and stability.