

Think installing a smart doorbell needs an electrician?
It doesn’t.
A smart doorbell gives live video, two‑way talk, and motion alerts so you can see who’s at the door from your phone.
Follow the right order and most installs take 30 to 60 minutes.
This guide walks you step by step: check phone and Wi‑Fi compatibility, pick the right mount, handle power (wired or battery) safely, pair the app, and test video, audio, and motion.
You’ll also get the quick fixes when screens or parts don’t match.
Core Smart Doorbell Quick‑Start Setup Overview

A smart doorbell bundles video, audio, and motion detection into one package that pings your phone when someone’s at the door. Most setups take 30 to 60 minutes, whether you’re running wires or just mounting the unit and pairing it with an app.
The fastest path to a working doorbell? Follow the same sequence every time. Confirm your phone and Wi‑Fi meet the device’s requirements. Mount the doorbell or bracket near your door. Connect the power source, either by inserting charged batteries or wiring it to your existing doorbell circuit. Open the companion app to pair the device and link it to your 2.4 GHz or 5 GHz network, whichever the model needs. Then test live video, audio, and motion alerts to make sure everything’s running.
Here’s the quick sequence:
- Check that your phone’s OS version and Wi‑Fi band match what the doorbell requires.
- Turn off power at the breaker if you’re working with wires, or charge the battery fully if it’s wireless.
- Mount the bracket at eye level using screws and anchors, then snap the doorbell onto the bracket.
- For wired units, connect the front and transformer wires to the terminals and secure with electrical tape. For wireless units, pop in the charged battery.
- Open the app, follow the on‑screen pairing steps to connect the doorbell to Wi‑Fi, and test the button, live view, and two‑way audio.
Smart Doorbell Pre‑Installation Requirements and Compatibility Checks

Before you drill or open your chime box, make sure your home’s ready for the doorbell you picked. Most installs go sideways because the transformer doesn’t push enough power, the Wi‑Fi signal barely reaches the door, or the app won’t run on the user’s phone.
For a wired install, find your existing doorbell transformer. It’s usually tucked in the basement, garage, or utility room near the electrical panel. Check the voltage rating printed on the case. Most smart doorbells want 16 VAC and 30 VA, though some work with 8 to 24 VAC. If your current transformer supplies less than 10 VA or looks rusty and beat up, plan to swap it. You’ll also need to locate the breaker that controls the doorbell circuit so you can kill power safely before touching any wires.
What to confirm and gather before you start:
- Transformer voltage and power rating – Look for a label showing 16 VAC and 30 VA, or match your doorbell’s spec sheet.
- Breaker location – Find and label the breaker that controls the doorbell circuit. Flip it off and test nearby lights or outlets to confirm power’s cut.
- Smartphone compatibility – Check that your phone runs the minimum iOS or Android version listed in the doorbell’s app store page.
- Wi‑Fi network band – Confirm your router broadcasts 2.4 GHz. Some doorbells also support 5 GHz, but most need 2.4 GHz for initial setup.
- Signal strength at the door – Stand at your front door and check your phone’s Wi‑Fi signal. If it’s weak, you might need a Wi‑Fi extender.
- Voltage tester – A non‑contact voltage tester or multimeter to verify wires are safe to touch after you turn off the breaker.
- Drill, bits, and anchors – For masonry or concrete, use a carbide drill bit and plastic anchors. For wood, standard screws usually work.
- Wire stripper, screwdriver, level, and electrical tape – Basic hand tools to mount the bracket, strip wire ends, and secure connections.
Smart Doorbell Mounting Options and Placement Guidelines
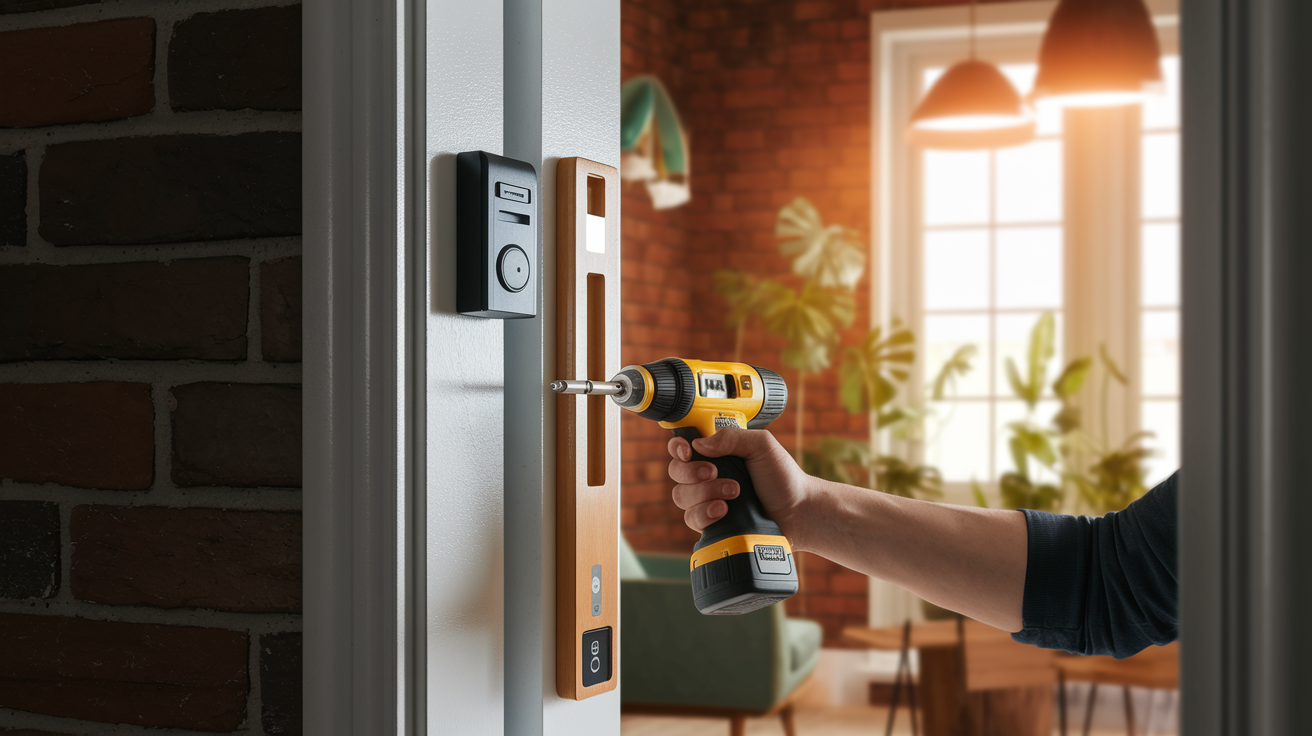
Mounting height and camera angle decide what your doorbell can actually see. Position it too low and you’ll capture knees instead of faces. Mount it off‑center and motion alerts might miss visitors approaching from the side.
The sweet spot is around 48 inches (122 cm) from the ground, which puts the camera near eye level for most adults. This height captures faces clearly and cuts down on glare from overhead porch lights. If your door already has a doorbell, you can usually reuse the same holes and wiring path. For new installs, mark the bracket position with a pencil, use a level to keep it straight, and drill pilot holes before driving screws. On brick or concrete, switch to a carbide bit and insert plastic anchors before screwing in the bracket. Some kits include angled mounts or wedge adapters that tilt the camera a few degrees left, right, or down to improve the field of view when the door sits recessed or off to one side.
Key placement tips:
- Clear line of sight – Make sure the camera lens isn’t blocked by decorative trim, a screen door, or overgrown plants.
- Weather protection – If the doorbell’s fully exposed to rain, confirm the unit’s IP rating (look for IP65 or higher). Consider a small overhang or awning.
- Motion detection range – Most doorbells detect motion within 15 to 25 feet. Position the camera to cover the walkway and driveway approach, not just the porch.
- Angled mounting for recessed doors – Use a wedge or angled bracket to aim the camera outward if the door sits inside an alcove or behind a column.
Wired Smart Doorbell Setup and Power Connection Essentials

Wired installation gives you continuous power and skips the battery‑charging routine, but it also means working with low‑voltage electrical wiring. The procedure’s safe when you turn off the breaker and verify the power’s off before touching any wires.
Start by locating the circuit breaker that controls your existing doorbell. Flip the breaker to the off position and test the old doorbell button to confirm it doesn’t ring. Use a voltage tester on the wires at the button and inside the chime box to double‑check no voltage is present. Once you’re certain the power’s off, remove the old doorbell button by unscrewing it from the wall and gently pulling it away to expose the two wires. These wires typically run from the button to the chime box and from the chime box to the transformer. Label each wire with a piece of tape if you’re planning to replace the chime or transformer later.
Connecting Doorbell Wires
Mount the new doorbell’s bracket at the old button location using the existing screw holes, or drill new holes and insert anchors if needed. Strip about 1/4 inch of insulation from each wire end using a wire stripper. Most smart doorbells have two screw terminals or push‑in connectors on the back. Attach one wire to each terminal. Polarity usually doesn’t matter for doorbell circuits, but check your manual if the terminals are labeled + and −. Tighten the terminal screws until the wire’s secure, then wrap each connection with a small piece of electrical tape to prevent shorts. Gently push any excess wire back into the wall, align the doorbell onto the bracket, and fasten it with the included security screws at the bottom.
Working with Chimes and Transformers
If your smart doorbell needs a mechanical chime or you want to keep your existing indoor chime working, you’ll need to install a small chime kit, usually included with the doorbell. Open the chime box cover by removing the screw or popping off the plastic clip. Inside you’ll see terminals labeled “Front,” “Rear,” and “Trans” (transformer). Disconnect the wire from the “Front” terminal and connect it to one side of the chime kit adapter. Connect the other side of the adapter back to the “Front” terminal. This small module regulates power so the chime works correctly with your smart doorbell.
If you’re replacing an old transformer, photograph the wiring before you disconnect anything. Typical transformers have three household power wires (black, white, and ground) wire‑nutted together inside the junction box, plus two low‑voltage wires that run to the chime and button. Install the new transformer by matching the wire colors, securing with wire nuts, and mounting the transformer body to the junction box with the provided screw. Confirm the new transformer’s rating matches your doorbell’s requirement. 16 VAC and 30 VA is the most common spec. Restore power at the breaker and use a multimeter to test the voltage at the doorbell terminals before you attach the doorbell.
Wireless and Battery‑Powered Smart Doorbell Setup Steps

Battery‑powered doorbells skip the wiring entirely, which means you can mount them anywhere within Wi‑Fi range. The trade‑off is that you’ll need to recharge or replace batteries every few months, depending on how often the doorbell gets pressed and how many motion events it records.
Most wireless kits include a button unit with a rechargeable battery and a plug‑in or battery‑powered chime. Before you start, charge the doorbell’s battery using the included micro‑USB or USB‑C cable until the status light shows full. While the battery charges, decide where to mount the button. You can use screws and anchors for a permanent install, or try the adhesive backing that many kits include for temporary or rental‑friendly mounting. Peel the adhesive, press the bracket firmly against the door frame for 30 seconds, wait a few minutes for the adhesive to set, then clip the doorbell onto the bracket.
Here’s the typical wireless pairing sequence:
- Insert the fully charged battery into the doorbell button and snap the cover closed.
- Plug in the indoor chime unit (or insert batteries if it’s wireless) and place it within the manufacturer’s recommended range, usually 100 to 300 feet, depending on walls and interference.
- Press and hold the sync or pairing button on the chime until the LED starts flashing or you hear a beep indicating pairing mode.
- Press the doorbell button once. The chime should play a tone and the LED should turn solid, confirming the two devices are paired.
- Test by pressing the doorbell button again and verifying the chime rings and (if app‑connected) your phone receives a notification.
Mobile App Setup and Smart Doorbell Pairing Instructions

The mobile app is where you’ll configure motion zones, adjust alert settings, view live video, and add other household members. Setup begins with downloading the manufacturer’s companion app from the App Store or Google Play. Search for the brand name, Aqara Home, Ring, Nest, Arlo, or Lorex, then download and open the app.
Create an account by entering your email and choosing a strong password, or sign in with an existing account if you already use other devices from the same brand. Once you’re logged in, tap the “+” icon or “Add Device” button and select “Doorbell” or “Video Doorbell” from the device list. The app will prompt you to scan a QR code printed on the doorbell or inside the battery compartment. Hold your phone’s camera steady over the code until the app recognizes it and moves to the next step. If your doorbell doesn’t use a QR code, the app will ask you to press a pairing button on the device until a status light flashes, then the app will search for the doorbell over Bluetooth or Wi‑Fi Direct.
Follow the on‑screen prompts to connect the doorbell to your home Wi‑Fi network by selecting the network name and entering the password. Most doorbells require a 2.4 GHz network for the initial setup, even if they support 5 GHz for regular use. Once the connection succeeds, the app will confirm the doorbell’s online and prompt you to name it. “Front Door” or “Main Entrance” works well.
Smart Assistant Integration Options
After the doorbell appears in the app, you can link it to Google Home, Amazon Alexa, or Apple HomeKit if the doorbell supports those platforms. Open the Google Home app, tap Devices → Add → Works with Google, then search for your doorbell brand and sign in with the same account you used in the companion app. Google Home will import the doorbell and let you assign it to a room.
For Alexa, open the Alexa app, tap Devices → Add Device → Doorbell, select your brand, and log in to link accounts. Once linked, you can ask “Alexa, show the front door” on an Echo Show, or say “Hey Google, show the front door camera” on a Nest Hub to view live video. You can also create automations. When the doorbell detects motion or someone presses the button, trigger a smart lock to send a notification, turn on porch lights, or play a custom chime on a smart speaker.
Smart Doorbell Feature Configuration for Video, Motion, and Alerts

Once your doorbell’s online and paired, spend a few minutes tuning the features so alerts are useful without being overwhelming. Start with motion detection zones. Most apps let you draw boxes or adjust sliders to define which parts of the camera’s view should trigger motion alerts. If your driveway sits at the edge of the frame and passing cars keep triggering false alerts, shrink the motion zone to cover only the walkway and porch.
Next, adjust motion sensitivity. A slider usually ranges from low to high. Set it to medium first, then walk in front of the camera to test. If the doorbell misses you, increase sensitivity. If it alerts every time a leaf blows past, lower it. Enable or disable specific alert types. Some apps let you choose between “person detected,” “motion detected,” and “doorbell pressed” so you only get the notifications you care about. Check the notification preferences in your phone’s system settings as well. If notifications aren’t appearing, the app might not have permission to send them.
Configure night vision if your doorbell includes infrared LEDs. Most units switch to night mode automatically, but some apps let you force it on or off or adjust the IR intensity. Test the live view at night to confirm faces are visible in low light. If the camera angle doesn’t capture the area you need, loosen the bracket screws slightly and tilt the doorbell up or down, then retighten. Some models include digital pan‑and‑zoom in the app, but physical angle adjustment usually gives better results.
Quick feature‑tuning checklist:
- Draw motion zones to exclude streets, sidewalks, or areas outside your property line.
- Set motion sensitivity to medium and test by walking through the frame. Adjust up or down based on results.
- Enable person detection if available to reduce alerts from animals or moving shadows.
- Turn on rich notifications (thumbnails or short video clips in the alert) so you can see who’s at the door without opening the app.
- Schedule alerts to mute notifications during specific hours if you don’t want alerts while you’re asleep or at work.
Smart Doorbell Testing Procedures to Ensure Proper Functionality

Testing confirms every feature works before you finish the install and walk away. Start by pressing the doorbell button. You should hear the chime inside your home (if you connected one) and receive a push notification on your phone within a few seconds. Open the notification to launch the app’s live view. The video feed should load in under five seconds and show a clear image of your door area.
Tap the microphone icon and speak. Your voice should play through the doorbell’s speaker with minimal delay. Press the speaker icon to hear audio from the doorbell’s microphone and confirm two‑way audio works in both directions.
Next, test motion detection. Walk in front of the camera at different angles, straight on, from the left, and from the right. Each time, check your phone for a motion alert. If alerts arrive late or not at all, revisit the motion zone and sensitivity settings. Open the app’s event history or recordings tab and confirm that motion events and doorbell presses are being saved. If the doorbell supports local or cloud storage, verify the recorded clips are accessible and playable.
Key tests to complete:
- Press the doorbell button and confirm both the indoor chime and mobile app notification trigger within a few seconds.
- Open live view and verify video quality, frame rate, and that the camera covers the area you need.
- Test two‑way audio by speaking through the app and listening to the doorbell’s response.
- Walk through the motion detection zone and confirm alerts arrive on your phone. Check that recorded clips appear in the app’s history.
Troubleshooting Smart Doorbell Installation Issues
Even with careful setup, you might hit a snag. Weak Wi‑Fi signal is the most common problem. If the doorbell shows “offline” or live view buffers constantly, walk to the front door with your phone and check the Wi‑Fi signal bars. If you see one or two bars, your router’s too far away or walls are blocking the signal. Move your router closer to the front door, or add a Wi‑Fi extender halfway between the router and the doorbell. Confirm the doorbell’s connecting to the 2.4 GHz band if it doesn’t support 5 GHz. Some routers broadcast both bands under the same network name, and the doorbell might try to connect to 5 GHz and fail.
Pairing failures usually mean the doorbell isn’t entering pairing mode or your phone’s Bluetooth is off. Press and hold the pairing button on the doorbell for at least 10 seconds until the status light flashes rapidly. Make sure Bluetooth’s enabled on your phone and the companion app has Bluetooth permissions in your phone’s settings. If the app still can’t find the doorbell, restart both your phone and the doorbell, then try pairing again.
For wired doorbells that won’t power on, check the transformer voltage with a multimeter. Touch the multimeter probes to the two low‑voltage wires at the doorbell terminals. You should see a reading close to the transformer’s rated voltage, around 16 VAC for most units. If the reading is zero or very low, the transformer might be dead or the breaker’s still off. If the voltage is correct but the doorbell doesn’t turn on, inspect the wire connections at the doorbell, chime, and transformer for loose screws or frayed insulation.
Common troubleshooting fixes:
- Weak Wi‑Fi or offline status – Move the router closer, add a Wi‑Fi extender, or switch to the 2.4 GHz band in your router settings.
- Pairing failure – Confirm Bluetooth is on, restart the doorbell and phone, and hold the pairing button for at least 10 seconds.
- No power to wired doorbell – Use a multimeter to test transformer voltage. Replace the transformer if voltage is zero or far below the rated spec.
- Chime doesn’t ring – Check that the chime kit’s installed correctly at the “Front” and “Trans” terminals, and confirm the mechanical chime is compatible (digital chimes might not work without a resistor or bypass).
- App notifications not appearing – Open your phone’s settings, find the doorbell app, and confirm notifications are allowed. Check Do Not Disturb mode isn’t blocking alerts.
- Motion alerts too frequent or too rare – Adjust motion sensitivity, redraw motion zones to exclude busy streets, or enable person‑only detection to filter out animals and moving branches.
Final Words
You checked compatibility, turned off power for wired units, mounted the bracket, and opened the app to pair the device. You did the core steps.
The guide covered quick‑start essentials, pre‑install checks, placement tips, wired and wireless hookups, app pairing, feature setup, testing, and common fixes.
If something still acts up, try the testing steps and the simple troubleshooting tips — weak Wi‑Fi, pairing hiccups, or power issues are usually it. Use this to learn how to set up smart doorbell. You’re all set.
FAQ
Q: How do I connect my smart doorbell to my phone?
A: To connect your smart doorbell to your phone, open the maker’s app, choose Add Device, follow the in‑app pairing steps, connect the doorbell to your 2.4 GHz Wi‑Fi (or Bluetooth if prompted), then test live view.
Q: Does the ieGeek doorbell work with Alexa?
A: The ieGeek doorbell works with Alexa if the model lists Alexa compatibility; enable the ieGeek skill in the Alexa app, link your account, and run device discovery to use voice commands.