


Gmail running slow? That’s usually cached data piling up like junk mail in a drawer. Cache helps Gmail load faster by storing temporary files on your device, but over time it gets bloated and actually slows things down. Clearing it takes about 30 seconds and fixes most loading issues, storage problems, and weird display errors without touching your actual emails. This guide walks through the exact steps for Android, iPhone, and every major web browser, so you can get Gmail running smooth again no matter what device you’re using.
Clearing Gmail Cache on Android Devices
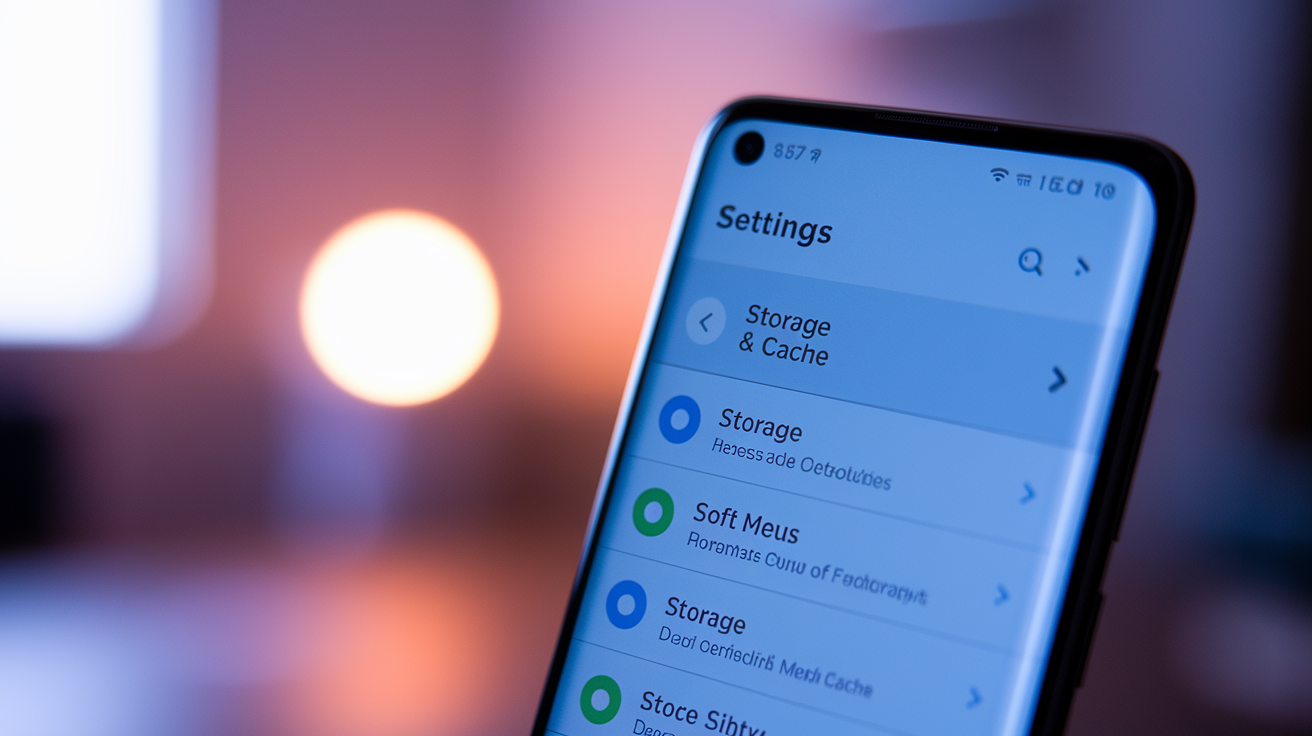
Android lets you clear Gmail cache directly through system settings. This gets rid of temporary files without touching your actual emails, which stay safe on Google’s servers. Most people do this when Gmail slows down, hogs storage, or won’t load right.
- Open Settings on your Android device.
- Tap Apps or Application Manager (the exact name depends on your Android version).
- Scroll down and tap Gmail.
- Tap Storage or Storage & cache.
- Tap Clear cache (not Clear data, that’s different and removes account info).
- Wait a few seconds for it to finish.
After you clear cache, the Gmail app stays installed and all your emails remain exactly where they were. The only thing gone is temporary data like image thumbnails and page fragments that Gmail stored to load faster. You might notice the first time you open Gmail after clearing cache, it takes a second or two longer to load. That’s normal. Gmail rebuilds the cache as you use it. You won’t need to sign in again since clearing cache doesn’t touch login credentials. If you had attachments open recently, they’ll download fresh when you open them again.
Clear cache when Gmail loads slowly, when you’re managing storage space on your device, when you notice performance issues like stuttering or freezing, when sync problems pop up, when you see error messages about data corruption, or when interface elements look outdated or stuck. Android’s built in cache management is the safest option because it removes only temporary files. Clearing data by mistake would sign you out and reset all app settings.
Clearing Gmail Cache on iPhone and iPad

iOS devices don’t include a direct cache clearing option for the Gmail app. Apple’s operating system handles app data differently than Android, so you’ll need to use one of two workarounds that both effectively clear cached data.
Offload the Gmail App
- Open Settings on your iPhone or iPad.
- Tap General.
- Tap iPhone Storage (or iPad Storage).
- Scroll down and tap Gmail.
- Tap Offload App and confirm.
Offloading removes the app but keeps your documents and data in place. When you reinstall the offloaded app from your home screen by tapping the Gmail icon, it downloads fresh. You’ll likely need to sign back in, but all your emails remain on Google’s servers and will load once you’re authenticated.
Reinstall the Gmail App
- Press and hold the Gmail app icon on your home screen.
- Tap Remove App from the menu.
- Tap Delete App and confirm.
- Open the App Store.
- Search for Gmail.
- Tap the download icon to reinstall.
- Open Gmail and sign in with your account.
Complete removal clears everything. Temporary files, login data, offline emails, the works. You’ll need to re-enter your password and wait for Gmail to sync. Any emails you had stored offline are deleted from your device, but all your server-stored emails remain accessible once you sign back in.
The reinstall method is more thorough and works better if you’re dealing with persistent cache problems. Offloading is quicker if you just want to free up some storage space without going through the full sign in process again.
Clearing Gmail Cache in Web Browsers

Web browsers store Gmail data as temporary files to make the site load faster. Cache clearing becomes necessary when Gmail runs slowly, displays incorrectly, or gets stuck on loading screens. All these methods keep your emails safe on Google’s servers, but you might get signed out and have to log back in. After clearing, the first Gmail load takes longer because the browser rebuilds the cache, but subsequent loads improve.
Google Chrome Cache Clearing
For site specific clearing:
- Type chrome://settings/siteData in the Chrome address bar.
- Press Enter to open the site data settings.
- Type “mail.google.com” in the search box.
- Click the trash icon next to the mail.google.com entry.
- Confirm removal if prompted.
For complete cache clearing:
- Click the three dot menu in the top right corner.
- Select More Tools.
- Click Clear browsing data.
- Choose “All time” from the time range dropdown.
- Check “Cookies and other site data.”
- Check “Cached images and files.”
- Click the Clear data button.
Complete clearing signs you out of all websites, not just Gmail. Use site specific clearing if you only want to target Gmail.
Firefox Cache Clearing
- Click the three line menu (hamburger icon) in the top right.
- Select Settings or Preferences (name varies by operating system).
- Click Privacy & Security in the left sidebar.
- Scroll to the Cookies and Site Data section.
- Click the Clear Data button.
- Check the “Cached Web Content” box.
- Optionally check “Cookies and Site Data” for complete clearing.
- Click the Clear button.
Firefox offers a faster route: press Ctrl+Shift+Delete on Windows or Cmd+Shift+Delete on Mac to open the clearing dialog instantly. You’ll see time range options letting you clear just the last hour or the last day instead of everything if you prefer partial clearing.
Safari Cache Clearing
For Mac:
- Click the Safari menu.
- Select Preferences.
- Click the Privacy tab.
- Click Manage Website Data.
- Type “gmail” in the search box.
- Click Remove, then Done.
For complete clearing on Mac, go to Safari > Clear History, select your time range, then click Clear History.
For iOS Safari:
- Open the Settings app.
- Scroll down and tap Safari.
- Tap Clear History and Website Data.
- Tap Confirm.
Safari’s method clears all website data, not just Gmail, so you’ll lose cookies and cache for every site.
Microsoft Edge Cache Clearing
- Click the three dot menu in the top right.
- Select Settings.
- Click Privacy, search, and services in the left sidebar.
- Under Clear browsing data, click Choose what to clear.
- Select “All time” from the time range dropdown.
- Check “Cookies and other site data.”
- Check “Cached images and files.”
- Click Clear now.
Edge runs on the same engine as Chrome, so the process looks nearly identical.
Quick Keyboard Shortcuts and Hard Refresh
- Ctrl+F5 or Cmd+Shift+R performs a hard refresh, bypassing cache for the current Gmail page only
- Ctrl+Shift+Delete (Windows) or Cmd+Shift+Delete (Mac) opens the clear browsing data dialog instantly in most browsers
- F12 opens developer tools where you can right click the refresh button for cache options
- Shift+click the refresh button bypasses cache in some browsers
- Ctrl+R or Cmd+R does a standard refresh without cache clearing
Use hard refresh when you have a single page issue and want quick troubleshooting. It only affects the current Gmail page and doesn’t clear cookies. Use full cache clear for persistent problems across Gmail. It’s more thorough, clears all temporary data, and signs you out, but it handles deeper cache corruption.
All browser methods do the same thing. Remove temporary Gmail files while leaving your actual emails untouched on Google’s servers. Your choice comes down to whether you want targeted Gmail clearing or a complete browser cache wipe. If your browser isn’t listed here, look for settings related to privacy, browsing data, or history. The process follows similar patterns across most browsers.
Disabling Offline Gmail to Prevent Cache Buildup
Offline Gmail stores emails locally so you can read and compose messages without an internet connection. The feature increases cache size significantly because it keeps a copy of your inbox on your device.
- Click the Settings gear icon in the top right of Gmail.
- Select “See all settings” from the dropdown.
- Click the “Offline” tab at the top.
- Uncheck “Enable offline mail” if it’s checked.
- Click “Save Changes” at the bottom.
- Wait for confirmation that settings saved successfully.
After disabling offline mode, Gmail removes previously stored offline emails from your device. The emails themselves stay on Google’s servers, so you’ll see them again when you load Gmail with an internet connection. Nothing gets permanently deleted.
Disable offline Gmail on shared computers where privacy matters, when your device has storage limitations, if you don’t need offline access anyway, or when you want to minimize ongoing cache buildup. Some users find offline mode handy, but it comes at the cost of larger cache files sitting on your device. If you rarely lose internet access and you’re running low on storage, turning it off makes sense.
This is preventive rather than reactive. Disable offline mode before clearing cache for complete removal of offline data. You can also make it an ongoing practice to keep future cache accumulation low. If you later decide you want offline access again, just check that box and save changes.
Troubleshooting Common Gmail Cache Issues

Cache problems show up in specific ways that make them easy to identify. Once you know the symptoms, clearing cache usually fixes the issue quickly.
Common issues that cache clearing fixes:
- Emails not loading or displaying with missing text and broken formatting
- Slow inbox refresh where new messages take forever to appear
- Attachments that won’t download or show up as blank images
- Search function returning inaccurate or outdated results
- “Something went wrong” error messages that keep appearing
- Outdated interface elements that don’t match Gmail’s current design
- Conversation threads that won’t expand when you click them
Cache clearing won’t fix everything, though. Some problems come from different sources. If you’re locked out because of password issues, if your account is suspended, if Google’s servers are down, if your internet connection is dead, if your browser is incompatible with Gmail, or if account security blocks are active, clearing cache won’t help. Check Google’s server status page first. Verify your internet works on other sites. Try a different browser. Check your account security settings in your Google account dashboard.
If cache clearing didn’t solve the problem, try these additional steps. Sign out of Gmail completely, close the browser or app, then sign back in fresh. Check for browser or app updates and install any waiting. Disable browser extensions temporarily to see if one is interfering. Open Gmail in incognito or private browsing mode to test without extensions or stored data. Test on a different device entirely to see if the issue is device specific or account wide.
Clear cache every two to three months as preventive maintenance. Clear immediately when you notice slowdowns. Clear after major Gmail updates when interface changes might conflict with old cached files. Regular clearing keeps Gmail running smoothly without waiting for problems to appear.
Alternative Methods to Free Up Gmail Storage Space

Cache sits on your device and affects browser or app performance. The methods below address your Google account storage quota, which determines whether you can receive new emails. Both matter, but they serve different purposes and fix different problems.
- Delete emails with large attachments by typing “has:attachment larger:10MB” in Gmail’s search box, then selecting and deleting results.
- Empty trash and spam folders regularly through the left sidebar. Items here still count toward your quota until permanently deleted.
- Limit offline sync to recent emails only by going to Settings > Offline and choosing 7 or 30 days instead of “sync all.”
- Unsubscribe from promotional emails you don’t read to prevent future buildup. Click the unsubscribe link at the bottom of unwanted emails.
- Use Google’s storage management tool at google.com/settings/storage to see what’s taking up space and get deletion suggestions.
- Archive emails instead of keeping them in your inbox for better organization without deletion. Archived emails don’t count extra against storage.
- Compress attachments before sending to reduce everyone’s storage footprint. Use ZIP files or lower image quality.
Cache clearing removes temporary browser or app data stored on your device. These methods reduce actual email storage in your Google account. Cache affects loading speed and device storage space. Email deletion affects account storage quota and whether you hit the limit that stops new messages. Both improve different aspects of Gmail performance. Clear cache when Gmail loads slowly or acts glitchy. Delete emails when Google warns you’re running out of account storage.
Monitor both types of storage separately. Check device storage through your system settings (Android Settings > Storage, or iOS Settings > General > iPhone Storage). Check Google account storage through your account dashboard at google.com/settings/storage. If device storage is low but Google account storage looks fine, clear cache. If Google account storage is nearly full but device storage is fine, delete emails and attachments.
| Method | Storage Type Affected | Performance Impact | Emails Deleted |
|---|---|---|---|
| Clear cache | Device storage (local) | Faster loading, smoother scrolling | No, emails stay on servers |
| Delete large attachments | Google account quota | More space for new emails | Yes, selected emails removed |
| Empty trash/spam | Google account quota | Immediate quota increase | Yes, permanently deleted |
| Limit offline sync | Device storage (local) | Less cache buildup over time | No, just reduces local copies |
Final Words
Open Settings on your Android, tap Apps, find Gmail, hit Storage, and tap Clear Cache. That’s it.
On iPhone, you’ll reinstall the app or offload it through Settings.
For web browsers, use Ctrl+Shift+Delete (or Cmd+Shift+Delete on Mac) to open the clearing dialog fast.
Learning how to clear Gmail cache keeps your inbox loading fast, frees up device storage, and fixes most slowdowns without deleting a single email. Your messages stay safe on Google’s servers no matter which method you use.
Now you know exactly where to go when Gmail feels sluggish.
FAQ
How do I clear the cache of my Gmail account?
You clear Gmail cache on Android by going to Settings > Apps > Gmail > Storage > Clear Cache. On iPhone or iPad, you offload the Gmail app through Settings > General > iPhone Storage > Gmail > Offload App, or delete and reinstall the app completely. For web browsers, open Chrome settings and navigate to chrome://settings/siteData, search for mail.google.com, and click the trash icon to remove cached data.
How to clear up Gmail storage quickly?
You clear up Gmail storage quickly by deleting emails with large attachments using the search term “has:attachment larger:10MB” and emptying your trash and spam folders, which count toward your storage quota. To further free space, limit offline sync to 7 or 30 days in Gmail settings and use Google’s storage management tool at google.com/settings/storage for automated suggestions.
How to clear cache in iPhone Gmail?
You clear cache in iPhone Gmail by offloading the app through Settings > General > iPhone Storage > Gmail > Offload App, which removes the app while keeping your data. For a more thorough clearing, delete the Gmail app by holding the app icon, selecting Remove App, then reinstalling it from the App Store and signing back in.
Should I clear my email cache?
You should clear your email cache every 2 to 3 months for regular maintenance or immediately when experiencing slow loading, error messages, or display problems. Clearing cache resolves performance issues caused by accumulated temporary files and corrupt cache data, while all your emails remain safely stored on Google’s servers and won’t be deleted.