

Your router’s WiFi probably doesn’t reach the back bedroom, the basement office, or even your backyard. Dead zones feel like broken promises from your internet provider, but the problem isn’t your service, it’s how far one router can push a signal through walls, furniture, and everyday obstacles. Mesh WiFi fixes this by replacing your single router with multiple nodes that work together, spreading strong WiFi across every corner of your home. This guide walks you through unboxing, setup, placement, and security so your whole house gets reliable coverage in under an hour.
Complete Mesh WiFi Installation from Unboxing to First Connection
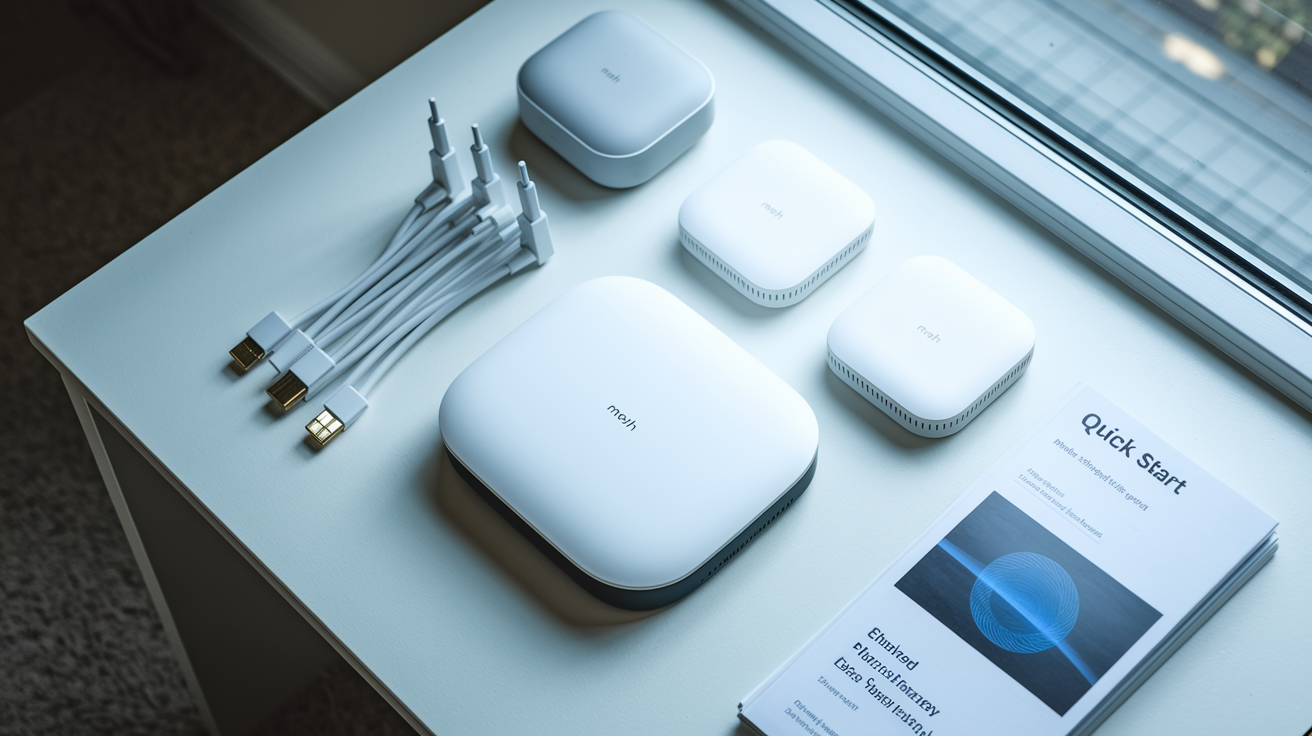
Open your mesh WiFi box and make sure everything’s there. You should find the main router node, one or two satellite nodes, power adapters for each unit, an ethernet cable, and a quick start guide. Before you start, grab a smartphone or tablet, confirm your internet modem’s working, and check that you’ve got power outlets near your modem and in rooms throughout your home.
Unplug your existing modem or router and wait 30 seconds. This gives the modem time to clear its old settings and get ready to work with your new mesh system.
-
Download the manufacturer’s app from Google Play or the iOS App Store. The brand name and app icon are printed on your quick start guide.
-
Open the app, create an account, then set up a strong administrator password. Use at least 8 characters mixing letters, numbers, and symbols.
-
Figure out your modem situation. If you’ve got a standalone modem, you’ll connect straight to it. If you’re replacing an existing router, unplug it completely. If your ISP gave you a combo gateway unit (modem and router together), you might need to enable bridge mode later.
-
Connect the main mesh node to your modem’s WAN port using the included ethernet cable. It’s usually yellow or a different color than the other ports.
-
Plug the main node into a nearby outlet and wait for it to power on.
-
Follow the app prompts to scan the QR code on the bottom of the main node, or just type in the serial number manually.
-
Create your network name and WiFi password. Don’t use personal info in the network name. Your password needs at least 8 characters with letters, numbers, and symbols mixed in.
-
Wait for the main node to connect with your modem. The status LED will change from blinking to solid when it’s ready, usually within 2 to 3 minutes.
-
Plug in your first satellite node in another room, about 30 feet from the main router. Two rooms away works.
-
The app will find the satellite node automatically and start configuring it. You’ll see a progress indicator.
-
Repeat this process for any additional nodes in your kit. Put each one roughly 30 feet from the previous node.
-
Once all nodes show as connected in the app, test things out. Connect your phone or laptop to the new network and load a website.
Most setups take 15 to 30 minutes from start to finish. The app walks you through each step and confirms when nodes connect successfully. For homes with ISP gateway units, you may need to enable bridge mode or DMZ mode in your gateway’s settings to prevent double NAT issues. That’s where two routers try managing traffic at the same time and slow everything down.
Strategic Node Placement for Maximum Wireless Coverage
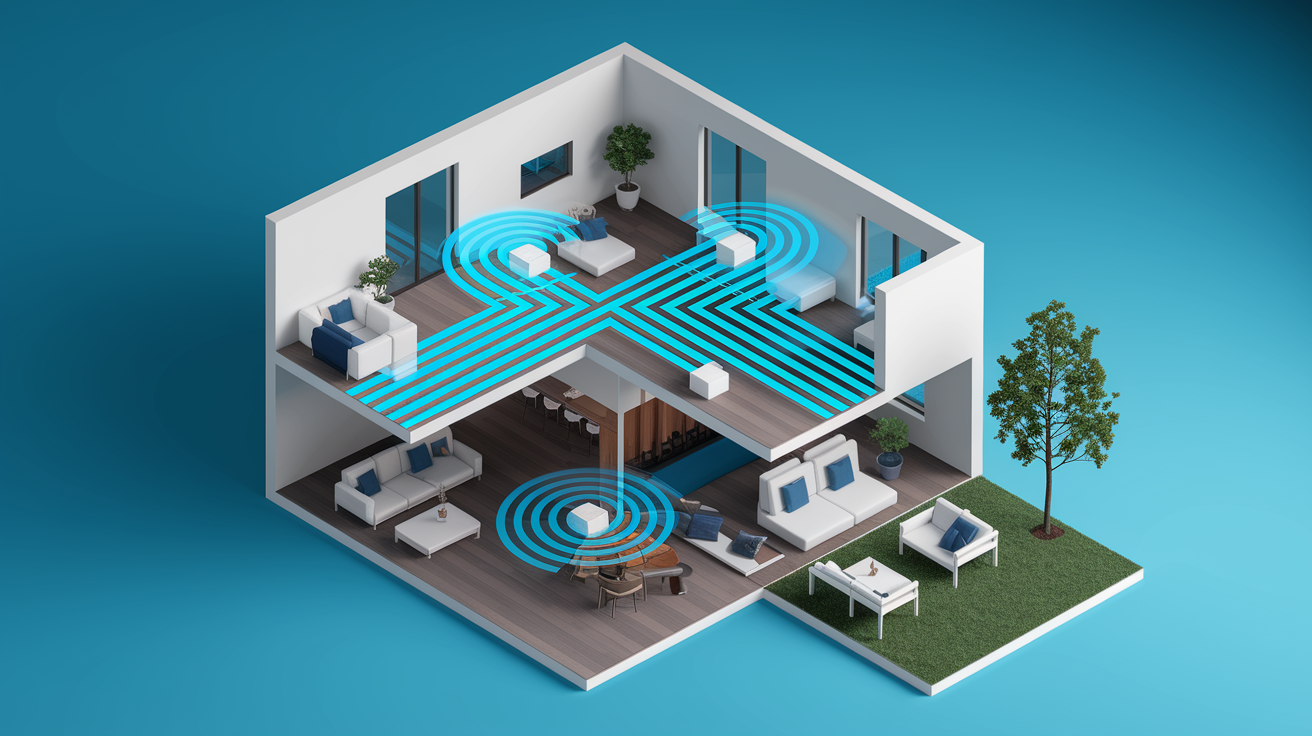
Where you put your nodes matters more than any setting you’ll tweak later. Physical placement determines whether your mesh network actually fixes dead zones or just creates different problems.
Put the main router node somewhere central in your home. Ideally near where your modem connects and where your family hangs out most. Position all nodes out in the open, on bookshelves, tables, or countertops. Never inside closets, cabinets, or behind furniture.
Keep 30 to 50 feet maximum between each node. That’s roughly two rooms apart. Elevate nodes to tabletop or shelf height, about halfway between your floor and ceiling. This helps the signal spread in all directions.
Keep nodes away from thick walls, especially brick or concrete. Those materials seriously weaken WiFi signals. Avoid placing nodes near microwave ovens, large metal objects like filing cabinets, or cordless phones. All of these cause interference.
Make sure each node has a clear line of sight to at least one other node when possible. You should be able to see one node from another without walls blocking the view. Position nodes close to power outlets since extension cords can sometimes introduce electrical interference.
Place nodes in rooms where your family actually uses devices. Living rooms, home offices, bedrooms. Not hallways or storage areas.
For multi-story homes, put at least one node on each floor. Consider positioning nodes near stairwells since signals travel more easily through open vertical spaces. Limit the vertical distance between upstairs and downstairs nodes to no more than 30 feet. If your first floor node sits in the living room, the second floor node should go in a bedroom roughly above that space, not at the opposite end of the house.
If dead zones persist after initial placement, the app will show which nodes have weak connections to each other. Large homes over 3,000 square feet typically need three or more nodes for complete coverage.
Some mesh systems offer weatherproof outdoor nodes if you need WiFi on a patio or in a detached garage. These connect to your indoor nodes the same way satellite nodes connect inside, but check your system specs since not all manufacturers offer outdoor units.
Wired Backhaul vs Wireless Backhaul Connection Options
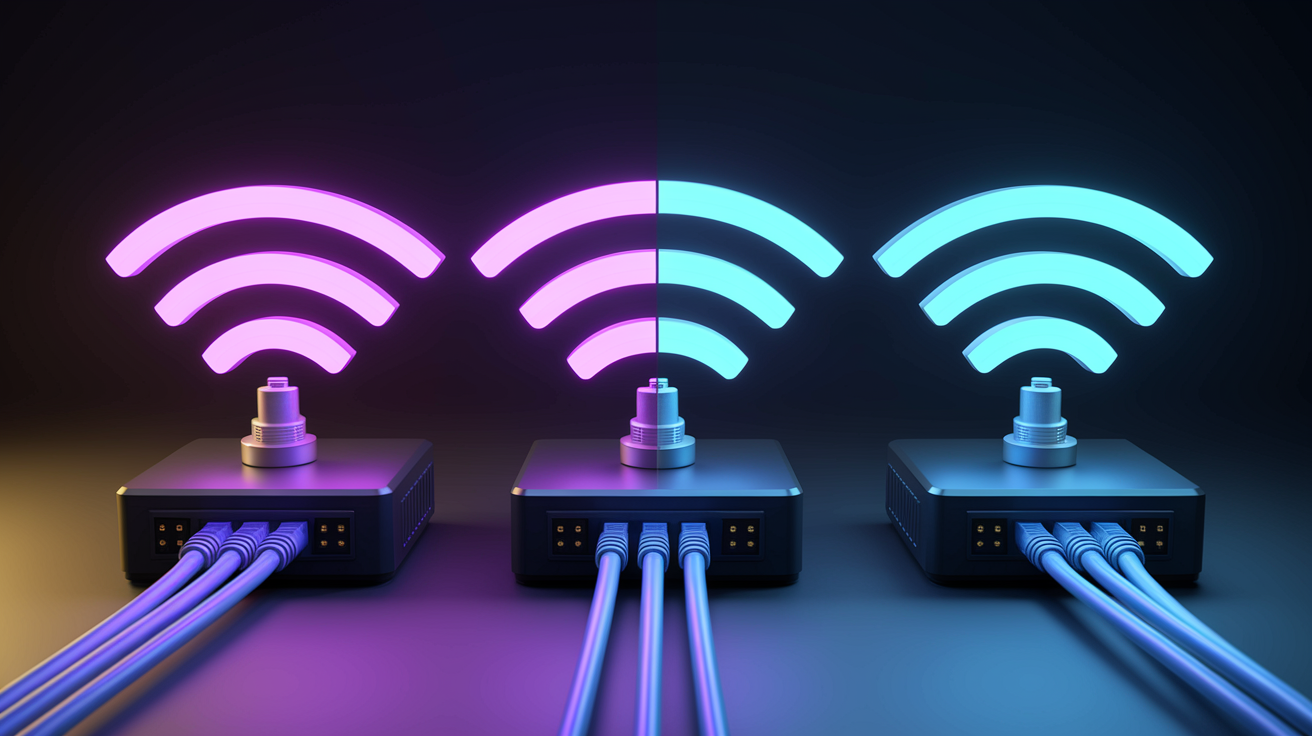
Backhaul refers to how your mesh nodes talk to each other. Either wirelessly through the air or through physical ethernet cables connecting each node.
| Backhaul Type | Speed | Setup Difficulty | Best For |
|---|---|---|---|
| Wired Backhaul | Fastest, full bandwidth available | More complex, requires running ethernet cables | Homes with existing ethernet wiring, users prioritizing maximum speed and stability |
| Wireless Backhaul | Fast, uses dedicated radio band | Simple, automatic configuration | Most homes, renters, users wanting quick setup without cables |
Wireless backhaul is the default right out of the box. No extra cables or setup steps needed. The mesh system automatically uses either the 2.4GHz and 5GHz bands or, in tri-band systems, dedicates a second 5GHz band or 6GHz band specifically for node communication.
Tri-band routers include 2.4GHz, 5GHz, and a second 5GHz band that handles backhaul traffic without slowing down your devices.
Wired backhaul delivers faster speeds and more stable connections by using ethernet cables to connect each satellite node back to the main router. If your home has ethernet ports in multiple rooms (common in newer construction), just plug an ethernet cable from each satellite node into a wall jack.
The mesh system detects the wired connection automatically and disables wireless backhaul on that node. This frees up radio bandwidth for your devices. Most nodes include at least one LAN port you can use to connect stationary devices like gaming consoles, smart TVs, or desktop computers within 6 to 10 feet of the node for the fastest possible connection.
Network Configuration and Security Settings
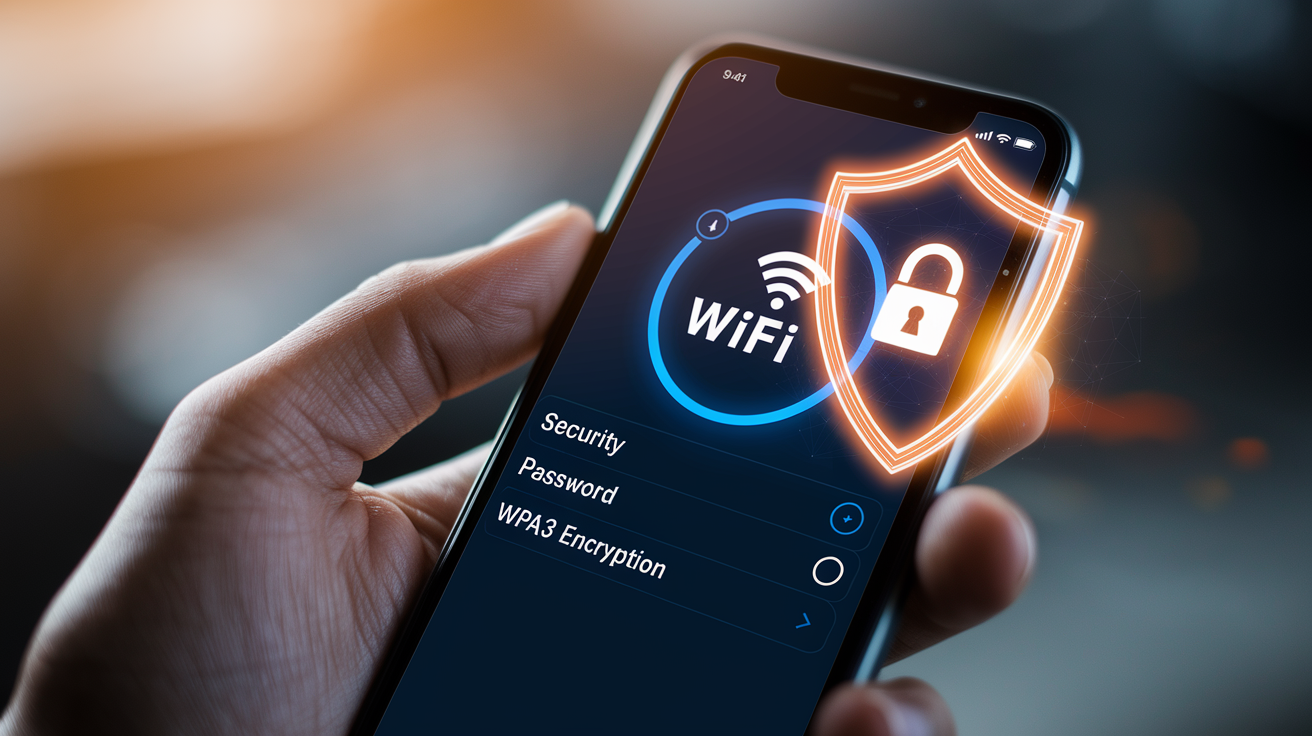
After your mesh nodes connect physically, open the manufacturer’s app to configure your network name and security settings.
Create a memorable SSID that doesn’t include personal information like your street address or last name. Something like “Johnson Family WiFi” works better than “1425MapleStreet.”
Your WiFi password needs at least 8 characters mixing uppercase and lowercase letters, numbers, and symbols. Most mesh systems use automatic band steering that creates a single SSID for all radio bands (2.4GHz, 5GHz, and 6GHz if available). Some manufacturers let you split bands into separate network names if older devices struggle to connect.
Change the default administrator password that protects your app and router settings. This matters more than your WiFi password since admin access lets someone reconfigure your entire network.
Modern mesh systems automatically select WPA3 encryption for devices that support it and fall back to WPA2 for older gadgets. WPA3 provides stronger protection against password guessing attacks and secures data even when someone connects to your network.
Most systems handle encryption selection automatically during setup. But if you see security options, choose WPA3 or “WPA2/WPA3” mixed mode for the best combination of security and device compatibility.
Never select WPA (without the number) or leave your network open without a password. Both expose every device on your network to anyone within signal range. To learn more about protecting your network and recognizing security threats, check out Security Awareness Training, which covers how attackers exploit weak network security and what to watch for.
Set up a guest network through your app’s settings menu. This creates a separate WiFi name and password for visitors. Guest networks isolate visitors from your main network and prevent them from seeing your connected devices, accessing shared folders, or accidentally changing settings on smart home products.
Most apps let you set guest passwords that expire automatically after a day or week. Some include bandwidth limiting so guests can browse and check email without slowing down your 4K streaming. Guest networks work across all your mesh nodes automatically, giving visitors the same whole home coverage you get.
Parental controls let you create profiles for each family member and set content filtering by age level. Most systems include presets for child, teen, and adult profiles that automatically block age inappropriate websites and content.
You can schedule internet access by device or user. Turn off WiFi for kids’ tablets during bedtime and dinner, or pause internet access for specific devices with a single tap when it’s homework time. Many apps include website blocking where you can add specific URLs to a blocked list, plus usage time limits that automatically disconnect devices after a set number of hours per day.
The pause internet function works immediately without requiring schedules or profiles. Useful when you need to get everyone’s attention right now.
Enable network monitoring features in your app to receive push notifications when new devices join your network. Most mesh systems send an alert showing the device name or manufacturer whenever something connects for the first time. This lets you immediately identify and block unauthorized devices.
Check your app’s security or network monitoring section periodically to review connected device lists, network usage statistics, and visited websites. Some systems include embedded anti-malware utilities that automatically block access to known malicious websites and infected servers.
Review your security logs weekly at first. Once you’re familiar with normal patterns, monthly checks work fine. Look for suspicious activity like unknown devices, unusual traffic spikes, or repeated blocked connection attempts.
Testing WiFi Speed and Performance After Installation

Once all nodes show as connected in your app, run baseline tests to verify your mesh network delivers the speeds you’re paying your ISP for.
Your internet speed (what your ISP provides to your home) determines the maximum WiFi speed your mesh system can deliver to devices. Testing helps you understand what to expect throughout your home.
Connect a laptop directly to your modem using an ethernet cable and run a speed test at Speedtest.net to establish your baseline internet speed. Write down the download and upload numbers. Now disconnect the laptop and let your mesh system reconnect to the modem.
-
Stand next to your main router node and run a speed test on your phone or laptop connected to the mesh WiFi. You should see speeds within 10 to 20% of your wired baseline.
-
Walk to the room where you placed your first satellite node and run another speed test. Speeds should stay consistent, not drop significantly.
-
Test in each room where you positioned satellite nodes throughout your home.
-
Test in areas that used to be dead zones or had weak signal before you installed the mesh system.
-
Run tests on multiple device types (phone, laptop, tablet) since older devices with older WiFi technology may show slower speeds than newer ones.
-
Document results in your phone’s notes or take screenshots to compare against your ISP’s advertised speeds.
You should see consistent speeds throughout your home within 70 to 80 percent of your ISP’s advertised speed. WiFi always runs slightly slower than wired connections due to radio interference, distance from nodes, and how many devices share the network.
If you notice significant speed drops in certain rooms (more than 50% slower than tests near your main node), those areas may need satellite node repositioning.
Most mesh apps include signal strength indicators showing the connection quality between each node. Open your app and look for signal strength bars or percentages next to each satellite node. Physical LED lights on the nodes themselves also indicate connection status. Solid colors mean good connection, while blinking, orange, or red lights suggest the node sits too far from others.
Optimizing Mesh Network Performance and Bandwidth

Beyond basic setup, most mesh systems include performance optimization features that help specific devices and activities get the bandwidth they need when it matters most.
Quality of Service (QoS) Settings for Device Prioritization
Quality of Service settings let you allocate bandwidth by priority level, preventing bandwidth hungry devices from slowing down critical connections.
Open your app’s advanced settings or QoS section and you’ll typically see three priority categories: High, Medium, and Low.
Drag your gaming consoles, work computers, and video call devices into the High priority box. These get first access to available bandwidth. Streaming devices like Roku, Fire TV, and smart TVs work well in the Medium priority box since buffering a few seconds ahead means they handle brief bandwidth dips without stuttering.
Smart home devices (light bulbs, door locks, thermostats) belong in Low priority since they send tiny amounts of data and work fine with whatever bandwidth remains.
Many apps include preset profiles for gaming, streaming, and video calls that automatically configure QoS settings for you. Just select the profile that matches your primary use and the system prioritizes both devices and applications accordingly.
Most mesh systems automatically select the best WiFi channels to avoid interference from neighboring networks. But you can manually adjust channel selection in advanced settings if you live in an apartment building or dense neighborhood where dozens of WiFi networks overlap.
The app may show a WiFi analyzer that displays nearby networks and their signal strength. If you see channels 1, 6, and 11 crowded with neighbors’ networks, switching to a less congested channel can improve speeds during evening hours when everyone streams simultaneously.
Network monitoring tools in your app show which devices consume the most bandwidth in real time. Check this section if your network feels slow. You might discover a laptop downloading a massive update, someone uploading videos to cloud storage, or a security camera pushing high definition footage continuously.
Set usage alerts for specific devices if you want notifications when something starts consuming excessive bandwidth. Review historical data monthly to spot patterns. If speeds always drop on weekday evenings, that suggests network congestion rather than a configuration problem.
You can also identify unauthorized connections here and immediately block devices that shouldn’t access your network.
Troubleshooting Common Mesh WiFi Installation Issues

Most mesh WiFi setup problems have straightforward solutions that don’t require technical expertise or manufacturer support.
| Problem | Possible Cause | Solution |
|---|---|---|
| Main node won’t connect to app during setup | Phone and node on different networks, Bluetooth disabled, node not powered on | Confirm phone WiFi is off or disconnected from other networks, enable Bluetooth in phone settings, verify node has solid power LED |
| Satellite node shows red or offline LED | Positioned too far from main router or previous node | Move satellite node closer (within 30 feet), place halfway between current location and main router, check in-app signal strength indicator |
| Slow speeds throughout entire home | ISP service issue, modem connection problem, outdated firmware | Test speed with device directly connected to modem, restart modem and main node, check app for firmware updates |
| Devices can’t connect to network | Incorrect password, device limit reached, incompatible security settings | Verify you’re entering correct password (case sensitive), check connected device count in app, try WPA2/WPA3 mixed mode if WPA3 only is enabled |
| Main node can’t connect to modem | Loose ethernet cable, modem needs reset, ISP service interruption | Unplug and firmly reconnect ethernet cable, unplug modem for 30 seconds then replug, call ISP to verify service active at your address |
| Dead zones persist after setup | Insufficient nodes for home size, poor node placement, thick walls blocking signal | Add additional nodes in problem areas, relocate existing nodes to open areas at proper height, reposition nodes to avoid thick walls between them |
If basic troubleshooting doesn’t resolve connection issues, perform a factory reset on the entire system. Hold the reset button on each node for 10 to 15 seconds. Check your quick start guide for the exact location. Usually a small recessed button that requires a paperclip.
The LEDs will blink or change color to confirm the reset. After resetting, you’ll need to start the setup process over from the beginning, including reconnecting to your modem and configuring each satellite node.
Before resetting, take screenshots of important settings like your network name, custom device names, QoS priorities, and parental control schedules so you can quickly reconfigure them.
If problems continue after a factory reset, contact manufacturer support through the app or website. Have your model number and a clear description of the error messages or LED colors you’re seeing.
Managing Connected Devices and Smart Home Integration
Typical mesh WiFi systems support 75 to 150 simultaneous device connections. This includes your phones, tablets, computers, smart home devices, streaming boxes, gaming consoles, and IoT products like smart speakers and video doorbells.
Higher end systems like the TP-Link Deco W7200 handle over 150 devices while more affordable options like the Eero 6 Plus accommodate 75 or more. Both numbers exceed what most households need even with extensive smart home setups.
Check your current connected device count in your mesh app’s device list if you’re approaching limits. Remember that devices only count when actively connected. A phone that leaves the house disconnects automatically and frees up that connection slot.
Connecting new devices to your mesh network follows the standard WiFi connection process you already know. On the device you want to connect, open WiFi settings, select your mesh network name from the available networks list, enter your WiFi password, and you’re connected.
The mesh system handles seamless roaming automatically. As you walk from room to room, your device switches between nodes without you noticing or needing to reconnect.
Open your mesh app and check the connected devices section to see every device currently on your network, usually organized by node location. You’ll see device names, manufacturers, IP addresses, and how long each device has been connected.
Select mesh systems include smart home integration features built directly into the main router node. The Eero 6 Plus includes a built in Thread and Zigbee smart home hub, while the Amazon Eero has a Zigbee hub that lets you pair compatible smart home devices directly to your router without buying a separate hub like a Samsung SmartThings or Philips Hue Bridge.
During smart device setup, look for an option to connect via Zigbee or Thread, then follow the pairing instructions in your mesh app instead of installing a separate smart home app.
Most mesh systems work with voice assistants like Amazon Alexa and Google Assistant, letting you control network features with voice commands. Pause the kids’ internet, enable guest network, restart nodes.
You can create device groups in the app to control multiple smart home products simultaneously and set up automation routines that trigger based on schedules or other device actions.
Firmware Updates and Network Maintenance

Firmware is the operating system running on your mesh nodes, controlling everything from how they route traffic to security features that protect your network.
Firmware updates matter because they deliver security patches that protect against newly discovered vulnerabilities, performance improvements that increase speeds and reduce connection drops, new features the manufacturer adds after you purchase the system, bug fixes that resolve quirky behavior or compatibility issues, and compatibility updates for newer devices entering the market.
Enable automatic updates in your app settings so your system installs updates overnight without requiring manual intervention. If you prefer manual control, check for updates monthly by opening your app and navigating to settings or system information where you’ll find a “Check for Updates” button.
Schedule updates during low usage hours like 2 AM to 4 AM when nobody’s streaming or gaming, since the update process causes a brief WiFi interruption lasting 5 to 10 minutes.
Never unplug nodes or turn off power during an update. Interrupting the process can corrupt firmware and require a factory reset. If an update fails partway through, reboot the entire system by unplugging all nodes for 30 seconds, plugging them back in, then trying the update again.
Check for firmware updates monthly in your app’s settings or system section. Review the connected device list weekly to spot unauthorized devices joining your network. Monitor bandwidth usage in the app to identify devices consuming excessive data.
Test WiFi speeds quarterly using Speedtest.net to verify consistent performance. Restart the entire system every few months by unplugging all nodes for 30 seconds. This clears temporary glitches and memory buildup.
Clean dust from node vents with a soft cloth or compressed air if you notice excessive dust accumulation. Verify node placement still provides optimal signal if you’ve rearranged furniture or added new walls.
Update your network password annually as a security best practice. Review and update parental controls as children grow and their internet needs change. Check for suspicious devices or activity in security logs and device lists monthly.
Sudden speed drops throughout your entire home, devices disconnecting frequently for no clear reason, new dead zones appearing in areas that previously had strong signal, security alerts appearing in your app, or nodes showing unusual LED colors all indicate your system needs maintenance attention.
If multiple symptoms appear simultaneously, start with a full system reboot. Unplug every node for 30 seconds, plug the main router back in and wait for it to fully boot (solid LED), then plug in satellite nodes one at a time waiting for each to connect before adding the next.
Keep your manufacturer’s app installed on your phone even after setup completes since it provides the only interface for ongoing network management, monitoring, and troubleshooting.
Mesh WiFi System vs Traditional Router and Range Extenders
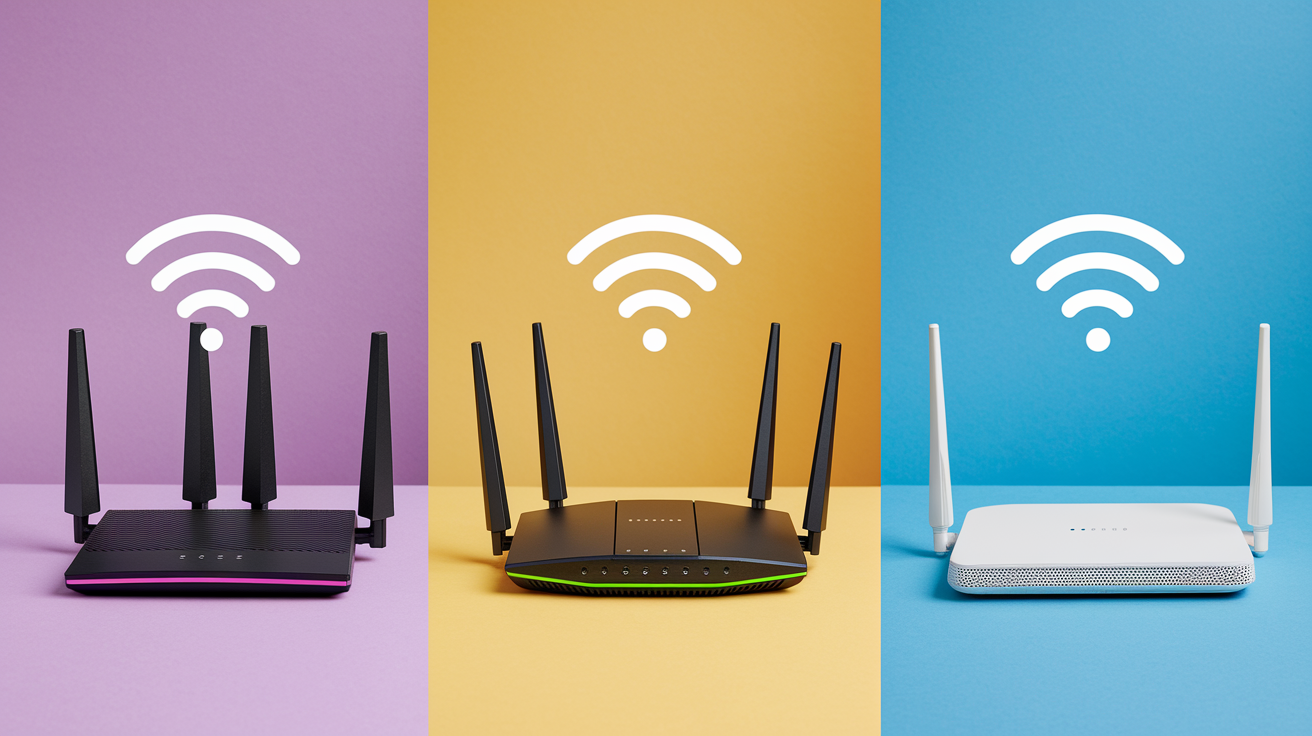
Mesh WiFi represents an evolution in home networking technology that solves coverage problems traditional routers and range extenders cannot fix. Understanding the differences helps you appreciate why mesh systems work better for modern homes with dozens of connected devices spread across multiple rooms and floors.
For a deeper look at how mesh routers differ from traditional routers and modems, see the comparison at Router vs Modem, which explains the role each device plays in your home network.
| Feature | Mesh System | Traditional Router | Range Extender |
|---|---|---|---|
| Coverage Area | Whole home with multiple nodes working together | Limited to single device range, typically 1500 to 2000 sq ft | Extends coverage but creates separate network zones |
| Number of Network Names | Single SSID across all nodes | One network name | Creates second network name (YourNetwork-EXT) |
| Automatic Switching | Seamless roaming between nodes as you move | Not applicable, single device | Manual switching required between router and extender networks |
| Speed Consistency | Consistent speeds throughout home | Weakens with distance from router | Cut speeds in half, different speeds in different zones |
| Setup Complexity | Guided app setup, typically 15 to 30 minutes | Web browser configuration, 30 to 45 minutes | Requires finding optimal placement through trial and error |
Traditional routers broadcast WiFi from a single location, and that signal weakens as it travels through walls, floors, and furniture. A router in your living room might deliver strong signal in nearby rooms but struggles to reach upstairs bedrooms or a basement home office.
Adding range extenders seems like a logical solution, but extenders create their own problems. They broadcast a separate network name (like “YourNetwork” and “YourNetwork-EXT”), forcing your devices to manually switch between networks as you move around.
Extenders also cut available speeds roughly in half since they use the same radio to both receive signal from your router and rebroadcast it to your devices. This creates buffering during 4K streaming and lag during video calls as you move between coverage zones.
Mesh systems eliminate these limitations by using multiple nodes that work as a unified network under a single name. Walk from your living room to your bedroom and your phone automatically switches from the living room node to the bedroom node without dropping your connection or requiring you to select a different network.
Speeds stay consistent throughout your home since each node communicates with others using dedicated backhaul channels that don’t interfere with your device traffic.
A single mobile app manages the entire system. Add nodes, configure settings, monitor devices, and troubleshoot issues all from one interface instead of logging into separate web pages for your router and each extender. This centralized management makes mesh systems significantly easier for non-technical users who just want WiFi that works everywhere without understanding complex networking concepts.
Final Words
Setting up a mesh WiFi system takes about 15 to 30 minutes from unboxing to your first connection.
Most of that time is just waiting for nodes to sync and firmware to update.
Once you’ve placed the nodes, connected the main router to your modem, and followed the app prompts, your whole home coverage should feel noticeably different.
You’ll move between rooms without dropped video calls or buffering streams.
If you hit a snag during setup, the LED indicators and in-app troubleshooting tools will point you toward the fix.
Learning how to setup mesh wifi means you now control your home network with confidence.
FAQ
Can I connect a mesh WiFi to an existing router?
You can connect a mesh WiFi system to an existing router by using bridge mode on the mesh system or by connecting the main mesh node to your router’s LAN port and letting the mesh handle WiFi while your old router stays active for wired connections.
Does Ubiquiti support mesh WiFi?
Ubiquiti does support mesh WiFi through their UniFi product line, which allows wireless meshing between access points, though their systems typically require more technical configuration than consumer-focused mesh brands like eero or Google Nest WiFi.
What are the disadvantages of mesh WiFi?
The main disadvantages of mesh WiFi include higher cost compared to single routers, potential speed reduction when using wireless backhaul between nodes, and limited advanced configuration options compared to traditional networking equipment designed for tech-savvy users.
Do I connect mesh to modem or router?
You connect the main mesh node directly to your modem using an ethernet cable for best performance, though you can also connect it to an existing router if you enable bridge mode to prevent network conflicts.
How long does mesh WiFi installation take?
Mesh WiFi installation typically takes 15 to 30 minutes for a complete system, including connecting the main node to your modem, setting up your network name and password through the app, and placing satellite nodes throughout your home.
How far apart should mesh nodes be placed?
Mesh nodes should be placed no more than 30 to 50 feet apart, or approximately two rooms away from each other, to maintain strong wireless connections and optimal coverage throughout your home without signal degradation.
What is backhaul in a mesh WiFi system?
Backhaul in a mesh WiFi system is the connection method between nodes, either wireless using WiFi bands or wired using ethernet cables, with wired backhaul providing faster speeds and more stability if your home has ethernet wiring.
Do all mesh nodes need to be the same brand?
All mesh nodes need to be the same brand and often the same product line because mesh systems use proprietary communication protocols that aren’t compatible across different manufacturers or even different product series from the same company.
Can I use my mesh WiFi system with any internet provider?
You can use your mesh WiFi system with any internet provider since mesh systems work independently of your ISP, though you may need to enable bridge mode or DMZ settings on ISP-provided gateway units to prevent double NAT issues.
How many devices can a mesh WiFi system support?
Most mesh WiFi systems can support between 75 and 150 connected devices simultaneously, including phones, tablets, computers, smart home devices, and streaming equipment, with higher-end systems supporting more connections.
Should I enable automatic firmware updates on my mesh system?
You should enable automatic firmware updates on your mesh system because updates provide critical security patches, performance improvements, and new features, though updates typically occur during low-usage hours to minimize disruption.
What is Quality of Service in mesh WiFi settings?
Quality of Service (QoS) in mesh WiFi settings is a feature that lets you prioritize bandwidth for specific devices or activities, ensuring gaming consoles or work computers get faster connections than smart home devices during peak usage.