
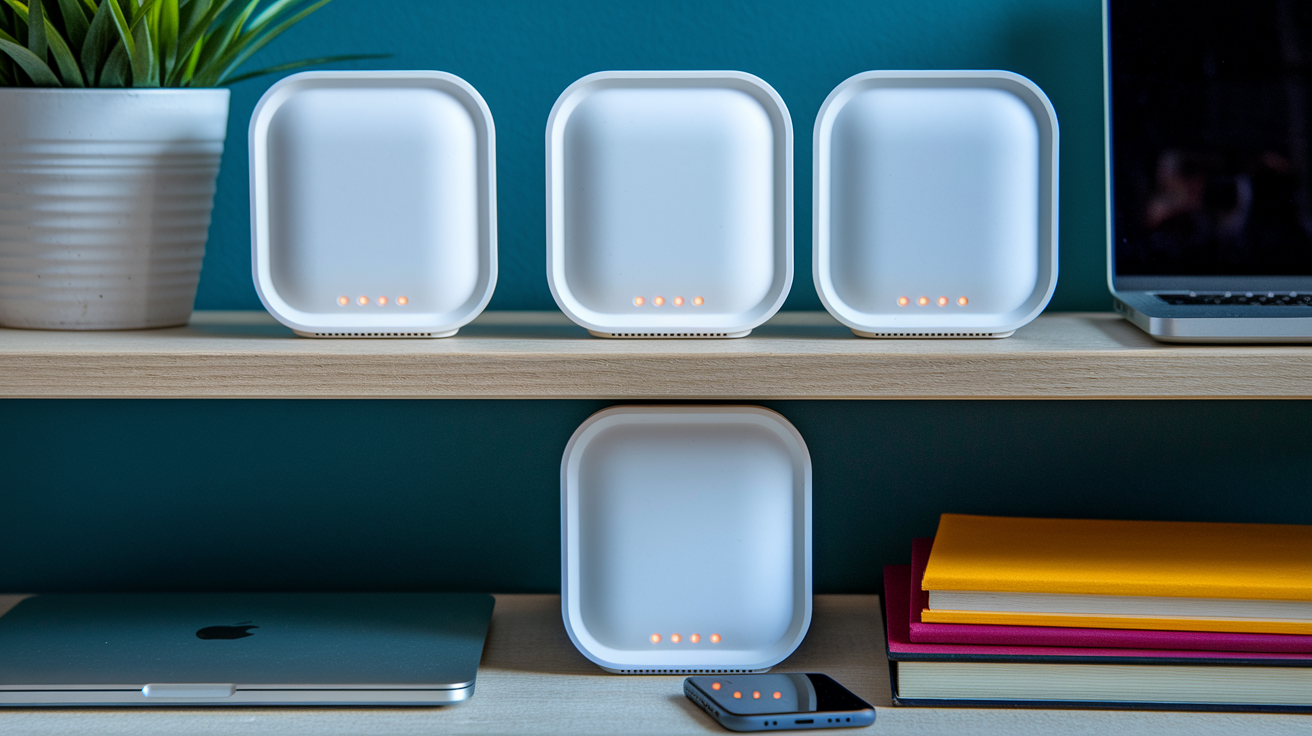

Ever notice how your WiFi works great in the living room but completely dies in the bedroom? That’s the single-router trap most people are stuck in. A mesh network fixes that problem by spreading multiple access points throughout your home so every room gets strong, reliable coverage. But throwing hardware around randomly won’t help. You need the right equipment placed in the right spots, configured correctly, and secured properly. This guide walks you through all seven steps so you can set up a mesh network that actually works the first time.
Choosing Compatible Mesh Hardware for Your Network Requirements
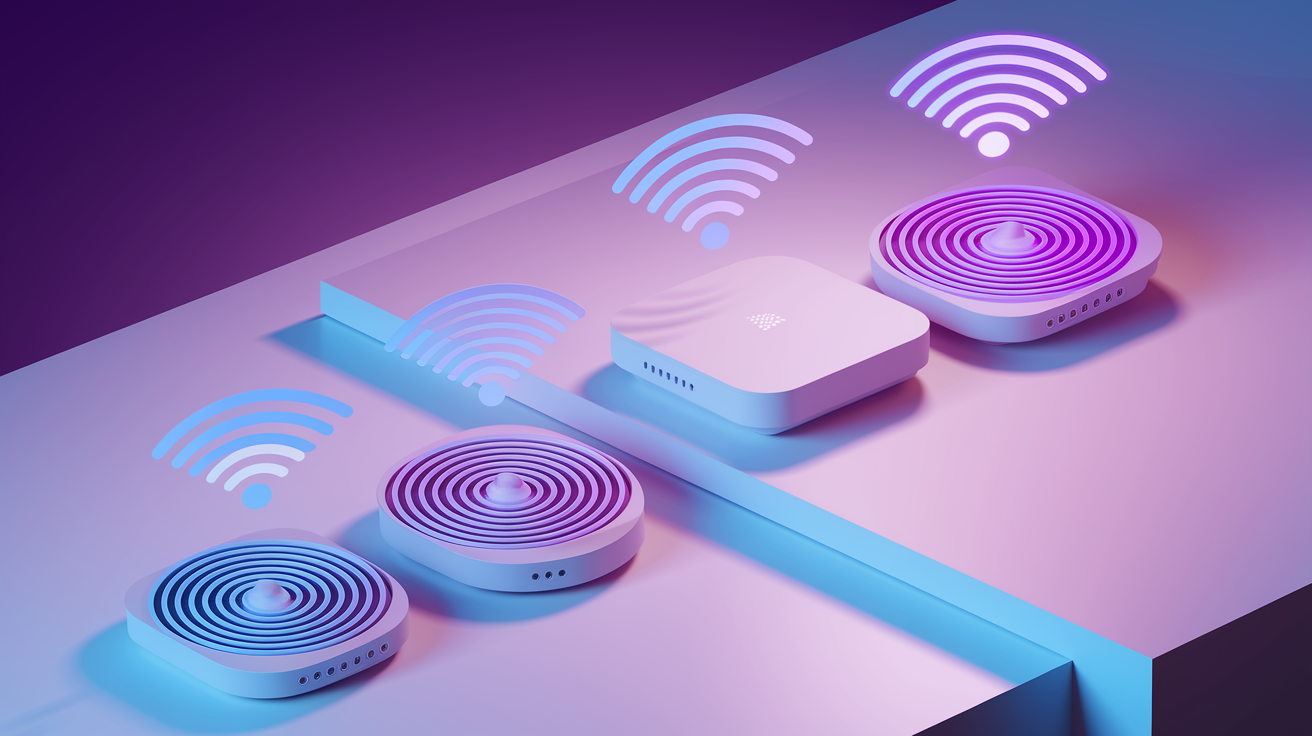
Before you install anything, match the mesh system’s capabilities to your home’s size, how many devices you’re running, and what you can actually spend. WiFi standards directly impact speed and how smoothly the network handles multiple devices. Basic systems work fine for streaming and browsing. But if you’ve got gaming consoles, 4K TVs, video calls happening constantly, and dozens of smart devices all competing for bandwidth, you need more powerful hardware.
| WiFi Standard | Speed Range | Best For | Price Range |
|---|---|---|---|
| WiFi 5 | Up to 1.3 Gbps | Small homes, basic streaming, 10-15 devices | $100-$200 |
| WiFi 6 | Up to 9.6 Gbps | Medium homes, multiple 4K streams, 20-40 devices | $200-$400 |
| WiFi 6E | Up to 9.6 Gbps with 6 GHz band | Large homes, gaming, 40-75 devices, reduced interference | $400-$600 |
| WiFi 7 | Up to 46 Gbps | Maximum performance, 8K streaming, 75+ devices, future-proofing | $600+ |
Band configuration matters when you’re running both wired and wireless connections between nodes. Dual-band systems (2.4 GHz and 5 GHz) handle most homes just fine, but they use the same bands for your devices and for communication between nodes. That cuts available speed in half. Tri-band systems add a second 5 GHz band dedicated to moving data between nodes, which keeps your device connections running fast. Quad-band systems (found in WiFi 6E and WiFi 7 hardware) add a 6 GHz band, offering even less interference and higher speeds for environments where you’ve got lots of competing networks nearby. The extra cost makes sense if you’re mixing wired Ethernet with wireless mesh links or managing 30 or more connected devices.
Check the Ethernet port count before you buy. Most mesh nodes include one or two LAN ports for wired connections to nearby devices. If you’re placing a node in an entertainment center with a gaming console, TV, and streaming box, you’ll need at least three ports on that node or you’ll need to add a small network switch. Higher-end models offer four ports per node. Processor power matters too. Systems managing 50 or more devices simultaneously need stronger chips to route traffic without slowdowns. Expandability is built into most mesh systems, letting you add nodes from the same product family later without replacing everything.
Compatibility with your existing ISP modem is usually automatic, but check that the mesh system supports your internet speed tier. If you’re paying for Gigabit or Multi-Gig fiber service, confirm the mesh hardware’s WAN port supports those speeds. Most current devices in your home will connect without issues. Phones, tablets, laptops, smart TVs should all work fine, though very old devices (10+ years) might not support newer security standards like WPA3.
Initial Setup and Configuration: Physical Installation Through App Setup
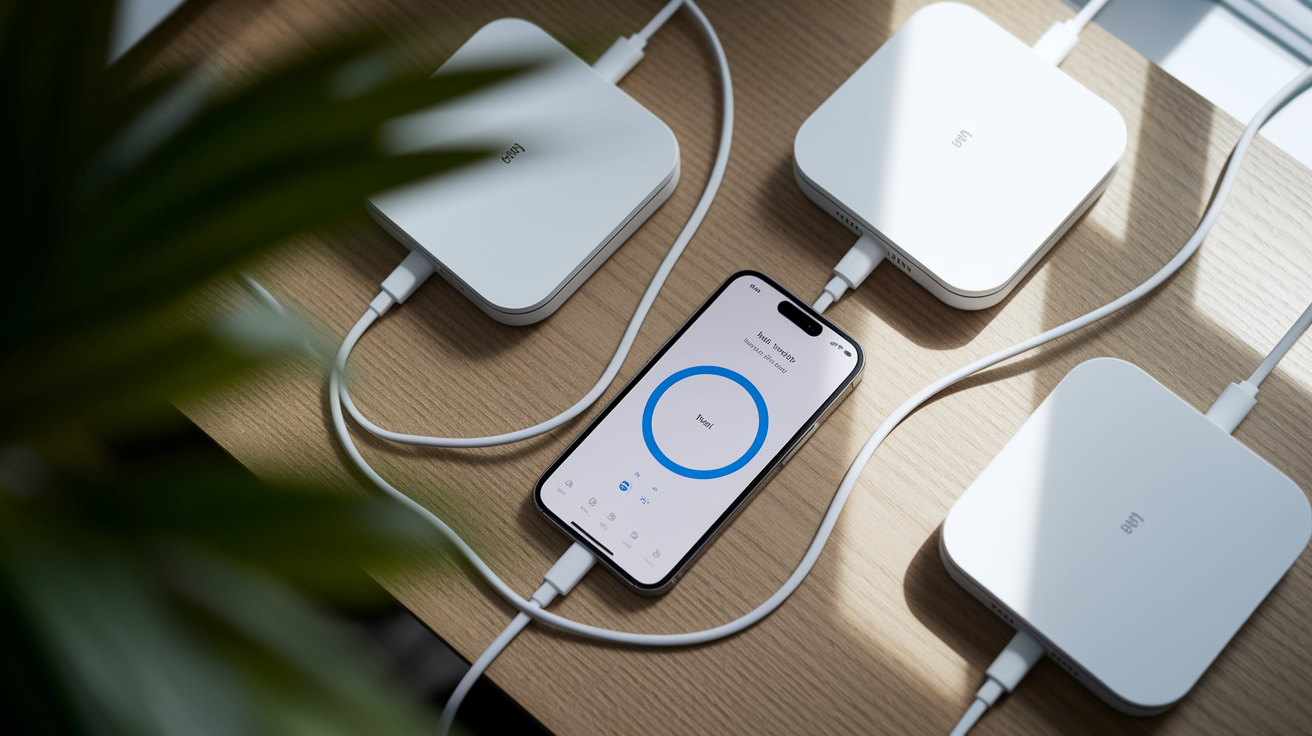
The full setup process typically takes 15 to 30 minutes from unboxing to a working network. You’ll connect physical hardware first, then use a mobile app to configure network settings, security, and additional features. Have your smartphone charged and ready. You’ll need it for the entire process. If you’re replacing an existing router, note your current network name and password so you can match them if you want devices to reconnect automatically.
-
Unplug your existing modem or router and wait 30 seconds to clear the IP address lease so your mesh system can claim it from your ISP.
-
Connect the main mesh node’s WAN port to your cable modem, fiber ONT, or gateway using the included Ethernet cable.
-
Plug the main node into a power outlet and wait 60 to 90 seconds while it boots up and the LED indicator changes colors.
-
Download your mesh system’s mobile app from the App Store or Google Play Store while the hardware initializes (eero app for eero systems, Deco app for TP-Link, Orbi app for NETGEAR).
-
Open the app and create an account using your email address. You’ll need to verify the email before continuing.
-
Tap “Get Started” or “Set Up New System” in the app to launch the configuration wizard.
-
Connect your smartphone to the temporary network the main node broadcasts (the app will display the exact network name, usually something like “eero-setup” or “Deco_XXXX”).
-
Create your permanent network name (SSID) that all nodes will share. Use something you’ll recognize but that doesn’t identify your address or personal information.
-
Set a strong password using at least 12 characters mixing uppercase, lowercase, numbers, and symbols (example: “Blue7Mountain#Sky2”).
-
Select WPA3 encryption for the strongest security when prompted. If your system doesn’t offer WPA3, choose WPA2.
-
Configure a guest network with a separate password if you want visitors to access the internet without joining your main network.
-
Enable automatic firmware updates so the system installs security patches and performance improvements without manual intervention.
-
Position and power on each satellite node in the locations you’ve planned. Pre-synced systems (ASUS ZenWiFi, TP-Link Deco, NETGEAR Orbi) will automatically detect and connect to the main router within 2 to 3 minutes.
-
Verify all nodes show “Connected” or “Online” status in the app with green checkmarks or solid LED indicators.
Essential security configuration happens during this initial setup. Change the default admin username and password if the system prompts you (some systems create unique credentials automatically). Enable device join notifications so the app alerts you when new phones, laptops, or other hardware connects to your network. This catches unauthorized access quickly. All nodes share the same SSID and password, which means your phone or laptop automatically connects to whichever node has the strongest signal as you move between rooms without manual network switching.
Successful setup shows specific LED indicators depending on your hardware brand. Most systems use solid white, blue, or green lights to confirm everything works correctly. The app displays a dashboard showing all nodes online, internet connectivity passing tests, and the network name appearing when you scan for WiFi on any device. Run a quick test by opening a web browser and loading a few websites to confirm internet access flows through the new mesh system.
Pre-synced systems like ASUS ZenWiFi, TP-Link Deco, and NETGEAR Orbi automatically form the mesh network after you set up the main router. Satellite nodes recognize the main unit and connect without manual pairing. Other systems require you to press sync buttons on each satellite node while standing near the main router. Firmware updates might install automatically during first boot, adding 5 to 10 minutes to the setup time while nodes restart with new software.
Node Placement and Performance Optimization

Strategic node positioning determines whether your mesh network eliminates dead zones or creates new ones. Poor initial placement wastes the hardware’s capabilities. A $500 mesh system positioned incorrectly performs worse than a $150 system placed thoughtfully. The good news? You can always adjust positions after testing reveals weak spots.
-
Place the main node centrally near your modem in an open space at mid-wall height (4 to 5 feet off the ground), not on the floor or ceiling.
-
Position satellite nodes 25 to 30 feet apart when walls separate them, or 40 to 50 feet apart in open floor plans without barriers.
-
Mount nodes halfway between floor and ceiling for better signal distribution across both horizontal and vertical space.
-
Keep nodes away from large metal objects like filing cabinets, metal shelving, and appliances (refrigerators, microwaves, dishwashers, cordless phone bases).
-
Avoid enclosed spaces like closets, cabinets, entertainment centers with closed doors. Signals need open air to travel efficiently.
-
Consider vertical distance in multi-story homes by placing nodes directly above or below each other so signals reach between floors.
-
Ensure nodes sit in open areas rather than behind furniture, TVs, or stacked against walls where objects block signal paths.
After placing all nodes, conduct baseline performance testing to identify weak coverage areas before you start using the network heavily. Download Ookla Speedtest or your ISP’s speed test app. Stand within 10 feet of the main node and run a test to establish maximum speed. Walk through your home room by room, running tests in the locations where you actually use devices. Kitchen counter, home office desk, bedroom nightstand, patio seating area. Check your phone’s WiFi indicator while walking to see if signal strength drops noticeably in specific spots. Compare your test results to the speeds your ISP advertises (if you pay for 500 Mbps and see 480 Mbps near the main node, that’s normal; if you see 120 Mbps, something’s wrong).
Optimization actions depend on what testing reveals. If speeds drop below 50% of your baseline in certain rooms, reposition the nearest node. Move it 5 to 10 feet closer to the weak area or raise it higher on a shelf. If coverage gaps appear between floors, adjust node height so signals punch through ceiling/floor more effectively. Enable band steering through the mesh app to automatically push capable devices to the faster 5 GHz band instead of letting everything crowd onto 2.4 GHz. Check for firmware updates in the app settings. Manufacturers release updates that improve signal strength and node communication. Identify interference sources like baby monitors, wireless security cameras, or Bluetooth speakers operating near mesh nodes and move them 3 to 4 feet apart.
Monitor connection quality through your mesh app’s dashboard. Check which band your devices connect to (2.4 GHz vs 5 GHz vs 6 GHz). If a WiFi 6 laptop connects via 2.4 GHz only, it’s too far from nodes and needs a closer satellite. Verify seamless roaming works by walking from one end of your home to the other while streaming video on your phone. The video should continue without buffering or pausing as you move between nodes. Identify devices connecting to distant nodes instead of the nearest one, which indicates those devices don’t see strong signals from nearby nodes and need repositioned hardware.
Special considerations apply to challenging home layouts. Homes with thick brick or concrete walls need closer node spacing (20 to 25 feet) because signals penetrate these materials poorly. Long narrow floor plans like hallway-style apartments or ranch homes benefit from linear node arrangement following the length of the space. Multi-story homes perform best when nodes on different floors sit directly above or below each other. Signals travel vertically more easily than horizontally through floor joists and subfloors. If you need coverage on patios, garages, or detached workshops, some mesh brands offer outdoor-rated nodes designed to withstand weather.
Wired vs Wireless Backhaul Configuration

Backhaul describes how mesh nodes communicate with each other, and the method you choose dramatically impacts network performance. Think of backhaul as the highway between nodes. Wider highways (wired connections) move more data faster than narrow ones (wireless connections).
Wireless backhaul uses a dedicated WiFi band (typically 5 GHz or 6 GHz) to carry traffic between nodes. Setup is simple. You just plug satellite nodes into power outlets and they automatically connect to the main router through the air. This convenience makes wireless backhaul practical for rental properties, finished homes where running cables means cutting walls, or quick installations. The performance limitation shows up when devices connect to satellite nodes far from the main router. If your laptop connects to a satellite node that wirelessly connects to the main router, your data makes two wireless hops (laptop to satellite, satellite to router), cutting available speed roughly in half. Systems using dedicated backhaul bands perform better than those sharing bands between devices and node communication, but wireless backhaul never matches wired speed.
Wired backhaul connects nodes via Ethernet cables running through walls, attic spaces, or existing network infrastructure. The cable path follows: internet line → modem → main router → network switch or satellite node → additional satellites. This approach achieves full Gigabit or Multi-Gig speeds with no signal loss between nodes. Stability improves because walls, appliances, and interference don’t affect wired connections. Security strengthens since wired backhaul can’t be intercepted like wireless signals. The tradeoff is installation complexity. You need Ethernet cables running to each node location, which works best in new construction or homes with existing network wiring. Multi-Gig wired backhaul (2.5 Gbps or 10 Gbps Ethernet) is required if you’re paying for Gigabit or faster internet and want WiFi devices to reach those speeds. Powerline adapters (networking through electrical wiring) don’t provide enough bandwidth for modern mesh systems.
Mixed backhaul setups combine wired and wireless connections across different nodes. You might wire the main router to a basement node via Ethernet while connecting an upstairs bedroom node wirelessly. Tri-band and quad-band mesh systems handle mixed configurations best, dedicating specific bands to wireless backhaul while maintaining full speed for wired connections. In mixed setups, only devices connected to wireless-backhauled satellites see reduced speeds. Devices connecting to nodes with wired backhaul maintain full Gigabit performance.
Choose wireless backhaul for rental properties where you can’t modify walls, retrofit situations in finished homes, or temporary installations you’ll move later. Choose wired backhaul for new construction, homes with existing Ethernet infrastructure in walls, or when you need maximum speed for data-heavy activities like 4K streaming to multiple TVs simultaneously. Mixed backhaul offers a practical compromise. Wire the nodes near entertainment centers and home offices where speed matters most, let bedroom and kitchen nodes connect wirelessly where moderate speeds work fine.
Quality of Service and Device Prioritization

Quality of Service (QoS) settings allocate available bandwidth when multiple devices compete for the same connection. Without QoS, a tablet downloading a software update in the background might steal bandwidth from a video call, causing frozen screens and choppy audio. QoS ensures critical applications receive the bandwidth they need during peak usage times when kids stream videos, parents join video calls, and smart devices all pull data simultaneously.
Identify which devices need priority bandwidth based on real-time requirements. Gaming consoles and gaming PCs require low latency (delay) more than raw speed. A competitive match tolerates 100 Mbps speed fine but fails with 50 milliseconds of lag. Work computers running Zoom, Microsoft Teams, or Google Meet need consistent bandwidth for smooth video and clear audio. Primary streaming devices like the living room TV showing 4K content need higher priority than bedroom TVs playing standard definition. Smart home hubs managing dozens of accessories need reliable connections to prevent lights, thermostats, and security systems from dropping offline.
Configure priority levels through your mesh app’s QoS or Device Priority settings. Most systems offer three categories: High, Medium, and Low (some use Gaming, Streaming, and Standard labels). Assign gaming consoles and work computers to High priority. Put primary streaming devices and smart home hubs in Medium. Background devices like smart speakers, tablets doing casual browsing, and smart plugs get Low priority. The mesh system monitors bandwidth usage and automatically gives High-priority devices first access to available speed when the network gets congested.
Gaming requires special attention because latency matters more than bandwidth for competitive play. Connect gaming consoles or gaming PCs to the main router node whenever possible, either via Ethernet cable plugged directly into the router or via WiFi when you’re within 15 to 20 feet of the main node. Avoid connecting gaming devices through satellite nodes that relay signals wirelessly. Each wireless hop adds 5 to 15 milliseconds of latency, and competitive games fail when total latency exceeds 50 to 80 milliseconds.
Test prioritization effectiveness during typical high-usage periods like weekday evenings when everyone’s home. Join a video call while someone streams 4K video and another person games online. Check if the video call maintains smooth video and clear audio without freezing. Run a few online matches while streaming to see if gaming latency stays acceptable. If priority devices still struggle, reduce the number of background downloads running simultaneously or upgrade your ISP plan to provide more total bandwidth for all devices.
Connecting Wired Devices Through Mesh Nodes

Wired Ethernet connections through mesh nodes deliver advantages that WiFi can’t match, even with the latest WiFi 7 standard. Lower latency benefits gaming (wired adds 1 to 2 milliseconds versus 10 to 20 milliseconds for WiFi). More stable connections prevent smart TVs from buffering during 4K streams when WiFi congestion hits during evening hours. Better performance for stationary devices like desktop computers and gaming consoles makes sense since these devices don’t need WiFi’s mobility advantage.
Most mesh nodes include one or two Ethernet LAN ports on the back or bottom of the unit. Higher-end mesh hardware offers three or four ports per node. The main router node typically provides more ports than satellite units. A common configuration gives you four ports on the main router and one or two ports on each satellite. Check your specific model’s port count before planning wired connections so you know how many devices each node supports.
Strategic wired connections require identifying which devices benefit most from Ethernet links. Gaming systems (PlayStation 5, Xbox Series X, gaming PCs) see the biggest improvement because wired connections eliminate WiFi latency and interference that cause lag during competitive matches. 4K and 8K smart TVs maintain smooth playback during bandwidth-heavy scenes that sometimes overwhelm WiFi connections. Work computers running video calls or accessing large cloud files perform more consistently on wired links. Network-attached storage (NAS) devices need wired connections to transfer files at full Gigabit speeds. During initial mesh installation, place satellite nodes within 6 to 10 feet of these high-priority devices so you can connect them with short Ethernet cables.
When a node’s Ethernet ports are exhausted, connect a small network switch to one of the node’s ports to add four to eight additional connections. A basic unmanaged Gigabit switch costs $15 to $30 and simply plugs into the node’s LAN port. No configuration needed. This solution works perfectly in entertainment centers where you need to wire a gaming console, smart TV, streaming box, and soundbar all within a few feet of each other.
Troubleshooting Common Mesh Network Issues

Approach troubleshooting systematically when problems appear. Identify specific symptoms (slow speeds, dead zones, connection drops), isolate likely causes by testing one variable at a time, and apply fixes individually so you know which solution actually worked.
| Problem | Likely Cause | Solution Steps |
|---|---|---|
| Slow speeds throughout network | Outdated firmware, ISP issue, congested channels | Update firmware in app, restart modem and main node, test speeds directly from modem to isolate ISP problems |
| Dead zones in specific areas | Nodes too far apart, thick walls blocking signals | Move nearest node 10 feet closer to weak area, add additional node if gap too large |
| Devices won’t connect | Wrong password, MAC filtering enabled, incompatible security | Verify password entry, disable MAC filtering in app, temporarily switch to WPA2 security |
| Intermittent dropouts | Interference, overheating nodes, insufficient power | Move nodes away from microwaves and cordless phones, ensure proper ventilation, plug into wall outlet not power strip |
| One node offline (red LED) | Lost connection to main router, power issue | Move node closer to main router, check power connection, restart node by unplugging 10 seconds |
| Can’t access admin settings | Wrong app, forgotten password, phone on different network | Verify correct app for your hardware brand, reset password via email, confirm phone connected to mesh network |
Firmware-related issues cause mysterious problems that disappear after updates. Check that all nodes run the same firmware version by opening the app and viewing each node’s details. If one node shows version 1.2.4 while others show 1.2.5, force an update on the outdated node through app settings. Sometimes automatic updates fail mid-process, leaving nodes in inconsistent states. Manually updating all nodes to the latest version fixes this. Occasionally firmware bugs introduce connectivity problems or slow speeds that persist until the manufacturer releases another update a few weeks later.
Interference troubleshooting starts with identifying nearby sources. Move mesh nodes at least 3 to 4 feet away from microwave ovens. Microwaves emit signals on the same 2.4 GHz frequency as WiFi, causing massive interference when running. Relocate cordless phone base stations away from nodes or replace them with DECT 6.0 models that use different frequencies. Switch to less congested WiFi channels through the app’s advanced settings. Many mesh systems auto-select channels, but you can manually choose if neighboring networks crowd the automatic selection. Download a WiFi analyzer app like WiFi Analyzer (Android) or AirPort Utility (iOS) to see which channels neighboring networks use, then select channels separated by at least 5 numbers (if neighbors use channel 6, try channel 1 or 11).
Factory reset becomes necessary when persistent configuration errors prevent the network from working, you’ve forgotten admin passwords and can’t recover them via email, or you’re preparing to sell or return equipment. Locate the small reset button (usually recessed) on each node and hold it with a paperclip or pin for 10 to 15 seconds until the LED flashes or changes color indicating the reset completed. After resetting, you’ll reconfigure the entire network from scratch following the initial setup process. Create new network name and password, reposition nodes, reconnect all devices.
Smart Home Integration with Mesh Networks

Mesh networks provide ideal platforms for smart home ecosystems because whole-home coverage ensures smart devices maintain connectivity regardless of location. Single routers create dead zones where smart lights, thermostats, or security cameras lose connection when placed too far from the router. Multiple mesh nodes distribute coverage evenly so you can install smart devices anywhere without worrying about signal strength. Seamless roaming benefits mobile smart home controllers. Your phone stays connected to the strongest node as you walk through the house checking cameras or adjusting lights without connection interruptions.
The mesh system automatically assigns devices to optimal nodes based on signal strength and load balancing. Smart devices typically connect via 2.4 GHz because this band offers longer range and better wall penetration than 5 GHz, and most IoT devices prioritize battery life over speed. View device distribution through your mesh app to identify overloaded nodes. If one node shows 35 connected devices while another shows 8, the system might not be balancing load efficiently. Most apps let you manually assign specific devices to specific nodes if automatic assignment performs poorly.
Some mesh systems include special features designed for smart homes. Amazon eero models include built-in Zigbee hubs in the main router, eliminating the need for separate smart home hubs from brands like Samsung SmartThings or Hubitat. This consolidation reduces box count and simplifies management. Dedicated IoT network features let you create a separate WiFi network exclusively for smart devices, isolating them from your main network containing computers and phones. This isolation improves security. If a smart bulb gets compromised by malware, the attacker can’t access your laptop because they’re on different networks. Device grouping in mesh apps simplifies management when you’re running 20 smart plugs, 15 smart bulbs, and multiple cameras. Create groups like “Bedroom Devices” or “Security Cameras” to adjust settings for multiple devices simultaneously.
Capacity planning matters when building extensive smart home setups. WiFi 6 mesh systems handle 50 to 75 concurrent connections efficiently. WiFi 6E and WiFi 7 systems manage 75 to 100 or more devices without slowdowns because these standards include technologies specifically designed for environments with many connected devices. Before purchasing mesh hardware, count your current and planned smart devices. If you’re already at 40 devices and planning to add motorized shades, smart locks, and outdoor cameras, choose a system rated for at least 75 devices to avoid congestion.
Maintaining and Expanding Your Mesh Network
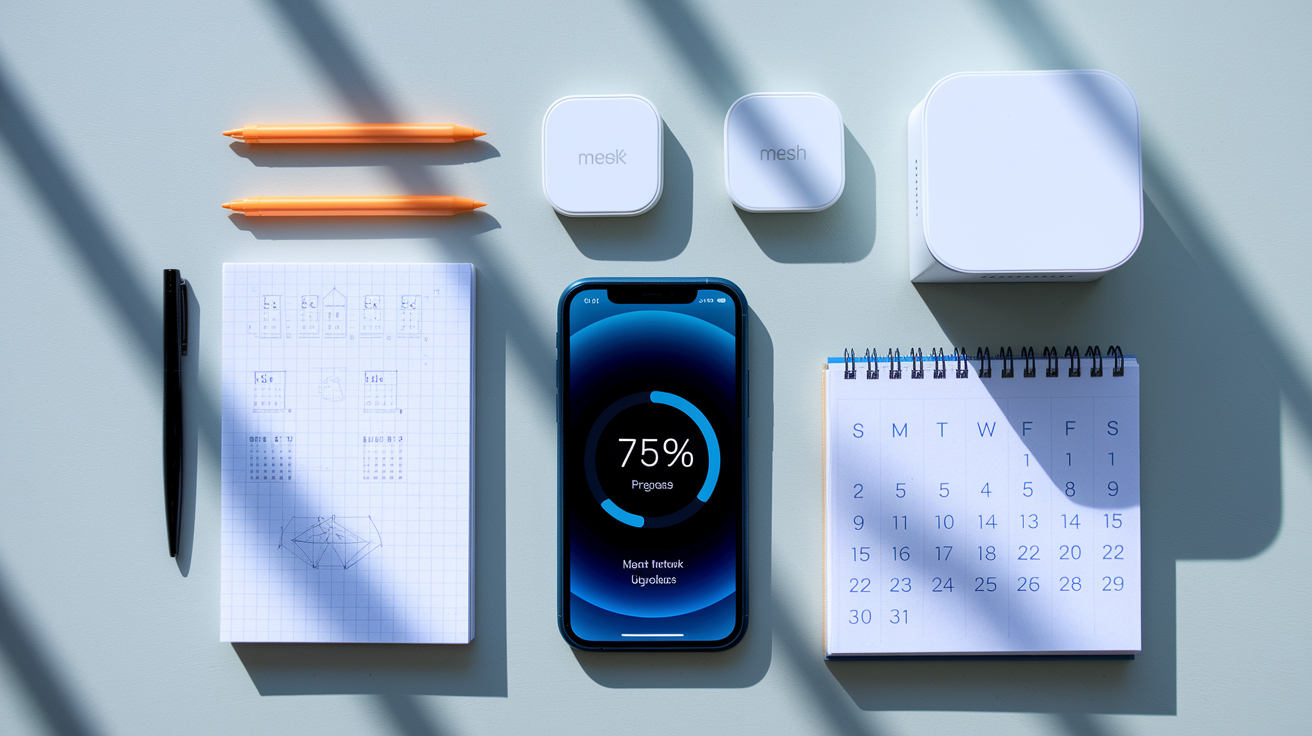
Regular maintenance keeps your mesh network performing at peak efficiency and catches security issues before they become problems. Check for firmware updates monthly by opening your mesh app and viewing the update section. Even if automatic updates are enabled, manually checking catches updates that failed to install automatically. Review the connected device list weekly, looking for unfamiliar device names that might indicate unauthorized access (if you see “Bob’s iPhone” but don’t know Bob, investigate immediately). Monitor network performance through the app’s dashboard, checking that speeds remain consistent with your ISP plan and that no single device consumes excessive bandwidth. Reboot all nodes quarterly by unplugging them for 30 seconds then plugging back in. This clears memory leaks and resolves minor glitches that accumulate over months.
Recognize when to expand your network by watching for specific symptoms. Persistent dead zones that reappear after optimizing node placement indicate you need more nodes to cover the space. Slow speeds in distant rooms despite nodes showing online status suggest the farthest rooms sit beyond effective coverage range. Adding home square footage through renovations or finishing basement space requires additional nodes to maintain coverage. Increased device count overwhelming current nodes shows up as frequent disconnections, slow app loading, or smart devices going offline randomly. If you started with 25 devices and now run 50, your original 2-node system might need expansion to 3 or 4 nodes.
Add nodes to existing systems by purchasing additional units from the same product line to ensure compatibility. Mixing TP-Link Deco X55 with Deco X75 works fine because they’re the same brand and generation, but mixing TP-Link Deco with NETGEAR Orbi fails completely. Position new nodes following the same distance guidelines (25 to 50 feet from existing nodes) and height recommendations (mid-wall placement in open areas). Configure through the mesh app by selecting “Add Node” or “Expand Network,” which automatically integrates the new hardware into your existing mesh within 2 to 3 minutes.
Expansion best practices prevent common mistakes:
Buy same generation hardware (WiFi 6 systems work together, but don’t mix WiFi 5 and WiFi 6 nodes from the same brand because performance drops to the older standard). Add nodes incrementally and test coverage after each addition rather than adding three nodes simultaneously. Maintain consistent node height throughout your home for predictable signal distribution. Consider outdoor-rated nodes for extending coverage to patios, garages, or detached structures. Document your network layout on paper or in a notes app for future troubleshooting.
Replace your entire mesh system rather than expanding when you’re upgrading to a new WiFi standard (moving from WiFi 6 to WiFi 7 to take advantage of new features), or when original hardware reaches 4 to 5 years old and newer systems offer significantly better performance at similar prices. Technology improves quickly. A 2025 WiFi 6E system at $300 often outperforms a 2020 WiFi 6 system that cost $500 when new.
Final Words
Once you setup wifi mesh network hardware and optimize node placement, you’ll have whole-home coverage that adapts as your needs change.
Regular firmware updates and occasional node repositioning keep performance strong as you add devices or rearrange furniture.
If dead zones appear later, adding compatible nodes takes minutes through the same app you used initially.
Your mesh system now handles streaming, gaming, video calls, and smart home devices across every room without the constant troubleshooting single routers required.
FAQ
How do you set up a WiFi mesh network?
You set up a WiFi mesh network by connecting the main node to your modem via Ethernet cable, downloading the manufacturer’s mobile app, creating an account, following the in-app setup wizard to name your network and set a password, then powering on satellite nodes which sync automatically.
What are the major disadvantages of a mesh network?
The major disadvantages of a mesh network include higher initial cost compared to traditional routers ($100-$400+ depending on coverage needs), reliance on wireless backhaul which reduces speeds with each additional hop unless you use Ethernet cables, and automatic band switching to slower 2.4GHz when nodes are placed too far apart.
Does Ubiquiti support mesh WiFi?
Ubiquiti supports mesh WiFi through its UniFi product line, which offers wireless mesh capability between access points. However, UniFi systems typically perform best with wired Ethernet backhaul connections and require more technical configuration than consumer-focused pre-synced mesh systems like ASUS ZenWiFi or TP-Link Deco.
Which is better, a WiFi extender or mesh system?
A mesh system is better than a WiFi extender because mesh nodes share a single network name (SSID) and automatically switch your devices between nodes as you move, while extenders create separate network names requiring manual switching, reduce speeds by half when relaying signals, and don’t coordinate with your main router.
How far apart should mesh nodes be placed?
Mesh nodes should be placed 25 to 30 feet apart maximum when walls are between them, or 40 to 50 feet apart in open floor plans without barriers. Placing nodes farther apart forces the system to automatically switch to slower 2.4GHz for backhaul communication, reducing overall network performance.
What is WiFi backhaul in a mesh network?
WiFi backhaul in a mesh network is the connection method between mesh nodes that carries internet traffic throughout your home. Wireless backhaul uses dedicated 5GHz or 6GHz radio bands requiring only power outlets, while wired Ethernet backhaul delivers full Gigabit speeds with better stability and security.
How many mesh nodes do I need for my home?
You need mesh nodes based on your home’s square footage and layout: 2 nodes cover 1,500-3,000 square feet, 3 nodes cover 3,000-5,000 square feet, and 4+ nodes cover larger homes or those with thick walls, multiple floors, or challenging layouts requiring closer 20-25 foot spacing.
Should I use wired or wireless backhaul for gaming?
You should use wired Ethernet backhaul for gaming because it’s the only way to achieve optimal performance with full Gigabit speeds and lowest latency. Wireless backhaul adds latency with each mesh hop, and multiple wireless hops significantly worsen gaming performance regardless of WiFi standard.
How do I prioritize devices on my mesh network?
You prioritize devices on your mesh network through Quality of Service (QoS) settings in the mesh app, assigning High priority to gaming consoles and video conferencing devices, Medium priority to streaming devices, and Low priority to background tasks like software updates and smart home accessories.
What causes dead zones in a mesh network?
Dead zones in a mesh network are caused by nodes placed too far apart (over 30 feet with walls or 50 feet in open areas), thick barriers like brick walls blocking signals, nodes positioned in enclosed spaces or behind metal objects, or insufficient node count for your home’s total square footage.
How often should I update mesh network firmware?
You should update mesh network firmware monthly by checking for updates through the manufacturer’s app or enabling automatic updates during initial setup. Regular firmware updates deliver performance improvements, new features, security patches, and bug fixes that maintain optimal network operation.
Can I mix different mesh node models in one network?
You can mix different mesh node models only within the same product family from the same manufacturer (like TP-Link Deco M5 with Deco M9), but mixing WiFi generations (WiFi 5 with WiFi 6) limits the entire network to the slower standard’s capabilities and may cause compatibility issues.
How do I connect wired devices to mesh nodes?
You connect wired devices to mesh nodes using the Ethernet LAN ports on each node (typically 1-2 ports per satellite, more on the main router). For devices needing multiple connections like entertainment centers, connect a small gigabit network switch to a node port to add 4-8 additional wired connections.
What should I do if my mesh network is running slow?
If your mesh network is running slow, first check for firmware updates, then reposition nodes to more central open locations 25-50 feet apart, verify nodes aren’t near microwaves or cordless phones causing interference, and use Ookla Speedtest near each node to identify weak coverage areas requiring adjustment.
How do mesh networks handle smart home devices?
Mesh networks handle smart home devices by distributing connections across multiple nodes rather than overloading a single router, automatically assigning each device to the optimal node, and supporting 50-100+ concurrent connections on WiFi 6 and WiFi 6E systems compared to 20-30 on older standards.