

Tired of right-clicking and having to click “Show more options” every time in Windows 11?
You’re not alone; Microsoft redesigned the menu for touch-first devices, but it slows power users.
This guide shows a safe, reversible Registry Editor (Windows’ settings database) tweak to make Windows 11 always show the full, classic context menu again.
You’ll get back instant access to Open with, Send to, and third-party tools—no extra clicks.
I’ll walk you through exact steps, a copy-paste command option, and how to back up and undo the change.
Restoring the Classic Windows 11 Context Menu Using Registry Editor
Microsoft redesigned the right-click menu in Windows 11, and now you’ve got to click “Show more options” every single time you want the full list of commands. The new touch-first design puts visual consistency ahead of speed, which is great for tablets but frustrating if you’re clicking through files all day and need instant access to “Open with,” “Send to,” or third-party tools.
The permanent fix creates a registry key that tells Windows 11 to skip the modern menu and load the full Windows 10 menu by default. You’ll create this exact path: HKEYCURRENTUSER\Software\Classes\CLSID{86ca1aa0-34aa-4e8b-a509-50c905bae2a2}\InprocServer32. Once you set the (Default) value of that InprocServer32 subkey to blank (totally empty, nothing in it), Windows Explorer loads the classic menu without making you click “Show more options” each time. Restarting Explorer applies it instantly. No full reboot needed.
Before you change anything, back up the registry. Press Win + R, type regedit, press Enter. In Registry Editor, click File > Export, save it as context-menu-backup.reg, select “All” under Export range, click Save. If something breaks, double-click that backup file to restore. You’ll also need admin permissions to create new registry keys.
- Press Win + R, type
regedit, press Enter. - Navigate to HKEYCURRENTUSER\Software\Classes\CLSID. Right-click CLSID, choose New > Key, name it exactly
{86ca1aa0-34aa-4e8b-a509-50c905bae2a2}. - Right-click that new key, choose New > Key, name it
InprocServer32. - Click InprocServer32 to select it. You’ll see (Default) in the right pane.
- Double-click (Default). The “Edit String” dialog opens. Leave “Value data” completely blank. Don’t type anything. Click OK.
- Close Registry Editor. Press Ctrl+Shift+Esc, scroll to Windows Explorer under Processes, right-click it, choose Restart. Your desktop blinks for a second. Right-click any file or folder. You should see the full Windows 10 menu with all commands up front.
If the simplified menu still shows up after Explorer restarts, double-check the (Default) value under InprocServer32 is truly empty (shows “value not set”) and confirm you spelled the CLSID GUID exactly right, including all hyphens and curly braces.
Advanced Registry Notes and Common Mistakes to Avoid

The most common mistake is a typo in the CLSID GUID. If even one character is wrong, like {86ca1aa0-34aa-4e8b-a50950c905bae2a2} because you missed a hyphen, Windows won’t recognize the override and keeps loading the modern menu. Another frequent error is putting text into the (Default) value. The whole point is an empty value. If you type “disabled” or leave old data sitting there, the shell hook won’t work.
Sometimes, especially on work PCs joined to a domain or managed by IT, you won’t have permission to create keys under HKCU\Software\Classes\CLSID. If right-clicking CLSID and choosing New > Key is grayed out or blocked, your IT department likely restricted registry editing through Group Policy. Check with your admin before trying workarounds. If you are the admin and you’re seeing ownership errors, right-click the CLSID key, choose Permissions, click Advanced, confirm your user account has “Full Control.” On standard home editions this rarely comes up.
To back up only the context menu tweak after you’ve created it, select the {86ca1aa0-34aa-4e8b-a509-50c905bae2a2} key in Registry Editor, click File > Export, pick “Selected branch,” save it as classic-menu-only.reg. If a Windows update overwrites your change, double-click that file to reapply the keys instantly. To confirm the system applied the tweak, navigate back to HKCU\Software\Classes\CLSID{86ca1aa0-34aa-4e8b-a509-50c905bae2a2}\InprocServer32 and verify the (Default) entry says “(value not set)” in the Data column.
Enabling the Full Windows 11 Context Menu Using PowerShell or Command Prompt

If you’d rather type one command instead of clicking through Registry Editor, open Command Prompt or PowerShell as administrator. Press Win + X and choose Windows Terminal (Admin) on Windows 11 22H2 and later, or Command Prompt (Admin) on earlier builds. The single command below creates both the CLSID key and the InprocServer32 subkey with an empty default value in one step.
The command-line method skips manual navigation and cuts down the chance of GUID typos because you copy-paste the exact string. After running the command, you still need to restart Windows Explorer to activate it, but you save several minutes compared to the Registry Editor route.
Command:
reg add "HKCU\Software\Classes\CLSID\{86ca1aa0-34aa-4e8b-a509-50c905bae2a2}\InprocServer32" /f
- Open Windows Terminal (Admin) or Command Prompt (Admin).
- Paste the command above, press Enter. You’ll see “The operation completed successfully.”
- Restart Windows Explorer by opening Task Manager (Ctrl+Shift+Esc), right-clicking Windows Explorer, choosing Restart. Or run
taskkill /f /im explorer.exefollowed bystart explorer.exein the same Command Prompt window. - Right-click any file or folder to verify the full classic menu appears without needing “Show more options.”
If you want to restart Explorer from PowerShell in a single line, use Stop-Process -Name explorer -Force ; Start-Process explorer.exe. The semicolon separates the stop and start commands so your desktop reappears right after the Explorer process restarts.
Reverting the Windows 11 Context Menu Back to Default

Deleting the CLSID key you created brings back the modern Windows 11 menu. You can remove the key manually in Registry Editor or run a single deletion command in Command Prompt or PowerShell. Once the key is gone, Windows stops loading the classic shell and displays the simplified menu that shows “Show more options” at the bottom.
Open Windows Terminal (Admin) or Command Prompt (Admin), paste the deletion command below, press Enter. Windows confirms “The operation completed successfully.” Restart Windows Explorer the same way you did when applying the tweak (Task Manager or the taskkill and start commands) and the default menu behavior comes back.
Deletion command:
reg delete "HKCU\Software\Classes\CLSID\{86ca1aa0-34aa-4e8b-a509-50c905bae2a2}" /f
- Run the command above in an elevated Command Prompt or PowerShell.
- Restart Windows Explorer via Task Manager (Ctrl+Shift+Esc > right-click Windows Explorer > Restart).
- Right-click a file or folder. You should see the modern Windows 11 menu with the “Show more options” entry at the bottom again.
If you exported a registry backup before making the original change, you can also double-click that .reg file to restore the original state. Either way works. The command-line deletion is faster if you skipped exporting a backup.
Troubleshooting When the “Always Show More Options” Fix Doesn’t Work

The most likely culprit is a Windows cumulative update that overwrites shell customizations. Microsoft occasionally pushes updates that reset parts of the CLSID hive or ignore user-created InprocServer32 keys. If your menu suddenly reverts to the modern layout after an update, navigate back to HKCU\Software\Classes\CLSID{86ca1aa0-34aa-4e8b-a509-50c905bae2a2}\InprocServer32 in Registry Editor and check if the key still exists. If it’s missing, reapply the tweak using the Registry Editor steps or the reg add command.
Domain-joined PCs or devices managed by Microsoft Intune may have Group Policy or MDM configuration profiles that enforce the modern shell and block or delete user-level CLSID overrides. Check with your IT admin if the key disappears immediately after creation or if you see “Access is denied” errors. On personal devices, antivirus software rarely blocks registry changes to CLSID, but enterprise endpoint protection tools sometimes flag shell modifications as suspicious and roll them back.
Another cause of failure is typos in the CLSID GUID or accidental text in the (Default) value. Open Registry Editor, navigate to the InprocServer32 subkey, confirm the (Default) entry shows “(value not set)” in the Data column. If it says anything else (“C:\Windows\System32\…” or “disabled”), double-click it, delete all text, click OK. Restart Explorer and test again. If Explorer crashes in a loop after the tweak, boot into Safe Mode, delete the CLSID key, restart normally.
| Problem | Likely Cause | Fix | Notes |
|---|---|---|---|
| Menu still shows “Show more options” | GUID typo or (Default) value not empty | Verify exact CLSID spelling and confirm (Default) is blank; restart Explorer | Copy-paste the GUID to avoid typos |
| Key disappears after reboot | Windows Update or domain policy override | Reapply the tweak; check for Group Policy or MDM profiles blocking it | Contact IT if on managed device |
| Explorer crashes on right-click | Conflicting shell extension or corrupt key | Boot Safe Mode, delete CLSID key, restart; disable third-party shell extensions one by one | Rare but possible with outdated context-menu apps |
| Cannot create key (grayed out or denied) | Insufficient permissions or restricted registry access | Run Registry Editor as administrator; check user account permissions on CLSID key | Enterprise policies may block all CLSID edits |
Temporary Ways to Access the Full Context Menu Before Applying Permanent Fixes

Windows 11 includes two built-in keyboard methods that temporarily load the classic context menu without changing any registry settings. These shortcuts are useful when you need legacy commands occasionally or when testing whether a permanent fix will solve your workflow problem before committing to registry edits.
The simplest temporary access is clicking Show more options at the bottom of the modern right-click menu, but that still takes an extra click and menu navigation. The keyboard alternatives skip the modern menu entirely and open the full classic menu in one action.
- Shift + Right-click – Hold Shift, then right-click any file, folder, or desktop area. Windows immediately displays the Windows 10 context menu with all commands visible.
- Shift + F10 – Select a file or folder with a single left-click, then press Shift + F10. The classic menu opens at the selected item. This is faster when your hands are already on the keyboard.
- Show more options – Right-click normally, wait for the modern menu, then click “Show more options” at the bottom. The classic menu expands, showing all legacy entries.
These methods don’t change your system’s default behavior. Every time you right-click without holding Shift, the modern menu appears again. If you’re using Shift+Right-click dozens of times per day, the permanent registry tweak will save you repetitive keystrokes.
Managing the Windows 11 Context Menu with Third-Party Tools

Several third-party utilities offer one-click toggles to restore the classic context menu without manually editing the registry. Tools like Winaero Tweaker and ExplorerPatcher include dedicated options that create the same CLSID key behind the scenes, wrapping the registry change in a simple checkbox interface. These can be faster for users uncomfortable with Registry Editor, but they introduce an extra software dependency and may conflict with future Windows updates or shell extensions from other apps.
PowerToys from Microsoft includes a “File Explorer add-ons” module that customizes context menu entries for specific file types, but as of early 2026 it doesn’t include a toggle to force the classic menu system-wide. If you only need to add or remove individual commands (like “Copy as path” or custom scripts), PowerToys and similar context menu managers are safer than full shell overrides because they don’t replace the entire menu framework.
The main risk with third-party tools is that they may not update in sync with Windows builds. If Microsoft changes the shell architecture in a feature update, a tool that worked on 22H2 might cause Explorer instability on 23H2. Always download these utilities from the official developer or a trusted repository, verify the tool’s update history, back up your system before installing. For work environments, registry-based methods are usually preferred because they avoid introducing unsigned executables that endpoint protection software may flag or block.
Why Microsoft Modified the Context Menu in Windows 11
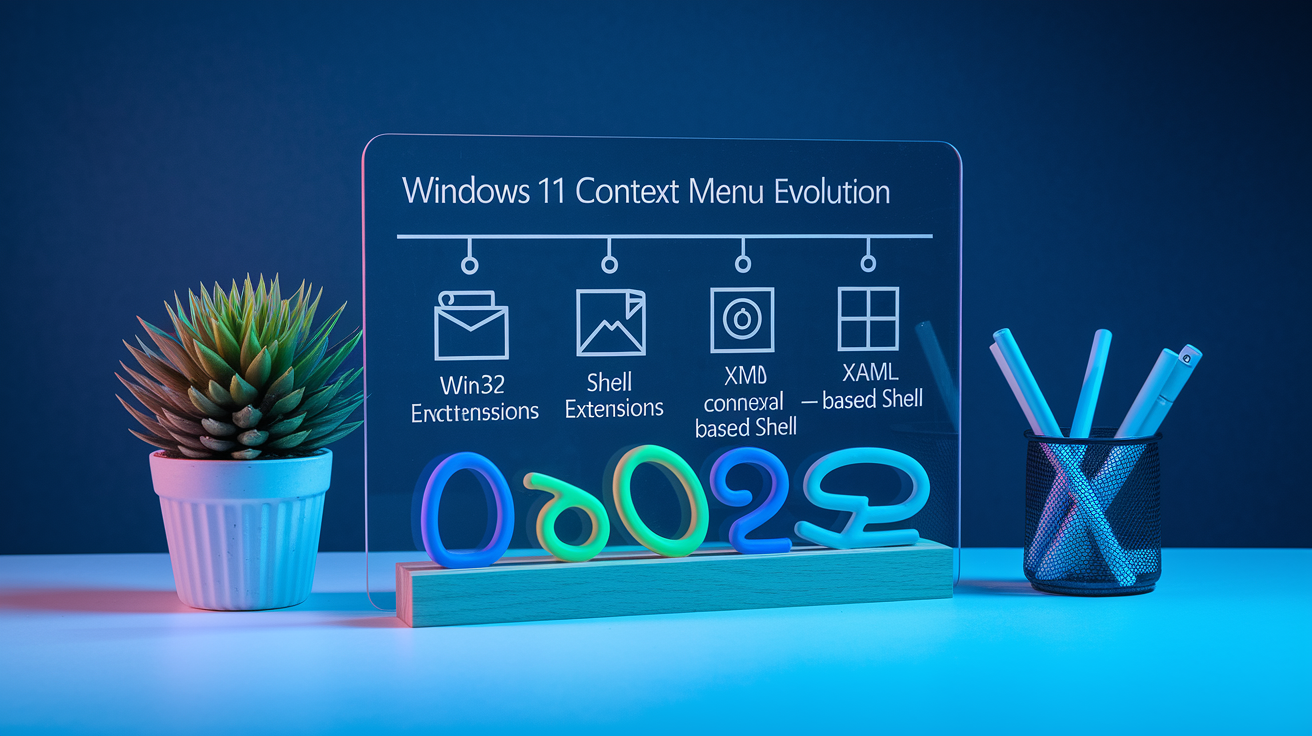
Microsoft redesigned the context menu to align with Windows 11’s visual language and improve performance on touch-enabled devices. The new XAML-based shell loads faster and scales cleanly on high-DPI displays, and the shorter menu reduces accidental taps on tablets and 2-in-1 laptops. By moving less-common commands behind “Show more options,” Microsoft aimed to declutter the primary menu and spotlight actions that analytics showed users accessed most often (copy, paste, rename, delete, share).
The legacy context menu still exists in Windows 11 because thousands of desktop applications rely on Win32 shell extensions to add custom commands. Instead of breaking compatibility with those apps, Microsoft layered the modern menu on top and routed older extensions to the classic menu. Over time, developers are expected to update their apps to integrate with the new menu’s API, which will eventually reduce the need to click “Show more options.” Until that transition completes (likely years away), power users and IT professionals continue to rely on the permanent registry tweak to maintain their existing workflows.
Verification Checklist After Enabling the Classic Windows 11 Context Menu

After creating the CLSID key and restarting Explorer, walk through a quick checklist to confirm the tweak is active and stable. Start by opening Registry Editor and navigating to HKEYCURRENTUSER\Software\Classes\CLSID{86ca1aa0-34aa-4e8b-a509-50c905bae2a2}\InprocServer32. The (Default) value in the right pane should display “(value not set)” in the Data column. If you see any path or text, double-click it, clear the field, click OK.
- Confirm the registry key exists at the exact path: HKCU\Software\Classes\CLSID{86ca1aa0-34aa-4e8b-a509-50c905bae2a2}\InprocServer32.
- Verify the (Default) value is blank. The Data column shows “(value not set)” with no file path or text.
- Restart Windows Explorer using Task Manager (Ctrl+Shift+Esc > right-click Windows Explorer > Restart) or the
taskkillandstartcommands. - Test the context menu by right-clicking a file, folder, and empty desktop area. The full classic menu should appear immediately without a “Show more options” entry.
- Check after Windows Updates. Cumulative updates or feature updates may reset the CLSID key. If the modern menu returns unexpectedly, reapply the registry tweak using the same steps or the
reg addcommand.
If the menu behaves correctly across all test locations (files, folders, desktop, network drives), your system is configured properly. Save your registry export (context-menu-backup.reg or classic-menu-only.reg) in a safe location so you can restore or reapply the tweak quickly if a future update overwrites it.
Final Words
You’ve added the CLSID key, created the InprocServer32 subkey with a blank (Default), and restarted Explorer to restore the classic menu. That’s the quick win.
Remember to back up the registry first, watch for GUID typos, and use admin rights if prompted. If something goes wrong, delete the CLSID key to revert.
Using these steps makes it easy to stop windows 11 always show more options and get the full context menu back. You’ll have the old menu when you need it.
FAQ
Q: How to make Windows 11 default to show more options?
A: Making Windows 11 default to show the full (classic) context menu is done by creating the CLSID registry key at HKCU\Software\Classes\CLSID{86ca1aa0-34aa-4e8b-a509-50c905bae2a2}\InprocServer32, leaving (Default) blank, then restarting Explorer.
Q: How to fix the Windows 11 File Explorer see more menu bug?
A: Fixing the File Explorer “See more” menu bug means verifying the CLSID key exists at HKCU\Software\Classes\CLSID{86ca1aa0-34aa-4e8b-a509-50c905bae2a2}\InprocServer32, correcting typos, running the reg add command if needed, then restarting explorer.exe.