


Want Windows 11 right now instead of waiting for Windows Update?
The Windows 11 Update Assistant forces the upgrade fast, but only if you download the official installer and pass a few checks.
In this post you’ll learn where to grab the small installer from Microsoft’s site, how to confirm the digital signature so the file is genuine, and which hardware and storage requirements to check before you click Install.
You’ll also get simple pre-upgrade safety steps, quick fixes for common errors, and when to switch to the Media Creation Tool.
Downloading the Official Windows 11 Update Assistant Safely

The Windows 11 Update Assistant only comes from Microsoft’s official Windows 11 download page. The installer’s small, usually 5 to 12 MB, and it kicks off an upgrade that skips the slow rollout Windows Update uses. When you’re on Microsoft’s Windows 11 page, find the section called “Windows 11 Installation Assistant” with a download button right below it.
Before you run the installer, check the file’s digital signature to make sure it’s actually from Microsoft. Right-click the downloaded file, pick Properties, open the Digital Signatures tab, and look for “Microsoft Corporation” as the signer. That tells you the file’s legit and hasn’t been messed with.
The Update Assistant executable should be between 5 and 12 MB. Grab it from the Windows 11 page on microsoft.com, specifically under “Installation Assistant.” To verify it’s real, go to Properties, then Digital Signatures, and confirm the signer reads “Microsoft Corporation.” And don’t download the Assistant from third-party mirrors. Ever. Even if they promise faster downloads or extra convenience, skip the unofficial sites, file-sharing platforms, and forums.
Using only Microsoft-signed installers keeps you safe from fake upgrade tools loaded with malware. The file size and signer info make spotting fakes pretty easy. If either one’s off, delete the file and start over from Microsoft’s official page.
Windows 11 Update Assistant System Requirements and Compatibility Checks

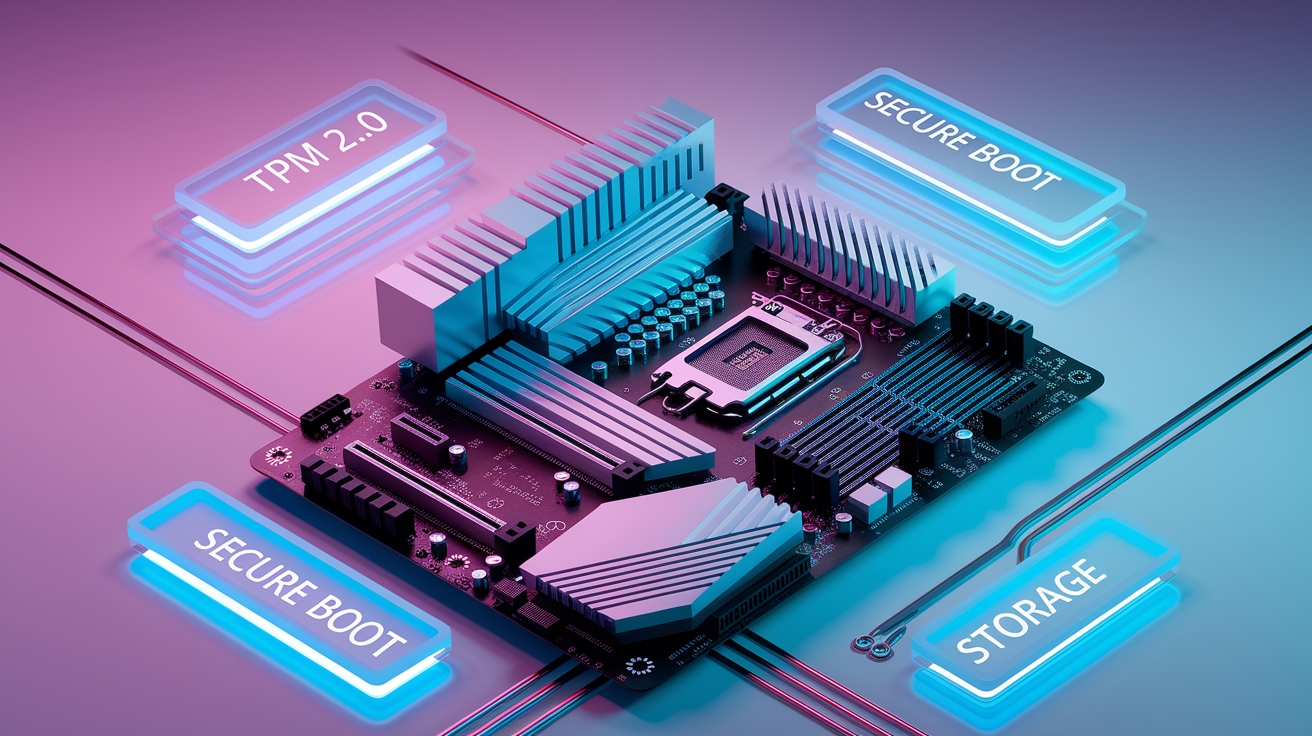
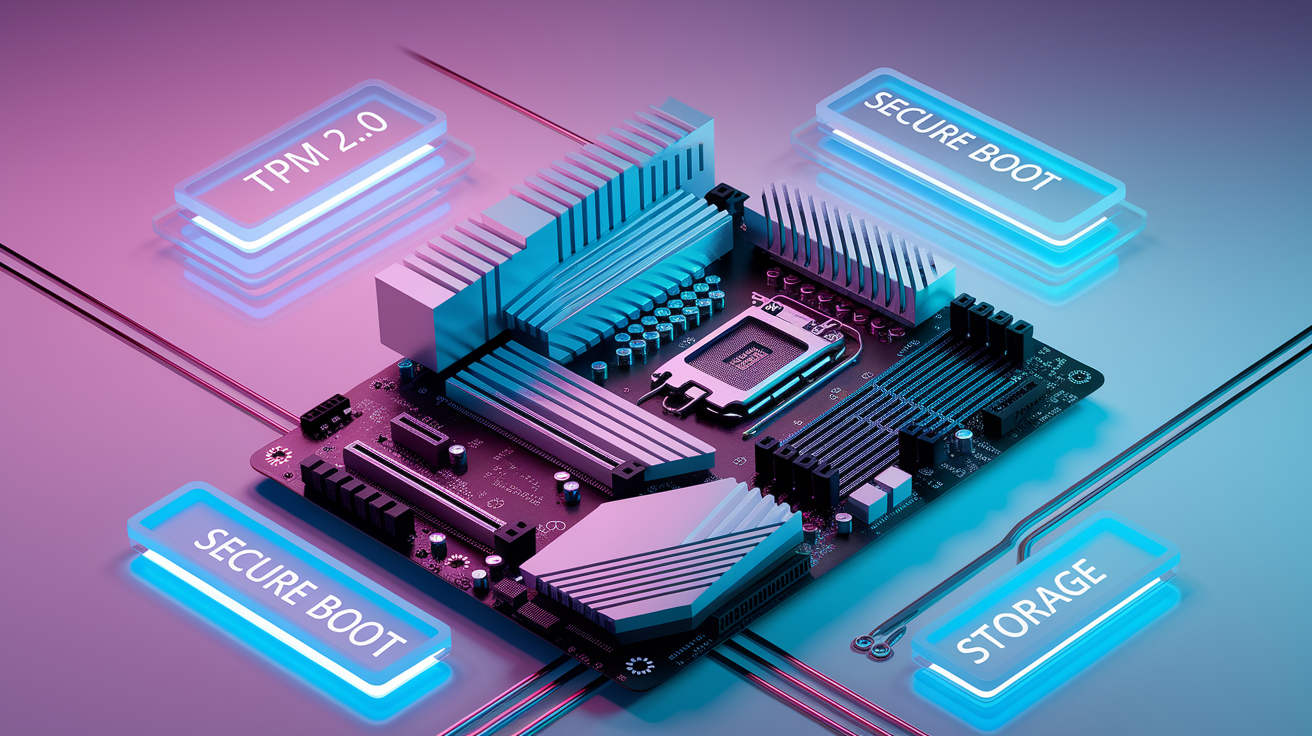
Windows 11 won’t install unless your hardware meets specific minimums, and the Update Assistant stops you cold if your PC doesn’t qualify. You need a 64-bit processor running at 1.0 GHz or faster with at least 2 cores. 4 GB of RAM minimum. 64 GB of storage at least. The Assistant also checks that your system uses UEFI firmware instead of legacy BIOS and that Secure Boot’s turned on in your firmware settings.
TPM 2.0 is required. TPM, or Trusted Platform Module, is a security chip (or firmware feature) that stores encryption keys. To see if TPM’s present and active, open Device Manager, expand “Security devices,” and look for “Trusted Platform Module 2.0.” Missing? Restart your PC, get into the UEFI or BIOS setup (usually F2, DEL, or F12 during boot), and find a TPM or Security section where you can enable it. The same UEFI menu’s where you turn on Secure Boot, typically under Boot or Security.
Storage sneaks up on people. Even if you’ve got 64 GB total, the Assistant needs 20 to 30 GB free for temporary files and the upgrade package. If your disk’s nearly full, the upgrade quits halfway through. Delete large files, empty the recycle bin, run Disk Cleanup. Get some breathing room before you start.
Run Microsoft’s PC Health Check app and review the compatibility report for CPU, TPM, Secure Boot, and storage. Check TPM 2.0 in Device Manager by going to Security devices and confirming “Trusted Platform Module 2.0” shows up. Verify Secure Boot in UEFI by restarting, entering the UEFI/BIOS setup, finding the Boot or Security menu, and making sure Secure Boot’s enabled.
How to Use the Windows 11 Update Assistant to Upgrade Your PC
The Update Assistant scans compatibility, downloads the Windows 11 upgrade package (usually 3 to 5 GB), verifies everything, applies the update, and asks for a restart. The whole thing takes anywhere from 15 to 90 minutes depending on your internet speed, whether you’re on an SSD or hard drive, and how much stuff’s installed. Once you kick it off, the tool does the heavy lifting.
Plug in your laptop if you’re using one and make sure your internet connection’s solid. The download’s several gigabytes and you don’t want it dropping midway. Close background apps like antivirus, backup software, and browser tabs to cut down on conflicts. Right-click the installer and choose “Run as administrator” so it has the permissions it needs.
Click “Accept and Install” after you’ve looked over the license terms. The Assistant scans your PC for compatibility. Wait for the compatibility check to pass. If it hits a blocker (missing TPM, not enough storage), it stops right there and tells you what’s wrong.
Let the Assistant download the upgrade. You’ll see a progress bar tracking the download percentage. This can take 10 to 60 minutes depending on your connection. After downloading, the Assistant validates the files and preps your system. This stage runs on its own.
When prompted, click “Restart Now” or schedule the restart for later if you need to wrap something up. The upgrade finishes after the reboot, and your PC restarts multiple times during installation.
After the final restart, you’ll see the Windows 11 setup screens where you confirm privacy settings and sign in. Your files, apps, and settings should all carry over from Windows 10.
Pre-Upgrade Best Practices
Backing up your data and creating a restore point before upgrading cuts the risk of losing files if things go sideways. The Update Assistant’s designed to preserve your system, but hardware hiccups, power outages, or disk errors can still cause trouble during installation.
Create a full backup or system image using Windows Backup, File History, or third-party software, and store it on an external drive or cloud service. Set a System Restore point by searching “Create a restore point” in the Start menu, selecting your C: drive, and clicking “Create.” Free up disk space by deleting temporary files, uninstalling apps you don’t use, and emptying the recycle bin. Aim for at least 30 GB free to give the upgrade room to work.
Troubleshooting Windows 11 Update Assistant Errors and Stuck Downloads
Most Update Assistant failures trace back to driver conflicts, not enough storage, permission problems, or outdated firmware. If the tool quits mid-download, spits out an error code, or freezes at a percentage, the fix usually involves clearing space, updating drivers, or temporarily disabling security software.
Common Error Codes and Fast Fixes
0xC1900101 means a driver or hardware compatibility issue. Update your GPU, chipset, and storage drivers through Device Manager or the manufacturer’s site, then try again.
0x80070005 is permission denied. Right-click the Assistant, choose “Run as administrator,” and disable third-party antivirus temporarily.
0x80070020 happens when a process or file’s in use. Restart your PC, run the Assistant right after boot before other apps load, or try a clean boot.
0x80070070 is insufficient storage. Free at least 20 to 30 GB, delete temporary files using Disk Cleanup, and move large files to an external drive.
If you’re hitting a compatibility block for TPM or Secure Boot, restart, enter UEFI/BIOS, enable TPM 2.0 and Secure Boot, save and exit, then run the Assistant again.
Network interruption or stuck download? Pause the download if you can, check your internet connection, disable VPN or proxy settings, and restart the Assistant to resume.
If the Update Assistant keeps failing after these fixes, download the Windows 11 Media Creation Tool from Microsoft’s site, create a bootable USB or ISO, and use that for an in-place upgrade or clean install. The Media Creation Tool gives you more control and can work around certain blocks the Assistant can’t handle.
Alternative Windows 11 Upgrade Methods Beyond the Update Assistant

Windows Update’s the simplest route but it follows a staged rollout, so your PC might wait weeks or months before the update shows up. The Update Assistant forces the upgrade immediately if you meet the requirements. The Media Creation Tool downloads a 4 to 6 GB ISO file or creates a bootable USB, letting you upgrade or do a clean install on one or multiple PCs.
The Update Assistant’s best when you want to upgrade now without waiting and you want to keep all your files, apps, and settings. Windows Update’s ideal if you prefer automatic updates and don’t mind waiting. The Media Creation Tool’s your pick if the Assistant fails, if you need install media for troubleshooting, or if you want to do a clean install that wipes the drive and starts fresh.
| Method | Best For | Notes |
|---|---|---|
| Windows Update | Automatic, hands-off upgrades | Staged rollout; may take weeks to appear on your PC |
| Update Assistant | Immediate in-place upgrade | 5–12 MB installer; downloads 3–5 GB upgrade; preserves files and apps |
| Media Creation Tool / ISO | Clean installs, USB creation, troubleshooting | 4–6 GB ISO; can wipe the drive or upgrade; useful for multiple PCs |
A clean install using the ISO wipes your apps and most settings, so it’s only recommended if you’re troubleshooting persistent issues, setting up a new drive, or want a completely fresh Windows 11 environment. Back up everything before going this route, and be ready to reinstall your apps afterward.
Post-Upgrade Checks After Using the Windows 11 Update Assistant

After the upgrade finishes and you reach the desktop, updating drivers comes first. Windows 11 installs generic drivers during the upgrade, but your GPU, chipset, Wi-Fi adapter, and audio hardware often need manufacturer drivers for full performance and stability. Open Device Manager, look for devices with yellow warning icons, and visit the manufacturer’s support site to download updated drivers for Windows 11.
Check that Windows is activated and your license carried over. Go to Settings, then System, then Activation and confirm it says “Windows is activated.” If it shows as unactivated, wait a few hours for Microsoft’s servers to process the upgrade, or use the activation troubleshooter if your hardware changed. Windows 11 might reset some privacy settings to defaults, so review Settings, then Privacy & security and adjust telemetry, app permissions, and advertising preferences to match what you want.
Verify activation status by going to Settings, System, then Activation. It should show “Windows is activated.” Update GPU and chipset drivers by downloading the latest from NVIDIA, AMD, Intel, or your PC manufacturer’s support page. Run Windows Update again to check for additional updates, security patches, and driver updates that might not have been included in the upgrade. Review privacy and telemetry settings by going through Settings, then Privacy & security and turning off any data-sharing options you don’t want active.
Final Words
Downloaded the official installer, verified the Microsoft digital signature, checked TPM/Secure Boot and storage, and used the step‑by‑step upgrade flow. You learned pre‑upgrade best practices, common error fixes, and when to try the Media Creation Tool or an ISO instead.
If you follow the checklist and use the windows 11 update assistant from Microsoft’s site, you’ll cut risks and are likely to finish the upgrade cleanly. Backups and a quick driver check afterward keep things steady. You’re set — the upgrade should go well.
FAQ
Q: Is there a Windows 11 update assistant?
A: The Windows 11 Update Assistant is an official Microsoft tool you download from the Windows 11 page; its small installer (about 5–12 MB) pulls a 3–5 GB upgrade and does an in‑place install.
Q: Why can’t I upgrade to Windows 11 anymore?
A: You can’t upgrade to Windows 11 anymore if your PC fails requirements (TPM 2.0, Secure Boot, compatible 64‑bit CPU, 4 GB RAM, 64 GB storage), lacks free space, or is blocked by staged rollout or drivers.
Q: How do I get my Windows 10 to upgrade to Windows 11?
A: To get Windows 10 to upgrade to Windows 11, confirm compatibility with PC Health Check, back up your files, then run Microsoft’s Update Assistant as admin to download and install the update.
Q: How do I manually update Windows 11 to 25H2?
A: To manually update Windows 11 to 25H2, download Microsoft’s Update Assistant, Media Creation Tool, or official ISO from the Windows 11 page, back up data, then run the tool to perform the in‑place upgrade.