
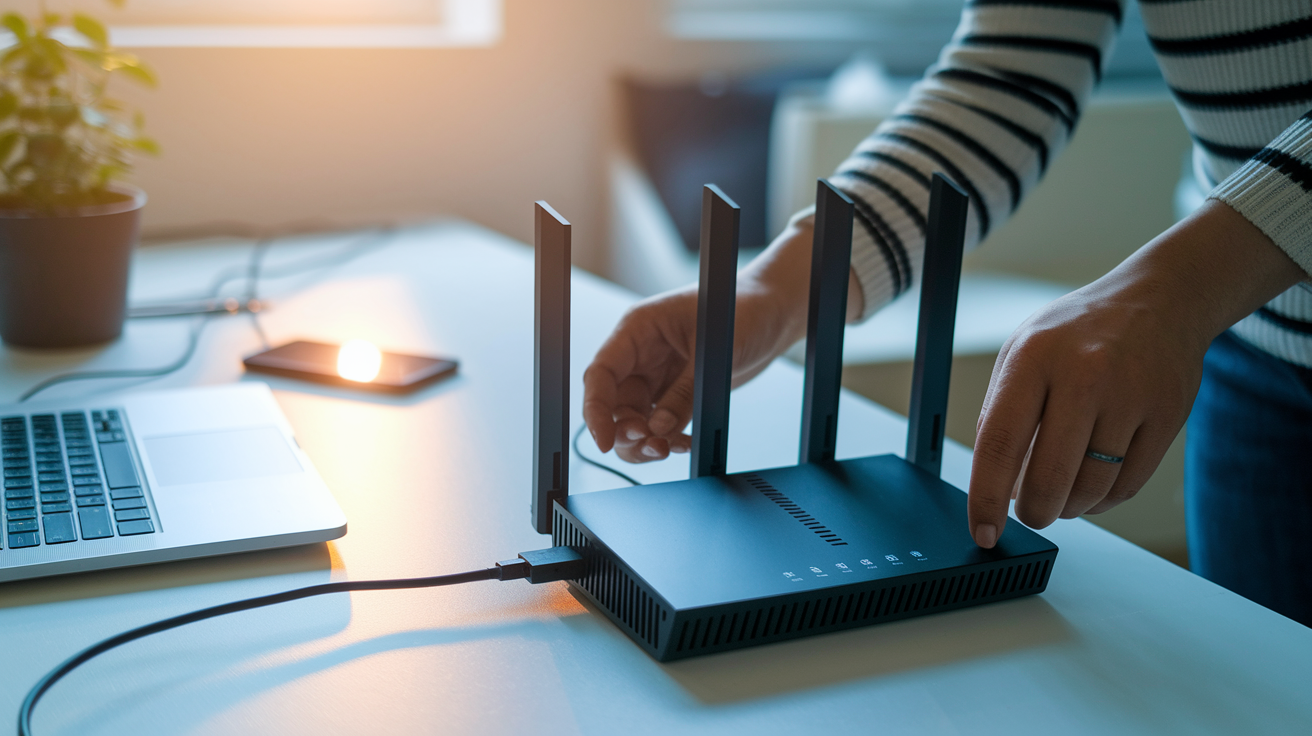

Think setting up your Nighthawk should take forever?
It doesn’t.
In about 10 minutes you can have the router plugged in, broadcasting Wi‑Fi, and locked down — whether you use the Nighthawk app or the browser login.
This guide walks you through the quick start steps, shows where to find the default SSID and password, and explains app vs browser setup.
If something goes wrong, you’ll get simple fixes that save time and stop the guessing.
Quick Start Steps for Completing Your Nighthake Router Setup
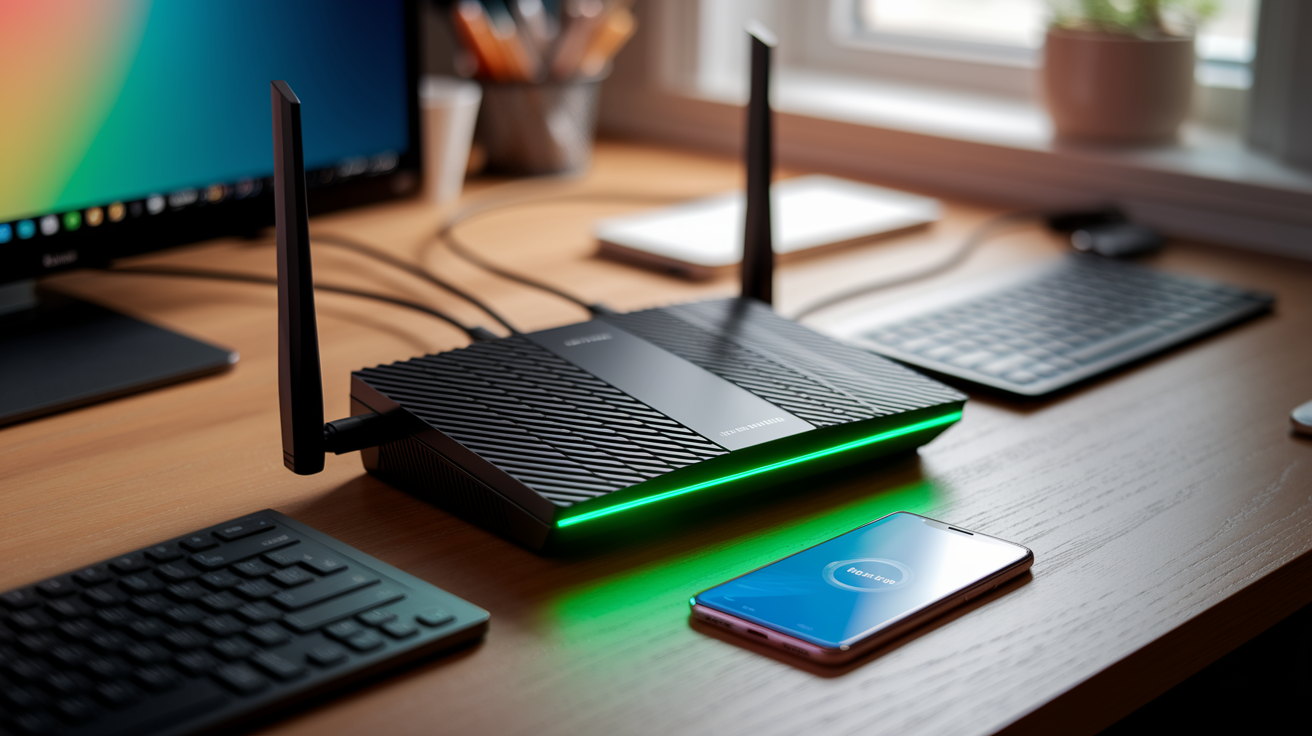
These steps get your Nighthawk router online and broadcasting Wi‑Fi in about 10 minutes. The process stays the same whether you’ve got cable or DSL internet, though the physical cables change a bit depending on your ISP type.
Before you start, grab everything from the box: the router itself, power adapter, at least one Ethernet cable (maybe two), any included antennas, and your ISP account info if you’re on DSL. You’ll also need your modem powered on and connected to the wall jack. The router takes about a minute to boot fully. You’ll know it’s ready when the Power LED on the front stays solid green instead of blinking.
The Nighthawk mobile app is the fastest way to finish setup on most newer models. It walks you through every step, updates firmware automatically, and lets you manage Wi‑Fi settings from your phone afterward. If your model doesn’t support the app or you’d rather work from a computer, the browser method works just fine.
- Attach any antennas that came with your router by screwing them onto the threaded antenna ports on the back or sides.
- Connect your modem to the router’s Internet (WAN) port using an Ethernet cable. The WAN port is often blue or grey and labeled “Internet.”
- Plug the router’s power adapter into the router and into a wall outlet or surge protector, then press the power button if your model has one.
- Wait about a minute for the router to boot. Watch for the Power LED to stop blinking and stay solid green.
- Find the router label on the back or bottom. It shows the default Wi‑Fi network name (SSID) and network key (password).
- Connect your phone, tablet, or computer to the router’s Wi‑Fi network using the SSID and password from the label. On a phone, go to Settings > Wi‑Fi and select the network.
- Open the Nighthawk app (if using the app method) or open a web browser and type http://192.168.1.1 or http://www.routerlogin.net into the address bar (if using a computer).
- Log in with the default credentials: username is admin and password is password (check the router label if these don’t work).
- Follow the on-screen setup wizard to connect the router to the internet. The wizard detects your connection type automatically in most cases.
- Test your connection by opening a website or running a speed test once the wizard finishes.
If the setup wizard doesn’t appear or you see error messages during app installation, power off the router, wait 10 seconds, power it back on, and start over from step 4.
Accessing the Nighthawk Router Login Page and Default Credentials
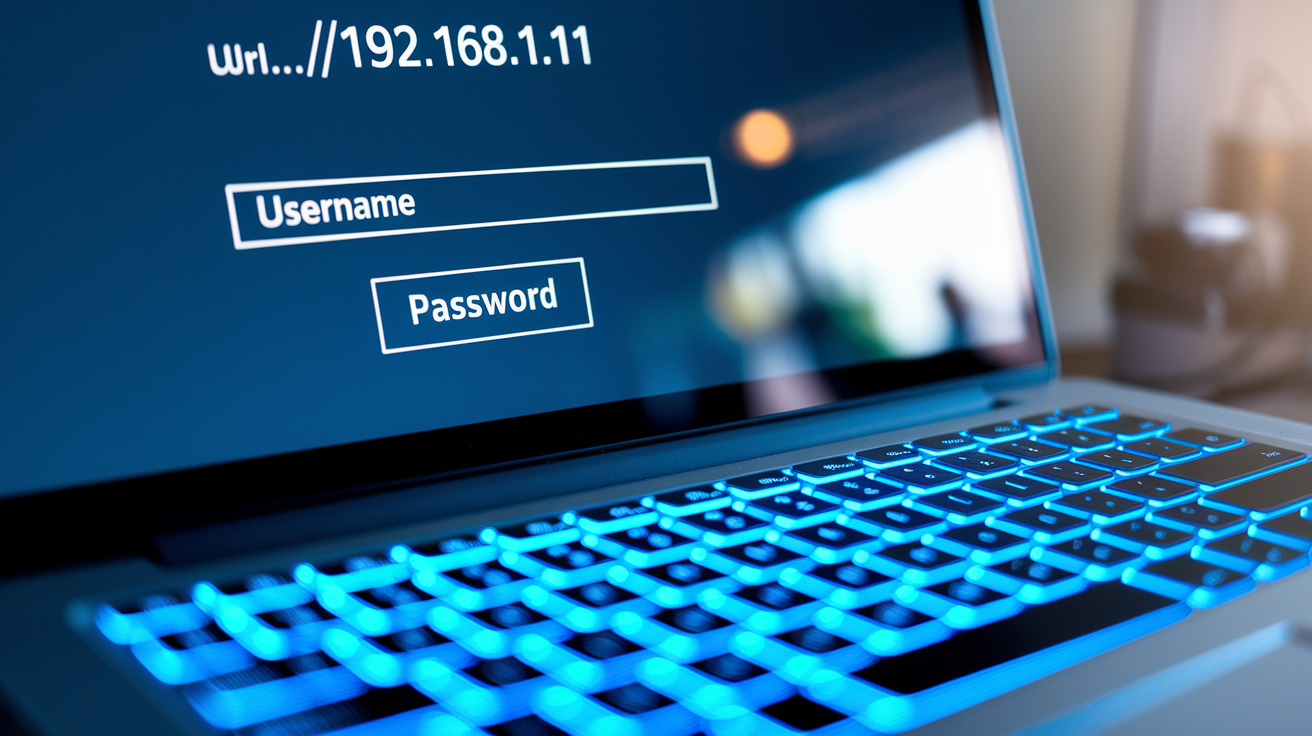
To change any settings on your Nighthawk router, you need to log into the web admin interface. Open any web browser on a device that’s connected to the router (either by Wi‑Fi or with an Ethernet cable) and type http://192.168.1.1 into the address bar. Some Nighthawk models use http://192.168.0.1 or http://www.routerlogin.net instead, so if the first address doesn’t load, try one of the others. The correct address is usually printed on the router label.
When the login page appears, enter admin as the username and password as the password. Both are lowercase. These are the factory defaults for most Netgear Nighthawk routers, but double check the label on your specific model because a few variants use different credentials. Once you’re logged in, the router either launches the Genie setup wizard or takes you straight to the main dashboard. Older Nighthawk models might show the Smart Wizard interface instead of Genie, which looks different but covers the same setup tasks.
If the login page doesn’t load, here’s what to check:
- Make sure your device is connected to the router’s network, not your old router or a neighbor’s Wi‑Fi.
- Confirm the Ethernet cable is plugged into a LAN port on the router (usually yellow) if you’re using a wired connection.
- Try a different web browser. Sometimes cached pages or browser extensions block the login screen.
- Verify the router’s IP address by checking your device’s network settings. On Windows, open Command Prompt and type ipconfig, then look for “Default Gateway.” On a Mac, go to System Preferences > Network and click Advanced > TCP/IP to see the router’s IP.
- Restart the router by unplugging it, waiting 10 seconds, and plugging it back in.
- If you still can’t access the page, hold the reset button on the back of the router for 7 seconds to restore factory settings, then try again with the default credentials.
Using the Nighthawk Mobile App for Easy Setup and Configuration
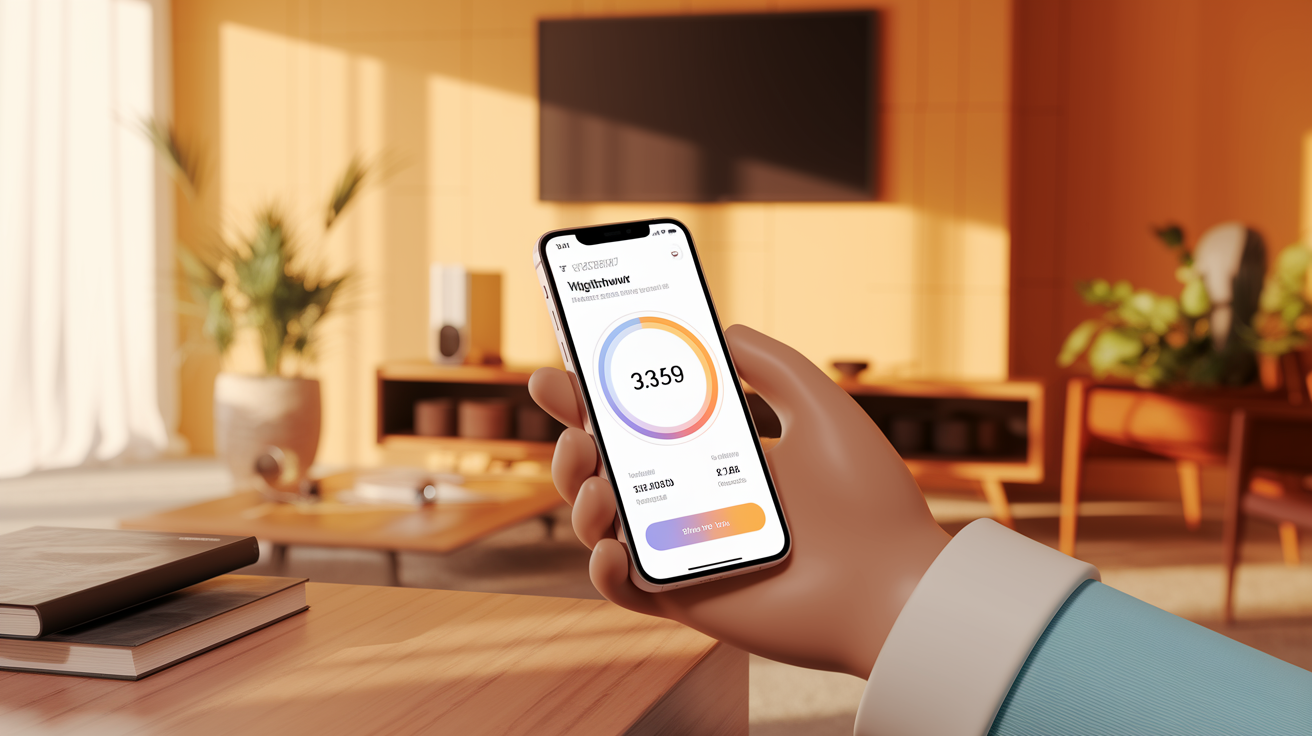
The Nighthawk app handles the entire setup process through your phone and gives you quick access to features like viewing connected devices, running speed tests, updating firmware, and changing your Wi‑Fi name or password. It’s faster than the browser method because it automates the connection type detection and skips manual entry of most settings.
- Connect your phone to the router’s default Wi‑Fi network using the SSID and password printed on the router label.
- Download the Nighthawk app from the App Store (iOS) or Google Play (Android) and open it.
- Tap “Get Started” or “New Setup” when the app launches. It scans for your router automatically.
- Follow the on-screen prompts. The app asks you to confirm your internet service type and walks you through connecting the router to your modem if you haven’t already.
- Wait for the app to establish an internet connection. This usually takes 30 to 60 seconds. The app tests the connection and confirms when it’s working.
- Create a new Wi‑Fi network name and password when prompted, or keep the defaults and change them later in the app’s settings menu.
- Reconnect your phone to the new Wi‑Fi network if you changed the SSID or password. The app reminds you to do this.
If the app displays an error like “Internet not connected” or “Router not found,” turn off mobile data on your phone during setup so the phone doesn’t try to route traffic through cellular. Then power off the router, wait 10 seconds, power it back on, and repeat the steps once the Power LED is solid green. These errors usually happen when the router’s firmware is slightly out of sync with the app version, so completing a firmware update through the app after initial setup often prevents the issue from returning.
Configuring Wi‑Fi Settings: SSID, Password, and Dual Band Options

Your router’s Wi‑Fi network name (SSID) and password are set to defaults when you first power it on, but you should change both to something unique and secure. In the router’s admin interface, look for the “Wireless” or “Wi‑Fi Settings” section. You’ll see fields for the network name and password (sometimes labeled “Passphrase” or “Network Key”).
Pick a network name that’s easy to recognize but doesn’t give away personal details like your address or full name. For the password, use at least 8 characters with a mix of uppercase, lowercase, numbers, and symbols, like “GreenDoor#82” instead of “password123.” Under the Security Options menu, make sure WPA2‑PSK (AES) is selected. This is the recommended encryption standard for home networks. If your router offers WPA3, use that instead, but WPA2 works on more devices. After you click Save or Apply, the router restarts the wireless radios, and any devices currently connected drop off and need to reconnect using the new password.
Most Nighthawk routers broadcast on two frequency bands: 2.4 GHz and 5 GHz. You can configure each band separately, which means each can have its own SSID and password. The 2.4 GHz band reaches farther and works better through walls, while the 5 GHz band is faster but has a shorter range. You can name them the same (like “HomeNetwork”) and let devices pick automatically, or use different names (like “HomeNetwork‑2G” and “HomeNetwork‑5G”) so you can manually connect to the band you prefer.
- Always change the default SSID and password before connecting important devices.
- Use WPA2‑PSK (AES) or WPA3 for security. Never leave the network open or use WEP.
- If you run into connection problems on 5 GHz, try the 2.4 GHz band. Some older devices don’t support 5 GHz.
- Write down your new Wi‑Fi password in a secure place or store it in a password manager.
- Check the wireless settings page for a “Broadcast SSID” option. Leave this enabled unless you have a specific reason to hide your network.
- After saving any changes, reconnect all your devices one by one. The router won’t update them automatically.
Setting Up Guest Wi‑Fi
Guest Wi‑Fi lets visitors use your internet without giving them access to devices on your main network, like shared folders, printers, or smart home gadgets. It’s disabled by default on most Nighthawk routers. To turn it on, go to the Guest Network section in the admin interface, enable the guest network, and create a separate SSID and password. Most routers let you run one guest network per band, so you can have a 2.4 GHz guest network and a 5 GHz guest network at the same time. Guest networks are isolated, which means devices connected to the guest SSID can reach the internet but can’t see or communicate with anything on your main network.
Internet (WAN) Setup for Cable and DSL Connections
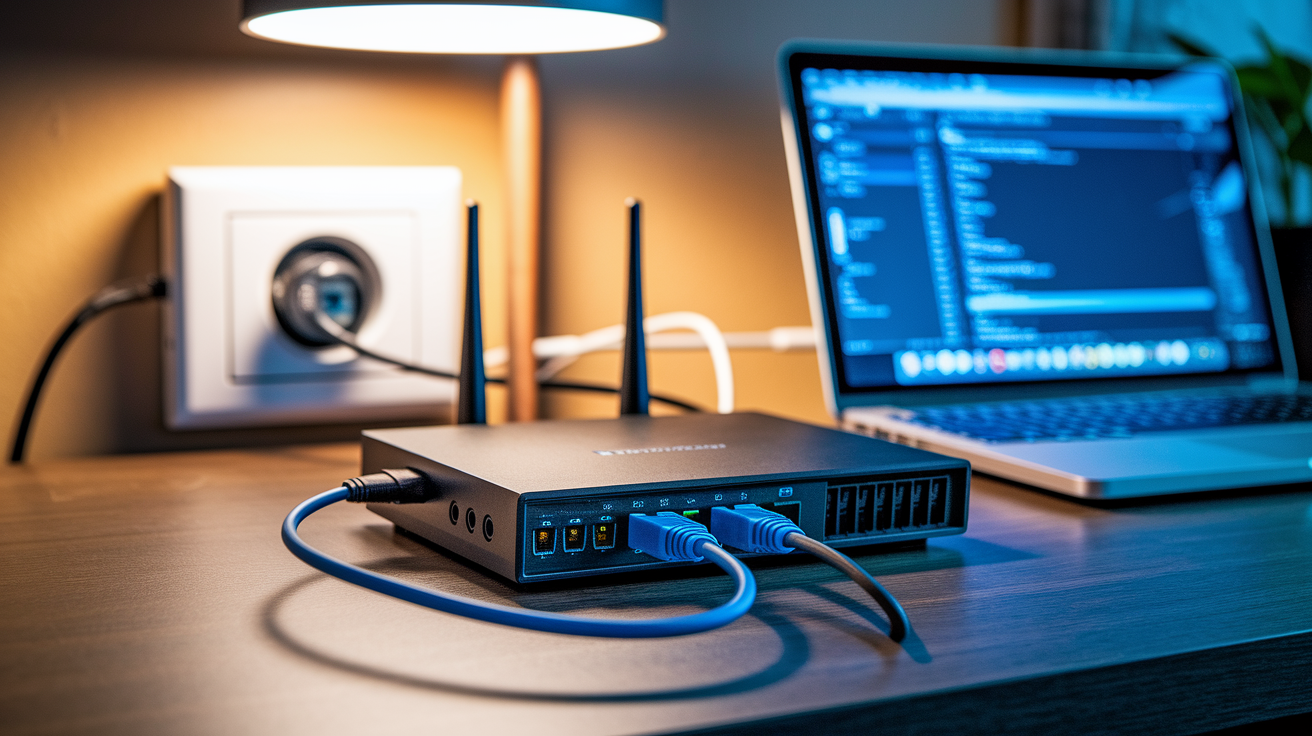
The Internet or WAN setup tells your router how to talk to your modem and pull in your ISP’s connection. Cable and DSL internet use different physical connections and configuration steps, so the process splits depending on which service type you have.
For cable internet, the setup is usually automatic. Your ISP’s modem sends an IP address to the router without needing a username or password. For DSL, you often need to enter credentials because DSL modems don’t always handle authentication on their own. DSL setups also require a small device called a microfilter, which connects to your phone jack and splits the signal so you can use the phone line and internet at the same time without interference.
- Locate the WAN or Internet port on the back of the router. It’s usually a different color from the other ports (often blue or grey) and labeled “Internet” or “WAN.”
- Connect an Ethernet cable from your modem’s LAN port (often yellow) to the router’s WAN port.
- If you have DSL service, connect the DSL microfilter to the telephone wall jack, then connect the router’s DSL port to the microfilter with a phone cable. Plug your telephone into the other port on the microfilter.
- Power off your modem, router, and computer (if connected), then power them back on in this order: modem first, then router, then computer. Wait about a minute after powering on each device.
- Open the router’s admin interface using the login steps from earlier.
- Go to the WAN or Internet settings page. The exact menu name varies by model but is usually under “Setup,” “Internet,” or “Advanced Settings.”
- Select your connection type from the dropdown menu. Most cable connections use “DHCP” or “Automatic IP.” DSL connections often use “PPPoE” or “PPPoA.”
- Click Apply or Save and wait for the router to test the connection. If it works, you’ll see a confirmation message and the Internet LED on the router turns solid or stays lit.
Cable Internet Configuration (Automatic IP)
Cable modems assign an IP address to your router automatically using DHCP. Once the modem and router are connected and powered on, the router requests an IP address and your ISP’s network replies with all the details the router needs: IP address, subnet mask, and DNS servers. In the WAN settings page, make sure “DHCP” or “Automatic Configuration” is selected, then click Apply. The router reboots its internet connection (this takes about 30 seconds), and you should see a green or white light on the Internet LED when it’s done. Open a web browser and try loading a website to confirm it’s working. If it doesn’t connect, power cycle both the modem and router again and repeat the Apply step.
DSL Internet Configuration (PPPoE/PPPoA & Fixed IP)
DSL service usually requires you to log in with a username and password provided by your ISP. In the WAN settings page, select PPPoE (for most DSL connections) or PPPoA (less common) from the connection type dropdown. Enter your ISP username and password in the fields labeled “PPPoE Username” and “PPPoE Password.” If your ISP gave you a service name or connection name, enter that in the optional field, otherwise leave it blank. Click Apply and wait for the router to connect. The Internet LED stays solid when the login succeeds.
If your ISP assigned you a fixed (static) IP address, you’ll need to enter more details manually. Select “Static IP” or “IP over ATM” from the connection type menu, then fill in the fields for IP address, IP subnet mask, primary DNS, and secondary DNS using the values your ISP provided. These are usually in the paperwork you received when signing up. Double check every number because one wrong digit blocks your connection. After entering all fields, click Apply and test by opening a website.
Updating Firmware and Ensuring Nighthawk Router Security
Firmware updates fix security holes, improve wireless performance, and add compatibility for newer devices. Netgear releases updates periodically, and it’s worth checking every few months or whenever you notice connectivity issues. The Nighthawk app alerts you when a new update is available and can install it automatically with one tap. If you’re using the web interface, go to Administration > Firmware Update (or Router Update, depending on your model) and click “Check for Updates.” If an update is found, click “Install” and let the router restart. Don’t unplug the router during this process. It usually takes 3 to 5 minutes, and the lights blink in sequence as the new firmware loads.
Some older Nighthawk models let you update firmware manually by downloading a file from Netgear’s support site and uploading it through the router’s admin interface. A few models support firmware recovery via USB if the router won’t boot normally. To use USB recovery, format a USB flash drive as FAT32, download the firmware file, rename it to match the router’s recovery filename (check the manual or support article for your model), plug the drive into the router’s USB port, hold the reset button while powering on, and wait for the power LED to blink amber, which means the router is installing the update.
- Change the admin password immediately after your first login. Go to Administration > Set Password and create a new password that’s different from your Wi‑Fi password.
- Use a password that’s 10 to 12 characters or longer, with uppercase, lowercase, numbers, and symbols. Avoid common words, names, or patterns like “Admin2024!” or “Netgear123.”
- Don’t write your admin password on a sticky note attached to the router. If you need to write it down, keep it in a locked drawer or use a password manager app.
- Enable automatic firmware updates if your router supports it. This ensures you get security patches without having to check manually.
- Consider changing your admin password every 6 months, especially if you’ve shared it with someone or if the router is in a shared space like an office.
- If remote management is enabled (it’s usually off by default), make sure you’re using a strong password and consider disabling it unless you have a specific reason to access the router from outside your home network.
Keeping your router’s firmware current is one of the simplest ways to avoid security problems. Out of date firmware can leave your entire network vulnerable to exploits that were fixed months ago.
Troubleshooting Nighthawk Router Setup Problems

Most setup issues come down to loose cables, wrong passwords, or the router and modem being out of sync. Start by checking every cable connection: make sure the Ethernet cable from your modem is firmly seated in the router’s WAN port, and if you’re using a wired device, confirm that cable is in a LAN port. Power cycle everything by unplugging the modem, router, and computer, waiting 10 seconds, then plugging them back in one at a time (modem first, then router, then computer). Wait a full minute after each device powers on.
If you can’t access the login page at all, confirm you’re typing the correct IP address. Try http://192.168.1.1, http://192.168.0.1, and http://www.routerlogin.net one by one. If none work, check your computer’s network settings to see what IP it’s using as the default gateway. On Windows, open Command Prompt and type ipconfig. On a Mac, go to System Preferences > Network, select your connection, click Advanced, and check the TCP/IP tab. The number listed under “Router” is the IP address you should type into your browser.
If the Nighthawk app says “Router not found” or “Internet not connected,” turn off mobile data on your phone so it doesn’t route traffic through cellular instead of the router’s Wi‑Fi. Then restart the router, wait for the Power LED to go solid green, reconnect your phone to the router’s SSID, and try the app again.
- Login page won’t load: Verify the device is connected to the router’s network. Try a different browser or clear your browser cache. Restart the router and try again after a minute.
- Forgot admin password: Hold the reset button on the back of the router for 7 to 10 seconds to restore factory defaults. You’ll need to set up the router from scratch afterward.
- No internet after setup: Check that the modem’s Ethernet cable is in the WAN port (not a LAN port). Restart both the modem and router. Confirm your ISP credentials if you use PPPoE. Call your ISP to verify your modem is active and not stuck in bridge mode.
- Wi‑Fi devices can’t connect: Make sure you’re entering the correct password (it’s case sensitive). Check that you’re connecting to the right SSID if you have separate 2.4 GHz and 5 GHz networks. Restart the device and try again.
- Firmware update failed or router won’t boot: If the Power LED is blinking amber, the router might be stuck in recovery mode. Try the USB firmware recovery process if your model supports it. Otherwise, contact Netgear support.
- Modem works but router doesn’t: Some ISPs lock the modem to the first device it sees. Unplug the modem for 30 seconds, then plug it back in and wait 2 minutes before powering on the router. This forces the modem to recognize the router.
- Older Smart Wizard interface appears instead of Genie: Follow the same setup steps. Smart Wizard and Genie cover identical configuration tasks, they just look different. If you prefer Genie, check for a firmware update, which might switch the interface on some models.
- Speeds are slower than expected: Make sure your modem supports your ISP’s full speed tier. Run a speed test with a device connected via Ethernet to rule out Wi‑Fi interference. Check for firmware updates and confirm you’re not using an outdated Ethernet cable (use Cat5e or better).
Factory Reset and Recovery Steps
If your router is unresponsive, stuck on a blinking LED, or you’ve forgotten the admin password, a factory reset restores all settings to their out of the box state. Locate the small recessed reset button on the back of the router. Use a paperclip or pin to press and hold the button for 7 to 10 seconds while the router is powered on. The Power LED blinks amber, then turns solid green or white when the reset is complete. This erases your Wi‑Fi settings, admin password, and any custom configurations, so you’ll need to set everything up again from scratch.
If the router won’t boot at all or the Power LED stays amber after a reset, you might need firmware recovery. For models that support USB recovery, download the latest firmware from Netgear’s support site, format a USB flash drive as FAT32, copy the firmware file to the root of the drive, and rename the file to match the exact recovery filename listed in your router’s manual (it’s model specific). Insert the USB drive into the router’s USB port, press and hold the reset button, then plug in the power cable while still holding reset. Keep holding for about 10 seconds until the Power LED starts blinking amber. Release the button and wait up to 5 minutes. The router reads the firmware from the USB drive and installs it automatically. If this doesn’t work or your model doesn’t support USB recovery, contact Netgear support or search their site for TFTP recovery instructions, which let you reload firmware from a computer using special software.
Final Words
You’re ready to get online fast: the quick‑start steps cover power, cables, and the short wait for the power LED to go solid.
Then you learned how to reach the router login page and when to use the Nighthawk app for an easier setup.
You also set Wi‑Fi names and passwords, picked bands, finished WAN settings, and updated firmware for security. Troubleshooting tips and the factory reset steps are there if things stall.
Keep this guide handy. These nighthawk router setup instructions will get your network stable and secure, and you’ll be online in no time.
FAQ
Q: How do I setup my Netgear Nighthawk router?
A: To set up your Netgear Nighthawk router, connect your modem to the router WAN port, attach antennas, power on and wait about 1 minute for a solid green Power LED, join the default SSID, log in (admin/password), and use the Nighthawk app or web UI to finish and update firmware.
Q: Is NETGEAR compatible with Cox?
A: Netgear is compatible with Cox service; most Netgear routers work with Cox cable modems. If you have a modem-router combo, put the Cox device in bridge mode or connect the Cox modem to the Nighthawk WAN port.
Q: Why is my Nighthawk not connecting to the internet?
A: Your Nighthawk may not connect because the modem or router needs rebooting, the WAN cable is in the wrong port, ISP (PPPoE) credentials are wrong, firmware is outdated, or there’s an outage—check LEDs and power-cycle devices first.
Q: Is the Netgear Nighthawk a modem and router?
A: The Netgear Nighthawk is usually a router; some Nighthawk models include a built-in modem. Check your model label to confirm—router-only models require a separate modem to get online.