


Think smart speakers are complicated?
They’re not.
With the Google Home app, your Google account, and your Wi‑Fi password, you can have a Google Home ready in about 7 to 10 minutes.
This guide walks you through each step, powering the device, pairing it with Bluetooth (short-range wireless), connecting to Wi‑Fi, naming it, and training Voice Match, so it answers “Hey Google” and controls music and smart devices right away.
If your screen looks different, don’t worry. I’ll show simple fixes.
Quick Start Guide for Setting Up Your Google Home Device

You’ll need three things: the Google Home app on your phone, your Google account, and your Wi‑Fi name and password. Turn on Bluetooth too. The app needs it to spot your device when you’re getting started.
Most people finish in 7 to 10 minutes, though the full setup window is 5 to 15 minutes. When you’re done, your speaker connects to Wi‑Fi, links to your Google account, gets assigned to a room, and starts responding to “Hey Google, what’s the weather?” You can also train Voice Match so it knows your voice and gives you personalized answers.
After that, you’re good to go. Ask questions, play music, control your lights, set timers. If your screen doesn’t match what I’m describing, don’t panic. Different Android versions and iOS updates shift labels and icons around a bit.
- Plug in your speaker and wait about a minute. You’ll hear a chime or see lights.
- Open the Google Home app, tap the plus icon (+) in the top left, then tap Add and manage → Set up device → New devices.
- The app searches nearby using Bluetooth. Keep your phone about 2 meters (6 feet) from the speaker.
- When it finds your device, you’ll see a code or hear a sound through the speaker. Tap Yes if it matches.
- Pick your Wi‑Fi network (both 2.4 GHz and 5 GHz work) and type the password.
- Choose the Google account you want, then say yes to the permissions.
- Name your device and pick a room. This matters when you say “turn off the living room speaker.”
- Train Voice Match by repeating about 6 phrases. Takes 2 to 3 minutes and lets the speaker recognize up to 6 voices.
Required Devices, Apps, Accounts, and Network Prep for Google Home Setup

You need a phone or tablet running Android 5.0 or higher, or iOS 12.0+. The Google Home app is free on the Google Play Store and Apple App Store. Works with Google Home, Nest Mini, Nest Audio, Nest Hub, and Nest Hub Max. Setup steps are the same for all these models. Your phone must be on the same Wi‑Fi you plan to use for the speaker, or the app won’t complete the connection.
Your phone uses Bluetooth to find the speaker, so Bluetooth stays on. iPhone users also grant location permission because iOS ties that into Bluetooth pairing and local features. If your phone’s on a guest network or one with client isolation turned on, the app might miss the device. Stick to your main home network while you set up.
- Operating system: Android 5.0+ or iOS 12.0+
- Google account: One account required. Create one in the app if you don’t have it.
- Wi‑Fi network: 2.4 GHz or 5 GHz. You’ll need the name (SSID) and password.
- Bluetooth: Has to be on for discovery.
- Proximity: Keep your phone within about 2 meters (6 feet) of the device.
- Location permission (iOS only): Needed for Bluetooth pairing and local results.
Physical Google Home Setup and Best Placement Tips
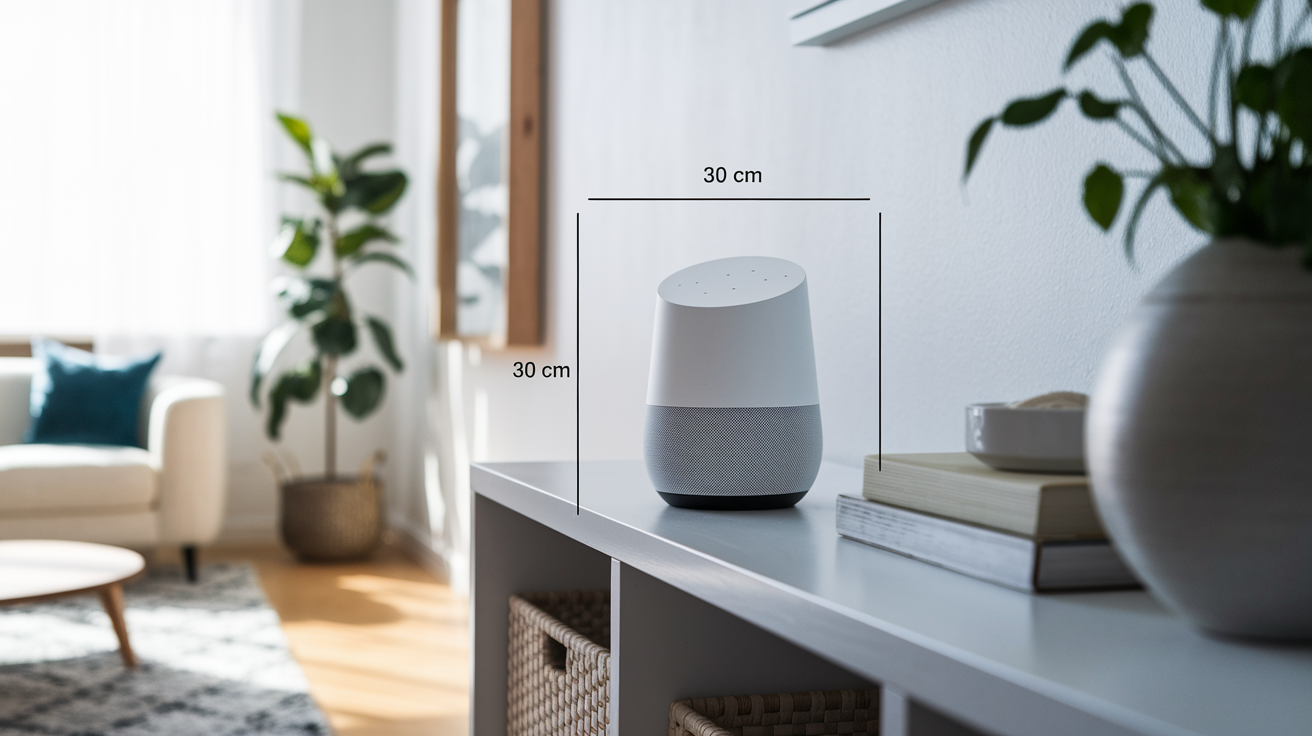
Plug the power cable into your speaker and into a wall outlet. After about a minute, lights appear on top (or on the screen if it’s a Nest Hub) and you’ll hear a chime or voice greeting. That’s your signal it’s powered on and ready. If nothing happens, check the outlet and make sure the cable’s seated firmly on both ends.
Where you put it matters. Strong Wi‑Fi helps the app find and connect the device fast. It also cuts down on dropouts later.
- Keep it in the open, not stuffed in a cabinet or wedged behind furniture.
- Skip corners where walls block the microphone and Wi‑Fi signal.
- Leave at least 30 centimeters (1 foot) between the speaker and walls or big metal stuff.
- Don’t park it near a microwave, baby monitor, or anything else throwing wireless noise.
- For multi‑room audio, put speakers in central spots so voice commands reach them easily.
Adding and Connecting Your Google Home Device in the App

Open the Google Home app and tap the plus (+) in the top left. Tap Add and manage, then Set up device, then New devices. The app asks which Google Home you’re setting up. This is the “home” container where your devices and settings live. First time? The app makes one for you. Tap Next and the app starts searching for nearby devices over Bluetooth.
When it finds your speaker, it shows the device name and might play a quick sound through the speaker or flash a pairing code. Listen for the sound or check the code, then tap Yes. Don’t hear anything or code’s wrong? Tap Try Again and move closer. Still nothing after a few tries? Toggle Bluetooth off and on in your phone settings, or restart the Google Home app.
Connect to Wi‑Fi
Next screen lists Wi‑Fi networks. Pick the one you want. Same network your phone’s on works best. Enter the Wi‑Fi password. The app sends the credentials to the speaker. You’ll see “Connecting…” for around 30 seconds, then a confirmation when it’s done. Both 2.4 GHz and 5 GHz work, but if you’ve got separate names for each band, go with whichever has the stronger signal where the speaker sits.
Password won’t go through? Double check it on another device or peek at your router settings. Temporary VPN on your phone can block setup, so turn it off until you finish. Speaker still won’t connect after a few rounds? Restart your router. Unplug for 10 seconds, plug back in, wait a minute, then try again. You can also clear the Google Home app’s cache (Android: Settings → Apps → Google Home → Storage → Clear Cache; iOS: delete and reinstall the app), then start fresh.
Google Assistant Configuration: Voice Match, Personal Results, and Default Services

Once your device hits Wi‑Fi, the app walks you through Google Assistant setup. You’ll see a screen asking you to agree to the Assistant terms. Tap Next, then I agree to turn on Voice Match. Voice Match lets the speaker recognize up to 6 people by voice so each person gets their own calendar, reminders, and playlists when they ask. Training takes about 2 to 3 minutes. You repeat roughly 6 short phrases like “Hey Google” and “Okay Google” so it learns your pattern.
After Voice Match, the app asks about Personal Results. When it’s on, the speaker reads your Gmail, shows your Google Calendar events, displays your Google Photos, pulls up your YouTube playlists, fetches saved recipes, and manages shopping lists. If multiple people use the speaker, only the person it recognized hears their private stuff. You can flip Personal Results off anytime by opening the Google Home app, tapping the device, tapping the gear icon, and toggling Personal results off.
Next, the app prompts you to link music and video services. Connect Spotify, YouTube Music, Apple Music, Pandora, or Netflix by logging in when prompted. Once linked, the app asks you to pick a default music service. This is the one the speaker uses when you say “Hey Google, play music” without naming an app. Want to change your default later? Open the Google Home app, tap Settings (gear icon in the top right), tap Services, then tap Music and pick a different service.
Linking Music and Media Services
Each service asks you to log in with that service’s account. Linking Spotify means entering your Spotify username and password, then granting permission for Google Assistant to control playback. Service not playing right later? Go back to Settings → Services, tap the service name, tap Unlink account, then link it again. Same deal for video like Netflix. Log in once, ask the speaker to play shows by voice.
- Voice Match supports up to 6 unique voice profiles per home.
- Personal Results can be toggled on or off for each device separately.
- Default services apply across all speakers in the same home unless you assign different defaults per device.
- Add or remove linked services anytime from the Services menu in Settings.
Organizing Your Google Home: Rooms, Device Names, and Multi‑Room Speaker Groups

When you assign each device to a room during setup, the Google Home app uses that info to route voice commands right. Saying “Hey Google, turn off the bedroom speaker” or “play music in the kitchen” only works if you’ve named the device and picked the room. Rename a device or change its room later by opening the Google Home app, tapping the device tile, tapping the gear icon, tapping Device information, then editing the name or tapping Room to reassign it.
Got multiple Google or Nest speakers? Group them for synchronized audio. Open the Google Home app, tap Devices, tap the plus (+) at the bottom, then tap Create speaker group. Select the speakers you want, give the group a name like “Whole House” or “Downstairs,” and tap Save. Now when you say “Hey Google, play jazz on Downstairs,” all the speakers in that group play the same track at the same time. You can make as many groups as you want. Each speaker can belong to multiple groups too.
- Choose clear, short device names like “Living Room Speaker” instead of “Google Home in the corner by the TV.”
- Pick room names that match how you talk. “Bedroom” instead of “master bedroom” if you usually say “bedroom.”
- Don’t name two devices with similar names in the same room (like “Bedroom Speaker” and “Bedroom Mini”).
- Speaker groups work best when all devices link to the same Google account.
- Rename or delete groups anytime from the Devices tab without messing with individual devices.
Connecting Smart Home Devices and Services to Google Home
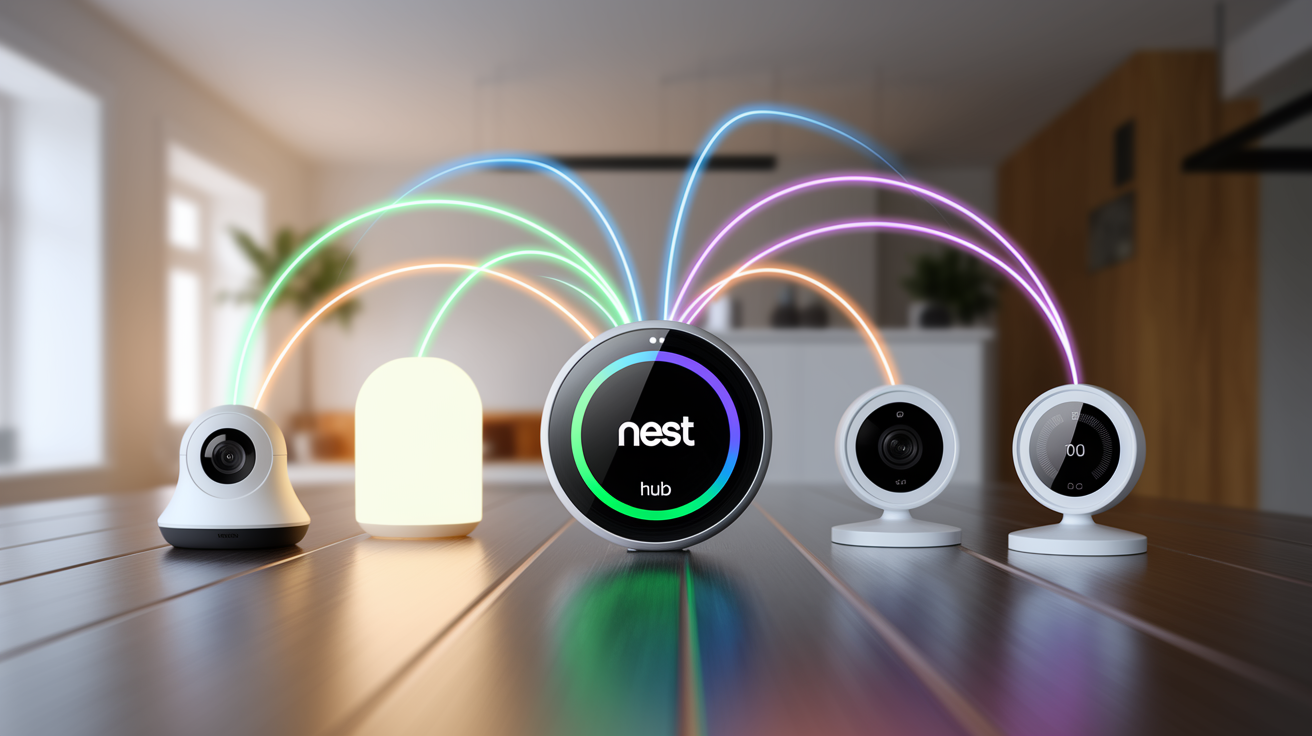
To control smart lights, plugs, cameras, thermostats, or locks with your Google Home, open the Google Home app, tap the plus (+), tap Add and manage, then tap Set up device → Works with Google. You’ll see a list of compatible brands. Tap a brand, log into your account for that device, and let Google Assistant control it. Once linked, those devices show up in your Google Home device list, and you can assign them to rooms just like your speakers.
Assigning smart devices to rooms matters for voice control. Put a smart bulb in the “Living Room” and you can say “Hey Google, turn off the living room lights” and only that bulb (or all bulbs in that room) responds. Some devices, like thermostats and locks, need extra authorization steps or PIN codes for security. Follow the on‑screen prompts and check the device’s own app if you hit permission roadblocks.
Supported Smart Devices and Setup Steps
Most brands use OAuth or similar login to link your account. You’re redirected to the brand’s login page, enter credentials, and return to the Google Home app. Device doesn’t appear after linking? Force‑close the Google Home app and reopen it, or check the brand’s app to confirm the device is online and not stuck in setup mode. Some devices (especially cameras) may need firmware updates before they’ll connect. Check for updates in the brand’s app first.
- Smart lights (Philips Hue, LIFX, TP‑Link Kasa)
- Smart plugs and switches (TP‑Link, Wemo, GE)
- Cameras and doorbells (Nest, Arlo, Ring with limited features)
- Thermostats (Nest, Ecobee, Honeywell)
- Smart locks (August, Yale, Schlage)
Creating Google Home Routines, Automations, and Scheduled Actions
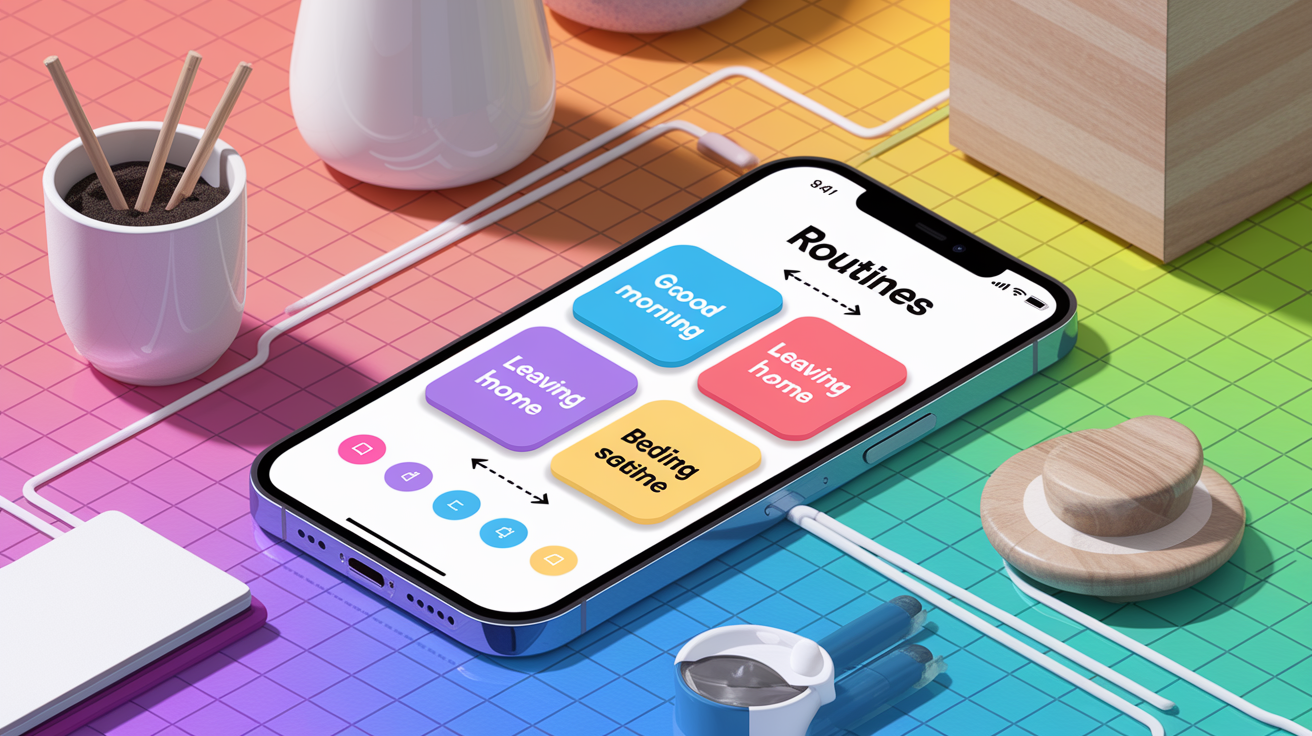
Routines let you trigger multiple actions with a single voice command or at a scheduled time. Open the Google Home app, tap Routines (or tap the three‑line menu and select Routines), then tap the plus (+) to create a new routine. Pick a starter: either a voice command like “Good morning” or a time and day. Add actions like turning on lights, reading the weather, playing music, or adjusting the thermostat. Most users build a simple routine in under 5 minutes using the ready‑made templates.
Google provides templates for common scenarios like “Good morning,” “Leaving home,” and “Bedtime.” Tap one, review the actions, and edit or remove what you don’t need. You can also create fully custom routines by selecting Custom as the voice command and typing your own phrase. For scheduled routines, pick the days and time. The routine runs automatically even if you don’t say anything.
Examples of Everyday Routines
A morning routine might turn on bedroom lights, read the weather and your calendar, start brewing coffee (if you’ve got a smart plug on the coffee maker), and play your favorite news podcast. A bedtime routine can lock smart locks, turn off all lights, set the thermostat lower, and play white noise for 30 minutes. Stack as many actions as you want. Reorder them by dragging up or down in the list.
Troubleshooting Google Home Setup: Wi‑Fi, Discovery, and Reset Steps
If the Google Home app doesn’t find your device, first confirm the device is plugged in and you’ve heard the startup chime or seen lights. Make sure Bluetooth is on in your phone’s settings. Android users swipe down and tap the Bluetooth icon. iPhone users go to Settings → Bluetooth. Move your phone within 2 meters (6 feet) of the speaker and tap Try Again in the app. Discovery still failing? Close the Google Home app completely (swipe it away from recent apps) and reopen it.
Guest networks, network isolation, or access‑point (AP) client isolation can block device discovery. Check your router settings and temporarily disable AP isolation or connect your phone to the main network instead of a guest network. Device won’t connect to Wi‑Fi even after entering the correct password? Restart both your router (unplug for 10 seconds, plug back in, wait 1 minute) and the Google Home device (unplug and plug back in). Also confirm your router firmware is up to date. Older firmware can cause compatibility issues with newer devices.
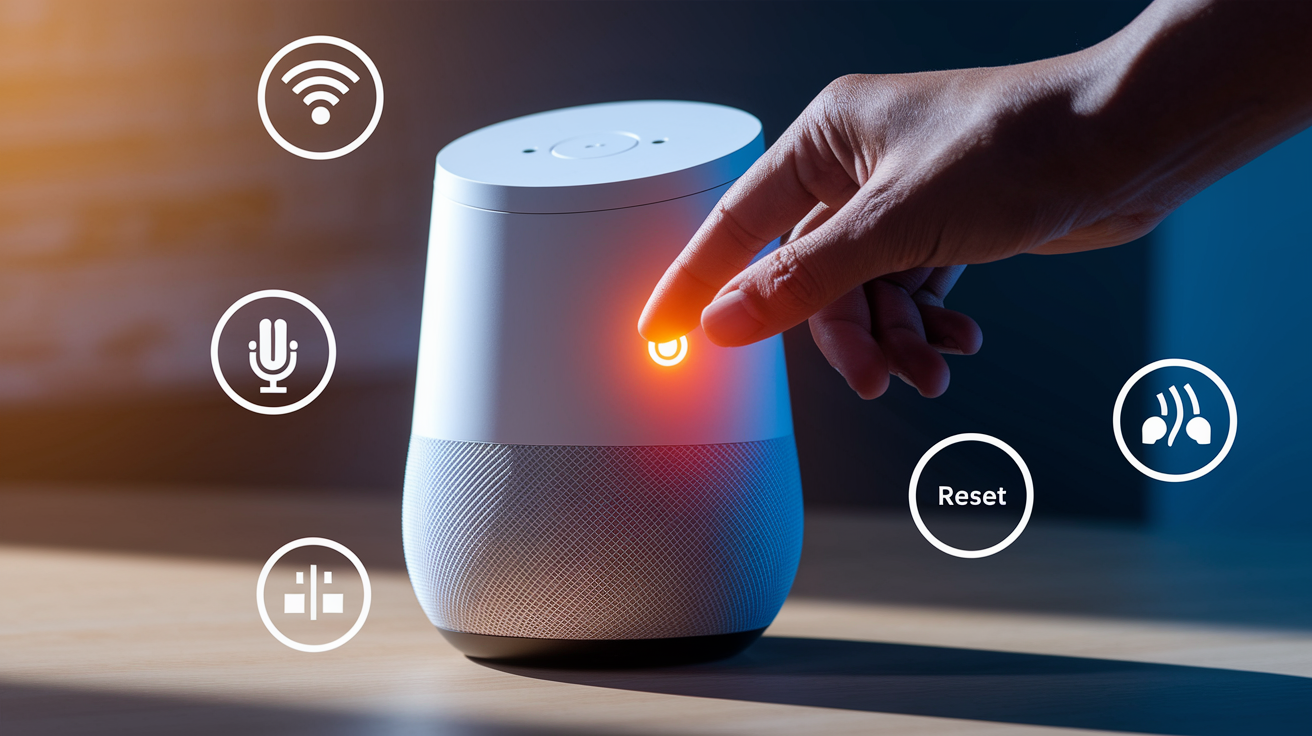
Speaker connected but not responding to “Hey Google”? Check for a physical microphone mute switch on top of the device. Orange or red light usually means the mic is off. Press the mic button to unmute. Speaker still doesn’t respond? Open the Google Home app, tap the device, tap the gear icon, tap Recognition & sharing, and confirm Voice Match and Personal Results are set right. You might need to retrain Voice Match or change the device language if you’ve switched languages on your Google account. For persistent issues, a factory reset often solves deeper software or config problems.
- App won’t find device: Turn Bluetooth on, keep phone within 2 meters, close and reopen the Google Home app, toggle phone Wi‑Fi off and on, or clear app cache (Android) or reinstall app (iOS).
- Wi‑Fi password rejected: Verify the password on another device, disable any active VPN on your phone, confirm phone is on the correct SSID (not guest network), try both 2.4 GHz and 5 GHz networks if available.
- Device connected but won’t respond to voice: Check the microphone mute switch (press to unmute), confirm language and region settings, retrain Voice Match, restart the device.
- Multiple Google accounts cause conflicts: During setup, pick the primary account you want to use and temporarily sign out of other accounts in the Google Home app.
- Music or video won’t play: Open Settings → Services in the Google Home app, set a default music service, unlink and relink the service if playback fails, grant all requested permissions.
- Router settings block discovery: Disable AP isolation, MAC filtering, or IP address restrictions temporarily. Ensure router firmware is current. Restart router and device.
- Factory reset: For most speakers, press and hold the microphone mute button or a dedicated reset button for about 15 seconds until you hear a confirmation sound or see all lights turn on. For Nest Hub displays, press and hold both volume buttons for 10 to 20 seconds. After reset, start setup from scratch in the Google Home app.
Privacy, Security, and Activity Controls for Your Google Home

Turning on Personal Results during setup means your speaker can access your Gmail, Google Calendar, reminders, shopping lists, and saved recipes. Only voices trained with Voice Match trigger personal responses. Guest asks about your calendar? The speaker says it doesn’t have access. Turn Personal Results off for any device by opening the Google Home app, tapping the device, tapping the gear icon, and toggling Personal results off. This doesn’t delete data. It just stops the speaker from speaking it out loud.
Google stores voice recordings by default to improve Assistant accuracy, but you can review and delete them anytime. Open the Google Home app, tap your profile icon, tap Your data in the Assistant, tap Review or delete your activity, then tap Delete and choose a time range. You can also turn off voice recording entirely in the same menu. Guest Mode lets visitors cast audio to your speaker without joining your Wi‑Fi network. Turn it on by tapping the device in the Google Home app, tapping the gear icon, and toggling Guest mode on. Content gets filtered to be age‑appropriate when you have parental controls or Family Link set up on your account too.
| Setting | What It Controls |
|---|---|
| Personal Results | Access to Gmail, Calendar, Photos, YouTube playlists, reminders, shopping lists, and recipes. Only works for trained Voice Match users. |
| Activity History | Stores voice commands and interactions to improve Assistant accuracy. Can be reviewed, deleted, or paused in “Your data in the Assistant.” |
| Voice Recordings | Saves audio clips of your voice commands. You can auto‑delete after 3 months, 18 months, or manually delete anytime from activity controls. |
| Guest Mode | Allows visitors to cast media to your speaker without connecting to your Wi‑Fi. Enabled per device in device settings. |
Final Words
You plugged in the speaker, waited for the chime, opened the Home app, and tapped Add → Set up device. You walked through device discovery, chose Wi‑Fi, linked your account, named the room, and trained Voice Match.
This whole process usually takes 5–15 minutes. By the end you’ll have music, smart controls, and basic routines ready to go. You’ll also know quick fixes and privacy options.
If you followed this guide on how to set up google home, your device should be online and ready. Enjoy hands‑free control — you’ve got this.
FAQ
Q: How do I connect my Google Home device to Wi-Fi? How do I connect Google Home again?
A: To connect or reconnect your Google Home to Wi‑Fi, open the Google Home app → Add → Set up device → New device, confirm the chime/code, pick your network, enter the password, and finish setup.
Q: How do I restart my Google Home?
A: To restart your Google Home, unplug its power, wait 10 seconds, then plug it back in. You can also open the Home app, pick the device, and use Settings → Reboot if that option appears.
Q: Does Reolink work with Google Nest Hub?
A: Reolink works with a Google Nest Hub only if your Reolink camera supports Google Assistant or “Works with Google.” Link accounts in the Reolink and Home apps, then ask the Hub to show the camera.