


Think setting up a new Samsung Smart TV will take hours? Think again.
This quick, hands-on guide walks you through the first-run wizard, pairing the remote, connecting to WiFi or Ethernet, signing into your Samsung account, and getting apps, picture, and sound tuned.
Follow the steps and you’ll be streaming in minutes with a setup that actually feels smart.
If your screen looks different, no sweat; we’ll cover quick fixes and the safety checks to protect your accounts.
Initial Samsung Smart TV Setup Steps
Press the power button on your Samsung TV remote to turn the TV on for the first time. You’ll see a boot animation, then the setup wizard launches automatically. It’s an onscreen guide that walks you through configuration. If your remote has a separate pairing button, hold it near the TV until a pairing message shows up. Most newer Samsung remotes (the “One Remote”) pair as soon as you press any button.
The first screen asks you to pick a language. Use the directional pad to highlight your choice, then press the center button to confirm. After language selection, you’ll see a region or country picker. Choose the one that matches your location so you get the correct app catalog and TV services. Next, the wizard shows Samsung’s Terms and Conditions and a Privacy Policy screen. You have to agree to continue. Tapping “Decline” exits Smart Hub setup and limits the TV to basic broadcast functions only.
Here’s the complete first run sequence:
- Connect the power cable. Plug one end into the back of the TV and the other into a wall outlet, then press the power button on the remote.
- Pair the remote. Press any button on the One Remote. A pairing icon appears onscreen when the remote connects. If nothing happens, hold the “Return” and “Play/Pause” buttons together for three seconds.
- Select language. Highlight your language from the list and press OK.
- Choose your region. Scroll to your country, press OK.
- Agree to terms. Check the boxes next to “I agree to all” and press “Agree.” Skip this and you can’t use Smart Hub or install apps.
- Wait for the network screen. The TV asks if you want to connect to WiFi or cable. This marks the end of the very first setup stage.
Network Setup Options

Samsung Smart TVs need internet to stream apps, update software, and sync your settings. You can connect using WiFi (wireless) or Ethernet (wired). WiFi is faster to set up and doesn’t need extra cables, but Ethernet provides a more stable connection. It’s especially useful if you plan to stream 4K content or play online games through a console connected to the TV. The network menu appears automatically during the setup wizard, right after you agree to Samsung’s terms. If you skip it initially, open Settings > General > Network > Open Network Settings later.
Before you start, gather this information:
- WiFi network name (SSID). The name that appears when you scan for networks. Look on a sticker on your router or in the router’s setup app.
- WiFi password. Also called the network key or passphrase. Often printed on the same router label.
- Ethernet cable (for wired setup). A standard Cat5e or Cat6 cable. One end plugs into your router, the other into the TV’s Ethernet port (usually on the back, near the HDMI inputs).
- Router location. If using WiFi, keep the TV within 30 feet of the router for reliable 5GHz signal. Samsung TVs support both 2.4GHz (longer range, slower) and 5GHz (faster, shorter range) bands.
To connect via WiFi, select “Wireless” when the setup wizard asks about network type. The TV scans and displays a list of nearby networks. Highlight your SSID, press OK, then use the onscreen keyboard to type your password. Press “Done” on the keyboard and the TV connects within five to ten seconds. You’ll see a checkmark and a “Connected to Internet” message.
To connect via Ethernet, plug the cable into the TV and your router before you power on the TV. When the network screen appears during setup, select “Wired” and the TV detects the connection automatically. No password needed. You should see “Cable connected” and an IP address appear in the network status screen.
Samsung Account Setup

A Samsung account unlocks cloud storage for your settings, lets you sync installed apps across Samsung devices, and gives you access to exclusive Samsung TV Plus channels and promotions. You’ll also need it to redeem warranty support or use certain features like Samsung Health on the TV. The setup wizard prompts you to sign in or create an account right after network connection completes.
If you already have a Samsung account (from a Galaxy phone, tablet, or previous Samsung TV), select “Sign In” and enter your email and password using the onscreen keyboard. The TV logs you in and pulls down any saved preferences. If you don’t have an account yet, you have two options: create one directly on the TV by selecting “Create Account,” or use your phone to speed things up. The TV displays a QR code you can scan with your phone’s camera, then complete account creation in a mobile browser and the TV detects it automatically.
When creating a new account on the TV, you’ll enter an email address, choose a password (minimum eight characters, at least one number), agree to Samsung’s account terms, and verify your email. Samsung sends a six digit code to your email. Retrieve it on your phone or computer, then type it into the TV. Once verified, the account is active and the setup wizard moves forward.
Installing and Managing Apps
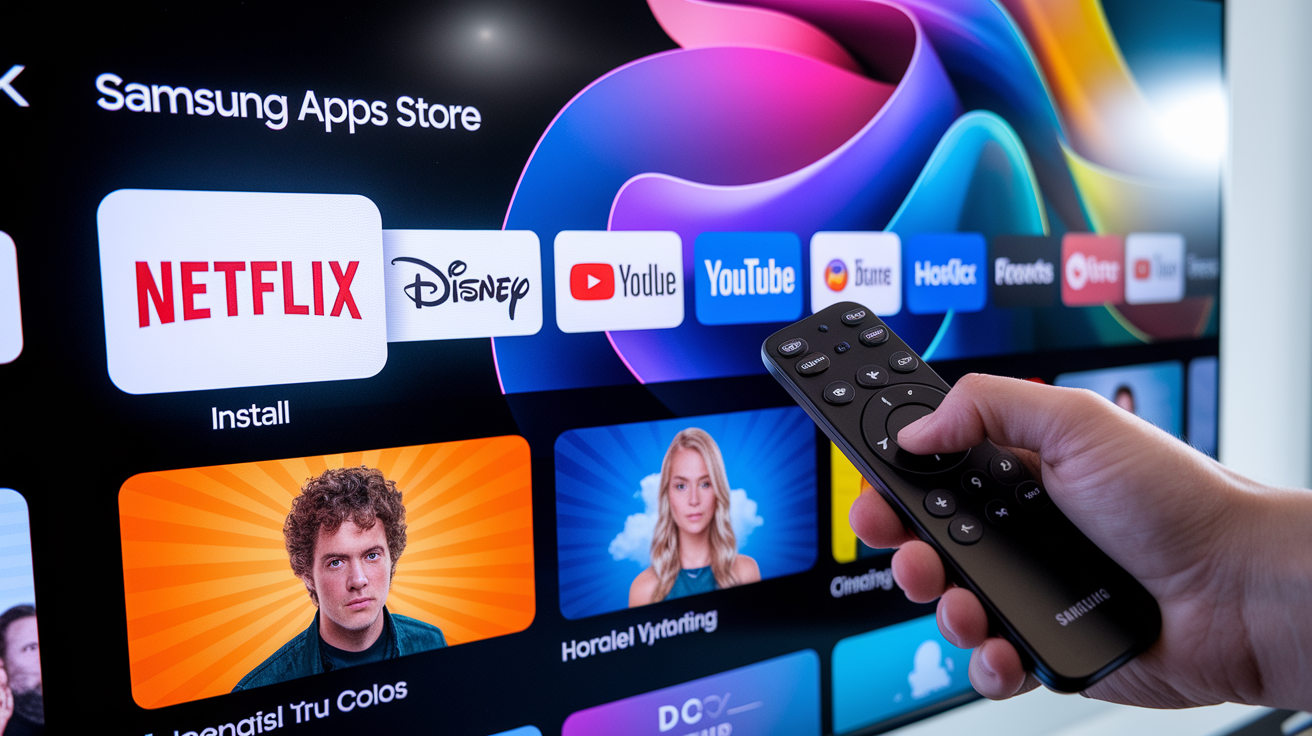
After signing into your Samsung account, the setup wizard takes you straight to the Smart Hub home screen. Smart Hub is the app launcher that sits at the bottom of the screen. It shows a row of app icons, and you navigate it with the remote’s directional pad. To install new apps, press the Home button on your remote, scroll left to the Apps icon (it looks like four squares), and press OK to open the app store.
Inside the app store, you’ll see categories like “Video,” “Music,” “Games,” and “Lifestyle.” Use the search icon (magnifying glass in the top right corner) to find a specific app by name, or browse the “Most Popular” row for common services like Netflix, Disney+, HBO Max, and YouTube. Highlight the app you want, press OK, then select Install. Download times range from five seconds for small apps to one minute for large ones. Once installed, the app appears on your Smart Hub home row and in the Apps section.
Key app management tasks:
- Update apps. Go to Apps > Settings (gear icon in the top right) > Auto Update and turn it on. Apps update overnight when the TV is in standby.
- Delete apps. Highlight an app on the home row, press and hold the OK button, then select “Remove.” This frees up storage but doesn’t cancel any subscriptions you set up inside the app.
- Move apps. Highlight an app, press and hold OK, then drag it left or right to reorder your home row. Put your most used apps (like Netflix or YouTube) first.
- Log into apps. Open the app, select “Sign In,” and enter your account credentials. Some apps (like Amazon Prime Video or Apple TV+) display a short activation code. Go to a URL on your phone or computer, enter the code, and the TV app logs in automatically.
- Add apps to Favorites. In the Apps menu, highlight an app and press the down arrow to reveal “Add to Home.” This pins it to your Smart Hub row for quick access.
Basic Picture and Sound Calibration

Samsung TVs ship with the picture mode set to “Dynamic” or “Vivid.” Very bright and saturated to look good in a showroom but often too harsh at home. Open Settings > Picture > Picture Mode and switch to Standard for everyday viewing or Movie for accurate color when watching films in a dim room. Standard balances brightness and color. Movie reduces blue tint and respects the director’s intended look. If you watch a lot of sports, try Dynamic only in bright rooms. It boosts motion clarity but can cause eye strain at night.
For sound, press Settings > Sound > Sound Mode and choose Standard (balanced dialogue and effects) or Amplify (boosts voices, useful if you have trouble hearing dialogue in action scenes). If you’ve connected a soundbar or AV receiver via HDMI ARC or optical cable, the TV detects it and automatically switches audio output. You can manually verify this under Settings > Sound > Sound Output. Select your soundbar’s name or “Receiver (HDMI)” to route all audio through the external speaker system.
Advanced adjustments live in Settings > Picture > Expert Settings and include backlight (screen brightness), contrast (difference between light and dark), sharpness (edge enhancement), and color tone (warm/cool). For a quick improvement, set Backlight to match your room’s lighting. Higher (15 to 20) in bright rooms, lower (8 to 12) at night. Turn Sharpness down to 0 or 5 to eliminate the “soap opera effect” that makes movies look like home video. Most users never need to touch the other sliders.
| Setting | Description |
|---|---|
| Picture Mode – Standard | Balanced brightness and color, best for daytime TV and mixed content |
| Picture Mode – Movie | Accurate color, reduced brightness, ideal for films in a dark room |
| Sound Mode – Standard | Even mix of dialogue, music, and effects |
| Sound Mode – Amplify | Boosts dialogue volume, reduces background noise |
Smart Features Activation
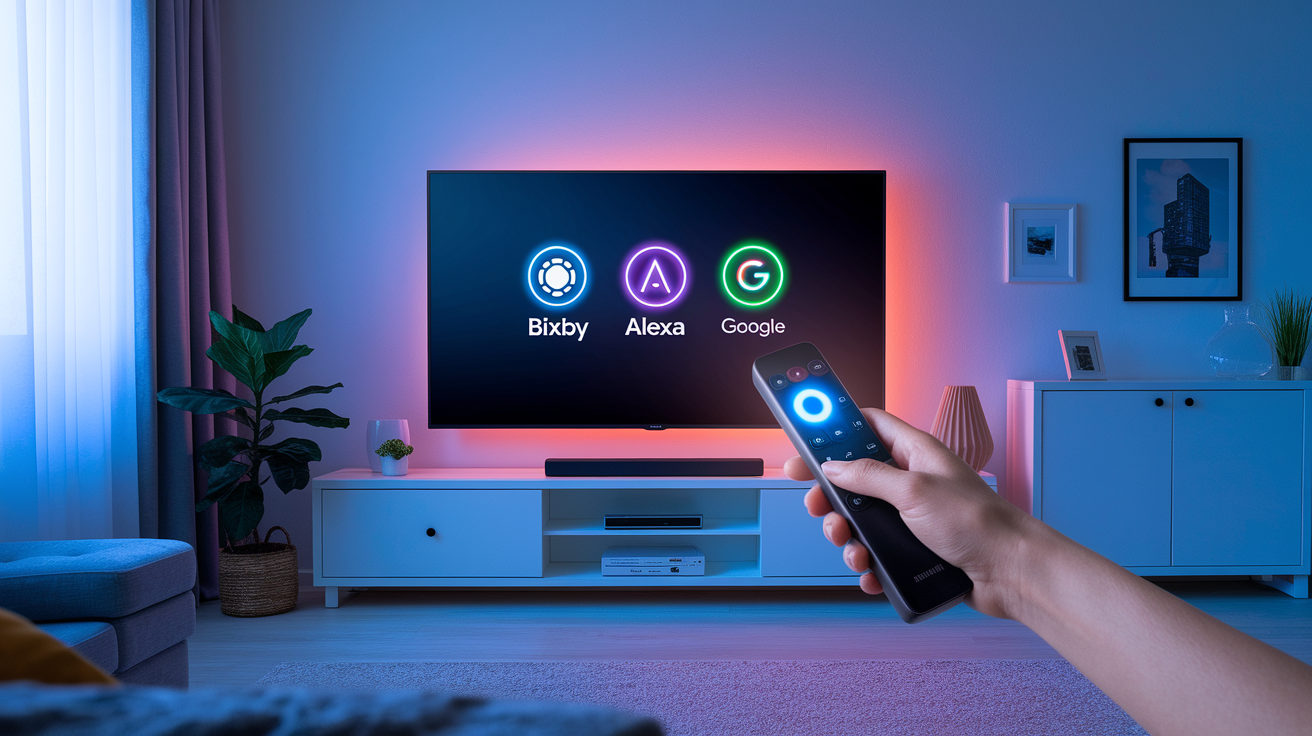
Samsung Smart TVs include built in voice assistants. Usually Bixby, and on some models Alexa or Google Assistant. To enable Bixby, press and hold the microphone button on your remote (it’s the button with a mic icon, usually near the center). The first time you do this, the TV asks if you want to set up voice control. Select “Yes,” agree to the voice data terms, and optionally train Bixby to recognize your voice by reading three sample phrases onscreen. Once active, hold the mic button and say commands like “Open Netflix,” “Search for action movies,” or “Turn off the TV.” Bixby works offline for basic commands (volume, input switching) but needs internet for search and smart home control.
To add Alexa or Google Assistant instead, open Settings > General > Voice > Voice Assistant and pick your preferred service. You’ll need the Alexa app (iOS/Android) or Google Home app installed on your phone to complete pairing. Follow the onscreen instructions to link your Amazon or Google account, then say “Alexa, turn on the TV” or “Hey Google, play Stranger Things on Netflix” from any Echo speaker or Google Nest device in your home.
Screen mirroring lets you cast your phone, tablet, or laptop screen to the TV. Samsung phones use Smart View (swipe down from the top of the phone screen, tap “Smart View,” and select your TV from the list). iPhones and iPads use AirPlay 2. Swipe down to Control Center, tap “Screen Mirroring,” and choose your Samsung TV. The TV must be on the same WiFi network as your phone. Windows PCs and Macs can mirror using the same AirPlay menu or by opening the TV’s Settings > General > Apple AirPlay Settings and verifying AirPlay is turned on. Some older Samsung TVs use a feature called “Screen Share” instead of AirPlay. If you don’t see AirPlay in settings, look for Screen Share under Settings > General > External Device Manager.
Troubleshooting Common Setup Issues
If your remote stops responding mid setup, the batteries might be dead or the pairing got interrupted. Replace the AAA batteries with fresh ones, then re-pair by holding the Return and Play/Pause buttons together for three seconds while pointing the remote at the TV. A pairing icon appears onscreen when successful. If the icon doesn’t show, power cycle the TV by unplugging it for ten seconds, then plug it back in and try pairing again.
WiFi connection failures usually happen because of incorrect password entry, router distance, or channel congestion. Double check the password. Capital letters, numbers, and symbols must match exactly. If the TV sees your network but won’t connect, move the router closer (within 15 feet for initial setup) or switch your router from 5GHz only to “dual band” mode so the TV can use the longer range 2.4GHz signal. If you still see “Unable to connect,” restart your router by unplugging it for 30 seconds, then reconnect the TV. Samsung TVs can struggle with older WEP security. Log into your router’s admin page and change WiFi security to WPA2 or WPA3.
Step by step fixes for the most common issues:
- No picture after power on. Check that the TV input matches the port your cable box or console is plugged into. Press Source on the remote and highlight the correct HDMI port.
- Apps won’t install. Go to Settings > Support > Software Update and select “Update Now.” Outdated firmware can block new app downloads.
- Sound out of sync with video. Open Settings > Sound > Expert Settings > Digital Output Audio Delay and slide it up by 10 to 20 ms increments until lips match dialogue.
- Remote volume doesn’t control soundbar. Re-run Settings > General > External Device Manager > Anynet+ (HDMI-CEC) and turn it on. This allows the TV remote to control HDMI connected audio devices.
- Smart Hub won’t open. Hold the power button on the remote for five seconds to reboot the TV. If Smart Hub still crashes, go to Settings > Support > Self Diagnosis > Reset Smart Hub. You’ll need to re-enter your Samsung account password afterward.
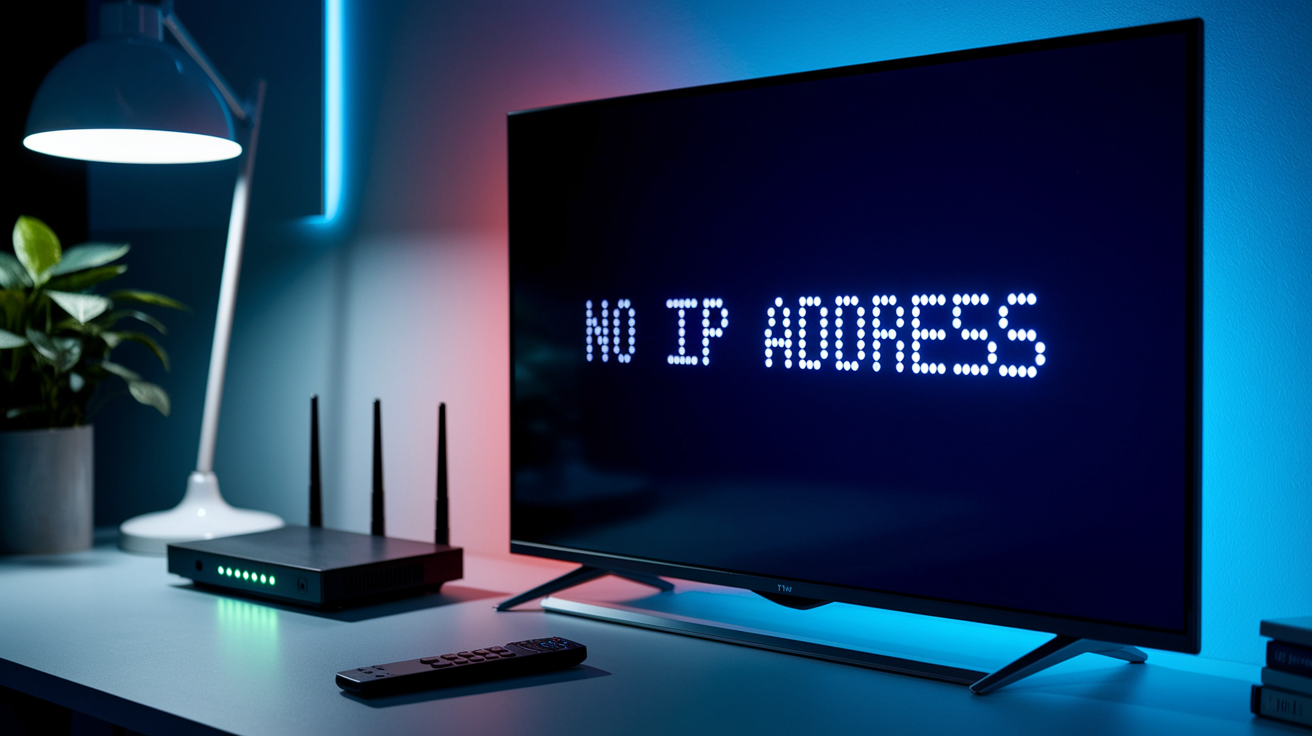
- Ethernet says “No IP address.” Swap the Ethernet cable or try a different port on your router. Some routers disable unused Ethernet ports by default. Log into the router admin page and enable all LAN ports.
Performing a Factory Reset

A factory reset erases all settings, installed apps, and account logins, returning the TV to the state it was in when you first unboxed it. Use this if you’re selling the TV, giving it away, or troubleshooting a persistent software problem that reinstalling apps won’t fix. Before you reset, write down your Samsung account email and any app logins you’ll need to re-enter, and take a photo of your picture settings if you spent time calibrating them.
To start the reset, press Home on your remote, then navigate to Settings > General > Reset. The TV asks for a four digit security PIN. If you never changed it, the default is 0000 (four zeros). Enter the PIN and select Reset again to confirm. The screen goes black for about 30 seconds, then the Samsung boot logo appears and the initial setup wizard starts from scratch. Language selection, network connection, Samsung account sign in, and app installation. The entire process takes five to ten minutes, and all your personal data (watch history, app logins, WiFi passwords) will be gone. If you can’t access the Settings menu because the TV is frozen, unplug the TV from the wall, wait 60 seconds, plug it back in, and try the reset steps again.
Final Words
Power on the TV, pair the remote, and work through the setup wizard to choose language, region, and network.
Sign in or make a Samsung account, grab apps from the Smart Hub, and fine‑tune picture and sound for your room.
Enable voice assistants or screen mirroring if you want, and use Support tools or a factory reset only as a last step.
These steps show how to set up samsung smart tv from first power‑on to streaming, so you’ll be watching in no time. Enjoy the shows.
FAQ
Q: How do you set up a Samsung smart TV for the first time?
A: The way to set up a Samsung smart TV for the first time is to power it on, pair the remote, choose language and region, accept terms, then follow the on-screen setup wizard to finish.
Q: How to set up TV channels on Samsung smart TV?
A: Setting up TV channels on a Samsung smart TV means connecting your antenna or cable, opening Settings > Broadcasting or Channel, selecting Auto Program/Scan, and saving the channels found.
Q: Do I need a Samsung account to set up my smart TV?
A: You do not need a Samsung account to complete the initial TV setup, but a Samsung account lets you sign into apps, sync settings, back up data, and use cloud features.
Q: How do I connect my Samsung TV to WiFi?
A: To connect your Samsung TV to WiFi, open Settings > General > Network or Network Settings, choose Wireless, pick your network name, enter the WiFi password, and confirm the connection.