


Think setting up a wireless printer has to be a headache? It doesn’t.
In under ten minutes you can go from unboxed to printing from your phone or laptop.
This guide walks you through what to grab first (SSID, password, power), the fastest ways to connect—WPS, manual SSID entry, Wi‑Fi Direct, or a USB temporary setup—and step‑by‑step instructions for Windows and macOS.
If your screen looks different, you’ll get simple fallbacks so you finish the setup without guessing.
Quick Wireless Printer Setup Steps to Get Connected Fast
Before you start, grab three things: your Wi‑Fi network name (SSID), your Wi‑Fi password, and make sure the printer’s actually powered on. You’ll find those network details on a sticker on your router or inside the router’s admin page if you can’t remember them.
Most wireless printers let you pick your Wi‑Fi network from a touchscreen menu and punch in the password. If your printer and router both have WPS buttons, you can skip the password entirely. Just press both buttons and they’ll pair automatically. When there’s no touchscreen or it’s not cooperating, the USB‑temporary method works too. Connect the printer to your computer with a cable, configure Wi‑Fi settings through software, then yank the cable once Wi‑Fi is running.
After the printer’s Wi‑Fi light turns solid or goes blue, switch to your computer or phone to finish adding the printer. That part changes depending on what operating system you’re using.
- Turn on your printer and dig into the wireless or network settings menu.
- Pick your Wi‑Fi network name from whatever list shows up.
- Type your Wi‑Fi password using the printer’s keypad or touchscreen. If the keypad layout feels buried, yeah, you’re not imagining it.
- Confirm the settings and wait for the printer’s Wi‑Fi indicator to go solid blue or green (usually 15 to 60 seconds).
- If your printer and router both show a WPS symbol, press the router’s WPS button then quickly press the printer’s WPS or OK button. No password needed.
- If you need Wi‑Fi Direct, enable it in the printer’s menu so it acts as its own hotspot. Your computer or phone connects straight to the printer, no router required.
- For the USB‑temporary method, connect the printer to your computer with a USB cable, run the Printer Setting Tool or whatever setup app the manufacturer provides, select Wireless LAN under Communication Settings, enter your SSID and password, click Apply, then disconnect the cable once the Wi‑Fi indicator confirms the connection.
- Print a network configuration page from the printer’s menu to see its assigned IP address. You’ll need this if your computer can’t find the printer automatically.
Wireless Printer Wi‑Fi Connection Methods Explained
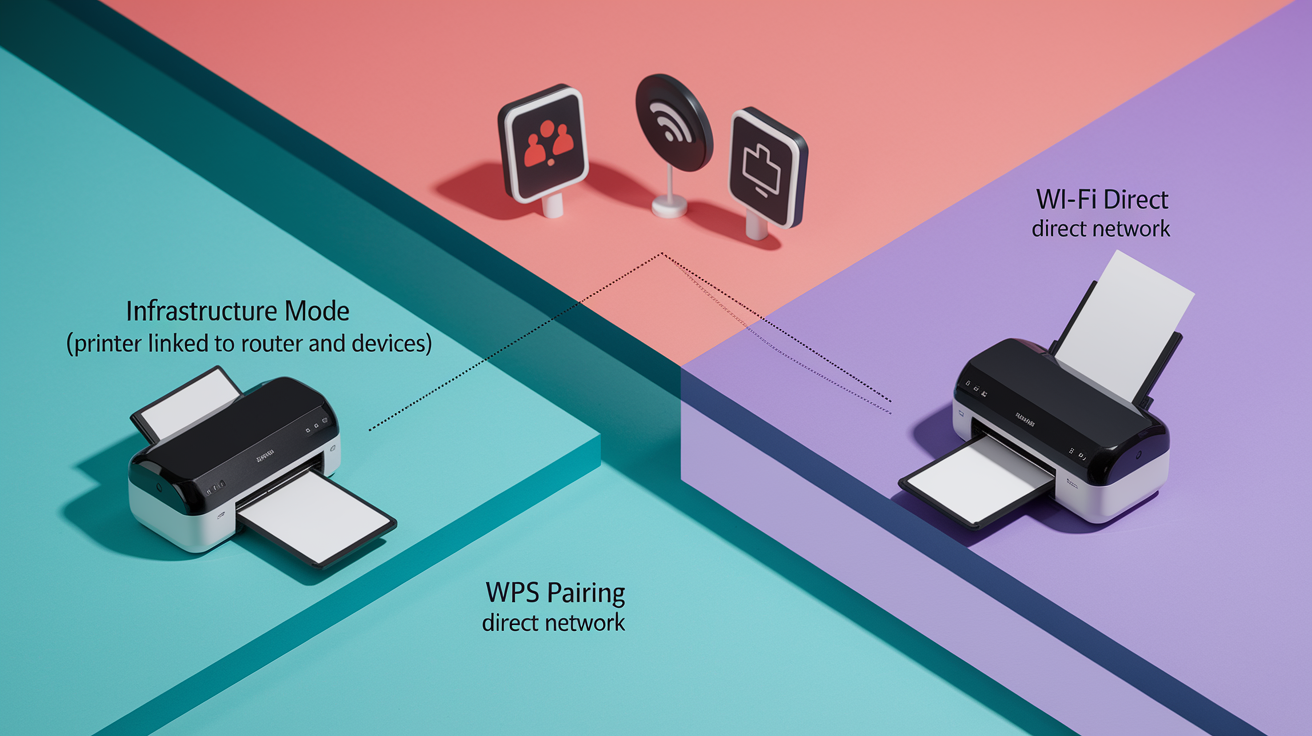
Infrastructure mode means the printer connects to your home or office router the same way your laptop or phone does. This is the default for most setups and the best choice when you want multiple devices reaching the printer. The printer joins your Wi‑Fi network, your router hands it an IP address, and any computer or phone on that same network can discover and print to it.
WPS (Wi‑Fi Protected Setup) uses a button on your router and a button or menu option on the printer to pair them without typing a password. Press your router’s WPS button, then press the printer’s WPS button or select WPS from the printer menu within two minutes. If you see a message about extending time, pressing the Menu button during the connection window gives you another two minutes. WPS is only available on certain printer models. For example, Brother’s RJ‑3150 and RJ‑3150Ai support it, but the RJ‑3050 models don’t.
Wi‑Fi Direct (also called Wireless Direct) turns the printer into its own access point so your device connects straight to it. No router involved. The printer generates a network name that looks something like “DIRECT‑brRJ‑3050****” where the four asterisks represent the last four digits of the printer’s serial number. Default passwords vary: Brother’s RJ‑3050 and RJ‑3150 use 00000000 (eight zeros), while the RJ‑3050Ai starts with 305 and the RJ‑3150Ai starts with 315 followed by additional serial‑derived digits. You’ll find the full SSID and password on a sticker on the printer or in the printer’s network menu.
Manual SSID and password entry is the most universal option because every Wi‑Fi printer supports it. You navigate the printer’s menu, select your network from a list (or type it in), then enter the password character by character. Takes a minute or two longer than WPS, but it works regardless of router age, model, or security protocol.
Use infrastructure mode when you want the simplest setup for homes or offices with a stable router and multiple devices sharing one printer.
Use WPS when both devices support it and you want to skip password entry. Perfect for quick deployments or when the network password is long and complex.
Use Wi‑Fi Direct when you need to print from a device that isn’t on the same network, when your router is out of range, or when you’re troubleshooting to confirm the printer’s wireless hardware works before reconnecting it to infrastructure mode.
Use the USB‑temporary setup when the printer’s touchscreen is hard to navigate, when you’ve tried menu options and the connection won’t stick, or when you need to push settings from your computer instead of keying them in one letter at a time.
Update printer firmware before final setup if the printer is more than a year old or if you’ve had intermittent connection drops. Manufacturer firmware releases often fix Wi‑Fi stability bugs and compatibility with newer routers.
Adding a Wireless Printer on Windows (Wi‑Fi Setup Completion)

Windows checks for nearby printers when you open the add‑printer screen, and detection might take a few minutes depending on network traffic and how recently the printer joined the network. If your printer shows up in the list right away, select it and click Add device. Windows installs basic drivers and may prompt you to run Windows Update or click a Find drivers button to download the full feature set.
If the printer doesn’t appear after a few minutes, you’ll add it manually by IP address. You’ll need the printer’s IP, which you can find by printing a network configuration page from the printer’s menu or by checking your router’s connected‑device list (sometimes called DHCP client list). Manual IP entry is also the go‑to fix when the printer keeps showing as offline even though its Wi‑Fi indicator is lit. Forcing Windows to add the printer by address instead of discovery often clears stale network cache.
After you add the printer, a warning may appear saying the printer has reduced functionality until drivers are installed. Click the Find drivers button next to the printer name in Settings, or go to Windows Update and check for optional updates. The manufacturer’s full driver package enables scanning, double‑sided printing, ink‑level monitoring, and other features that Windows’ built‑in driver can’t handle.
- Open Start, then Settings, then Bluetooth & devices, then Printers & scanners. On Windows 10 this path is Start > Settings > Devices > Printers & scanners.
- Click Add device or Add a printer or scanner. A list of available printers will start to populate.
- Wait up to two minutes for your printer’s model name to appear, then select it and click Add device.
- If the printer doesn’t show up, click The printer that I want isn’t listed (or Add manually in Windows 11).
- Choose Add a printer using a TCP/IP address or hostname, set Device type to TCP/IP Device, and enter the printer’s IP address in the Hostname or IP address field.
- Check the box Query the printer and automatically select the driver to use, then click Next. Windows will contact the printer and match the driver.
- On the driver‑selection screen, choose Use the driver that is currently installed (recommended) unless you’ve downloaded a manufacturer installer, name the printer, select Do not share this printer, then click Finish.
| Issue | Fix |
|---|---|
| Printer not detected after waiting two minutes | Add manually using TCP/IP method; confirm printer Wi‑Fi indicator is solid blue; restart printer and router; ensure computer and printer are on the same Wi‑Fi network (not guest network). |
| Printer shows offline in Windows even though it’s powered on and connected | Remove the printer from Printers & scanners, restart the Print Spooler service (search Services in Start menu, right‑click Print Spooler, Restart), then re‑add the printer by IP address. |
| Driver missing or reduced functionality warning | Click Find drivers button next to printer name; run Windows Update and install optional updates; download manufacturer driver from support site and run installer; restart computer after install. |
Adding a Wireless Printer on macOS (Wi‑Fi Setup Completion)

macOS discovers most network printers automatically through Bonjour, Apple’s zero‑configuration protocol. When the printer joins your Wi‑Fi network, it broadcasts its presence and macOS picks it up within seconds. You’ll see the printer’s model name in the Default list when you open the add‑printer dialog. Select it, click Add, and macOS downloads the driver in the background if it isn’t already installed.
If the printer doesn’t appear in the Default list, switch to the IP tab and enter the printer’s IP address manually. You’ll also choose a protocol (usually AirPrint or HP Jetdirect—Socket) and confirm the printer model in the Use dropdown. This method is reliable when the printer’s Bonjour broadcast is blocked by a router setting or when you’re adding a printer on a different subnet.
- Open System Settings (or System Preferences on older macOS), then select Printers & Scanners.
- Click the + button at the bottom of the printer list to open the add‑printer dialog.
- Wait a few seconds for your printer to appear in the Default tab. If you see it, select it and click Add.
- If it doesn’t appear, click the IP tab at the top of the dialog.
- Enter the printer’s IP address in the Address field, choose AirPrint or HP Jetdirect – Socket from the Protocol dropdown, and confirm the printer model auto‑fills in the Use field. If it says Generic, click the dropdown and search for your printer’s name.
- Click Add, wait for the driver to download if prompted, then print a test page from any app’s print dialog to confirm the connection works.
Setting Up Wireless Printing on Android and iPhone

Your phone or tablet must be on the same Wi‑Fi network as the printer unless you’re using Wi‑Fi Direct. When the printer acts as its own hotspot via Wi‑Fi Direct, you’ll join the printer’s network from your phone’s Wi‑Fi settings (look for a network name starting with “DIRECT” and the printer model), enter the default password found on the printer’s label or in its menu, then print. For normal network printing, just make sure both devices are on the same home or office network.
iOS uses AirPrint for automatic printer discovery. No app install required. Open any document, photo, or email, tap the share icon, scroll down and tap Print, and iOS shows a list of nearby AirPrint‑compatible printers. Tap Select Printer, choose your model, set page range and copies, then tap Print. If your printer doesn’t support AirPrint, download the manufacturer’s app from the App Store (HP Smart, Epson iPrint, Canon PRINT, Brother iPrint&Scan) and follow the in‑app pairing instructions.
Android relies on Mopria Print Service, which comes pre‑installed on most devices running Android 8 or newer. If Mopria isn’t active, open Settings > Connected devices > Connection preferences > Printing, tap Mopria Print Service, and toggle it on. When you print from any app, Android’s print dialog will detect Mopria‑compatible printers automatically. For manufacturers’ advanced features (like scanning, ink monitoring, or custom paper sizes), install the brand’s Android app.
iOS printing steps:
Join your home Wi‑Fi network in Settings > Wi‑Fi (or join the printer’s Wi‑Fi Direct network if you’re printing that way).
Open the file, photo, or webpage you want to print and tap the share icon (square with an arrow pointing up).
Scroll the bottom row of icons and tap Print.
Tap Select Printer and choose your printer from the list. If it doesn’t appear, confirm both devices are on the same network or that you’ve joined the printer’s Wi‑Fi Direct SSID.
Set the number of copies, page range, and paper size if needed.
Tap Print in the top right. Your job starts within a few seconds.
Android printing steps:
Open Settings > Connected devices > Connection preferences > Printing and confirm Mopria Print Service is toggled on (or install it from the Play Store if missing).
Open the document, photo, or webpage you want to print and tap the three‑dot menu or share icon, then select Print.
If printing via Wi‑Fi Direct, swipe down from the top of the screen, long‑press the Wi‑Fi icon, and join the printer’s SSID (starts with “DIRECT”), entering the password shown on the printer’s display or label.
Tap Select a printer in the print preview. Android scans the network and shows available printers.
Choose your printer, adjust copies and layout, then tap the blue print button (usually a printer icon).
Wait for the confirmation message and check the printer’s output tray.
Fixing “Printer Not Found” and Other Wireless Issues
Range and obstacles matter more than you think. Wireless printers work best within 30 feet of the router with no more than one or two walls in between. Metal filing cabinets, large appliances, and thick concrete walls cut signal strength fast. If your printer’s Wi‑Fi indicator flashes or turns off randomly, try moving the printer closer to the router or relocating the router to a more central spot.
Most older printers only connect to 2.4 GHz Wi‑Fi, but many modern routers broadcast both 2.4 GHz and 5 GHz on the same network name. When your phone or laptop switches automatically to 5 GHz and the printer stays on 2.4 GHz, they can still communicate. But if your router separates the bands into different SSIDs (like “Home” and “Home_5G”), you must connect the printer and your device to the same band or the printer won’t show up. Check your router settings or temporarily disable 5 GHz to force everything onto 2.4 GHz during setup.
Network password accuracy is easy to get wrong when typing on a tiny printer keypad. Double‑check capitalization, and watch out for similar characters. Zero versus capital O, one versus lowercase L. If you’ve tried three times and the printer still won’t connect, use the USB‑temporary setup method to push the SSID and password from your computer instead of keying them in character by character on the printer.
Your computer’s drivers and the printer’s firmware need to be current for stable wireless communication. Out‑of‑date printer firmware can cause the printer to drop off the network every few hours or fail to reconnect after sleep mode. Most manufacturer setup apps check for firmware updates during installation. Let them run.
Restart both the printer and the router. Power them off, wait 30 seconds, power on the router first, wait for all lights to stabilize, then power on the printer.
Check which Wi‑Fi band your printer supports. If your router uses separate SSIDs for 2.4 GHz and 5 GHz, connect the printer to the 2.4 GHz network and ensure your computer or phone is on the same SSID.
Update printer firmware by visiting the manufacturer’s support site, downloading the latest firmware file, and uploading it through the printer’s web interface (enter the printer’s IP address in a browser) or using the manufacturer’s desktop app.
Reset the printer’s network settings to factory defaults (usually a combination like holding the Wi‑Fi and Cancel buttons for 5 seconds, or navigating to Menu > Network > Reset), then run the wireless setup again from scratch.
Use the USB‑temporary method if the printer’s menu is unresponsive or you keep getting password errors. Connect the printer to your computer with a USB cable, open the Printer Setting Tool (Windows) or the manufacturer’s app, select Communication Settings, choose Wireless LAN, enter your SSID and password, click Apply, and disconnect the cable once the printer’s Wi‑Fi indicator turns solid blue.
Check your router’s connected‑client list (also called DHCP client table). Log into the router’s admin page (often 192.168.1.1 or 192.168.0.1), look for a section named Connected Devices or DHCP Clients, and confirm the printer appears with an IP address.
Disable MAC address filtering temporarily on your router. If MAC filtering is on, the router blocks devices unless their MAC address is on the allow list. Find the printer’s MAC address on its configuration page or label, then add it to your router’s filter list (or turn filtering off to test).
Remove and re‑add the printer in your operating system after confirming the printer is connected to Wi‑Fi. Sometimes the computer’s printer list gets stale, and deleting the entry then adding it fresh by IP address clears cached connection data.
Advanced Wireless Printer Network Settings (Optional Power User Tools)
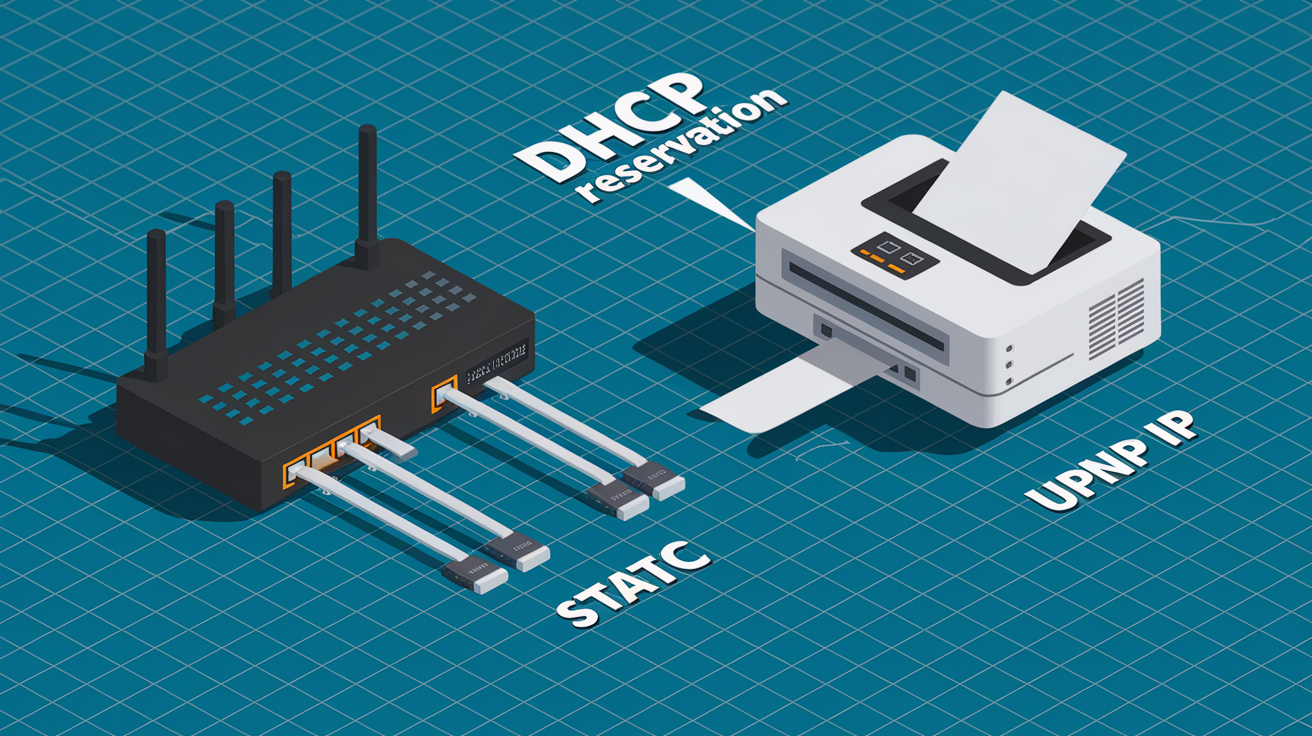
Assigning your printer a static IP address (also called IP reservation or DHCP reservation) prevents the router from reassigning a new IP every few days. When the printer’s IP stays constant, your computer’s saved connection never breaks. You’ll set the reservation in your router’s DHCP settings by matching the printer’s MAC address to a specific IP. The printer still gets its address from the router, but the router always gives it the same one.
Router firewalls and UPnP (Universal Plug and Play) settings can block printer discovery even when the printer is connected. If you can ping the printer’s IP from your computer but it won’t show up in the add‑printer list, check your router’s firewall rules and enable UPnP or add an allow rule for TCP port 9100 (the standard raw printing port). Some routers also have “client isolation” or “AP isolation” turned on for guest networks. This blocks devices from seeing each other, so move the printer and your computer to the main network instead.
Set a DHCP reservation by logging into your router, finding the DHCP or LAN settings page, locating the printer in the connected‑client list, and clicking “Reserve” or entering the printer’s MAC address and desired IP into the reservation table. IP should be outside the router’s dynamic range but inside the subnet, like 192.168.1.200.
Assign a static IP directly on the printer (less common, but some models allow it). Navigate the printer’s network menu, select Manual IP or Static IP, enter an IP address that doesn’t conflict with other devices (check your router’s DHCP range first), enter the subnet mask (usually 255.255.255.0), and enter the router’s IP as the gateway.
Check your router’s connected‑client list whenever the printer goes offline. Log into the router, confirm the printer still has an IP, and note whether the IP changed since last time. If it changes often, set a reservation.
Add the printer by IP address in your OS instead of relying on auto‑discovery. This forces a direct connection and bypasses multicast DNS or Bonjour, which some routers or firewall rules interfere with.
Enable UPnP on the router if printer discovery fails. UPnP lets devices announce themselves on the network. Find it under Advanced > UPnP or Firewall > UPnP and toggle it on. Some security‑conscious networks disable UPnP, so weigh convenience against your threat model.
Wireless Printer Apps, Tools, and Feature Setup

Manufacturer apps like HP Smart, Epson iPrint, Canon PRINT, and Brother iPrint&Scan do more than just print. They let you scan documents from the printer to your phone, check ink or toner levels, order supplies, and push firmware updates. Installing the app is often faster and more reliable than using your operating system’s generic printer driver, especially for scanning and maintenance tasks that require two‑way communication.
Installation wizards bundled with these apps guide you through network selection, driver install, and initial calibration (like printhead alignment). Printing a test page at the end confirms the wireless link works and that colors and alignment are correct. If the test page comes out clean, your setup is done. If it’s streaky or misaligned, the wizard usually offers an automatic cleaning or alignment routine.
- Download the manufacturer’s app or desktop setup utility from the printer’s support page. Search “[printer model] driver download” in your browser.
- Open the app and tap Add Printer or Set Up a New Printer. The app scans your Wi‑Fi network and lists detected printers.
- Select your printer and follow the pairing steps. You may need to confirm a code on the printer’s display or press OK.
- Let the wizard run through firmware checks, driver installation, and optional feature setup (like mobile fax or cloud printing).
- Print a test page when prompted (or manually from the app’s settings). Check for clean lines, accurate colors, and proper margins before printing your first real document.
Final Words
Get your printer on the network: have the Wi‑Fi name and password ready, power the printer, then use the touchscreen, WPS button, or a USB‑temporary setup to join your router.
After it’s on the network, add it in Windows, macOS, or your phone and print a test page. If it doesn’t appear, try restarting devices, checking the Wi‑Fi band, or adding the printer by IP.
You now know how to set up wireless printer and verify it’s working. You’re ready to print.
FAQ
Q: How do I get my wireless printer to connect? / How do I connect my HP printer to my Wi-Fi?
A: To get your wireless printer to connect or to connect an HP printer to Wi‑Fi, have your network name and password ready, power the printer, use its touchscreen Wi‑Fi setup or WPS, or use the USB-temporary method if available.
Q: Why is my computer not finding my wireless printer?
A: Your computer isn’t finding your wireless printer when they’re on different networks, the printer hasn’t finished joining Wi‑Fi, drivers are missing, or a firewall blocks discovery; restart devices, confirm same Wi‑Fi, then add by IP if needed.
Q: What are the two methods to connect to a printer wirelessly?
A: The two methods to connect a printer wirelessly are infrastructure mode, where the printer joins your home router’s Wi‑Fi, and Wi‑Fi Direct, where a device connects straight to the printer without the router.