

Think adding a second screen is a tech nightmare? It isn’t.
In this post we’ll show simple, step-by-step actions to set up an external monitor, from checking cables and ports to changing display settings on Windows and macOS.
You’ll learn which cable or adapter you actually need, how to plug it in, and how to make the external monitor your main screen or an extra workspace.
By the end you’ll have more room to work, better video calls, and quick fixes for “No Signal” or black screen problems.
Check Your Hardware and Cables First

Before you touch any settings, make sure you’ve got the right pieces.
You’ll need the monitor (with its power cable), a video cable that fits both your computer and the monitor, and maybe an adapter if your ports don’t line up. Most monitors ship with at least one cable in the box, usually HDMI or DisplayPort. If your laptop only has USB-C and the monitor has HDMI, grab a USB-C to HDMI adapter. These cost about $10 to $30. If you’re working through a docking station, double-check it actually supports video output. Not all USB hubs do.
Look at the back or side of your laptop and the back of the monitor for ports. Common types: HDMI (flat trapezoid shape), DisplayPort (rectangular with one corner angled), USB-C (small oval), and Thunderbolt (looks like USB-C but has a lightning bolt icon). Older monitors might have VGA (blue, 15 pins) or DVI (white or black with many pins). Ports don’t match? You’ll need an adapter. A USB-C to HDMI adapter runs about $15. An HDMI cable costs $5 to $20.
| Port Type | Max Resolution (Common) | Notes |
|---|---|---|
| HDMI 2.0 | 4K at 60Hz | Most common on laptops and monitors |
| HDMI 2.1 | 4K at 120Hz, 8K at 60Hz | Found on newer gaming monitors and laptops |
| DisplayPort 1.2 | 4K at 60Hz | Can daisy-chain monitors if supported |
| DisplayPort 1.4 | 4K at 120Hz, 8K at 30Hz | Higher bandwidth for gaming or high-refresh displays |
| USB-C (DisplayPort Alt Mode) | Up to 4K at 60Hz | Check that your USB-C port supports video. Data-only ports won’t work |
| Thunderbolt 3 / 4 | Two 4K at 60Hz (via dock) | Can also carry power and data |
| VGA | 1920×1080 (analog) | Legacy; image quality lower than digital |
Not all USB-C ports carry video. Look for a small DisplayPort or Thunderbolt logo next to the port. If you don’t see one, check your laptop’s spec sheet or manual. A data-only USB-C port won’t send a picture to the monitor, even with the right cable.
Connect the Monitor to Your Computer
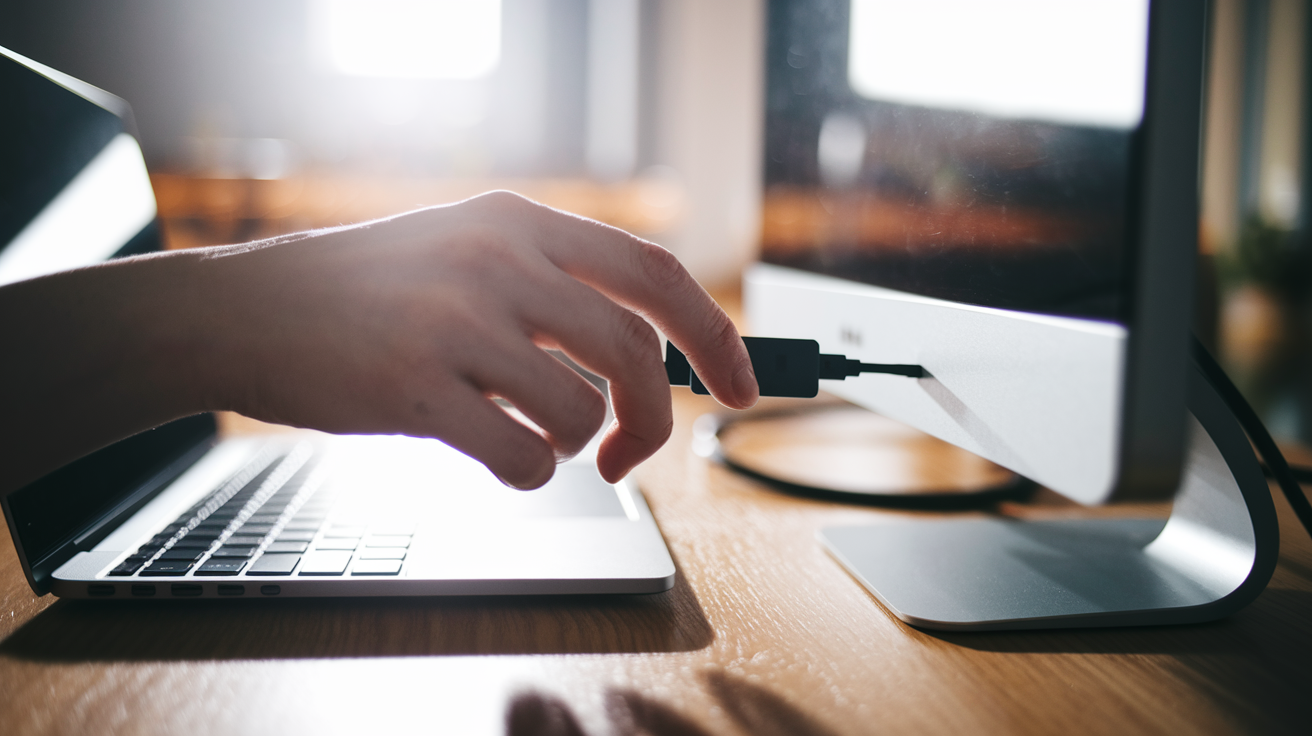
Unbox the monitor and set it on your desk at eye level or a little below. You should look straight ahead or down by about 20 degrees when it’s on. Plug the monitor’s power cable into the wall and press the power button (usually on the bottom or back edge). You should see a power LED light up, often blue or white.
Take your video cable and connect one end to the monitor, the other to your computer. Push firmly until you hear or feel a click. Using an adapter? Plug the adapter into your computer first, then connect the cable to the adapter. For example, if you’ve got a USB-C laptop and an HDMI monitor, plug the USB-C to HDMI adapter into the laptop, then connect the HDMI cable from the monitor to the adapter.
Once the cable is connected, the monitor should automatically search for a signal. If it doesn’t show anything, press the input or source button on the monitor (often labeled “Input,” “Source,” or shown as a rectangle with an arrow). Cycle through the inputs (HDMI 1, HDMI 2, DisplayPort) until you see your computer’s desktop. If the monitor shows “No Signal,” double-check that the cable is seated fully on both ends and that you selected the correct input.
Connecting to a desktop PC? Make sure the cable goes into the graphics card port (usually in the middle or lower section of the back panel), not the motherboard video port near the top. The motherboard port often won’t work if you have a dedicated graphics card installed.
Set Up the Display on Windows

Once the monitor is connected and powered on, Windows usually detects it automatically. You’ll see your desktop extend or duplicate onto the external screen within a few seconds.
Right-click anywhere on your desktop and choose “Display settings.” Or open Settings, click System, then click Display. You’ll see numbered boxes representing each screen. Your laptop is typically “1” and the external monitor is “2.” Don’t see the second monitor? Scroll down and click “Detect.” Windows will search for connected displays.
Click “Identify” to see which number belongs to which physical screen. Large numbers appear on each display for a few seconds. Drag the numbered boxes in the settings window to match how the monitors sit on your desk. If your external monitor is to the right of your laptop, drag box “2” to the right of box “1.” This controls how your mouse moves between screens.
Under “Multiple displays,” you’ll see a dropdown with four options:
Extend these displays — Your desktop spans both screens. Most common setup. You can drag windows from one screen to the other.
Duplicate these displays — Both screens show the exact same image. Useful for presentations.
Show only on 1 — Only your laptop screen is active.
Show only on 2 — Only the external monitor is active; your laptop screen turns off.
Choose “Extend these displays” if you want extra workspace. Click “Apply,” then “Keep changes” when prompted.
Scroll down to see each display’s settings. Click the monitor you want to adjust, then set the resolution. For a 1080p monitor, choose 1920×1080. For a 1440p monitor, choose 2560×1440. For a 4K monitor, choose 3840×2160. Windows marks the recommended resolution with “(Recommended)” next to it. Picking a non-native resolution makes text look blurry.
Set the scale under “Scale and layout.” Windows defaults to 100% on most monitors. If text looks too small on a high-resolution screen, try 125% or 150%. You’ll need to sign out and back in for scaling changes to apply fully to all apps.
Want the external monitor to be your main display, where the taskbar and Start menu appear? Scroll down, click the monitor labeled “2,” check “Make this my main display,” then click Apply. The taskbar will move to that screen.
To change the refresh rate, scroll down and click “Advanced display settings,” choose the monitor, then select the refresh rate from the dropdown. Most office monitors run at 60Hz. Gaming monitors offer 120Hz, 144Hz, or 240Hz. Pick the highest rate your monitor and cable support. If you see flicker or the screen goes black, the cable or monitor can’t support that rate. Drop back to 60Hz.
Press Windows + P to quickly switch display modes without opening Settings. A sidebar appears with four options: PC screen only, Duplicate, Extend, Second screen only. Handy when you connect and disconnect frequently.
Set Up the Display on macOS
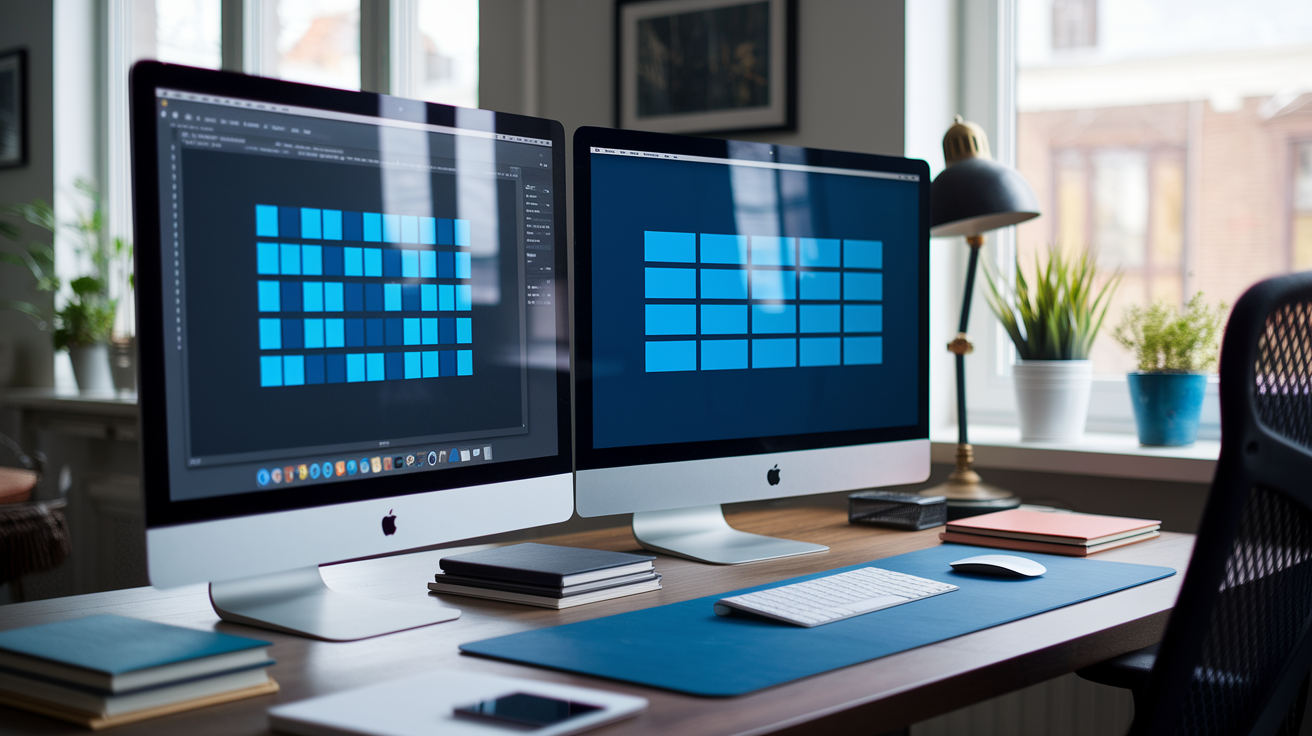
Plug the monitor into your Mac using HDMI, USB-C, or Thunderbolt. macOS detects the display automatically in most cases. You’ll see your desktop extend onto the external screen or mirror your Mac’s built-in display.
Click the Apple menu in the top-left corner, then choose “System Settings” (macOS Ventura and later) or “System Preferences” (older macOS versions). Click “Displays.” You’ll see settings for each connected screen.
If the external monitor doesn’t appear, hold the Option key and click “Detect Displays.” macOS will search for connected monitors. Still doesn’t show up? Check the cable, try a different port, or restart your Mac with the monitor connected.
In the Displays settings, you’ll see thumbnails representing each screen. Click “Arrangement” (or look for the arrangement section in newer macOS versions). Drag the blue rectangles to match the physical layout of your monitors. If the external monitor is on the left, drag its rectangle to the left of your Mac’s screen. This controls how your mouse moves between displays.
The white menu bar appears on whichever screen is set as the primary display. Drag the white bar from one rectangle to the other to move the menu bar. The screen with the menu bar will also show the Dock by default.
To mirror your displays (show the same image on both screens), check the “Mirror Displays” box. When mirrored, both screens use the lower resolution of the two, so a 4K Mac might drop to 1080p if that’s what the external monitor supports. Uncheck “Mirror Displays” to extend your desktop and use the full resolution of each screen.
Click the external monitor’s thumbnail to adjust its settings. You can choose a resolution from the list. macOS offers “Default for display” (the native resolution) and several scaled options. For a 4K monitor, “Default for display” is 3840×2160, but macOS may also offer a “Looks like 2560×1440” option, which uses HiDPI scaling to make text larger and sharper. Pick the one that feels comfortable. If text looks blurry, stick with “Default for display.”
Set the refresh rate if your monitor supports higher rates. Click the “Refresh Rate” dropdown and choose 60Hz, 120Hz, or higher as available. Not all monitors or cables support rates above 60Hz.
Some monitors can rotate to portrait mode. If yours does, click “Rotation” and choose 90° or 270°. The image will flip to match the physical orientation.
To quickly toggle between mirrored and extended displays, press Command + F1. This shortcut works on most Macs with external monitors connected.
Arrange Multiple Monitors for Extended Desktop

When you choose “Extend” mode on Windows or arrange displays separately on macOS, your desktop spans all connected screens. You can drag windows from one monitor to another, and each screen shows different applications.
On Windows, open Display settings (right-click desktop > Display settings), then drag the numbered boxes to match how your monitors sit on your desk. If your laptop is in the center with monitors on the left and right, arrange the boxes in that order: “2” on the left, “1” in the middle, “3” on the right. Click Apply. Now when you move your mouse to the left edge of your laptop screen, it jumps to the left monitor. Move it to the right edge, and it jumps to the right monitor.
On macOS, open System Settings > Displays > Arrangement and drag the blue rectangles. If your external monitor is above your MacBook, drag the rectangle for the external display above the MacBook’s rectangle. Your mouse will move up off the top of the MacBook screen onto the external monitor.
Align the tops or bottoms of the rectangles if the monitors are different heights. This prevents the mouse from getting stuck when it tries to cross from a taller screen to a shorter one. If you have a 27-inch monitor next to a 24-inch monitor, align the bottom edges of both rectangles so the mouse can move smoothly across the bottom section.
Choose which monitor will be your primary display. On Windows, click the monitor box you want as primary, check “Make this my main display,” and click Apply. The taskbar and notification area move to that screen. On macOS, drag the white menu bar to the monitor you use most. The Dock appears on the screen with the menu bar by default, though you can move it to other edges or enable it on all displays in Dock settings.
If you use your external monitor for gaming or video editing, set it as the primary display and configure it to its native resolution and highest refresh rate. If you have a 27-inch 1440p monitor at 144Hz, set it to 2560×1440 at 144Hz in Display settings. Make sure your graphics card and cable (DisplayPort or HDMI 2.0+) support that combination. HDMI 1.4 limits you to 1440p at 60Hz, so use DisplayPort for higher refresh rates.
Adjust Resolution and Scaling for Clear Text

Set each monitor to its native resolution for the sharpest image. Native resolution is the actual number of pixels the screen has. For a 1080p monitor, that’s 1920×1080. For a 1440p monitor, it’s 2560×1440. For a 4K monitor, it’s 3840×2160. Running a monitor at a non-native resolution makes text and images look soft or blurry.
On Windows, open Settings > System > Display, click the monitor you want to adjust, scroll down to “Display resolution,” and pick the one marked “(Recommended).” Don’t see a recommended option? Check your monitor’s manual or the sticker on the back for the native resolution. Apply the setting and click “Keep changes.”
On macOS, open System Settings > Displays, click the monitor, and choose “Default for display.” This sets the native resolution. Want larger text? Try a scaled resolution like “Looks like 2560×1440” on a 4K display. macOS renders everything at 4K but scales the interface to look like 1440p, giving you bigger text with high pixel density (HiDPI). Don’t use the actual 2560×1440 option on a 4K monitor. That’s a non-native resolution and will look worse.
Scaling controls the size of text, apps, and icons without changing the number of pixels. On Windows, go to Settings > System > Display, click the monitor, and choose a scale percentage under “Scale and layout.” Most 1080p monitors use 100%. A 27-inch 1440p monitor might use 100% or 125%. A 4K monitor often uses 150% or 200% so text isn’t tiny. Change the scale, click Apply, then sign out and back in to see the change fully applied across all programs.
If text looks blurry at certain scaling levels, Windows might be using bitmap scaling instead of proper DPI scaling. Right-click the shortcut for an app that looks blurry, choose Properties > Compatibility, check “Override high DPI scaling behavior,” set it to “Application,” and click OK. This tells the app to handle its own scaling. You may need to do this for older programs.
On macOS, scaling is built into the resolution options. When you pick a scaled resolution, macOS automatically renders at a higher pixel count and scales down, so text stays sharp. You usually don’t need to adjust anything else.
If you’re using monitors with different resolutions or pixel densities side by side, you’ll notice text looks larger on one screen than the other even at the same scaling percentage. This is normal. You can set different scaling for each monitor. On Windows, click each display in Settings and choose its own scale. On macOS, each monitor’s settings are independent. Just click the monitor thumbnail and pick the resolution and scaling that works for that screen.
Troubleshoot When the Monitor Isn’t Detected
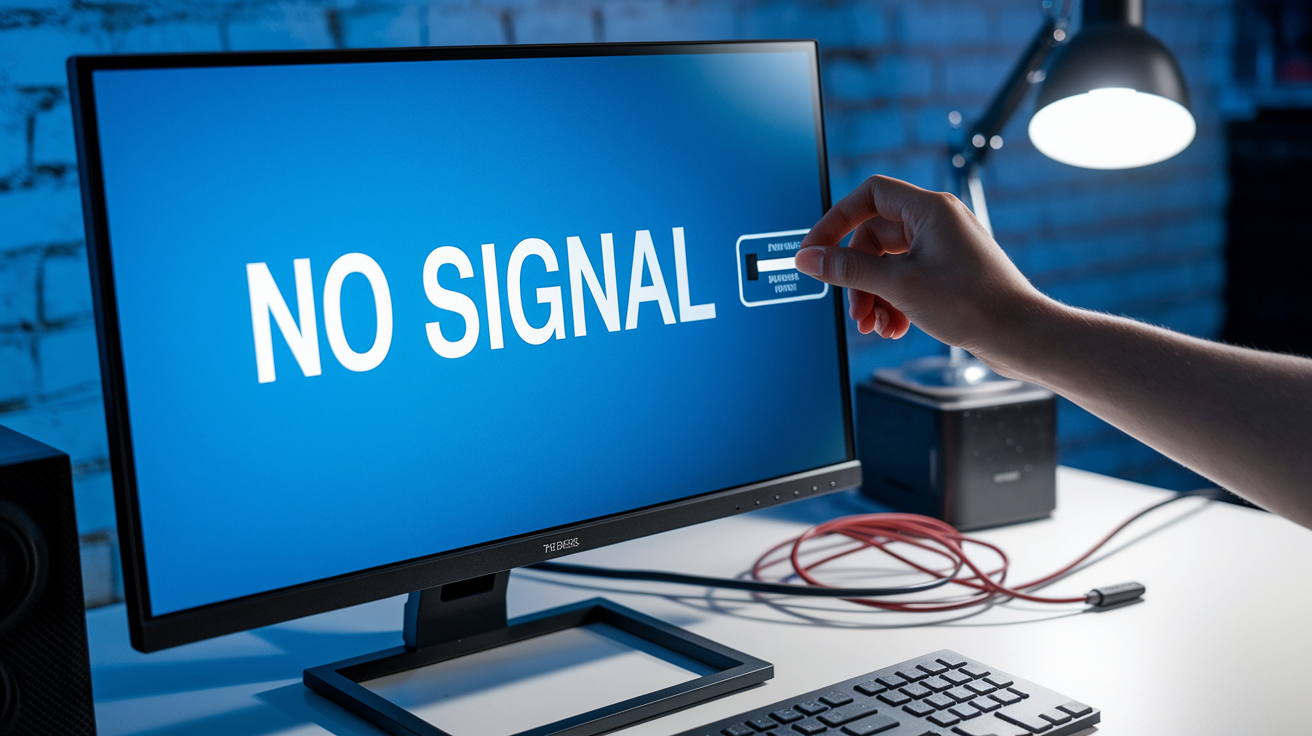
If your computer doesn’t recognize the external monitor, start by checking the physical connection. Make sure the cable is pushed all the way into both the computer and the monitor. Unplug it and plug it back in firmly. Check that the monitor is powered on. Look for a power LED on the front or bottom edge.
Press the input or source button on the monitor and cycle through all available inputs: HDMI 1, HDMI 2, DisplayPort, USB-C. The monitor only displays a signal if the input selection matches the port you’re using. If you connected via HDMI but the monitor is set to DisplayPort, you’ll see “No Signal.”
On Windows, right-click the desktop, choose Display settings, scroll down, and click “Detect.” Windows will search for connected displays. If nothing happens, press Windows + P and choose “Extend” or “Duplicate.” Sometimes manually selecting a display mode forces detection.
On macOS, open System Settings > Displays (or System Preferences > Displays), hold the Option key, and click “Detect Displays.” If the monitor still doesn’t appear, try a different cable or a different port on your computer. Some USB-C ports on laptops are data-only and don’t carry video. Check for a DisplayPort or Thunderbolt icon next to the port.
Update your graphics drivers. On Windows, open Device Manager (search “Device Manager” in the Start menu), expand “Display adapters,” right-click your graphics card, and choose “Update driver.” Select “Search automatically for drivers.” You can also download the latest driver directly from NVIDIA, AMD, or Intel’s website. On macOS, go to System Settings > General > Software Update and install any available updates. macOS includes display drivers in system updates.
Try the monitor with another device. Another laptop, a game console, or even a smartphone with a USB-C to HDMI adapter. If the monitor works with a different device, the issue is with your computer’s port, cable, or drivers. If the monitor doesn’t work with any device, the monitor itself might be faulty.
Restart both your computer and the monitor. Shut down the computer, unplug the monitor’s power cable for 10 seconds, plug it back in, then turn everything back on. This clears temporary glitches in the monitor’s firmware and the computer’s video output.
If you’re using a USB-C or Thunderbolt cable, confirm that your laptop’s USB-C port supports DisplayPort Alternate Mode or Thunderbolt. Not all USB-C ports do. Check the laptop’s manual or spec sheet. If the port only supports USB data and power, it won’t send video to a monitor. You’ll need to use a different port or a docking station that explicitly supports video output.
For active adapters or converters (like HDMI to DisplayPort), make sure the adapter is powered or supports the direction you need. Most DisplayPort to HDMI adapters are passive and work in one direction only: DisplayPort out to HDMI in. Going the other way (HDMI to DisplayPort) usually requires an active adapter with its own power source.
If you’re trying to connect more than one external monitor to a laptop, check the laptop’s specifications. Many laptops with integrated graphics (Intel UHD, Iris Xe, AMD Radeon integrated) support only one or two external displays. Some Thunderbolt docks can drive two 4K monitors at 60Hz, but you need to verify that your laptop’s Thunderbolt port and GPU can handle that load. Apple Silicon Macs (M1, M2 base models) often support only one external display natively. The M1 Pro, M1 Max, M2 Pro, and M2 Max support more. Check Apple’s tech specs for your model.
Lower the resolution and refresh rate temporarily to test the connection. Set the display to 1920×1080 at 60Hz in your computer’s settings. If the monitor appears at that setting, the cable or port can’t support higher resolutions or refresh rates. HDMI 1.4 can’t do 4K at 60Hz. You’ll need HDMI 2.0 or DisplayPort. A long or low-quality cable can also cause signal loss at higher settings. Try a shorter, higher-quality cable rated for the resolution and refresh rate you want.
If you see flicker, lines, or the image cuts in and out, that’s usually a cable or bandwidth issue. Swap the cable first. If the problem continues, reduce the refresh rate (from 144Hz down to 60Hz) or resolution. If you’re running a very long cable (over 10 feet for HDMI, over 6 feet for DisplayPort at 4K), consider an active or fiber-optic cable designed for long runs.
Use Keyboard Shortcuts to Switch Display Modes Quickly
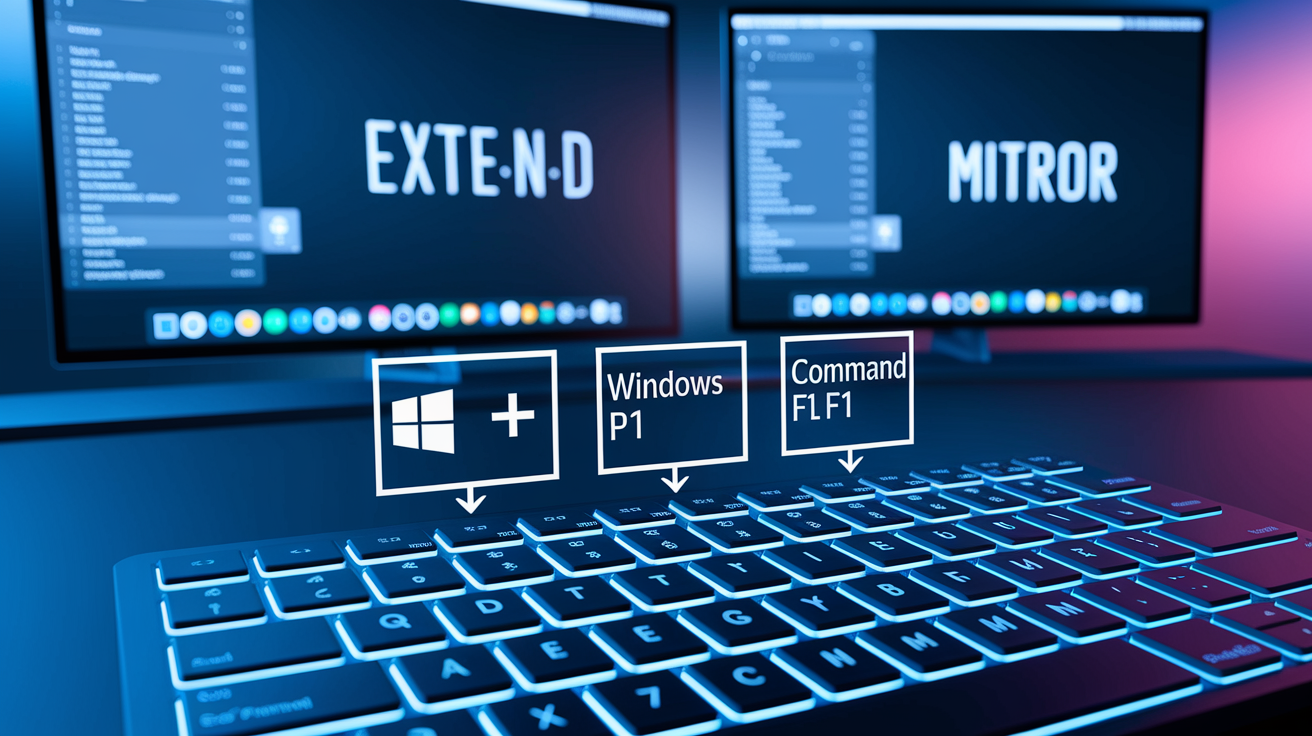
On Windows, press Windows + P to open the Project sidebar. You’ll see four options:
PC screen only — Turns off the external monitor and uses only your laptop screen.
Duplicate — Shows the same image on both screens.
Extend — Spreads your desktop across both screens (most common for work).
Second screen only — Turns off your laptop screen and uses only the external monitor.
Press Windows + P, then tap the arrow keys to highlight the mode you want, and press Enter. Much faster than opening Settings every time you connect or disconnect a monitor.
On macOS, press Command + F1 to toggle between mirrored and extended desktop modes. Want to quickly turn off the external display without unplugging it? Close your MacBook lid while connected to power and an external keyboard or mouse. The Mac stays on and uses only the external monitor. Open the lid to wake the built-in screen again.
If you use multiple monitors frequently and want to save display arrangements, Windows remembers your setup automatically. When you reconnect the same monitor, it restores the last arrangement, scaling, and primary display setting. macOS does the same. If your setup changes (like swapping one monitor for another), you’ll need to rearrange the displays again in Settings.
On Windows, pressing Ctrl + Windows + Shift + B restarts the graphics driver without rebooting the computer. If your screen freezes or goes black but the computer is still running, this shortcut can bring the display back. The screen will flicker for a second as the driver resets.
Set Up Multiple Monitors with a Docking Station

If your laptop has only one video output or you want to connect several monitors at once, a docking station helps. Docking stations plug into a single port on your laptop (usually USB-C or Thunderbolt) and provide multiple video outputs (HDMI, DisplayPort), along with USB ports, Ethernet, and sometimes power delivery.
A typical Thunderbolt 3 or 4 dock supports two 4K monitors at 60Hz or one 5K monitor. Some docks use DisplayLink technology to add even more monitors, though those rely on software drivers and don’t perform as well for gaming or video editing. Prices range from around $80 for basic USB-C docks to $300 or more for Thunderbolt docks with high power delivery (85W or more) and multiple 4K outputs.
Before buying a dock, check your laptop’s specifications. Confirm that the USB-C or Thunderbolt port supports video output and that your laptop’s GPU can drive the number of monitors you want. A laptop with Intel integrated graphics might handle two 1080p monitors but struggle with two 4K displays. A laptop with a dedicated NVIDIA or AMD GPU handles higher resolutions and refresh rates more easily.
Connect the dock to your laptop, then connect your monitors to the dock’s HDMI or DisplayPort outputs. Power on the monitors and select the correct input on each. Windows or macOS should detect the displays automatically. If not, follow the same detection steps as before (Windows: Settings > Display > Detect; macOS: hold Option and click Detect Displays).
Arrange the displays in your operating system’s settings to match how they’re positioned on your desk. Set resolutions, scaling, and refresh rates individually for each monitor.
If you’re using DisplayPort Multi-Stream Transport (MST) to daisy-chain monitors, connect the first monitor to your laptop or dock via DisplayPort, then connect the second monitor to the DisplayPort Out port on the first monitor. Both monitors must support MST, and you’ll need to enable it in each monitor’s on-screen menu. Not all monitors have this feature, and it typically works only with DisplayPort, not HDMI. MST lets you run multiple monitors from a single DisplayPort output, but the total bandwidth is shared. Two 4K monitors will usually be limited to 60Hz each on DisplayPort 1.2, or you can run one at higher refresh and the other at lower.
Position Your Monitor for Comfort and Reduce Eye Strain

Place the top of your monitor at or slightly below eye level. When you look straight ahead, your eyes should meet the top third of the screen. If the monitor is too high, you’ll tilt your head back, straining your neck. Too low, you’ll hunch forward.
Sit at least 20 inches (about an arm’s length) from the screen. For larger monitors (27 inches or more), sit a bit farther back. If you have to lean forward to read text, increase the scaling or text size in your operating system’s settings instead of moving closer.
Angle the monitor so the screen is perpendicular to your line of sight or tilted slightly upward by 10 to 20 degrees. This reduces glare from overhead lights. If you see reflections from windows or lamps, adjust the monitor’s angle or reposition your desk.
Using a laptop with an external monitor? Raise the laptop on a stand so its screen is at eye level, or close the laptop and use only the external monitor with a separate keyboard and mouse. Keeping your laptop flat on the desk while looking at an external monitor forces you to switch between two different viewing angles, which causes neck strain.
Enable Night Light on Windows (Settings > System > Display > Night Light) or Night Shift on macOS (System Settings > Displays > Night Shift) to reduce blue light in the evening. This makes the screen warmer and can reduce eye fatigue before bed. Set it to turn on automatically at sunset.
Take regular breaks. Every 20 minutes, look at something 20 feet away for 20 seconds. This is the 20-20-20 rule, and it helps reduce eye strain from staring at a screen for long periods.
Adjust your monitor’s brightness to match the room’s ambient light. If the screen is much brighter than the room, your eyes tire quickly. Most monitors have brightness controls in the on-screen display menu (press the buttons on the monitor’s bottom or side edge to access it). Set brightness to around 50% in a well-lit room and lower it in dim lighting.
If your monitor has a blue light filter or low blue light mode in its settings, enable it. This is separate from Night Light and reduces blue wavelengths all day, not just in the evening.
Final Words
Connect the monitor, choose the right cable, and power both devices. Then pick display mode (extend or mirror), set resolution and scaling, and arrange the screens where they belong.
We covered cables and adapters, display settings for Windows and macOS, and quick fixes for no signal or wrong resolution. Try swapping cables, changing ports, or updating drivers first.
Use this guide to practice how to set up external monitor — after a couple tries it’s quick, and you’ll feel ready for any extra screen.
FAQ
Q: How do I connect an external monitor to my computer?
A: Connecting an external monitor to your computer requires identifying matching ports (HDMI, DisplayPort, USB-C, VGA), plugging the correct cable, selecting the monitor input, and adjusting display settings on your OS.
Q: Can you connect a ThinkPad or ASUS laptop to a monitor?
A: You can connect a ThinkPad or ASUS laptop to a monitor using built-in ports like HDMI or USB-C, or by using a docking station or a compatible adapter if the laptop has a different port.
Q: How to configure external monitors?
A: Configuring external monitors means picking a display mode (extend or duplicate), setting resolution and scale, arranging screen order in Display settings, and choosing which screen is the primary display.