


Think your new computer is ready straight out of the box?
Most people power it up, install a browser, and call it done—then run into updates and security problems a day later.
Before you lose time or risk data, follow this hands-on checklist.
In under an hour you’ll check the hardware, run initial updates, lock down security, update drivers, install daily apps, set up cloud sync, and tighten privacy.
This guide lays out the exact first-day steps so your PC is fast, safe, and ready to work.
Initial Power‑On and Operating System Setup

Before you hit the power button, open the box and check everything. Look for damage to the case, screen, ports. Make sure the power cable, keyboard, mouse, monitor cables, and documentation are all there. If your machine has removable RAM or an SSD, give them a gentle press to confirm they’re seated right. Loose parts can stop a PC from booting.
Next, connect your keyboard, mouse, and monitor. Plug the power cable into a surge protector, not straight into the wall. Got an Ethernet cable? Connect it now for faster updates. Otherwise, have your Wi‑Fi password ready. Once everything’s connected, press power and wait for the setup wizard.
The wizard walks you through core settings before you see the desktop. You’ll make a few choices that shape how your computer works. Here’s what you’ll do:
- Pick your language, region, and keyboard layout
- Connect to Wi‑Fi or confirm Ethernet is working
- Sign in with your Microsoft account (Windows 11) or make a local account if that’s an option
- Choose privacy and telemetry settings (you can change these later)
- Decide if you want cloud backup through OneDrive or skip it
- Set your time zone and check the date and time
You should see your desktop within a few minutes. Your computer’s on, but it’s not ready yet. The next steps get your system secure, updated, and set up for daily use.
Install System Updates and Patches

Open system settings as soon as you reach the desktop. On Windows 11 or 10, press Windows Key + I and click Windows Update, then Check for updates. On macOS, open System Settings, click General, then Software Update. Your computer will scan for patches, driver updates, and security fixes that weren’t part of the factory image.
Initial updates can take 30 minutes to over an hour on a brand new PC. You might see multiple rounds. Install the first batch, restart, then check again. Refurbished or older machines might update faster if they were already patched. Don’t skip restarts. Some updates won’t finish until the system reboots.
Running updates right away closes security holes and fixes bugs that could cause crashes or compatibility problems. Driver updates bundled with system patches often boost performance for your graphics card, Wi‑Fi adapter, and other hardware. After the first full round of updates and restarts, your OS will be current and more stable. You can move on to security knowing the foundation is solid.
Configure Security and Antivirus Protection

New computers are vulnerable until you turn on security tools. Windows 11 and Windows 10 come with Windows Security, which handles real‑time antivirus scanning and firewall protection. Open Windows Security from the Start menu, check that virus protection is on, and confirm the firewall is active. If you’d rather use third‑party antivirus like Bitdefender, Norton, or Avira, install it now and run a full system scan.
Turn on ransomware protection if your OS offers it. In Windows Security, click Virus & threat protection, then Manage ransomware protection, and toggle Controlled folder access to On. This blocks unauthorized changes to your Documents, Photos, and Desktop folders. Set up a strong password or PIN for your user account and enable multi‑factor authentication (2FA) on your Microsoft or Apple account. Install a password manager like Bitwarden or 1Password to store login credentials securely. This keeps you from reusing weak passwords across sites.
These five security steps should happen on day one:
- Enable or install antivirus and run a baseline scan
- Confirm the firewall is active
- Turn on ransomware or controlled folder access
- Set a strong password or PIN and enable 2FA
- Install and configure a password manager
Once these protections are in place, your computer is much harder to compromise. You can install software and browse the web with way less risk of malware or account hijacking.
Install and Update Essential Drivers
Device drivers let your operating system talk to hardware like your graphics card, sound chip, network adapter, and peripherals. Windows and macOS install generic drivers automatically during setup, but those drivers are often outdated or missing features. Updating drivers improves performance, fixes bugs, and makes hardware work as intended.
Open Device Manager on Windows by pressing Windows Key + X and selecting Device Manager. Expand categories like Display adapters, Network adapters, and Sound, video and game controllers. Right‑click each device, select Update driver, and choose Search automatically for drivers. If Windows doesn’t find a newer version, visit the manufacturer’s website. Intel, AMD, NVIDIA, Realtek, and motherboard makers post updated drivers in their support sections. On macOS, driver updates are usually included in system updates, but check the manufacturer’s site for peripherals like printers or external audio interfaces.
After installing new drivers, restart your computer to finish the update. If you notice your graphics card, Wi‑Fi adapter, or audio device performing better or showing new settings, the driver update worked. Skipping driver updates can lead to poor frame rates in games, unstable network connections, or missing audio features. Taking 10 minutes to check and update drivers now prevents frustration later and makes sure your hardware runs at full capability.
Install Core Productivity and Daily‑Use Software
With security and drivers in place, install the software you’ll use every day. Start with a web browser if you don’t want to use the default. Google Chrome, Mozilla Firefox, or Brave are common picks. Then install your office suite (Microsoft Office or the free LibreOffice), a PDF reader (Adobe Reader or Foxit Reader), and any communication apps like Zoom, Slack, or Microsoft Teams. Add a cloud storage client like OneDrive, Dropbox, or Google Drive so you can sync files across devices. Install a media player like VLC if you watch video files offline, and add utility tools like 7-Zip for file compression and Everything Search for fast file finding.
Here’s a quick list of software categories to install on day one:
- Office suite for documents, spreadsheets, and presentations
- Web browser with sync enabled for bookmarks and passwords
- Communication and video call app
- Cloud storage client to sync files and enable automatic backups
- PDF reader for viewing and filling forms
- Media player for audio and video playback
- Utility tools like file archivers, disk space analyzers (WizTree), and text editors (Notepad++)
You can install these programs individually or use a batch installer like Ninite to download and install multiple apps at once. Ninite skips bundled bloatware and installs the latest versions automatically, saving time and reducing the risk of accidentally installing unwanted toolbars or trial software. Once your core software is installed, you’re ready to start working without interruption.
Set Up User Accounts, Syncing, and Cloud Integration
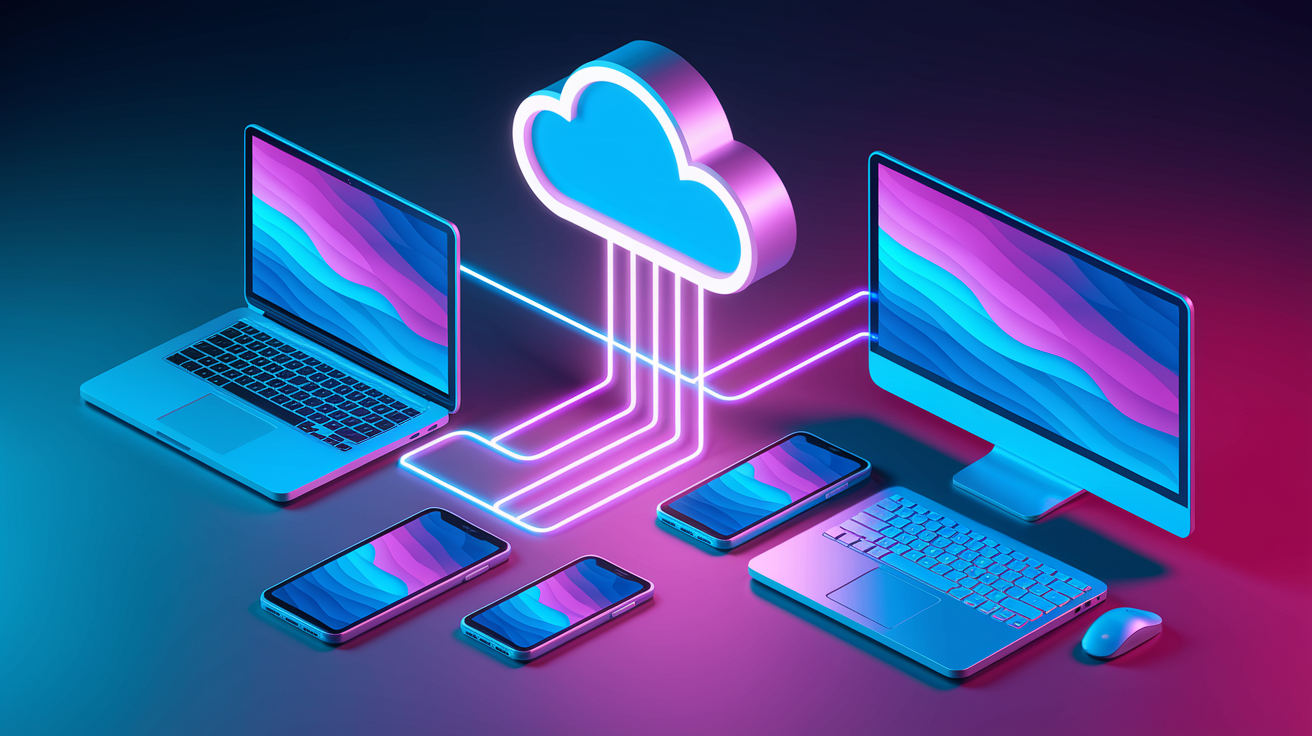
Sign in to your Microsoft, Apple, or Google account within your operating system to enable sync features. On Windows, signing in with a Microsoft account syncs your desktop background, browser favorites, app preferences, and OneDrive files across any Windows device you use. On macOS, signing in with your Apple ID syncs iCloud Drive, Photos, Notes, and Safari bookmarks. If you use Google services, sign in to Chrome to sync bookmarks, passwords, extensions, and browsing history.
Syncing settings and files means you can pick up where you left off on another device. If you save a document to OneDrive, Google Drive, or iCloud, it appears on your phone, tablet, and other computers automatically. You won’t need to email files to yourself or carry a USB drive. Sync also acts as an automatic backup. If your hard drive fails, your synced files are safe in the cloud and can be restored to a new machine.
Enable automatic uploads for important folders like Documents, Desktop, and Photos. In OneDrive or Google Drive settings, choose which folders to sync and whether to upload files automatically. If you work on multiple devices, turn on settings sync in your browser and operating system so themes, extensions, and preferences follow you. Cloud integration takes a few minutes to set up but saves hours of manual file transfers and makes switching between devices seamless.
Configure Privacy Settings and Permissions

Modern operating systems collect usage data, location information, and diagnostic reports by default. You can control what data is shared by adjusting privacy settings early. On Windows 11, open Settings, click Privacy & security, and review each category. On macOS, open System Settings, click Privacy & Security, and check app permissions.
Disable telemetry and diagnostic data sharing if you’d rather not send usage reports to Microsoft or Apple. Turn off advertising ID tracking to reduce personalized ads based on your activity. Review app permissions for your microphone, camera, and location. Only grant access to apps that actually need it, like video call software or mapping tools. If an app you don’t recognize has camera or microphone access, revoke it immediately.
Adjust these four privacy settings on your first day:
- Turn off location services for apps that don’t need your physical location
- Disable microphone access for apps that don’t record audio or make calls
- Revoke camera permissions from apps you don’t use for video
- Reduce or disable telemetry and diagnostic data sharing to limit data collection
Taking a few minutes to lock down permissions prevents apps from accessing your camera, microphone, or files without your knowledge. You can always grant permissions later if an app requests them for a specific feature. Privacy settings give you control over your data and reduce the chance of accidental sharing.
Set Up Backup and Recovery Options

Enable system backup tools before you start creating important files. Windows 11 and Windows 10 include Backup and Restore and File History features. Open Settings, click System, then Storage, and look for Backup options. Connect an external hard drive or USB drive, then turn on File History to automatically back up your Documents, Desktop, Photos, and other personal folders. Schedule backups to run daily or weekly so you never lose more than a few days of work.
Create a system restore point or full system image as a safety net. A restore point saves your current system configuration and lets you roll back if a driver update or software install causes problems. A system image is a complete snapshot of your hard drive. If your drive fails, you can restore the entire image to a new drive and be back up in minutes. Third‑party tools like Macrium Reflect, EaseUS Todo Backup, and AOMEI Backupper offer more flexible backup options, including incremental backups and cloud storage integration.
Set up cloud backup alongside local backups for extra protection. OneDrive, Google Drive, and Dropbox automatically upload your files to the cloud, so even if your computer and external drive are lost or damaged, your data is safe. Cloud backup also makes it easy to access files from your phone or another computer. A combination of local backups (fast restore) and cloud backups (offsite protection) gives you the best chance of recovering your data after hardware failure, theft, or disaster.
Customize Browser, Shortcuts, and Personal Preferences
Install your preferred web browser if you haven’t already, then sign in to sync bookmarks, passwords, and extensions. Import bookmarks from your old computer by exporting them as an HTML file and importing it into your new browser, or let browser sync handle it automatically. Add essential extensions like uBlock Origin for ad blocking, Privacy Badger for tracker protection, and any productivity tools you use regularly.
Set your desktop background, adjust the taskbar layout, and pin frequently used apps to the Start menu or Dock. On Windows, right‑click the taskbar to choose icon size, alignment, and which system icons to display. Pin your browser, file manager, and most‑used apps so they’re always one click away. Customize your desktop by right‑clicking the background, selecting Personalize, and choosing a theme, accent color, and icon size that match your preferences.
Here are five quick actions to finish on your first day:
- Set a desktop background and choose a light or dark theme
- Pin your most‑used apps to the taskbar or Dock
- Install and configure browser extensions for privacy, productivity, and ad blocking
- Import bookmarks and passwords from your previous browser or sync account
- Arrange desktop icons, folders, and shortcuts in a layout that matches your workflow
Personalizing your computer makes it feel like yours and speeds up your daily tasks. You’ll spend less time hunting for apps and more time working. Once your browser, desktop, and shortcuts are configured, your new computer is fully set up and ready for regular use.
Final Words
Boot the PC, follow the OS wizard, and connect Wi‑Fi — that’s where this guide begins.
We walked through updates, security, drivers, core apps, accounts and syncing, privacy, backups, and simple personalization. Each step is short and reversible, so do the basics first and add extras later.
Use this new computer setup checklist to tick off the essentials and avoid common misses. Do a quick backup, enable protection, and personalize your desktop. You’ll be confident and ready to use your new computer.
FAQ
Q: What is needed to set up a new computer?
A: Setting up a new computer requires power and a charged battery, a Wi‑Fi or Ethernet connection, your account email/password, basic peripherals (mouse/keyboard), and time for the OS setup and updates.
Q: Which is the no. 1 PC brand?
A: The number one PC brand is often Lenovo by global shipments; HP and Dell follow. Choose based on warranty, support, and the specific model that fits your needs, not just brand rank.
Q: How do I transfer everything from my old computer to my new computer?
A: To transfer everything, use a migration tool (macOS Migration Assistant, PC maker software), cloud sync (OneDrive/Google Drive), or an external drive backup; connect both machines and restore, then verify files and apps.
Q: What is the easiest computer for an older person to use?
A: The easiest computer for an older person to use is one with a simple interface—an iPad or Chromebook for touch simplicity, or a Windows laptop with large text, high contrast, and enabled accessibility features.