

Setting up Windows 11 for the first time feels like it should be complicated, but it’s not. The setup process walks you through each screen with plain language and takes about 20 minutes start to finish. You’ll make a few quick decisions about your account, privacy, and cloud backup, then Windows does the rest. This guide shows you exactly what to expect on each screen, what each choice actually means for how you’ll use your computer, and how to fix the handful of hiccups that might pop up. By the end, you’ll have a working Windows 11 system configured the way you want it.
Required Items Before Starting Windows 11 Setup
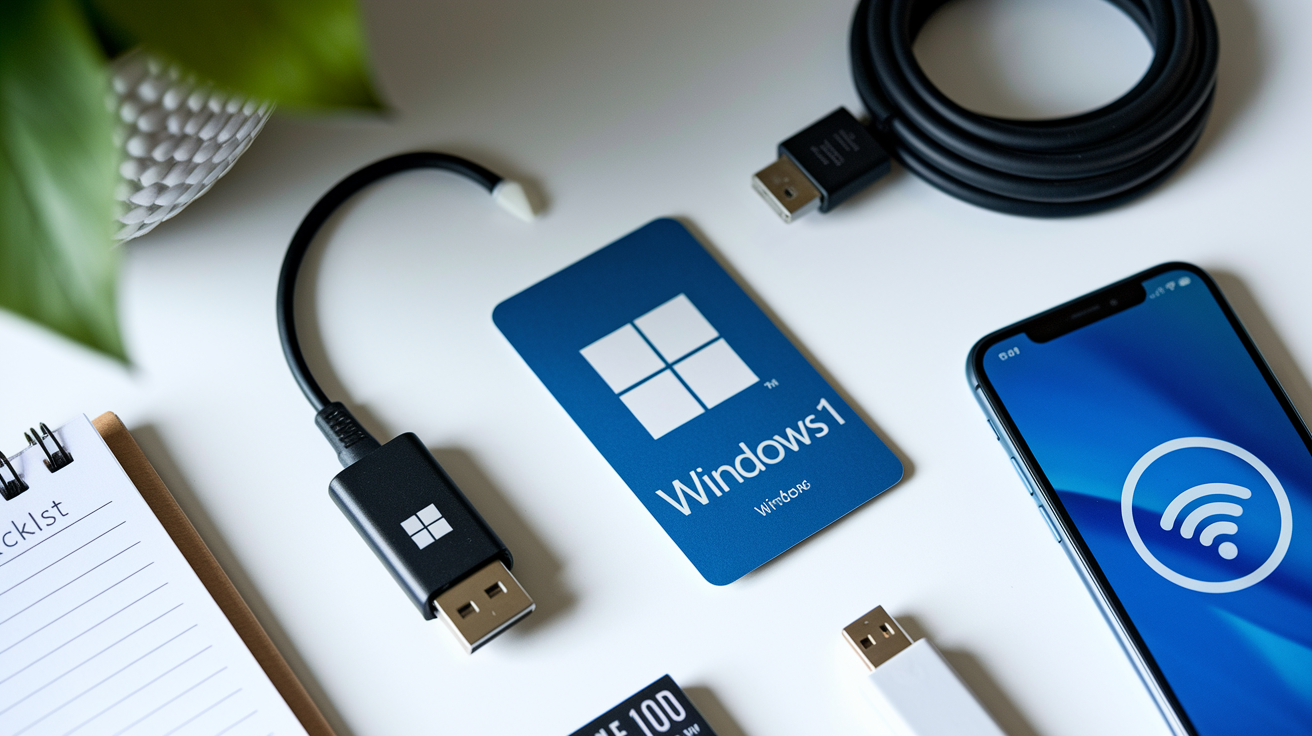
Before you power on your new Windows 11 computer, grab a few things to keep setup running smoothly. You’ll need a stable internet connection since Windows 11 downloads updates and verifies your account during the process. Decide whether you’re using a Microsoft account (needs an email and password) or creating a local account. Have your product key ready if Windows didn’t come pre-installed, though most new computers ship with a digital license already embedded in the hardware.
Your checklist before starting:
- Stable internet connection WiFi credentials or Ethernet cable for network setup
- Microsoft account or local account plan Email and password for Microsoft account, or you’ll create an offline local account
- Product key or digital license 25-character key if not pre-activated (looks like XXXXX-XXXXX-XXXXX-XXXXX-XXXXX)
- TPM 2.0 and Secure Boot enabled Required security features in your computer’s BIOS/UEFI firmware
- At least 64GB storage space Windows 11 needs room to install and function properly
- Backup of previous system data Files copied to external drive or cloud storage before wiping old computer
- USB drive (8GB minimum) If creating installation media using Media Creation Tool
To verify your system meets Windows 11 requirements, restart your computer and press the BIOS key (usually F2, F10, Del, or Esc) during startup. Look for TPM 2.0 and Secure Boot settings in the Security or Boot sections and turn them on if they’re disabled. Your product key might be on a sticker attached to your computer, in the box with purchase documents, or in an email if you bought a digital license. If you upgraded from Windows 10, your digital license transfers automatically and you won’t need to enter anything. A product key is a one-time activation code, while a digital license links to your hardware or Microsoft account and reactivates automatically.
Step-by-Step Windows 11 Setup Walkthrough
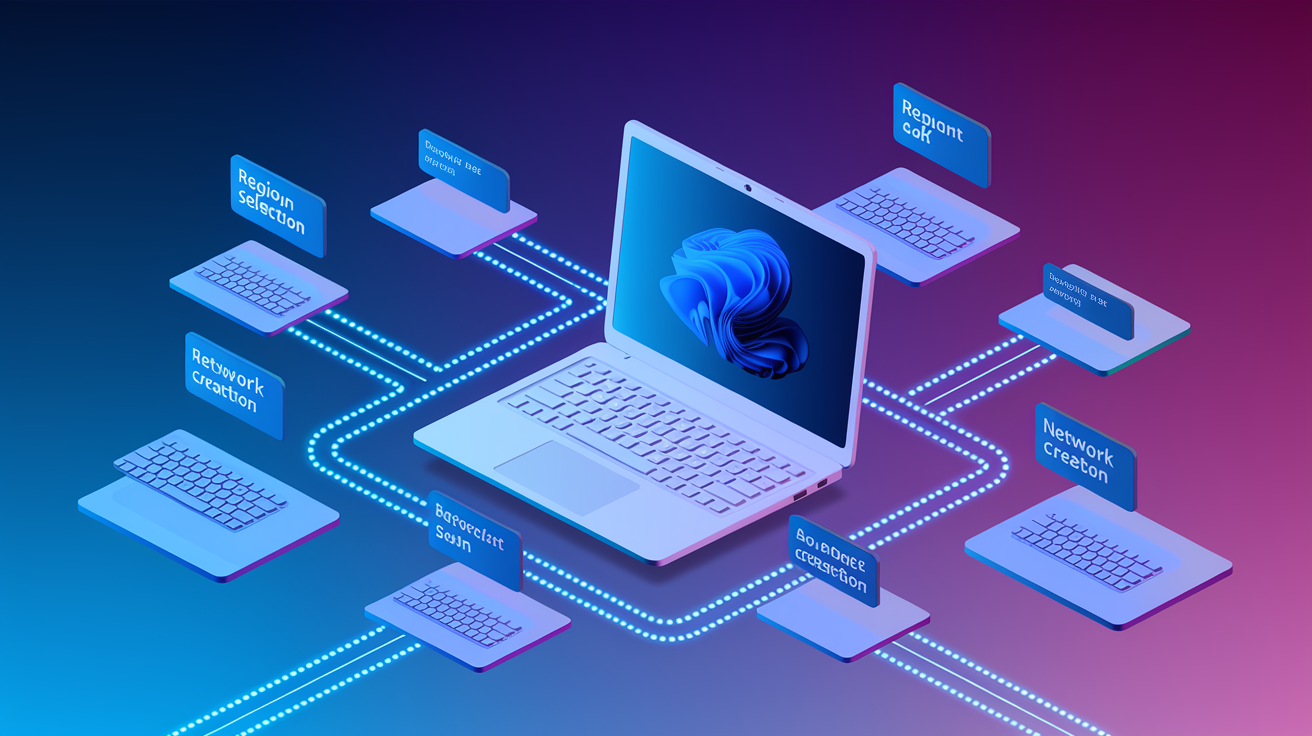
When you turn on your Windows 11 computer for the first time, the out-of-box experience (OOBE) starts automatically. This guided setup walks you through configuration screens that customize your computer and create your account. The process takes 15 to 30 minutes depending on your internet speed and how many optional steps you complete.
- Select your region Choose your country or region from the dropdown list
- Choose keyboard layout Pick your primary keyboard layout (usually US for American English)
- Add additional keyboard layouts (optional) Click “Add layout” if you type in multiple languages, or select “Skip”
- Connect to network Select your WiFi network and enter the password, or connect an Ethernet cable
- Name your device Enter a name without spaces (use hyphens or underscores instead, like “Home-Laptop” or “Office_Desktop”)
- Create or sign in to account Choose between Microsoft account sign-in or local account creation (see dedicated section below for detailed comparison)
- Create Windows Hello PIN Enter a 4-digit PIN (required even if using other sign-in methods)
- Configure privacy settings Review and adjust privacy toggles for diagnostic data, location, and personalization (detailed options in dedicated section below)
- Choose device usage Select how you’ll use the device (gaming, school, creative work, etc.) or skip this step
- Connect your phone (optional) Link your Android or iPhone for notifications and messaging sync, or select “Skip for now”
- Set up OneDrive Configure cloud backup for Desktop, Documents, and Pictures folders, or choose “Only save files to this PC” (see backup section below)
- Import Microsoft Edge data (optional) Transfer bookmarks and passwords from other browsers, or select “Start without your data”
The device name you choose appears on your network and identifies your computer when sharing files. Windows 11 doesn’t allow spaces in device names, so use hyphens like “Living-Room-PC” or underscores like “Kids_Laptop” to separate words. If you try using a name that already exists on your network, you’ll get an error message and need to pick something different.
The Windows Hello PIN is mandatory during setup and requires at least 4 digits (though you can create longer PINs with letters and symbols in Settings later). This PIN stays on your device and never leaves your computer, making it more secure than a password. You’ll use this PIN every time you sign in, even if you add fingerprint or facial recognition later.
Account type selection, privacy settings, and OneDrive configuration involve important decisions about your data and security. The Microsoft account vs local account choice affects encryption, cloud sync, and recovery options. Privacy settings control what data Microsoft collects. OneDrive setup determines whether your files stay only on your device or sync to the cloud. Each of these topics has a dedicated section below with detailed guidance to help you decide.
Some computer manufacturers add their own setup screens after the Windows OOBE. You might see Dell SupportAssist registration, HP Smart setup, Lenovo Vantage enrollment, or similar brand-specific forms asking for your email, warranty registration, or newsletter signup. These screens are optional and you can safely click “Skip,” “No thanks,” or “Remind me later” without affecting Windows functionality. The manufacturer screens might also suggest enabling specific device features like hardware diagnostics, cloud backup services, or technical support tools, but Windows 11 works fine without them.
Troubleshooting Common Setup Issues
Most Windows 11 setups complete without problems, but you might hit a snag with network connections, activation, or compatibility checks. When setup stalls or shows an error, the fix is usually simple and gets you back on track in a few minutes.
| Issue | Solution | Additional Notes |
|---|---|---|
| Network connection fails during setup | Verify WiFi password is correct, try Ethernet cable connection, or click “I don’t have Internet” to continue with limited setup | Some setup features require internet, but you can add network connection after reaching desktop |
| Activation error or “Windows is not activated” message | Double-check product key entry for typos, confirm internet connection is working, or wait 24 hours for automatic activation with digital license | Digital licenses sometimes take time to register with Microsoft servers after first boot |
| TPM 2.0 or Secure Boot error blocking installation | Restart computer, enter BIOS/UEFI (usually F2, F10, Del, or Esc during startup), enable TPM and Secure Boot in Security settings | Older computers may not support these features and need workarounds or cannot run Windows 11 |
| Setup freezes on a screen and won’t progress | Hold power button to force shutdown, restart computer, try different USB port for installation media, or recreate USB installation drive | Corrupted installation files or faulty USB drives cause most freeze issues |
| Microsoft account sign-in fails or doesn’t accept password | Verify email and password are correct (case-sensitive), reset password at account.microsoft.com, or choose local account option instead | Password reset requires access to recovery email or phone number linked to Microsoft account |
| Device name already exists on network | Choose a different name, add numbers or underscore to make it unique (like “Desktop_2” or “Laptop-Office”) | Each device on your network needs a unique name to avoid conflicts |
When basic troubleshooting doesn’t work, you can access advanced tools during setup by pressing Shift + F10 to open a command prompt. This lets you run commands like ipconfig /release to disconnect from the internet (which triggers the “I don’t have Internet” option for local account setup) or check disk and network status. For hardware-related problems like missing drivers, display issues, or components not detected, contact your computer manufacturer’s support team since these issues usually need BIOS updates or specific hardware diagnostics that vary by brand and model.
Microsoft Account vs Local Account Setup Decision
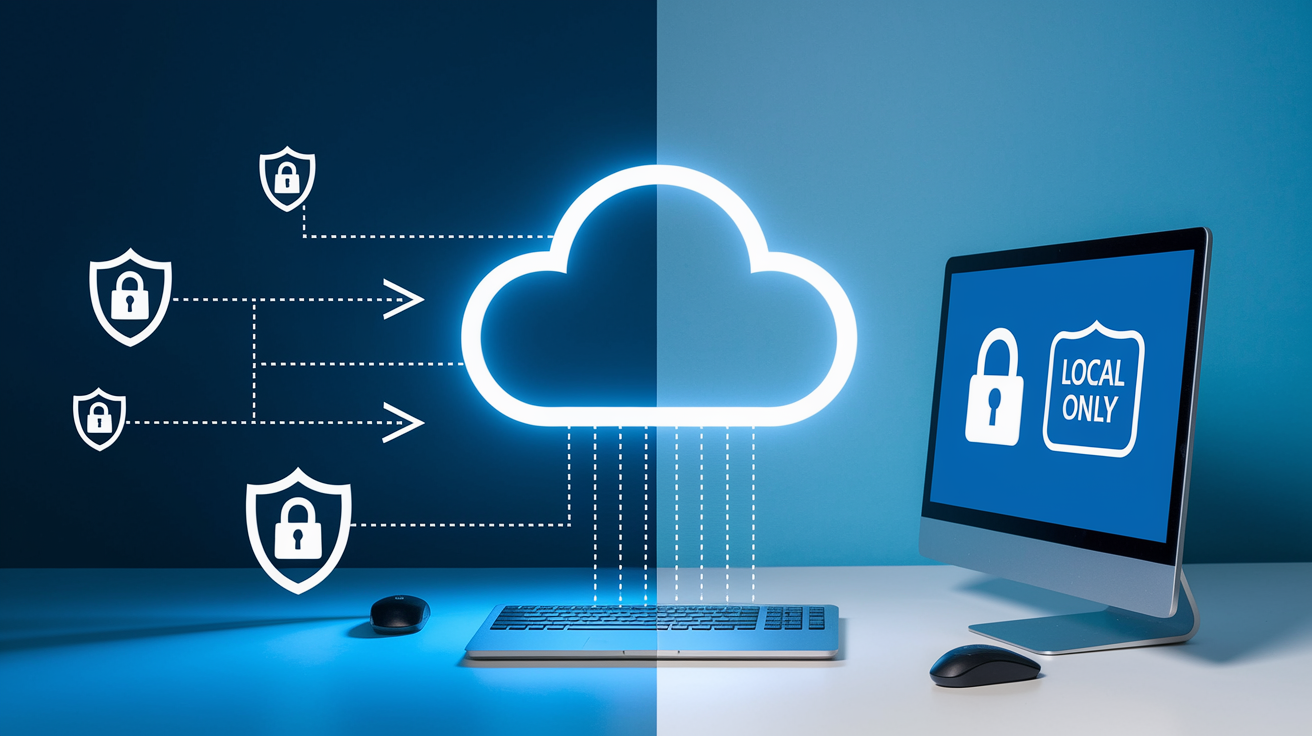
During setup, Windows 11 asks you to sign in with a Microsoft account or create a local account that lives only on your device. This choice affects cloud features, security options, and how you recover access if you forget your password.
A Microsoft account connects your computer to Microsoft’s cloud services and unlocks several features that local accounts can’t access. You get automatic device encryption (even on Windows 11 Home edition, not just Pro), Windows Hello biometric sign-in with fingerprint or facial recognition, two-factor authentication that texts a code to your phone when you sign in from a new location, and account recovery tools if you forget your password. Your settings, wallpaper, browser favorites, and app preferences sync across all your Windows devices automatically. If you have a Microsoft 365 Family or Personal subscription, you get immediate access to Word, Excel, PowerPoint, Outlook and 1 terabyte of OneDrive cloud storage. One thing many people don’t realize is your Microsoft account doesn’t need a microsoft.com or outlook.com email address. You can use your existing Gmail, Yahoo, or any other email provider when creating a Microsoft account.
Local accounts work entirely offline and keep all your data on your physical computer. Nothing syncs to the cloud, Microsoft doesn’t collect usage data tied to your account, and you don’t need an internet connection to sign in. Local accounts work well for computers you’re setting up for kids (where you want parental controls without cloud access), machines you plan to sell or donate later, or situations where you simply prefer keeping your computing habits private. The tradeoff is losing cloud features, automatic encryption, and account recovery options. If you forget a local account password and didn’t create a password reset disk, your files can become permanently inaccessible.
If you want the privacy of a local account but Windows 11 keeps pushing you toward a Microsoft account during setup, bypass methods exist that let you create local accounts even when the setup screens don’t show the option clearly. These workarounds use command prompts or modified installation media to skip the Microsoft account requirement.
Configuring Privacy Settings During Windows 11 Setup
Windows 11 presents privacy settings near the end of setup, after you create your account and PIN. The screen shows a list of toggles for different types of data collection, and you can choose express settings (which enables everything) or custom settings (where you decide each one individually).
Each privacy toggle controls specific data sharing with Microsoft:
- Diagnostic data Sends information about how your device performs, which features you use, and error reports to Microsoft for Windows improvement
- Advertising ID Creates a unique identifier that apps use to show you targeted advertisements based on your activity
- Location services Lets apps access your geographic location for weather, maps, nearby store searches, and location-based reminders
- Speech recognition Sends voice data to Microsoft to improve speech-to-text accuracy and Cortana voice assistant responses
- Inking and typing personalization Collects handwriting and typing patterns to improve autocorrect, text prediction, and handwriting recognition
- Find My Device Tracks your computer’s location when signed in with a Microsoft account so you can locate it if lost or stolen
- Activity history Records which apps and files you open, creating a timeline that syncs across your devices
- Tailored experiences Uses your activity data to suggest apps, tips, and features Microsoft thinks you’ll find useful
If you value privacy over personalized features, disable diagnostic data (you’ll still get required security data collection), advertising ID, activity history, and tailored experiences. Keep location services off unless you use weather widgets or map apps regularly. Speech recognition and inking personalization only matter if you use voice commands or a stylus. Find My Device is worth enabling if you use a Microsoft account and want the ability to locate a lost laptop, but it requires staying signed in to work and shares your device location with Microsoft servers. You can’t disable it on devices with encryption enabled since it’s tied to recovery features.
Settings you choose during setup aren’t permanent. Go to Settings > Privacy & security any time after setup to change these toggles, review what data Microsoft has collected, or delete data Microsoft stored from your device.
Post-Setup Updates and Drivers
Immediately after Windows 11 setup completes and you reach the desktop, installing updates becomes your first critical task. Updates patch security vulnerabilities, fix bugs that cause crashes or slowdowns, and install drivers for your hardware components.
Open the Start menu, type “Windows Update,” and click Settings > Windows Update > Check for updates. Windows downloads available updates automatically and shows progress bars for each one. Large cumulative updates take 10 to 30 minutes to download depending on your internet speed, then require a restart to finish installation. After the restart, Windows might show more updates available. Keep clicking “Check for updates” and restarting until the screen shows “You’re up to date.” Some updates install in the background while you use your computer, but others require exclusive access during restart, so plan for multiple restart cycles. Windows Update handles driver installation for most components automatically during these update cycles, including network adapters, USB controllers, audio devices, and basic graphics drivers.
After Windows Update finishes, verify all your hardware works correctly:
- Press Windows key + X and select Device Manager from the menu
- Scan through the device categories looking for yellow exclamation points (warning) or red X marks (disabled or failed) next to device names
- Expand categories to see if any devices show as “Unknown device” or “Other devices”
- Right-click any problem devices and select “Update driver” > “Search automatically for drivers”
- If Windows can’t find drivers automatically, go to Settings > Windows Update > Advanced options > Optional updates > Driver updates to see if additional drivers are available but not installed yet
Windows Update doesn’t always include the newest drivers, especially for gaming hardware, high-end graphics cards, specialized peripherals, or brand-specific features. Visit your computer manufacturer’s support website and enter your model number to find downloadable BIOS updates, chipset drivers, graphics drivers, and utility software designed for your specific machine. Dell, HP, Lenovo, and other manufacturers often provide updater tools that scan your system and install everything automatically. For custom-built PCs, visit the motherboard manufacturer’s site for chipset and BIOS updates, then GPU manufacturer sites (Nvidia, AMD, Intel) for the latest graphics drivers. Installing manufacturer-provided drivers usually gives better performance and stability than the generic versions Windows Update provides. Some updates require specific installation order (BIOS first, then chipset, then other components), so read the instructions on the download pages carefully.
Initial Customization and Performance Optimization
Personalizing Your Desktop and Interface
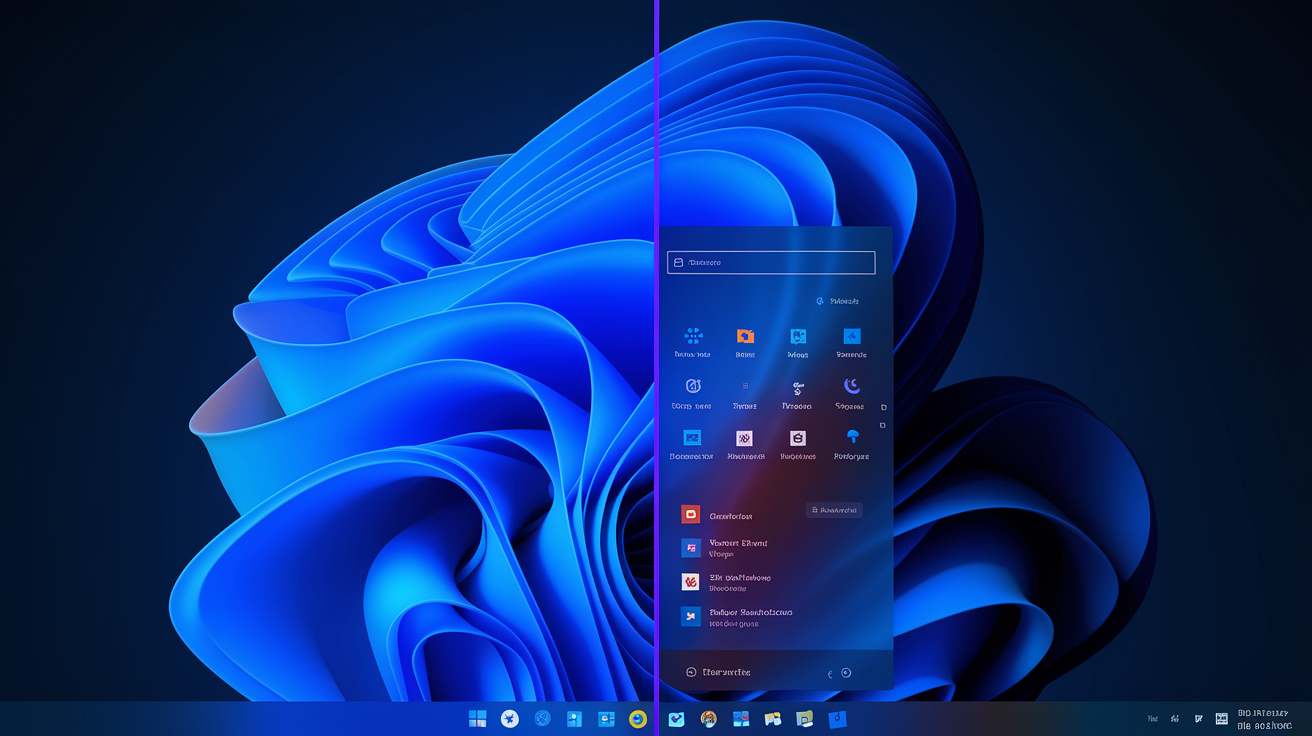
Windows 11 starts with a default light blue theme, centered taskbar, and pre-selected wallpaper that you can change to match your preferences. Open Settings > Personalization > Themes to see built-in options like “Windows (light),” “Windows (dark),” “Glow,” and “Captured Motion.” Each theme changes your color scheme, sounds, and mouse cursor style in one click. For more variety, click “Browse themes” to open the Microsoft Store where you can download free theme packs with cohesive color schemes and wallpaper collections.
Settings > Personalization > Colors controls how Windows displays interface elements. Three color modes are available. Light mode makes windows and menus white with dark text (easier to read in bright rooms), Dark mode inverts everything to black backgrounds with light text (reduces eye strain in dim environments), and Custom mode lets you set app mode and system mode separately (like dark apps with light system menus). The accent color setting applies a highlight color to window borders, Start menu tiles, and selected items. Turn on “Automatic” to have Windows pick accent colors that match your current wallpaper, or choose a specific color from the palette. Enable “Show accent color on Start and taskbar” if you’re using Custom mode with Dark system settings to add color to those areas. The “Show accent color on title bars and window borders” option adds subtle color highlights around active windows.
Adjust the Start menu layout by going to Settings > Personalization > Start. The “Layout” option lets you choose between “More pins” (which shows four rows of pinned apps and one row of recent files) or “Default” (three rows of pinned apps and two rows of recommendations). Turn off “Show recently added apps” if you don’t want new installations appearing at the top of your app list. Disable “Show recently opened items in Start, Jump Lists, and File Explorer” to remove the Recommended section entirely and keep your file activity private. To create app folders on the Start menu, drag one app icon on top of another app icon, keep dragging to add more apps to the folder, then click the folder and type a name at the top. Pin apps to Start by clicking “All apps,” right-clicking any application, and selecting “Pin to Start.” Remove apps by right-clicking them and choosing “Unpin from Start.” At the bottom of Start settings, the “Folders” option adds shortcuts to Settings, File Explorer, Documents, Downloads, Music, Pictures, Videos, Network, and Personal folder next to the power button for quick access.
The taskbar defaults to center alignment with search, Task View, and Widgets buttons taking up space. Go to Settings > Personalization > Taskbar and select “Left” under “Taskbar alignment” if you prefer the Windows 10-style left-aligned layout. Under “Taskbar items,” turn off the “Search” toggle (set it to “Hide”) since you can still search by pressing the Windows key and typing. Disable “Task View” because the Windows key + Tab keyboard shortcut does the same thing without cluttering your taskbar. Turn off “Widgets” if you don’t use the news and weather panel, though you can still open it with Windows key + W when needed. Scroll down to “Other system tray icons” to control which icons appear in the bottom-right corner (like OneDrive, Bluetooth, network status, and volume).
Optimizing Performance and Power Settings
Computers slow down at startup when too many apps try to launch automatically. Open Settings > Apps > Startup to see which programs run when you sign in. Each app shows a toggle switch and impact rating (high, medium, low, or not measured). Disable startup for OEM utility programs you don’t need (like updaters, game launchers, chat apps, and hardware-specific tools that run in the background). Keep startup enabled only for apps you actually use immediately after signing in, like cloud storage sync tools or security software. Turning off high-impact startup apps can reduce your boot time from 60 seconds to 20 seconds on slower computers.
Battery-powered laptops and tablets have different power needs than desktop computers plugged into wall outlets. Open Settings > System > Power & battery (or just “Power” on desktops without batteries). Under “Screen and sleep,” set different timings for “On battery power” and “When plugged in” states. For example, set your screen to turn off after 5 minutes on battery but 15 minutes when plugged in to save power while mobile but stay lit longer at your desk. Sleep mode timings work the same way. Laptops should sleep after 10 to 15 minutes on battery to preserve charge, but can wait 30 minutes to 1 hour when plugged in. The “Energy Saver” section lets you set a battery percentage (like 20%) where Windows automatically reduces background activity and dims the screen to extend runtime.
Night light reduces blue light from your screen during evening hours, which helps with eye strain and sleep quality. Go to Settings > System > Display and turn on “Night light” to see the effect immediately. Click “Night light” to adjust the intensity with a slider (warmer settings look more orange, cooler settings look closer to normal). Use the “Schedule night light” option to set times when it activates automatically, like 8:00 PM to 6:00 AM. If you forget to enable the schedule, click “Turn on now” in the middle of the day to test different intensity levels and find what feels comfortable for evening use.
| Setting Category | Location | Key Options |
|---|---|---|
| Theme and color mode | Settings > Personalization > Themes/Colors | Light, Dark, or Custom mode; accent colors automatic or manual selection |
| Start menu layout | Settings > Personalization > Start | More pins vs Default layout; recent apps and files toggles; folder shortcuts |
| Taskbar configuration | Settings > Personalization > Taskbar | Left or Center alignment; Search, Task View, and Widgets visibility |
| Startup apps | Settings > Apps > Startup | Enable or disable individual app toggles; impact ratings for each app |
| Power plan | Settings > System > Power & battery | Screen and sleep timings for battery and plugged in; Energy Saver threshold |
| Night light | Settings > System > Display | Intensity slider; scheduled activation times; manual on/off toggle |
Beyond these main settings, you can change wallpapers by right-clicking the desktop and selecting “Personalize,” then choosing “Background” to upload custom images or enable Windows Spotlight for rotating daily images. The Lock screen (what you see before signing in) customizes through Settings > Personalization > Lock screen with options for a single picture, rotating slideshow from your Photos folder, or Windows Spotlight backgrounds.
Removing Pre-Installed Apps and Bloatware
Computer manufacturers often install trial software, promotional apps, and third-party utilities that consume storage space, slow down startup, and clutter your app list. Bloatware includes 30-day antivirus trials (Norton, McAfee, Webroot), game service launchers (EA, Blizzard), productivity tool trials, and manufacturer-specific utility apps that duplicate Windows features.
Open Settings > Apps > Installed apps to see everything on your system. Scroll through the alphabetical list and look at the publisher name shown under each app title (like “Dell Inc.,” “HP,” “McAfee,” or “WildTangent”). Click the three-dot menu next to any app you don’t recognize or need, then select “Uninstall.” Alternatively, right-click apps directly in the Start menu and choose “Uninstall” for faster removal. Start with antivirus trials since they often nag with popups and renewal warnings. Remove games you didn’t choose to install, cloud storage services you won’t use (if you already use OneDrive or another option), and branded utilities that duplicate Windows settings. Check the publisher before uninstalling to avoid removing actual Windows components or drivers, though Windows prevents you from uninstalling critical system apps.
When you remove third-party antivirus software, Microsoft Defender Antivirus activates automatically within seconds and provides full protection without requiring any configuration. You’ll see the shield icon in your system tray and can verify protection status in Windows Security settings. Removing bloatware typically frees 2 to 5 gigabytes of storage and reduces background processes that consume RAM and CPU cycles, making your computer noticeably faster during startup and regular use.
Setting Up Windows Hello and Security Features

Windows Hello replaces traditional password login with faster, more secure authentication methods. The mandatory Windows Hello PIN you created during setup is your primary sign-in method and works even without an internet connection.
The PIN you set up requires at least 4 digits, though you can create longer PINs with letters and special characters by going to Settings > Accounts > Sign-in options > PIN (Windows Hello) and clicking “Change PIN.” Unlike a password that travels over the internet when you sign in with a Microsoft account, your PIN never leaves your physical device. This means someone stealing your Microsoft account password can’t use it to sign into your specific computer without also having the PIN. The PIN works only on the device where you created it, adding a hardware-based security layer.
If your device has compatible hardware, you can add biometric sign-in options. Facial recognition requires an infrared (IR) camera, which many laptops include near the webcam. Fingerprint recognition needs a fingerprint sensor, usually built into the power button, keyboard deck, or side of the device. Add these options in Settings > Accounts > Sign-in options by clicking “Windows Hello Face” or “Windows Hello Fingerprint” and following the enrollment process. Even with biometrics enabled, Windows still requires your PIN occasionally (after updates, when waking from long sleep periods, or if biometric recognition fails multiple times) as a backup authentication method.
Microsoft accounts automatically enable BitLocker encryption on compatible devices when you sign in for the first time. This encrypts your entire system drive so that if someone physically steals your computer and removes the hard drive, they can’t access your files without your Microsoft account password and the 48-digit recovery key. The encryption happens silently in the background during initial setup with no performance impact on modern computers. Your recovery key is automatically backed up to your Microsoft account and accessible at microsoft.com/recoverykey when you sign in from any browser. Write down this key and store it somewhere safe (not on the encrypted computer) because you’ll need it if you forget your password, change your motherboard, or if Windows can’t verify your identity. Without the recovery key, encrypted data becomes permanently inaccessible, even to Microsoft support.
Configuring OneDrive and Backup Settings
OneDrive setup happens during Windows 11 initial setup when you sign in with a Microsoft account. The cloud storage service comes built into Windows and offers 5GB of free storage, or 1 terabyte if you subscribe to Microsoft 365 Family or Personal.
During setup, Windows asks if you want to enable folder backup for your Desktop, Documents, and Pictures folders. This feature automatically uploads new files from these locations to OneDrive and syncs them across all devices signed in with the same Microsoft account. Files appear in your OneDrive folder and in their original locations simultaneously. When you save a document to Desktop on your main computer, it appears on your laptop’s Desktop within seconds. This syncing continues constantly in the background as long as you’re connected to the internet. If your free 5GB fills up, OneDrive stops syncing and prompts you to either delete files, upgrade to Microsoft 365, or disable folder backup.
After setup completes, you can adjust OneDrive settings by clicking the cloud icon in your system tray, selecting the gear icon, and choosing “Settings.” Under the “Backup” tab, you can turn folder backup on or off for Desktop, Documents, and Pictures individually. The “Account” tab shows your storage usage and lets you unlink your computer from OneDrive if you decide you don’t want cloud sync. Go to Settings > Accounts > Windows backup to see which settings, apps, and files Windows is backing up to your Microsoft account.
To transfer files from an old computer using OneDrive, open File Explorer on your old device, copy the files you want to move, navigate to the OneDrive folder (usually C:\Users\YourName\OneDrive), create a new folder for organization, and paste the files there. OneDrive uploads them to the cloud automatically. On your new Windows 11 computer, those files appear in your OneDrive folder within minutes after you sign in. For large transfers (hundreds of gigabytes), this method takes hours or days depending on your upload speed. If you prefer avoiding cloud storage entirely, right-click the OneDrive icon in your system tray and choose “Pause syncing” or unlink the account completely through OneDrive settings.
Installing Essential Software and Browsers
Windows 11 includes Microsoft Edge as the pre-installed web browser, which works well for most tasks since it’s built on the same Chromium engine as Google Chrome. If you prefer Chrome, Firefox, or another browser, you can install alternatives after setup finishes.
Download Chrome from google.com/chrome or Firefox from mozilla.org/firefox using Microsoft Edge. Click the download button, run the installer file from your Downloads folder, and follow the on-screen steps (usually just clicking “Install” and waiting for completion). After installation finishes, set your preferred browser as default by opening Settings > Apps > Default apps, clicking your browser’s name in the list, and clicking the “Set default” button. You’ll also see a list of file types (like .html, .pdf, .svg) where you can choose which browser opens specific content. For example, set your preferred browser as the default for PDF files if you want PDFs opening in the browser instead of Microsoft Edge or Adobe Reader.
Beyond browsers, consider installing these software categories:
- PDF reader Adobe Acrobat Reader for forms and annotations, or use built-in browser PDF viewers
- Compression tool 7-Zip or WinRAR for .zip, .rar, and other compressed files (Windows handles .zip natively)
- Media player VLC for playing video and audio formats that Windows Media Player doesn’t support
- Office suite Microsoft Office (subscription-based), LibreOffice (free), or Google Workspace (web-based)
- Security software Password manager like Bitwarden or 1Password (Windows Defender handles antivirus)
- Communication tools Zoom, Slack, Microsoft Teams, or Discord depending on work and social needs
The Microsoft Store includes both modern apps and traditional desktop programs now, so search there first for easy installation and automatic updates. For apps not in the Store, download from the official publisher website (never from third-party download sites that bundle unwanted toolbars or bloatware). Windows 11 also includes Winget, a command-line package manager that installs apps from trusted repositories. Advanced users can type winget install firefox or winget install vlc in Command Prompt or PowerShell to install apps without visiting websites or clicking through installer wizards.
Configuring Windows Firewall and Antivirus Protection
Windows 11 includes Microsoft Defender Antivirus and Windows Firewall built-in, providing comprehensive protection without installing third-party security software. These features activate automatically during setup and run silently in the background.
Verify Microsoft Defender is active by typing “Windows Security” in the Start menu and clicking the app. Select “Virus & threat protection” from the left sidebar to see your protection status. Look for “Real-time protection” showing as “On” with a green checkmark. If it’s disabled, click the toggle switch to turn it on immediately. Scroll down to “Virus & threat protection updates” and click “Check for updates” to download the latest virus definitions. Defender updates automatically through Windows Update, but manually checking ensures you have the newest protection against current threats. The protection updates contain signatures that identify malware and should update at least daily when connected to the internet.
Windows Firewall controls which programs can communicate through your network and internet connections, blocking unauthorized access attempts while allowing legitimate apps. Open Windows Security, select “Firewall & network protection,” and verify all three network profiles show the firewall as “On.” Domain network (work networks managed by IT), Private network (home networks), and Public network (coffee shops, airports, hotels). Each profile has different security levels, with Public being most restrictive since those networks are untrusted. If any profile shows the firewall as off, click it and toggle “Windows Defender Firewall” to the On position. If multiple profiles are disabled, click “Restore firewalls to default” to reset all settings at once.
Microsoft Defender provides sufficient protection for most users and consistently scores well in independent antivirus tests. Third-party antivirus software (Norton, McAfee, Bitdefender, Kaspersky) offers additional features like parental controls, VPN services, password managers, and more aggressive heuristic detection, but Windows Defender’s combination of real-time scanning, behavior monitoring, and cloud-based protection handles threats effectively without slowing down your system or requiring yearly subscriptions.
Creating System Recovery Options and Backups
After you finish setting up Windows 11 and installing your apps, create recovery options before something goes wrong. Backups let you restore your system if Windows fails to boot, malware infects your files, or hardware failures corrupt your data.
A USB recovery drive boots your computer when Windows won’t start and provides access to troubleshooting tools, system restore, and startup repair. You need a USB drive with at least 16GB capacity (32GB recommended) that will be completely erased during creation. Type “recovery drive” in the Start menu, click “Create a recovery drive,” allow administrator permission, check “Back up system files to the recovery drive” to include reinstallation files, and select your USB drive from the list. The creation process takes 20 to 40 minutes and downloads several gigabytes of data. Keep this drive in a safe location separate from your computer so you can access it if your system won’t boot.
For a complete backup that captures your entire system state (Windows installation, programs, settings, and files), create a system image. This takes a snapshot of your full hard drive that you can restore if disaster strikes. You’ll need an external hard drive with enough free space to hold everything on your computer (usually 50GB to 500GB depending on your installed programs and files). Open Control Panel by typing it in the Start menu, navigate to System and Security > Backup and Restore (Windows 7) (yes, it still says Windows 7), click “Create a system image” on the left sidebar, select your external hard drive as the backup destination, choose which additional drives to include if you have multiple, and click “Start backup.” The backup process takes 30 minutes to several hours depending on how much data you have. Windows will prompt you to create a system repair disc afterward, but you can skip this since the USB recovery drive you created earlier provides the same functionality.
System image backups only restore to the exact point when you created them, so any files added after the backup won’t be included in a restore. Store your backup drive safely and update the system image after major changes like installing big applications, upgrading Windows versions, or changing important settings. For ongoing file protection rather than full system recovery, consider using File History (another built-in Windows backup feature) or relying on OneDrive cloud storage to automatically protect your important documents, pictures, and desktop files without needing external drives.
Final Words
Windows 11 initial setup doesn’t have to feel overwhelming when you break it down into clear steps.
You’ve walked through the hardware checks, the OOBE screens, privacy choices, and the critical post-setup tasks that make your system secure and ready to use.
Now you’ve got a clean install, updated drivers, backups in place, and a desktop that feels like yours.
If something didn’t go perfectly, that’s normal. Most setup hiccups fix themselves with a restart or a quick settings adjustment.
Take a minute to double-check your backups and recovery options. Future you will appreciate it.
FAQ
How long does Windows 11 initial setup take?
Windows 11 initial setup typically takes 15 to 30 minutes on most computers, depending on your internet speed, hardware performance, and whether you customize privacy settings or use express options during the out-of-box experience.
How do I set up Windows 11 for the first time?
Setting up Windows 11 for the first time involves powering on your computer, selecting your region and keyboard layout, connecting to a network, naming your device, creating or signing into a Microsoft account, setting a Windows Hello PIN, and configuring privacy preferences through the automatic out-of-box experience.
How do I reset Windows 11 initial setup?
You reset Windows 11 initial setup by opening Settings, navigating to System > Recovery, clicking Reset this PC, choosing Remove everything, selecting Local reinstall or Cloud download, then following the prompts to restore your computer to its factory state and restart the out-of-box experience.
Can I make a Windows 11 bootable USB?
You can make a Windows 11 bootable USB by downloading the Media Creation Tool from Microsoft’s website, running the tool, selecting “Create installation media,” choosing USB flash drive as the destination, and using a drive with at least 8GB of storage space.
What system requirements must be met before Windows 11 setup?
Windows 11 setup requires TPM 2.0 enabled in your BIOS, Secure Boot compatibility, at least 64GB of storage space, 4GB of RAM minimum, a stable internet connection for updates, and either a product key or digital license linked to your Microsoft account.
Do I need a Microsoft account to set up Windows 11?
Windows 11 Home edition requires a Microsoft account during initial setup, though workarounds exist using the “I don’t have Internet” option or Shift + F10 command prompt to create a local account instead, while Windows 11 Pro offers a domain join option.
What privacy settings should I configure during Windows 11 setup?
During Windows 11 setup, configure privacy settings for diagnostic data collection, advertising ID tracking, location services access, speech recognition data, inking and typing personalization, Find My Device tracking, activity history logging, and tailored experience suggestions by choosing custom settings instead of express settings.
Should I enable BitLocker encryption after Windows 11 setup?
BitLocker encryption enables automatically when you sign in with a Microsoft account on supported Windows 11 editions, encrypting your system drive by default and generating a 48-digit recovery key accessible at microsoft.com/recoverykey that you should back up immediately for data recovery purposes.
How do I remove bloatware after Windows 11 setup?
Remove bloatware after Windows 11 setup by opening Settings, navigating to Apps > Installed apps, identifying third-party trial software by checking the publisher name, clicking the three-dot menu next to unwanted apps, and selecting Uninstall to free storage space and improve performance.
What updates should I install immediately after Windows 11 setup?
Immediately after Windows 11 setup, open Settings > Windows Update, click Check for updates, allow all available updates to download and install, restart when prompted, then repeat the process until no updates remain to ensure security patches, drivers, and system stability improvements are current.
How do I verify all drivers are installed correctly after setup?
Verify drivers are installed correctly by pressing Windows key + X, selecting Device Manager, scanning for devices with yellow exclamation points or red X marks, checking Settings > Windows Update > Advanced options > Optional updates > Driver updates, and downloading missing drivers from your manufacturer’s support website.
Should I configure OneDrive backup during Windows 11 setup?
Configure OneDrive backup during Windows 11 setup if you want automatic cloud syncing of Desktop, Documents, and Pictures folders, though this requires a Microsoft 365 subscription for storage beyond the 5GB free tier and can be disabled later in Settings > Accounts > Windows backup.
How do I set a default browser after Windows 11 setup?
Set a default browser after Windows 11 setup by installing your preferred browser from its official website, opening Settings > Apps > Default apps, selecting your installed browser from the list, clicking the Set default button, and optionally configuring it as the default PDF viewer.
What essential software should I install after Windows 11 setup?
After Windows 11 setup, install essential software categories including a web browser of your choice, PDF reader, file compression tool, media player, office suite, and security software if needed beyond Windows Defender, using either direct downloads, Microsoft Store, or Winget command-line tool.
How do I create a recovery drive after Windows 11 setup?
Create a recovery drive after Windows 11 setup by searching “recovery drive” in the Start menu, connecting a 16GB or larger USB drive, enabling the “Back up system files” option, following the creation wizard, and storing the completed drive safely for emergency system repairs.