

Setting up Netgear mesh WiFi sounds simple until you’re staring at three identical looking units wondering which one plugs in where and why the light’s blinking magenta instead of blue. You’re not doing it wrong. The manuals skip the real-world stuff, like which button to press first or where to actually put the satellites so you don’t end up with a dead zone in your kitchen. This guide walks you through the full Orbi and Nighthawk mesh setup, from identifying your model to syncing satellites and fixing connection issues when your screen doesn’t match the instructions.
Quick Start Guide: Identifying Your Model and Initial Setup Steps
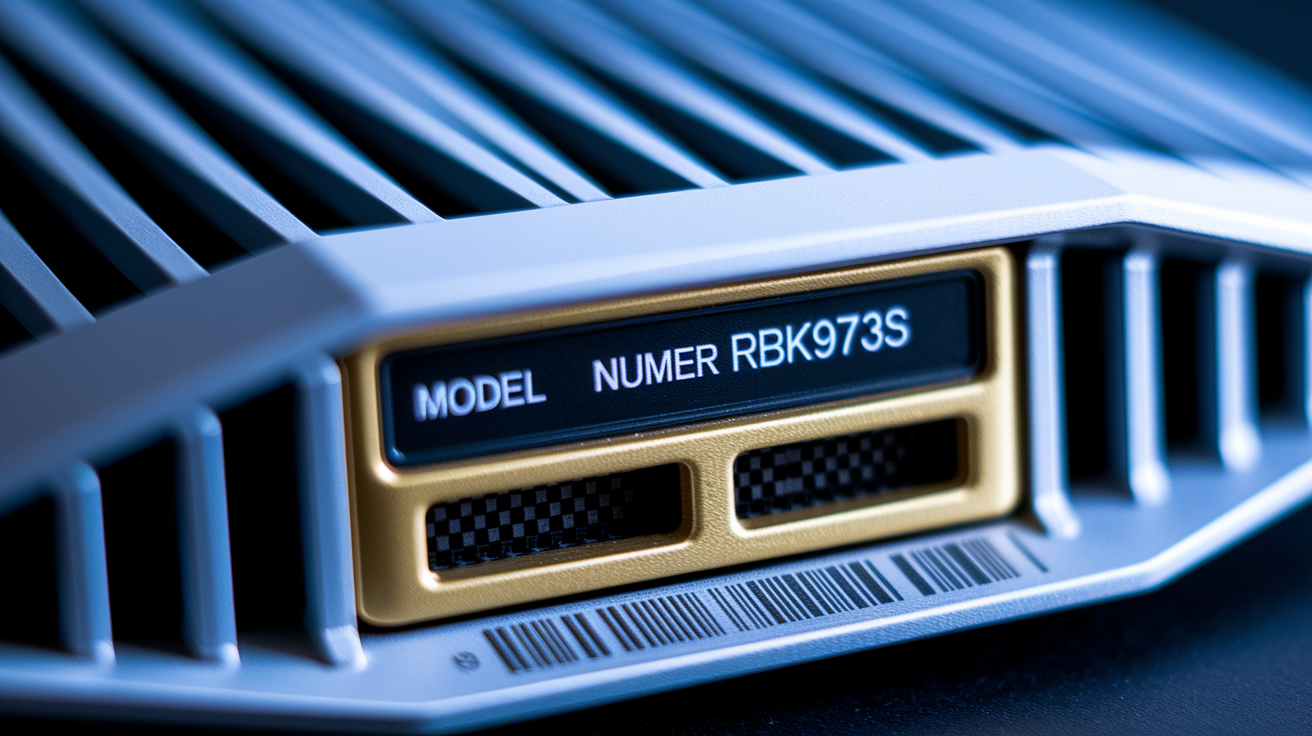
Check the bottom or back of your Orbi router for a product label with the exact model number. You’ll see something like “RBK973S” for the Orbi 970 or “RBK773S” for the Orbi 770. This matters because setup steps and what each model can do aren’t the same.
The Orbi 970 is a quad-band system delivering speeds up to 27Gbps with coverage for up to 10,000 square feet and 10 Gig Ethernet ports on every satellite. The Orbi 770 is a tri-band system offering speeds up to 11Gbps with coverage for up to 8,000 square feet. Both support WiFi 7 technology, but the 970 handles more demanding setups with extra bandwidth and faster wired connections.
For any Orbi model, you’ll need your router, satellite units, modem, power adapters for each device, and the included Ethernet cable. Have your smartphone or computer ready too.
You can set up your system using the NETGEAR Orbi app (download it to your phone or tablet) or through a web browser at orbilogin.com. The app is faster for most people. Both methods walk you through the same steps.
Complete Setup Process:
- Unplug your modem from power and remove any backup battery if it has one
- Connect the yellow Internet port on your Orbi router to your modem’s Ethernet port using the included cable
- Plug in your modem first, wait two minutes, then plug in your Orbi router
- Wait for the router LED to pulse white during startup, then turn solid white (takes 1 to 2 minutes)
- Download the Orbi app or open a browser and go to orbilogin.com
- Create your NETGEAR account when prompted and scan the QR code on your router to register the product
- Follow the setup wizard to name your network, create a password, and customize settings
- Name each satellite as you add it and run a speed test to verify your connection
After the wizard completes, you’ll see a confirmation screen showing your network name and connected devices. The router LED should stay solid white, which means everything’s working. Open your phone’s WiFi settings and confirm you can see your new network name. Connect to it using the password you just created, then open a browser to test internet access.
Syncing Satellite Units and LED Status Indicators

All satellites must start in the same room as your router during initial setup. This close placement ensures a strong connection while the devices pair for the first time.
Satellite Sync Steps:
- Press the Sync button on the back of your router and release it
- Wait for the router LED to confirm it’s ready (stays solid white)
- Within two minutes, press the Sync button on your satellite
- Watch the satellite LED pulse as it searches for the router signal
- Wait for the LED to turn solid blue, confirming successful sync
After satellites sync successfully, you can move them to other rooms or floors throughout your home. If you have multiple satellites, they can connect to each other in a daisy chain pattern, but at least one satellite must be within range of the router. The others can extend from there.
| LED Color/Pattern | Meaning | Action Required |
|---|---|---|
| White pulsing | Router or satellite is starting up | Wait 1 to 2 minutes for solid white |
| Solid white | Router is ready for setup or satellite is searching | Proceed with sync process |
| Solid blue | Good connection between router and satellite | None, sync successful |
| Solid amber | Fair connection, satellite may be too far from router | Move satellite closer and try syncing again |
| Solid magenta | Router cannot connect to internet | Check modem connection and cable at yellow port |
| Pulsing blue | Satellite is actively syncing with router | Wait for solid blue or amber result |
| Pulsing magenta | Router and satellite failed to sync | Move satellite closer, check sync button timing, try again |
| Off | No power or device is in standby | Check power adapter connection |
If a satellite shows amber or magenta, it’s too far from the router or the sync window expired. Move the satellite halfway between its current spot and the router, then try the sync process again. Remember the two minute window between pressing the router’s sync button and the satellite’s sync button.
Configuring Network Name, Password, and Security Settings
Your router’s default WiFi name (SSID) is printed on the product label, usually on the bottom. You’ll see something like “NETGEAR85” plus a string of numbers.
Change this to something you’ll remember but that doesn’t identify your address or personal details. Keep it simple like “Home Network” or “The Smith Family.” For your WiFi password, use at least 12 characters mixing uppercase, lowercase, numbers, and symbols. Avoid obvious choices like “password123” or your street address. The Orbi app and web interface both enforce minimum security standards, so you won’t be able to save a weak password.
Your admin login credentials are separate from your WiFi password. These let you access router settings through orbilogin.com or the app. Create a different password for admin access than what guests use to connect to WiFi. You’ll also set up security questions during initial setup. Pick answers you’ll remember but others can’t easily guess. Write these down and store them somewhere secure, not on your phone.
Your Orbi system uses WPA3 encryption automatically, which is the strongest WiFi security standard available. The Orbi 970 includes a one year subscription to NETGEAR Armor for additional protection against malware and online threats. These features run in the background without requiring configuration.
Strategic Node Placement for Optimal Coverage
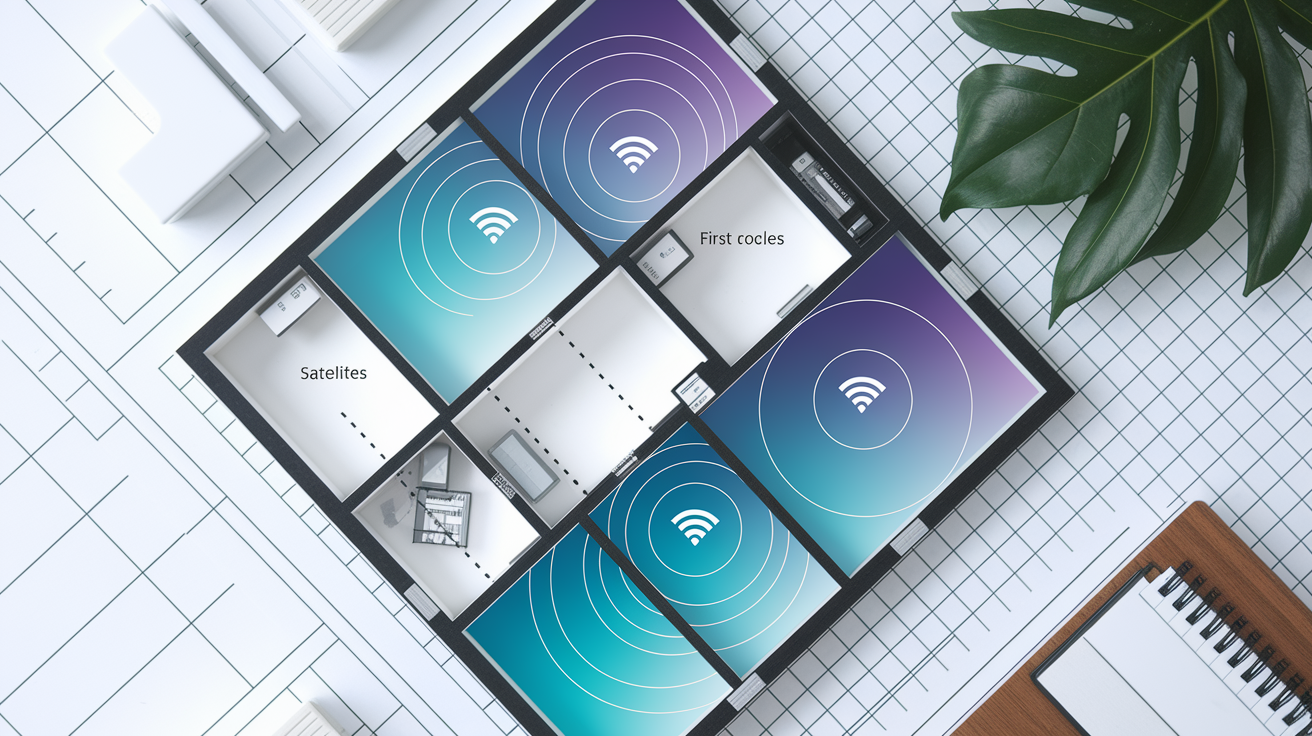
Place your main Orbi router as close to the center of your home as possible. This spreads the signal evenly in all directions rather than leaving one side of the house with weak coverage.
For satellites, the key distance is approximately two thirds of your router’s maximum wireless range. If your router can reach 60 feet, place satellites around 40 feet away. More specifically, put satellites halfway between your router and any dead zones you’re trying to fix. This creates overlapping coverage so devices can hand off smoothly as you move through the house.
Placement Factors to Consider:
Place nodes higher (on shelves or mounted) for better ceiling penetration in multi story homes, or lower (on furniture near the floor) for better floor penetration to basements. Avoid placing nodes directly against metal surfaces, inside cabinets, or near concrete walls that block signals. Keep nodes away from microwaves, baby monitors, cordless phones, and other electronics that create interference.
In multi story homes, position one satellite per floor in a vertical line for consistent coverage between levels. Use open spaces when possible. Hallways and central rooms work better than corners or closets. Wall mounting is fine if you need to save space, just maintain proper distances from the router. Follow the one node per two rooms guideline, so a six room house typically needs three nodes total (one router, two satellites).
The Orbi 970 covers up to 10,000 square feet, while the Orbi 770 covers up to 8,000 square feet. If your home is smaller than these areas and the layout is open, you may only need the router and one satellite. Larger homes, or those with challenging layouts like long hallways or multiple floors, benefit from additional satellites.
After initial setup, you can relocate satellites to different positions if coverage isn’t quite right. The app shows signal strength for each satellite, so you can test different spots. Just remember that if you’re connecting multiple satellites in a chain, at least one must stay within range of the main router. The others can extend from that satellite, but break the chain and devices will lose connection.
Router Mode vs Access Point Mode Configuration
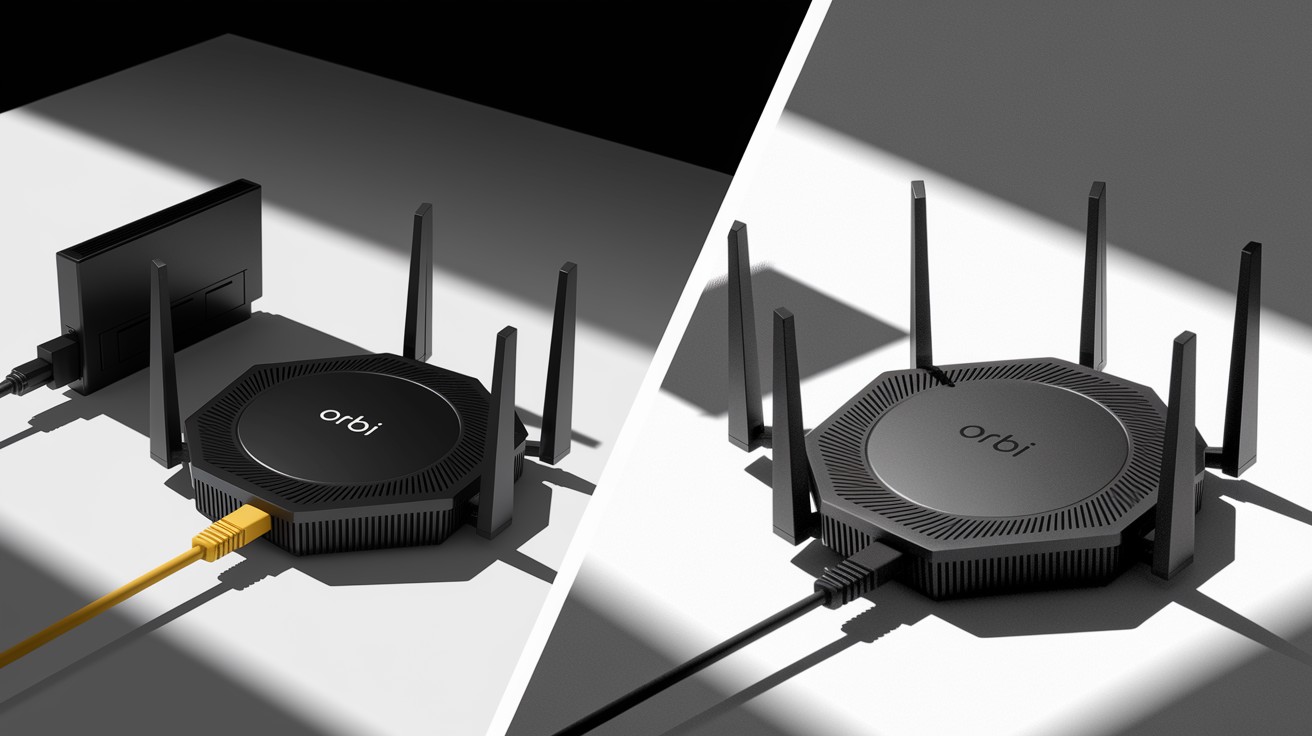
Router mode means your Orbi system acts as the main router for your home, connecting directly to your modem and managing all internet traffic. Access point mode means your Orbi connects to an existing router or gateway and only handles WiFi coverage, not routing.
Use router mode if you’re connecting the Orbi’s yellow Internet port directly to a standalone modem from your ISP. This is the default configuration and what most people need. The Orbi handles DHCP (assigning IP addresses to your devices), firewall protection, and all network management tasks. It works with all major internet service providers.
Access point mode is necessary if your ISP provided a gateway device that combines a modem and router, or if you already have a separate router you want to keep. In this setup, the Orbi simply extends WiFi coverage while your existing router handles internet duties. This prevents “double NAT” issues that can mess with gaming, video calls, or port forwarding.
To switch modes after initial setup, open the Orbi app or go to orbilogin.com, find Advanced Settings, then Router/AP Mode. Select your preferred mode and apply changes. The system will reboot and take about two minutes to switch over. You’ll need to reconnect your devices to the network after the change completes. Check that the yellow Internet port is still properly connected to your modem or gateway.
Wireless Network Bands and Backhaul Connection Options
Backhaul refers to how satellites communicate with your router. Think of it as the behind the scenes connection that moves data between nodes before it reaches your devices.
Your Orbi system automatically manages multiple frequency bands. It starts devices on 2.4GHz, then moves them to less crowded 5GHz or 6GHz bands when available. This reduces interference and maintains fast speeds even when many devices connect simultaneously. The Orbi 970 quad band system uses one band exclusively for backhaul communication between nodes, so your devices get the remaining bands without competition. The Orbi 770 tri band system works similarly with three bands instead of four.
Backhaul Connection Comparison:
Wireless backhaul offers maximum flexibility since satellites only need power, no Ethernet cables required. But wireless backhaul uses one WiFi band for communication between nodes, reducing total bandwidth available for devices. Wired backhaul provides faster speeds and lower latency by using Ethernet cables between nodes. It also frees up all wireless bands for your devices, maximizing WiFi performance.
To set up wired backhaul, run Ethernet cables from your router’s LAN ports to each satellite’s LAN port. You can daisy chain satellites by connecting one to the router, then connecting the next satellite to the first satellite’s LAN port. The Orbi 970’s 10 Gig ports on every satellite deliver the fastest possible wired backhaul speeds, useful if you’re moving large files or streaming 4K video to multiple rooms. The system automatically detects the Ethernet connection and switches from wireless to wired backhaul.
Guest Network Setup and Access Management
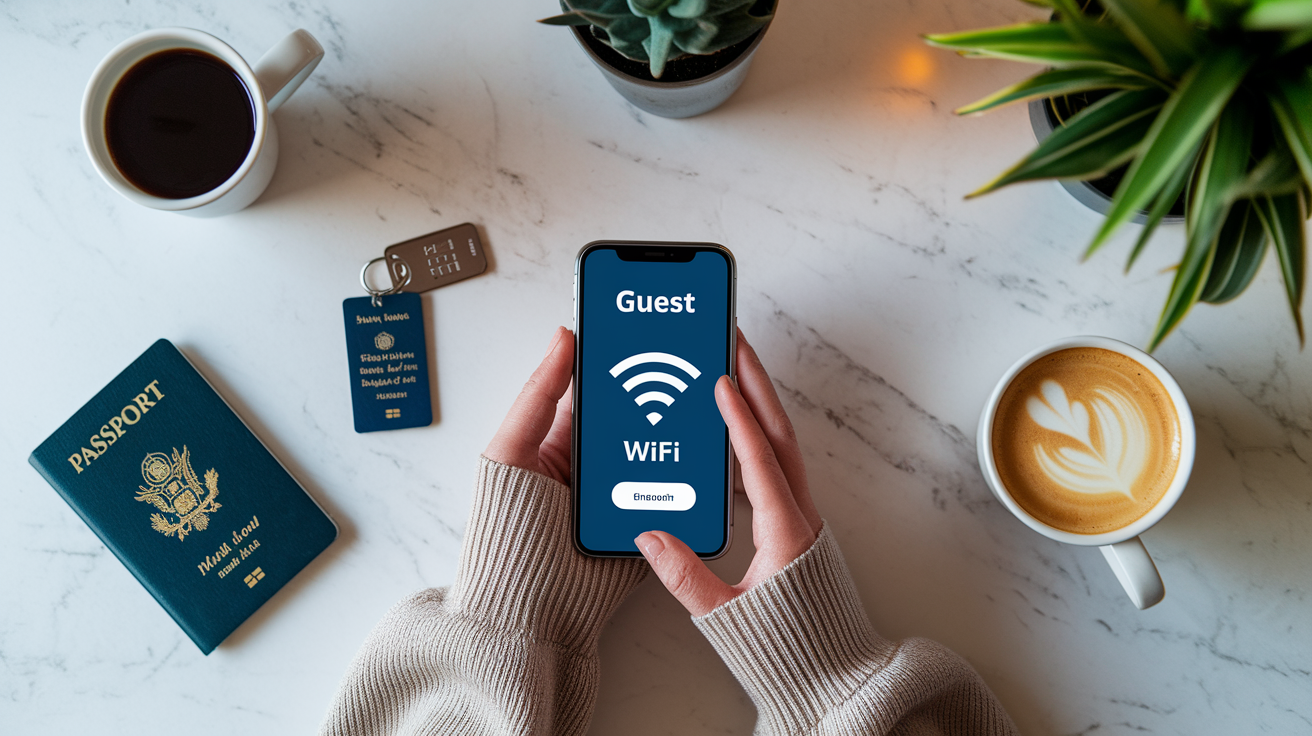
A guest network lets visitors connect to your internet without accessing your main network, smart home devices, shared folders, or other connected equipment.
To enable it, open the Orbi app and tap the menu icon, then select Guest Network. Toggle it on and create a separate network name and password. You can also access this through orbilogin.com under Advanced Settings, then Guest Network. Give your guest network an obvious name like “Guest WiFi” so visitors know which network to choose. Use a simpler password than your main network since you’ll be sharing it verbally.
Guest networks keep visitor devices isolated from your main network devices. Someone on the guest network can’t see your laptop in the file browser, access your printer, or send files to your smart TV. They get internet access only. You can set bandwidth limits to prevent guests from using all your internet speed, or enable time restrictions so the guest network automatically turns off overnight. When guests leave, disable the guest network entirely through the same menu. It stays saved so you can toggle it back on next time without recreating everything.
Firmware Updates and Performance Optimization
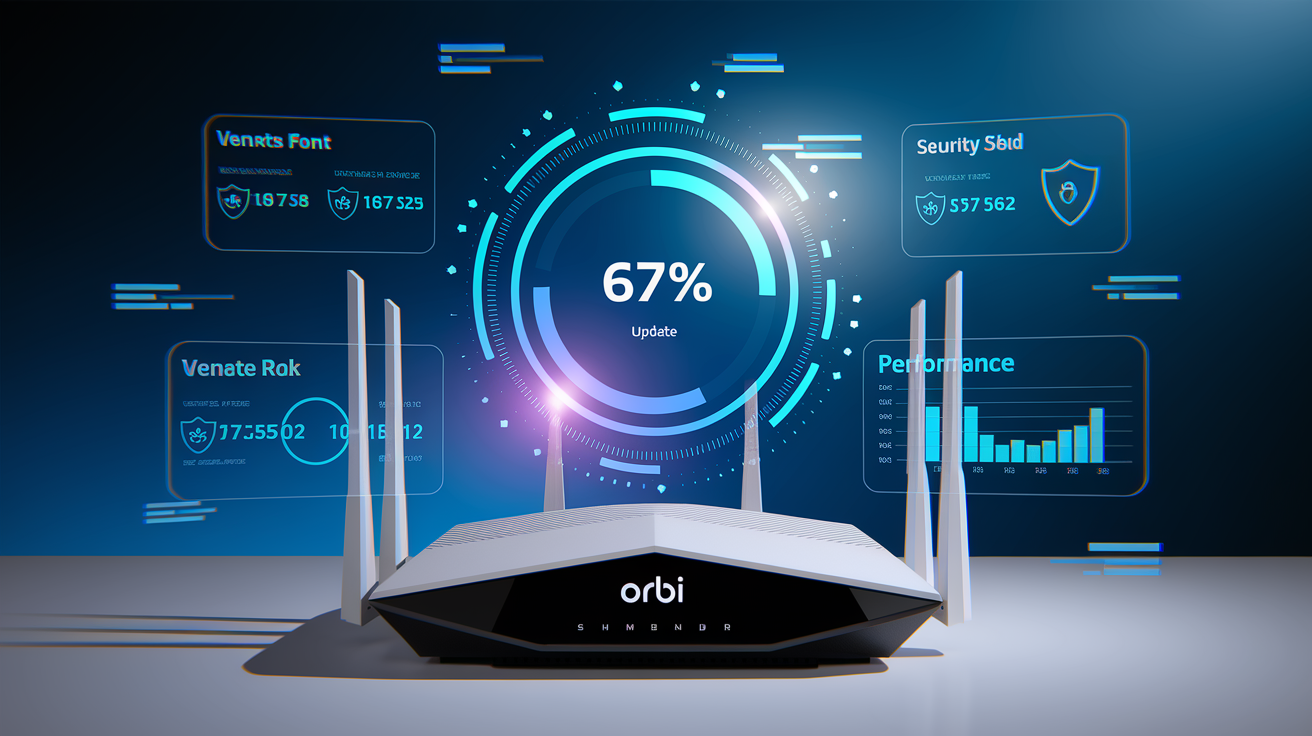
Firmware updates patch security vulnerabilities, fix bugs, and add new features to your Orbi system. Running outdated firmware leaves your network exposed to known security issues.
Check your current firmware version by opening the Orbi app and tapping the menu icon, then Router Settings, then Router Information. On the web interface, log into orbilogin.com and look for Firmware Version on the main screen. If an update is available, you’ll see a notification in the app or a button labeled “Update Available” in the web interface. Tap or click it to download and install. The process takes 5 to 10 minutes, and your system will reboot automatically when finished.
Firmware Update Best Practices:
Schedule updates during times when you’re not using the internet, like late at night or early morning. Keep all satellites and the router plugged into power throughout the update process. Don’t unplug devices or turn off power during installation, even if it seems stuck. Wait for the router LED to return to solid white before trying to reconnect devices.
Enable automatic updates in the app settings so critical security patches install without delay. Trust the system’s automatic optimization features like band switching and connection monitoring that adjust performance based on network activity.
After updates complete, run a speed test through the Orbi app (tap Internet Speed Test on the home screen) or use a browser based test at speedtest.net. This confirms your internet connection is working at expected speeds. The automatic optimization features constantly monitor which band each device uses, switching them to less congested frequencies when needed. You don’t need to manually configure this.
Troubleshooting Common Setup and Connection Problems
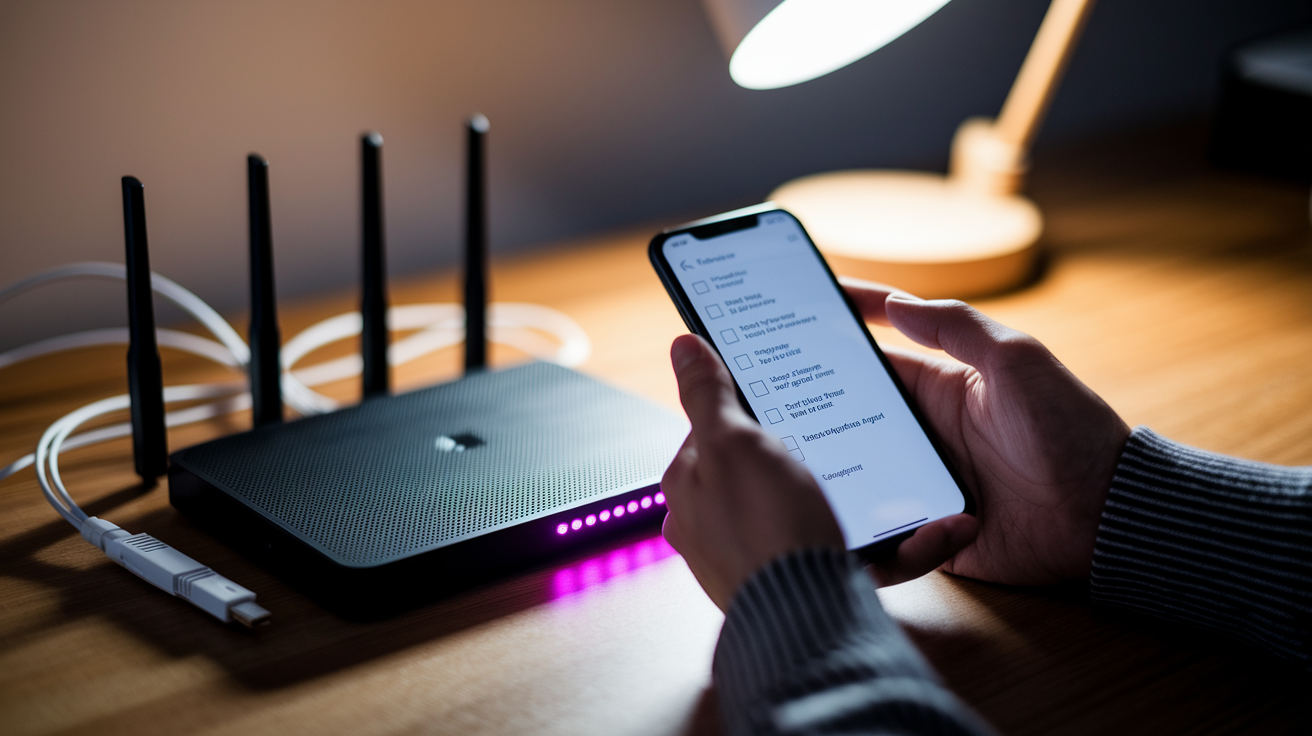
Most setup issues come from timing, distance, or cable connections. Start with the basics before diving into complicated fixes.
Check that all devices show the correct LED colors for their current state. If LEDs don’t match what you expect, that’s your starting point for troubleshooting.
Resolving Satellite Sync Failures
An amber LED means your satellite is too far from the router or the connection is weak. Move the satellite halfway between its current position and the router, then try syncing again. Make sure your router shows solid white before attempting to sync satellites. If the router is still pulsing or shows magenta, fix that first.
The two minute sync window is strict. Press the Sync button on the router, wait for confirmation, then immediately press the Sync button on the satellite. If you wait too long, the router times out and you’ll need to start over. Watch the satellite LED carefully. It should pulse blue while syncing, then turn solid blue for success or amber for weak connection.
If you’re syncing multiple satellites, ensure at least one satellite is within range of the router. Other satellites can connect to that first satellite, but if none are in router range, the chain breaks. Move satellites progressively closer. Start too close rather than too far, then gradually increase distance once you confirm the sync works.
As a last resort, factory reset the satellite by holding its Sync button for seven seconds until the LED blinks white. This erases all settings. Wait for the LED to turn solid white, then try the sync process again from the beginning.
Fixing Internet Connection Problems After Setup
A magenta router LED means the router can’t reach the internet through your modem. Unplug your modem from power, remove the backup battery if it has one, and wait 30 seconds. This completely clears the modem’s memory. Plug the modem back in first and wait two minutes for it to fully boot up. Then plug in your Orbi router and wait another two minutes.
Check that the Ethernet cable is firmly seated in both the modem’s Ethernet port and the router’s yellow Internet port. The cable should click into place on both ends. Try unplugging and replugging both ends.
Look at your modem’s status lights. Most modems have an “Internet” or “Online” light that should be solid green. If this light is off, red, or blinking, your ISP’s service is down or your modem isn’t communicating properly. Contact your ISP to check for outages or modem provisioning issues.
If modem lights look correct but the router still shows magenta, try a different Ethernet cable in case the included one is defective. Some ISPs require modem registration with specific MAC addresses. If you recently switched from an old router to your Orbi, call your ISP and ask them to register the new router’s MAC address (printed on the router label).
Advanced Router Settings and Port Configuration
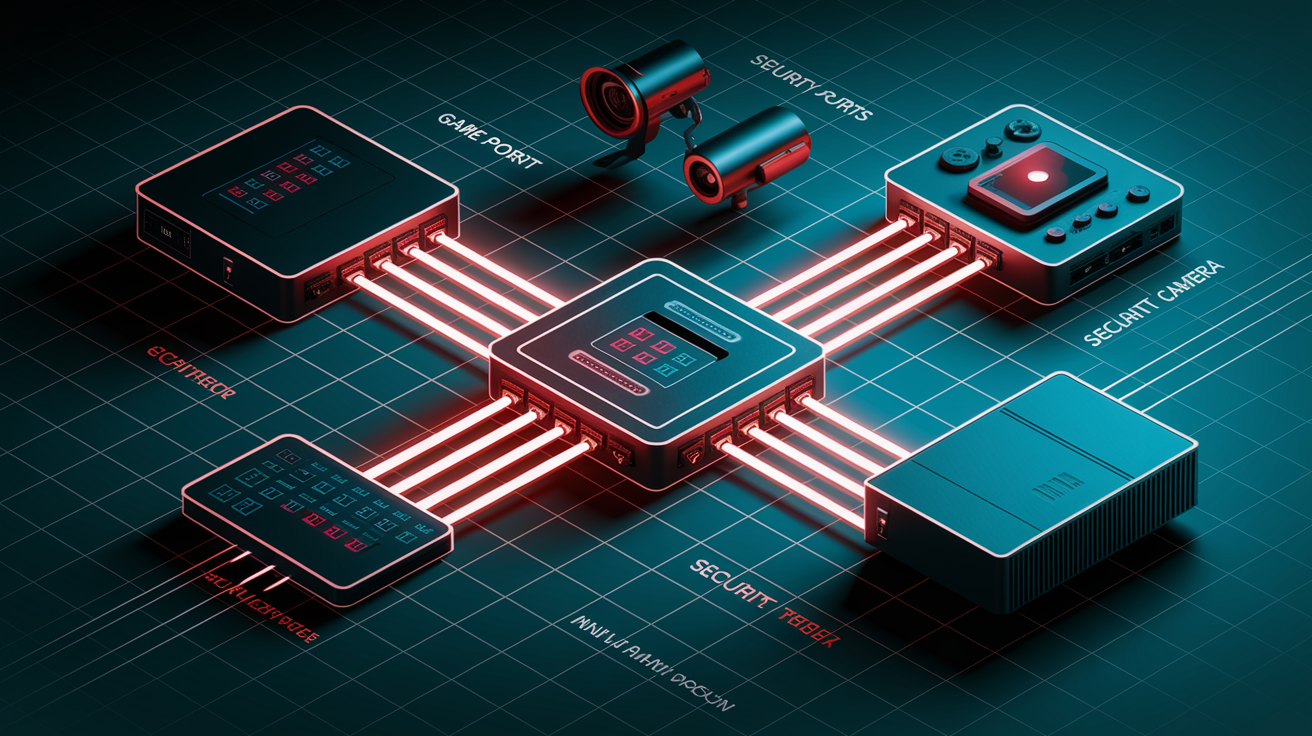
Access advanced settings by opening a web browser and going to orbilogin.com, then logging in with your admin credentials. The app handles basic configuration, but port forwarding and IP customization require the web interface.
Port forwarding opens specific ports on your router to allow incoming connections from the internet to a device on your network. This matters for game consoles that need open NAT, security camera remote viewing, or home servers. Go to Advanced, then Advanced Setup, then Port Forwarding/Port Triggering. Click Add Custom Service, name it something recognizable like “Xbox Live,” enter the external and internal ports (often the same number), select TCP, UDP, or both as the protocol, and enter the local IP address of the device that needs the open port.
By default, your Orbi uses DHCP to assign IP addresses automatically to devices when they connect. Most devices work fine with dynamic IPs that change occasionally. But if you set up port forwarding or run a server, assign that device a static IP so the port forwarding rule doesn’t break when the IP changes. Go to Advanced, then LAN Setup, scroll to Address Reservation, and add the device’s MAC address with the IP you want it to keep permanently. The MAC address is usually listed in your device’s WiFi settings or on a label on the device itself.
Change the router’s IP address range under Advanced, then LAN Setup, then LAN TCP/IP Setup. The default range is usually 192.168.1.x. You might change this to avoid conflicts if you’re using VPN services or connecting multiple networks. For extra security, enable MAC address filtering under Advanced, then Security, then Access Control. This lets only specifically approved devices connect, even if someone knows your WiFi password. The Orbi 970’s 10 Gig Ethernet ports don’t require special configuration. Just plug in a compatible device with a 10 Gig Ethernet adapter and the system negotiates the fastest speed automatically.
Parental Controls and Device Management Features
Open the Orbi app and tap the icon showing connected devices (usually labeled “Devices” or with a smartphone/laptop symbol). You’ll see every device currently using your network, organized by which node they’re connected to.
Tap any device to see options including Pause Internet, which immediately cuts that device’s internet access without disconnecting it from WiFi. This is faster than setting time schedules when you need to enforce rules right now. For scheduled control, tap the device, then Internet Time Limits. Set allowed hours for weekdays and weekends separately. The device gets internet only during those windows. Outside those hours, it stays connected to WiFi but can’t reach the internet.
The app shows which satellite or router each device connects to, helping you verify placement is working correctly. If many devices cluster on one node while another sits mostly unused, that’s a sign to adjust satellite positions for better balance. The system supports over 200 simultaneously connected devices, so you can see laptops, phones, tablets, smart home devices, security cameras, TVs, and game consoles all at once.
For more comprehensive control, NETGEAR Smart Parental Controls is a paid subscription (included free for the first 30 days with new systems) that adds content filtering, age appropriate restrictions, screen time insights, and location tracking for family members’ devices. Access this by tapping the parental controls section in the app, then following prompts to activate the trial or subscribe. The basic pause and time limit features work without any subscription.
WiFi 7 Technology Features in Orbi 970 and 770 Systems
WiFi 7 delivers faster speeds, handles more devices, and maintains better connections in crowded wireless environments compared to WiFi 6.
Multi link operation (MLO) is the biggest improvement. Older WiFi systems connect devices to one band at a time, either 2.4GHz or 5GHz, not both simultaneously. WiFi 7 lets devices use multiple bands at once, combining their capacity. If one band gets congested or experiences interference, traffic shifts instantly to another band without dropping the connection. Preamble puncturing is another WiFi 7 feature that blocks interference from neighboring networks. When the system detects interference on part of a channel, it marks those portions as “punctured” and uses only the clean parts of the channel instead of abandoning it entirely.
The Orbi 970 quad band system dedicates one entire band exclusively for backhaul communication between nodes, keeping that traffic completely separate from your devices. This Enhanced Dedicated Backhaul means satellites communicate with the router without using any bandwidth that your laptop or phone needs. MU MIMO (multi user, multiple input, multiple output) and beamforming technologies target WiFi signals directly at devices instead of broadcasting in all directions, further improving speed and reliability for the 200+ devices the system supports concurrently.
| Feature | Orbi 970 | Orbi 770 |
|---|---|---|
| Maximum Speed | Up to 27 Gbps | Up to 11 Gbps |
| Coverage Area | Up to 10,000 sq ft | Up to 8,000 sq ft |
| Ethernet Ports | 10 Gig on router and all satellites | Gigabit ports |
| Frequency Bands | Quad band (one dedicated backhaul) | Tri band |
| Device Capacity | 200+ devices | 200+ devices |
For real world use, WiFi 7’s speed and MLO improvements mean smoother 4K and 8K video streaming, lower latency for online gaming, and faster large file transfers. If multiple family members are video calling, gaming, and streaming simultaneously, the system maintains performance by distributing devices across bands intelligently and switching connections in real time as conditions change.
Expanding Your Mesh System with Additional Satellites
Add satellites when you notice weak WiFi signals in specific rooms, frequent disconnections in certain areas, or slow speeds in parts of your home that should have coverage.
The general guideline of one node per two rooms helps estimate needs. A ten room house typically needs five nodes total, one router plus four satellites. But wall construction, home layout, and interference sources affect this. If you already have the system running, check the app for signal strength readings. Weak signals in specific locations mean you need another satellite between the router and that problem area.
To add a new satellite, plug it in within the same room as your router first. Follow the sync process exactly like you did during initial setup. Press the router’s Sync button, wait for confirmation, then press the new satellite’s Sync button within two minutes. Wait for solid blue LED indicating successful sync. Once synced, move the new satellite to its permanent location, remembering the halfway between router and dead zone rule. At least one satellite must stay within range of the router for multi satellite systems. Additional satellites can extend from that first satellite in a daisy chain pattern.
Before buying more satellites, verify model compatibility. Orbi satellites work within their product family. Orbi 970 satellites work with Orbi 970 routers, and so on. Mixing different model families (like putting Orbi 770 satellites on an Orbi 970 router) causes compatibility issues and unpredictable performance. Check the product packaging or NETGEAR’s website to confirm satellites match your router model. The system automatically detects and configures compatible satellites without needing firmware changes or special settings.
Smart Home Integration and Voice Control Setup
Orbi mesh networks work with all major smart home platforms including Amazon Alexa, Google Assistant, Apple HomeKit devices, Samsung SmartThings, and most WiFi connected appliances.
Connect smart home devices the same way you’d connect any WiFi device. Open the device’s app, find WiFi settings, select your Orbi network name, and enter your WiFi password. Security cameras, video doorbells, smart locks, thermostats, smart lights, and smart plugs all follow this basic process. Some devices like smart speakers with built in voice assistants may scan for networks automatically during their setup wizard.
The major advantage of mesh networks for smart homes is the single SSID that covers your entire property. Unlike WiFi extenders that create separate network names for each room, forcing devices to manually reconnect as you move between zones, your Orbi system uses one network name everywhere. Smart devices stay connected as they hand off between nodes automatically. This matters especially for devices that move, like robot vacuums or smart speakers you carry between rooms.
With 200+ device capacity, your Orbi system handles extensive smart home setups without slowdowns. Security cameras streaming video constantly, smart lights responding to commands, sensors reporting status changes, and voice assistants listening for wake words all run simultaneously. The system’s automatic band switching moves devices to less congested frequencies, so your security camera maintains stable streaming even when someone starts a video call on their phone. Voice assistant setup typically involves linking the assistant’s app (like Amazon Alexa or Google Home) to your NETGEAR account, allowing voice commands to control router settings like enabling guest networks or pausing kids’ internet access by saying “Alexa, pause internet on Johnny’s iPad.”
Final Words
Your Netgear mesh WiFi setup becomes straightforward when you follow the right sequence: identify your model, connect the hardware, sync satellites using the LED cues, and place nodes strategically.
Most systems configure themselves in under 30 minutes once the physical connections are solid.
If satellites won’t sync or your internet connection drops, start with the basics. Check cables, verify modem power cycles include battery removal, and confirm one satellite stays within router range.
Take a few extra minutes to set a guest network and enable automatic firmware updates. Both protect your main network and keep performance steady without ongoing effort.
FAQ
How do you set up NETGEAR mesh WiFi?
To set up NETGEAR mesh WiFi, connect the Orbi router’s yellow Internet port to your modem using the included Ethernet cable, power on both devices, then use the NETGEAR Orbi mobile app or visit orbilogin.com to complete the setup wizard which takes about 30 minutes.
What is a major disadvantage of a mesh network?
A major disadvantage of a mesh network is the higher upfront cost compared to traditional routers or extenders, and performance can suffer if satellites are placed too far from the router or from each other, requiring careful placement planning.
How do you set up mesh WiFi correctly?
To set up mesh WiFi correctly, place your main router centrally, position satellites halfway between the router and dead zones at about two-thirds of maximum wireless range, sync satellites one at a time using the sync button, and verify each satellite shows a blue LED for good connection.
How do you connect a NETGEAR mesh extender?
To connect a NETGEAR mesh extender (satellite), press the sync button on your router first, wait for confirmation, then press the sync button on the satellite within two minutes and watch for the LED to turn solid blue indicating successful connection.
What is the difference between Orbi 970 and Orbi 770?
The Orbi 970 is a quad-band system offering speeds up to 27Gbps with 10,000 square foot coverage and 10 Gig ports on every satellite, while the Orbi 770 is tri-band with speeds up to 11Gbps and 8,000 square foot coverage.
How do you identify your NETGEAR Orbi model?
To identify your NETGEAR Orbi model, check the product label on the bottom or back of your router which displays the specific model number like Orbi 970 or Orbi 770 along with default network credentials.
What do LED colors mean on NETGEAR Orbi satellites?
LED colors on NETGEAR Orbi satellites indicate connection status: solid blue means good connection, amber means the satellite is too far from the router and needs to be moved closer, pulsing white means it’s starting up, and solid white means ready.
Should you use router mode or access point mode on Orbi?
You should use router mode on Orbi when connecting directly to a modem, and access point mode when you already have an existing router or gateway from your ISP that you want to keep active.
What is backhaul in a mesh network?
Backhaul in a mesh network is the connection method satellites use to communicate with the router, either wirelessly using dedicated frequency bands or through wired Ethernet cables for faster, more reliable performance.
How do you update NETGEAR Orbi firmware?
To update NETGEAR Orbi firmware, open the Orbi app or visit orbilogin.com, navigate to firmware settings, check your current version, and either enable automatic updates or manually download and install the latest firmware version with a system reboot.
How many devices can NETGEAR Orbi support?
NETGEAR Orbi systems can support over 200 devices connected simultaneously, with the Orbi 970 quad-band system specifically designed to handle this high device capacity while maintaining performance across all connections.
Where should you place NETGEAR Orbi satellites?
You should place NETGEAR Orbi satellites halfway between your router and dead zones, approximately two-thirds of maximum wireless range from the router, with one satellite for every two rooms and elevated positions for better signal penetration.