


Ever pressed a mystery button on your router and wondered if you just broke your internet? That little WPS button actually makes connecting devices faster, but it also creates a security risk most people don’t know about. WPS lets phones, printers, and smart home gadgets join your Wi-Fi network without typing in the password. You just press the button on your router and one button on your device. They connect automatically in seconds. But this convenience comes with a serious security tradeoff that might make you want to turn WPS off for good.
WPS Button Function and Purpose on Your Router
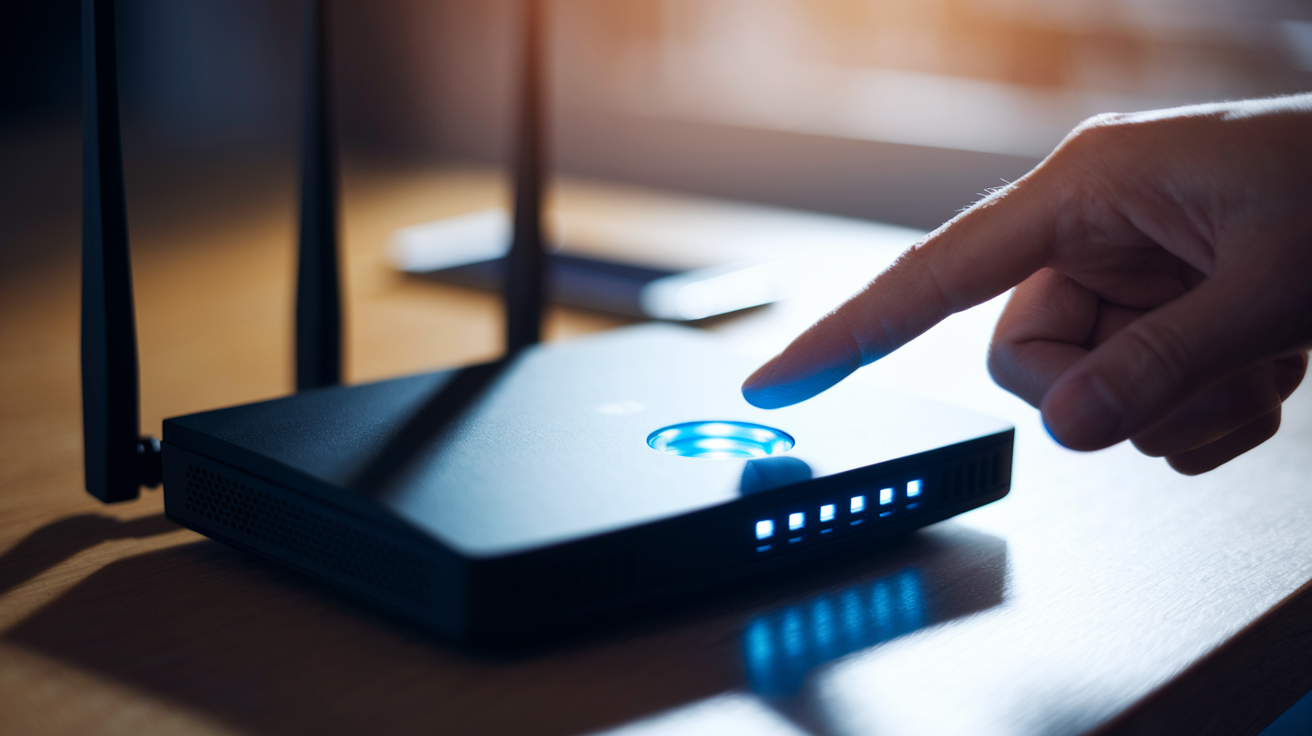
The WPS button on your router enables Wi‑Fi Protected Setup. It lets devices connect to your wireless network without typing in the password. WPS was designed to simplify home network setup by eliminating the need to remember or manually enter long, complex Wi‑Fi passwords. Instead of hunting down your router password sticker or typing a string of random characters, you press a button and your device joins the network automatically.
When you press the WPS button, it activates a pairing mode that stays open for about two minutes. During this window, any compatible device searching for Wi‑Fi can connect without asking for credentials.
This makes connecting wireless devices like smartphones, printers, security cameras, and smart home gadgets much faster. You don’t need to open settings, find the right network, and carefully enter a password. Press one button on the router and one button (or menu option) on your device. The two find each other and complete the connection in seconds.
The WPS button typically appears on the back or front panel of your router. You’ll see it labeled with the letters “WPS” or an icon that looks like two arrows pointing at each other in a circle.
Locating the WPS Button on Your Router
Button placement varies depending on who made your router, but a few spots are common across most brands. Check the back panel near the Ethernet ports first. That’s where manufacturers place most router controls. Some models put it on the front panel for easier access. A few place it on the side.
The label might say “WPS” in plain text, or it might just show the two‑arrow recycling symbol. On some routers, WPS shares a button with another function (like Wi‑Fi on/off). You’ll need to press and hold for a few seconds to activate WPS specifically rather than the other feature.
How the WPS Button Connection Process Works
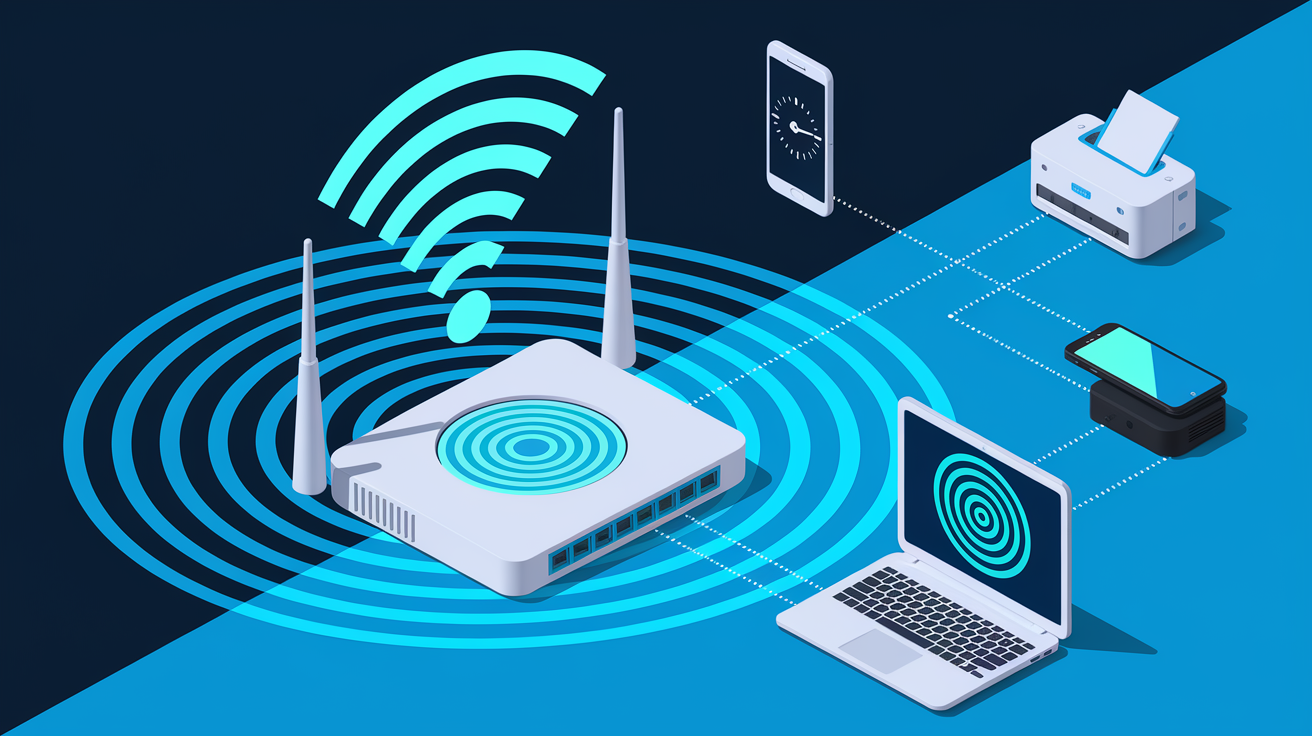
WPS creates a temporary pairing window that typically lasts two minutes after you press the button. During this short period, the router accepts connection requests from devices without requiring password entry. Once the window closes, the router returns to normal security mode.
Both your router and the device you’re connecting must support WPS for this process to work. Most routers manufactured since 2007 include it. Check your device settings to confirm it has WPS capability before trying.
- Press the WPS button on your router (usually a quick press, but some require holding for 3 to 5 seconds).
- Open the Wi‑Fi or network settings on the device you want to connect.
- Look for “WPS Push Button,” “WPS Connection,” or a similar option in your device’s Wi‑Fi menu.
- Select that option within two minutes of pressing the router button.
- Watch the router’s LED lights, which typically blink rapidly during the pairing process.
- Wait for the connection to complete (usually 10 to 30 seconds, occasionally up to two minutes).
The LED indicator on your router tells you what’s happening during the connection. Blinking lights mean the router is actively pairing with a device. Once the light turns solid (or stops blinking and returns to normal), the connection succeeded. If the light stops blinking and no device connected, the two‑minute window probably closed before pairing finished. Or something went wrong. The automatic timeout is a security feature that prevents your network from staying open for unauthorized connections.
WPS Methods: Push Button vs PIN Configuration

WPS supports two different authentication methods for connecting devices to your network.
Push button configuration is what most people use when they press the physical WPS button on their router. You press and hold the button (some routers need 3 to 5 seconds, others just a quick tap), then activate WPS on your device within the two‑minute window. This method is straightforward and doesn’t require entering any codes or passwords. It’s the easier and more user‑friendly option, especially if you’re setting up multiple devices or helping someone who’s not comfortable with technology.
The PIN method uses an eight‑digit code instead of the physical button. You’ll find this PIN either printed on a sticker on your router or displayed in your router’s admin settings. Some devices generate their own PIN that you enter into the router’s control panel. You need this method when your device doesn’t have a WPS button option in its menus, or when the device can generate a WPS PIN but can’t respond to the push button signal. Enter the eight‑digit number into either your router settings or your device (depending on where the PIN originated), and the connection completes.
But there’s a problem. The PIN method has a significant security weakness. Attackers can use automated tools to guess the PIN much faster than they could crack your actual Wi‑Fi password.
Devices Compatible with WPS Button Pairing

Whether a device can use WPS depends on whether the manufacturer built WPS support into its wireless adapter or network configuration settings. If the hardware or firmware doesn’t include WPS capability, the button method won’t work no matter how many times you press it.
Most devices manufactured between 2007 and 2020 include WPS support, since it was a popular feature during that period. Newer devices (2020 onward) may omit it entirely because security concerns led some manufacturers to remove the feature. Very old devices from before 2007 were made before WPS existed. If your device falls into either the very old or very new category, you’ll need to use manual password entry.
Common device types that typically work with WPS:
- Wireless printers (especially home and small office models from HP, Canon, Epson, Brother)
- Smartphones running Android (iOS devices dropped WPS support several years ago)
- Laptops with built‑in wireless adapters or USB Wi‑Fi dongles that include WPS
- Gaming consoles like PlayStation, Xbox, and Nintendo Switch
- Smart TVs from Samsung, LG, Sony, and other major brands
- Wi‑Fi security cameras and video doorbells
- Wi‑Fi range extenders and mesh network satellite nodes
- IoT smart home devices like smart plugs, light bulbs, and thermostats (though many newer models skip WPS)
Security Risks and Vulnerabilities of WPS on Routers

The main security problem with WPS is that the eight‑digit PIN can be cracked using brute force attacks much faster than anyone expected. Security researchers discovered that the way WPS validates the PIN makes it possible to guess the correct code in just a few hours rather than the years it should take. An attacker within range of your wireless signal can run automated software that systematically tries PIN combinations until it finds the right one.
Once someone cracks your WPS PIN, they gain full access to your home network even if you set a strong password and enabled WPA2 encryption. They can intercept your internet traffic, access shared files on your network, and potentially compromise connected devices like security cameras or computers. Your WPA2 security protocols don’t protect you against this attack because WPS bypasses that security layer entirely when it authenticates a connection.
The push button method has a smaller vulnerability window since the two‑minute timeout limits how long your network accepts connections without authentication. But if WPS is enabled in your router settings, the PIN method usually stays active even if you never use it.
The security risks of WPS outweigh the convenience for most people. Manual connection using your network password with WPA2 security provides much stronger protection and only takes an extra minute or two per device.
When and How to Disable WPS and Use Better Alternatives
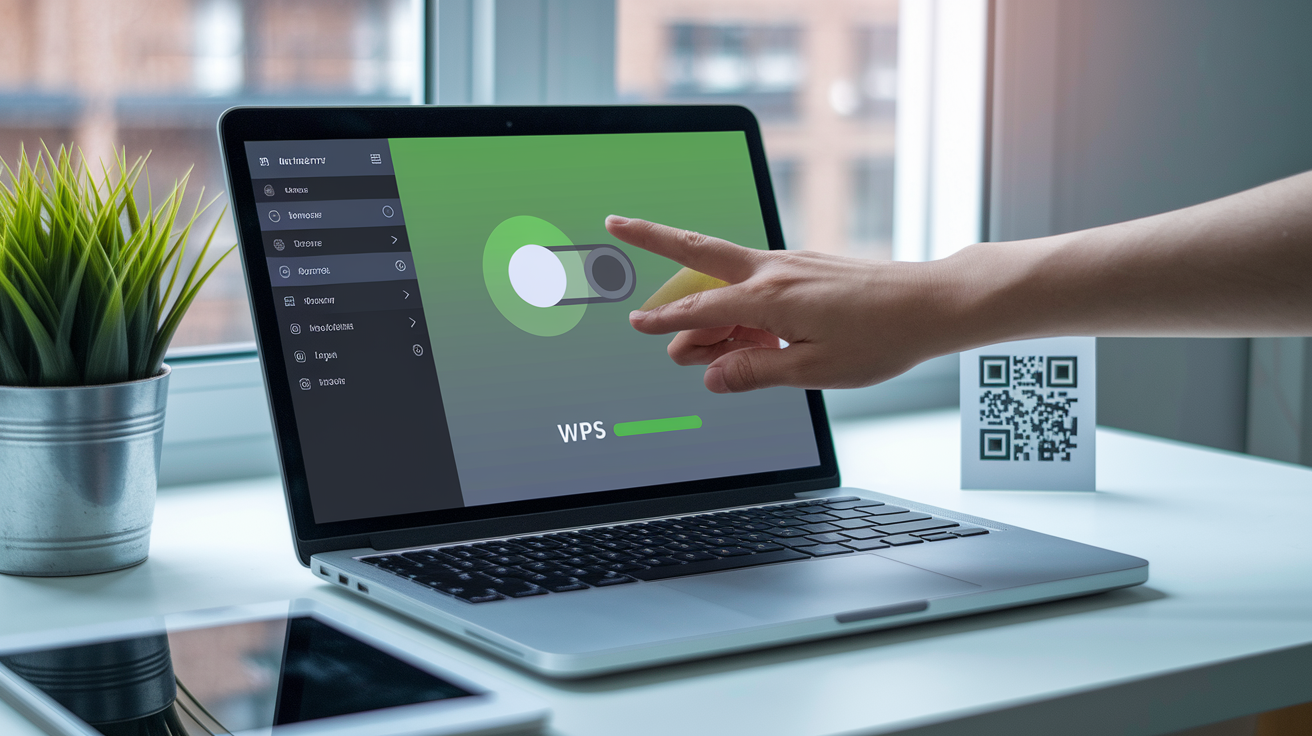
You should disable WPS after you’ve connected all the devices you need on your network. Or if network security is important to you (which it should be). If you’re not actively using the feature, there’s no good reason to leave it turned on and creating a potential security hole.
The setting lives in your router’s admin panel, which you access through a web browser.
- Open any web browser on a device already connected to your network.
- Type your router’s IP address in the address bar (usually 192.168.1.1 or 192.168.0.1, check the sticker on your router if neither works).
- Log in with your admin username and password (often “admin” for both, or check your router documentation).
- Navigate to the wireless settings section (might be labeled “Wireless,” “Wi‑Fi Settings,” “Advanced Settings,” or “WPS”).
- Look for the WPS enable/disable option (some routers call it “WPS Status” or show it as a simple on/off toggle).
- Turn WPS off or set it to “Disabled.”
- Click “Save,” “Apply,” or “Save Settings,” then reboot your router if the interface prompts you to.
The exact menu names and locations vary by manufacturer. Netgear typically puts it under “Advanced > Wireless Settings.” TP‑Link routers often list it under “Advanced > Wireless > WPS.” Linksys places it in “Wireless > Wi‑Fi Protected Setup.” Asus routers show it under “Wireless > WPS.” If you can’t find it, check your router model’s manual or search online for “[your router model] disable WPS.”
Manual SSID and password entry is the most secure way to connect devices to your network. Select your network name (SSID) from the list of available networks on your device, tap it, and type in your Wi‑Fi password when prompted. This works with every Wi‑Fi enabled device, takes about 30 seconds per device, and doesn’t create the security vulnerabilities that WPS does. You only need to do it once per device since your phone, laptop, or other gadget remembers the network after the first successful connection.
Modern routers and devices now support QR code connection as a faster alternative to typing passwords. Your router generates a QR code that contains your network name and password in encoded form. You scan the code with your phone’s camera, and it automatically fills in the connection details and joins the network. This combines the convenience of WPS with better security since the QR code method doesn’t use the vulnerable PIN system. You can generate a new QR code anytime, and it only works for someone who can physically see your screen.
Many router manufacturers now offer mobile apps (TP‑Link Tether, Netgear Nighthawk, Asus Router) that simplify network configuration without WPS. You can add devices, create guest networks, and manage network settings through an easy interface on your phone. These apps use secure authentication methods instead of the vulnerable WPS system. They give you more control over your network than the basic WPS button ever did.
Troubleshooting WPS Button Connection Problems

WPS connections don’t always work on the first try. Most failures happen for a few common reasons that you can fix quickly.
Two‑minute timeout expired: If you took too long between pressing the router button and activating WPS on your device, the pairing window closed. Press the WPS button on your router again and try faster this time.
Device doesn’t support WPS: Check your device’s Wi‑Fi settings menu to confirm it has a WPS option. If you don’t see “WPS,” “WPS Push Button,” or a similar setting, your device can’t use this feature. Connect manually by selecting the network and entering the password instead.
Button not held long enough: Some routers need you to press and hold the WPS button for 3 to 5 seconds rather than a quick tap. Check your router’s manual or try holding it longer on your next attempt.
WPS disabled in router settings: Someone might have turned off WPS in your router’s admin panel. Log into your router settings through a web browser and check the wireless configuration section to confirm WPS is enabled.
Interference affecting signal: Other wireless devices, thick walls, or distance from the router can weaken the signal during pairing. Move your device closer to the router (within 10 to 15 feet) during the WPS connection process.
Device too far from router: WPS pairing often requires stronger signal strength than normal browsing. Stay close to the router while connecting, then you can move the device to its normal location after pairing succeeds.
If WPS keeps failing after you’ve tried these fixes, skip it and connect manually by selecting your network name (SSID) from the Wi‑Fi list and typing in your password. Manual connection works every time and avoids all the WPS‑related problems entirely.
Final Words
The WPS button on your router gives you a password-free way to connect devices to your wireless network, but it comes with real security trade-offs.
If you value network security over convenience, disable WPS in your router settings after pairing your devices, or skip it entirely and use manual SSID and password entry instead.
WPS still works for quick printer setup or connecting a range extender, but knowing what the WPS button on your router does means you can decide when it’s worth the risk and when it’s smarter to take the safer route.
FAQ
What happens if I press the WPS button on my router?
When you press the WPS button on your router, it activates Wi-Fi Protected Setup and opens a temporary two-minute pairing window that lets wireless devices connect to your network without entering a password, then automatically deactivates for security.
How long do I press the WPS button on my router?
You should press the WPS button on your router for 3 to 5 seconds to activate pairing mode. A quick tap usually works, but holding it briefly ensures the router registers the command and starts the connection window.
Should the WPS be on or off?
WPS should be turned off if you’re not actively connecting devices because it creates security vulnerabilities that let attackers access your network. Turn it on only when pairing a device, then disable it in your router settings afterward.
Does WPS reset the router?
WPS does not reset the router. Pressing the WPS button only activates a temporary pairing mode for connecting devices to your wireless network and does not change any router settings, erase configurations, or restart the device.
How do I know if my device supports WPS?
A device supports WPS if it displays a WPS option in its Wi-Fi settings menu or has a WPS button on the hardware. Most devices made between 2007 and 2020 include WPS, though many newer devices omit it due to security concerns.
Can I use WPS on an iPhone?
You cannot use WPS on an iPhone because Apple removed WPS support from iOS devices. iPhones require manual network connection by selecting the SSID from the Wi-Fi list and entering the network password directly.
What’s the difference between WPS push button and WPS PIN?
WPS push button uses the physical button on your router to create a two-minute pairing window, while WPS PIN requires entering an eight-digit code displayed on the router or device, which has greater security vulnerabilities than the button method.
Why does my WPS connection keep failing?
A WPS connection keeps failing when the two-minute timeout window expires, your device lacks WPS compatibility, the button wasn’t held long enough, WPS is disabled in router settings, or the device is too far from the router during pairing.
Is WPS less secure than entering a password?
WPS is less secure than entering a password because the eight-digit PIN can be cracked through brute force attacks in hours, allowing unauthorized network access even when you use strong WPA2 encryption on your wireless network.
Where is the WPS button located on most routers?
The WPS button is typically located on the back panel near Ethernet ports, though some routers place it on the front or side panel. It’s usually labeled “WPS” or shows an icon with two arrows pointing at each other.